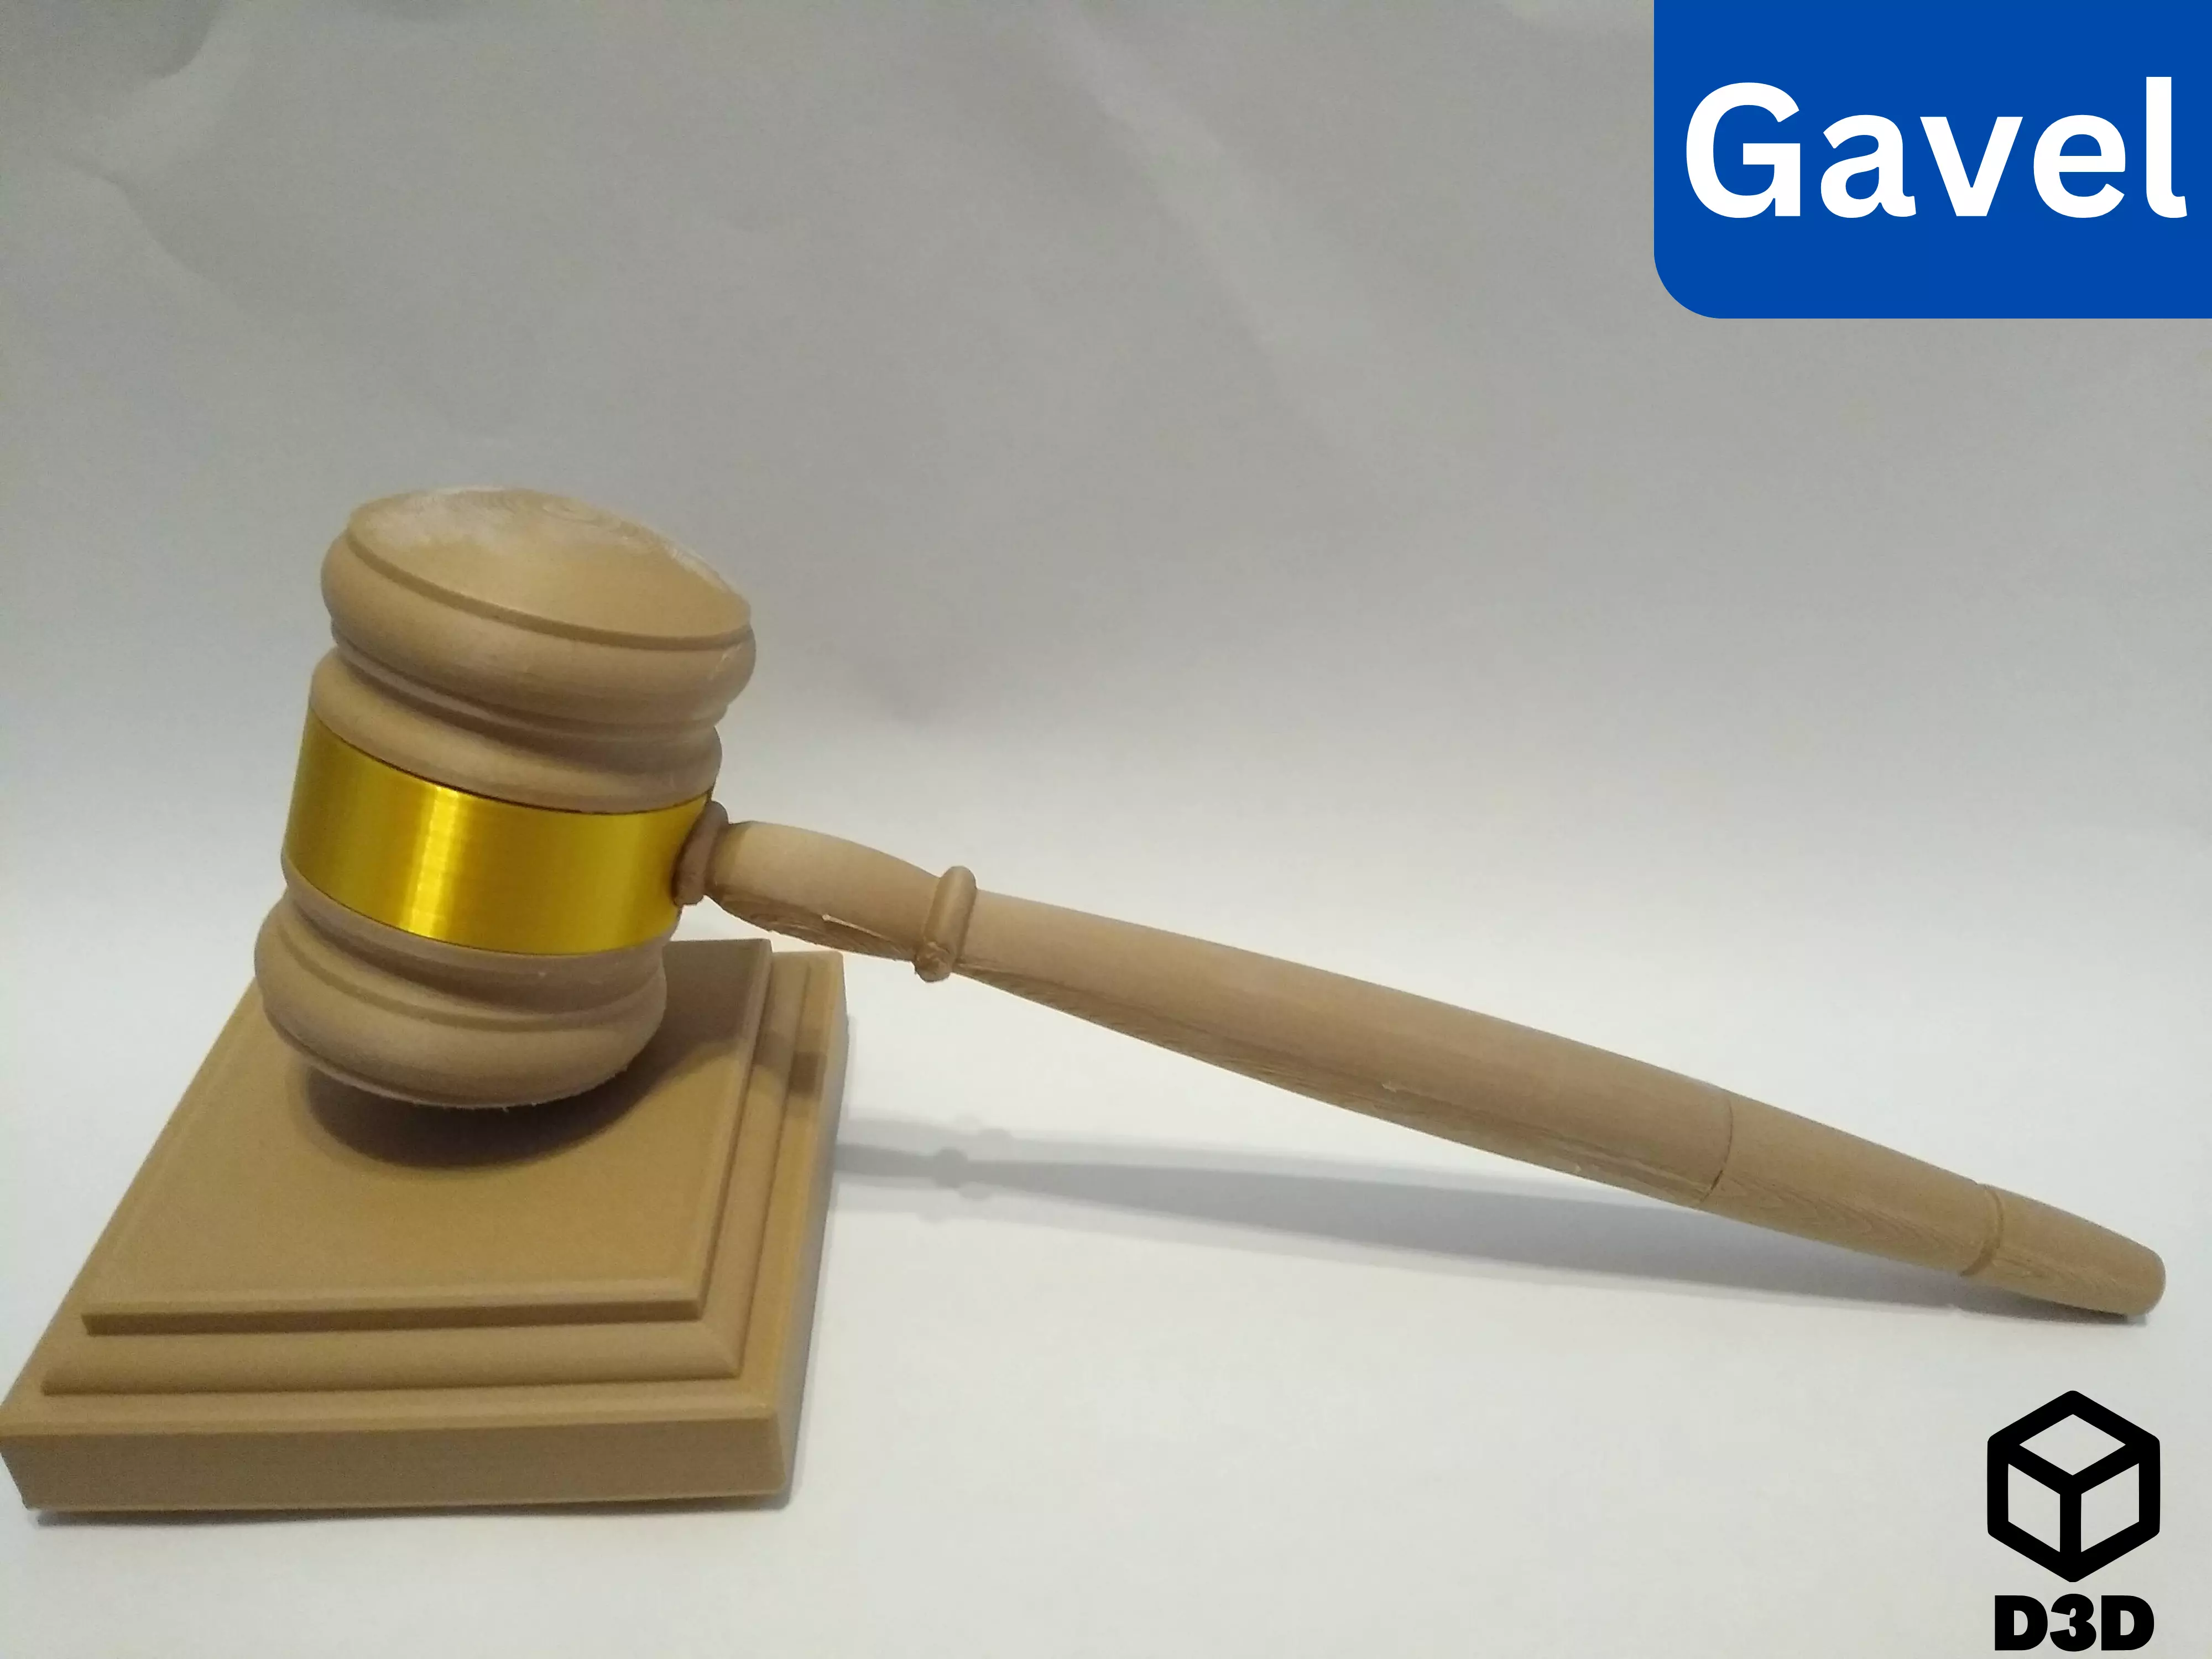
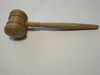
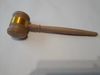
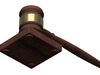
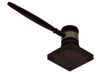
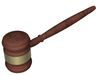
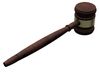
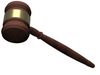
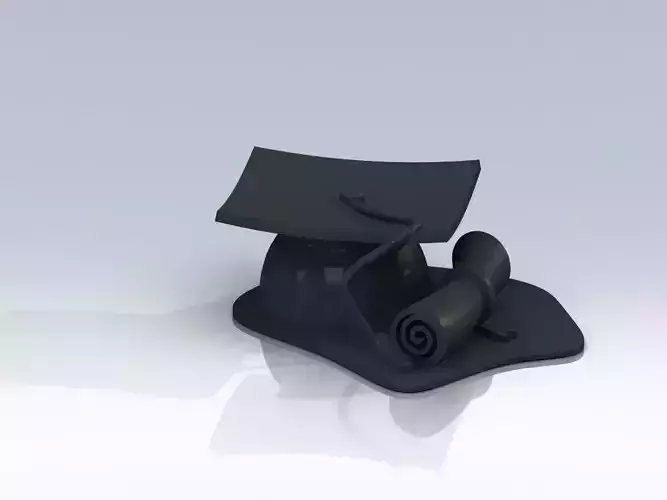
This is a mock gavel. It can be used as a prop for a costume or just as a cool looking display piece. It is printed in multiple pieces and screws together.
Print Instructions
- Material: PLA or PETG (for extra strength)
- Supports: Yes
- The headpiece will require supports
- Both handle pieces will also require supports
- Orientation (keep in mind the grain of the 3D print):
- Put the headpiece on its bottom and support it
- Lay both handle pieces on their side and support them
- Lay the foil piece on its back
- Post-processing:
- You may want to glue the pieces together for extra strength.
- You may want to sand off the areas where the supports make contact with the prints.
- Colors (these are, of course, just suggestions):
- Traditionally, the body of a gavel is a brown or wood like color.
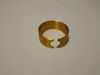
- The foil piece is optional, but gives a nice contrast with the rest of the gavel. If you do choose to print it, I would suggest printing it in a metallic color.
- Print bed size:
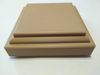
- This model is cut up into pieces, allowing it to be printed on a print bed of 180 mm³.
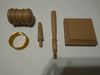
Parts
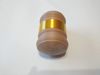
- Gavel Head (included)
- Gavel Head Foil (included) (other foil could be used as well)
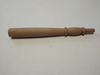
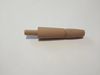
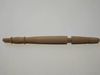
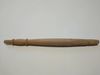
- Handle Front (included)
- Handle Back (included)
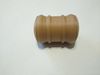
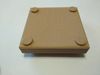
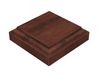
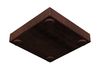
- Bass (included)
- Glue (not included) (optional)
- Felt pads (not included) (optional)
Assembly
- Print all the pieces
- Screwed together the two handle pieces
- Glue together the handle pieces (optional)
- Screw the handle into the head of the gavel
- Glue together the handle in the head of the gavel (optional)
- Add the foil piece to the head of the gavel (optional)
- Glue the foil piece in the place (optional)
- Add felt pads to the bottom of the gavel base (optional)
If you enjoy this model, please leave a like and a comment. If you have any questions, concerns, or problems, please personally contact me.