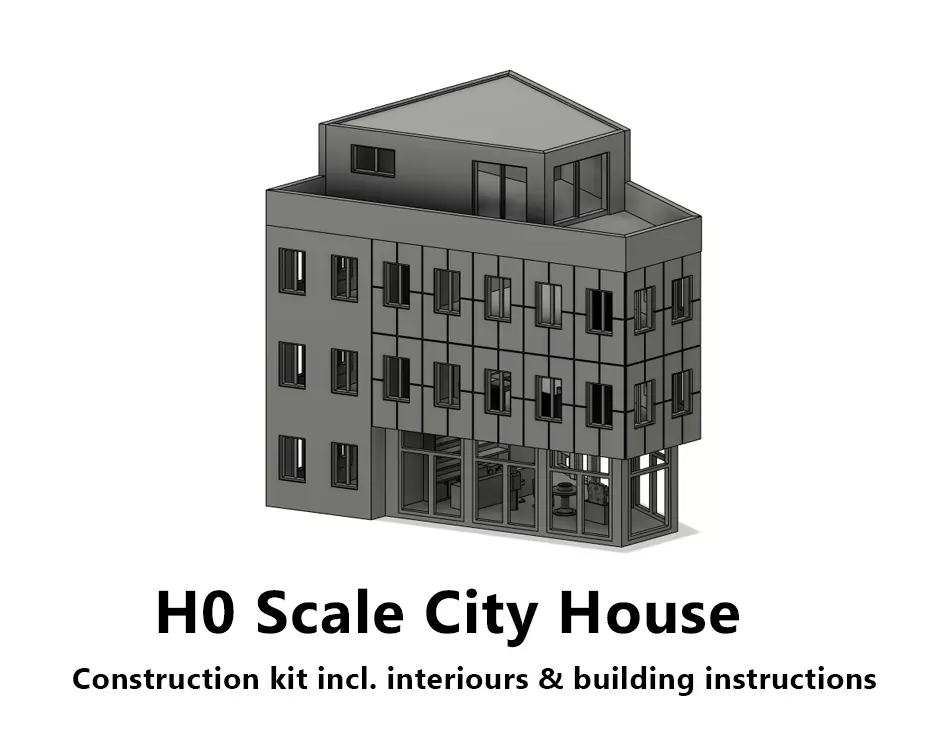
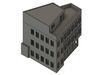
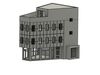
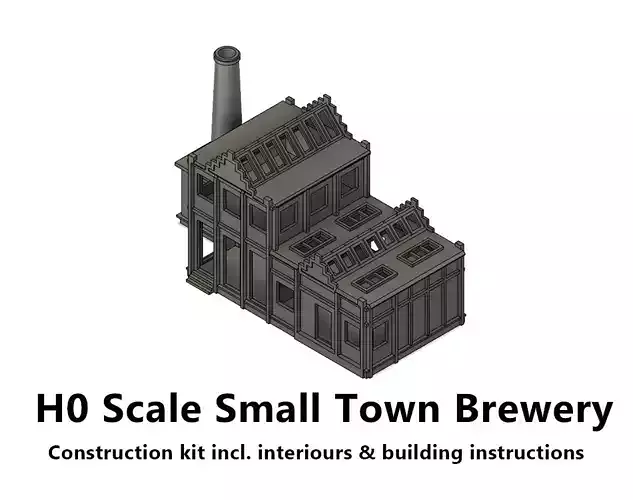
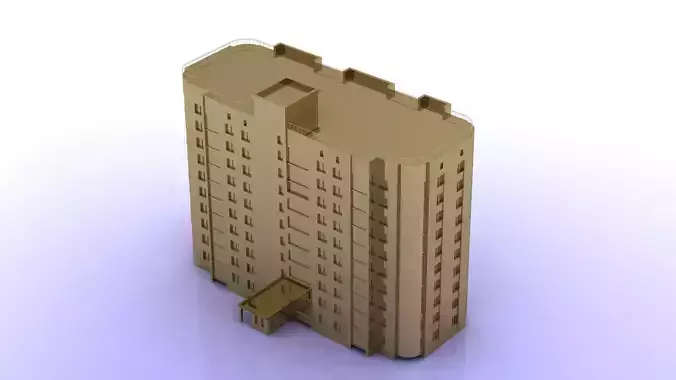
This kit represents a modern townhouse with office or practice rooms on the first and second floor and a beautiful open restaurant on the first floor. The top floor can be designed as a loft apartment with a large roof terrace.
The facades of the building come as separate parts and can be designed in different colors to the outer walls before gluing.
The windows are designed with window frames. However, the window panes are not part of the package, but must be cut from transparent plastic (e.g. from food packaging) and glued on.
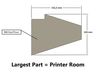
The largest part included is 151,5 mm x 124 mm, defining the required build space of your 3D printer.
In this package are included:
- Building instructions as PDF
- B0.1 Foundation Restaurant
- B0.2 Foundation
- B1 Wall Front
- B2 Wall Right Structured
- B3 Wall Right
- B4 Wall Back
- B5 Wall Left
- B6 Wall Left Structured
- B7 Wall Restaurant Back
- RB0 Roof Floor
- RB1 Roof Wall Front
- RB2 Roof Wall Right
- RB2 Roof Wall Right
- RB4 Roof Wall Left
- RB5 Roof Wall Flat Front
- RB6 Roof Wall Flat Left
- RB7 Roof
- I1 Interiour Wall Kitchen
- I2 Ceiling 1
- I3 Wall Staircase
- I4 Partition Wall 1
- I5 Ceiling 2
- I6 Partition Wall 2
- I6 Partition Wall 2
- I8 Pillar
- W1 Window 12 x 19 mm
- W2 Windows 10 x 10 mm
- W3 Window 20 x 12 mm
- W4 Window 25 x 27 mm
- W5 Window 33 x 27 mm
- W6 Window Entry
- W7 Window Restaurant 30 x 38 mm
- W8 Window Restaurant 11 x 38 mm
- W9 Window Restaurant 15 x 38 mm
- W10 Window Restaurant 25,3 x 38 mm
General information
Ideally, print the larger parts (walls, facades, roofs, etc.) on an FDM (filament) printer. Place the parts with the non-visible sides (inside) on the bed of the printer. This will achieve the highest quality.Components with fine details (e.g. window frames) should ideally be produced on a resin printer to achieve the best possible results.The components in this package have been successfully tested on a Prusa i3 MK3 (FDM) and an Anycubic Photon Mono 4K (Resin). The ideal settings of your 3D prints are up to you. We cannot make any generally valid recommendations.
Clean the components after printing and free them from print support and any material residue. If desired, it is also advisable to finish and smooth the visible surfaces afterwards with putty and sandpaper.
Use a non-evaporating super glue for assembling the parts. This prevents vapors from condensing on transparent components, for example, and soiling them.
It is recommended to apply a primer to the components before painting. Acrylic-based paints are suitable for painting. The manufacturers Citadel & Vallejo are recommended. Clean colored surfaces can be created with an airbrush system or spray cans.