Zbrush - Mouthbag and facial expression basics
 McAngryMinis
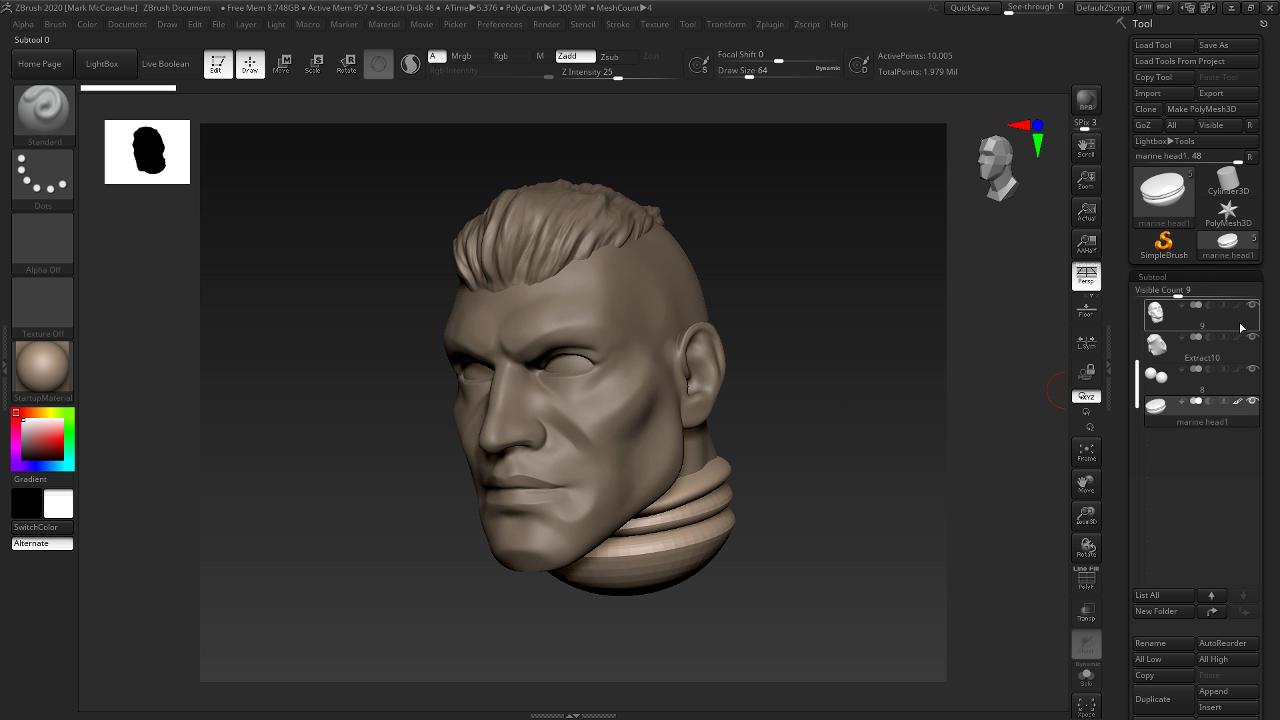
In this guide, we will learn to open a closed mouth on a sculpted head in zbrush.
Step 1 - Adding the mouth bag
Step 2
Step 3
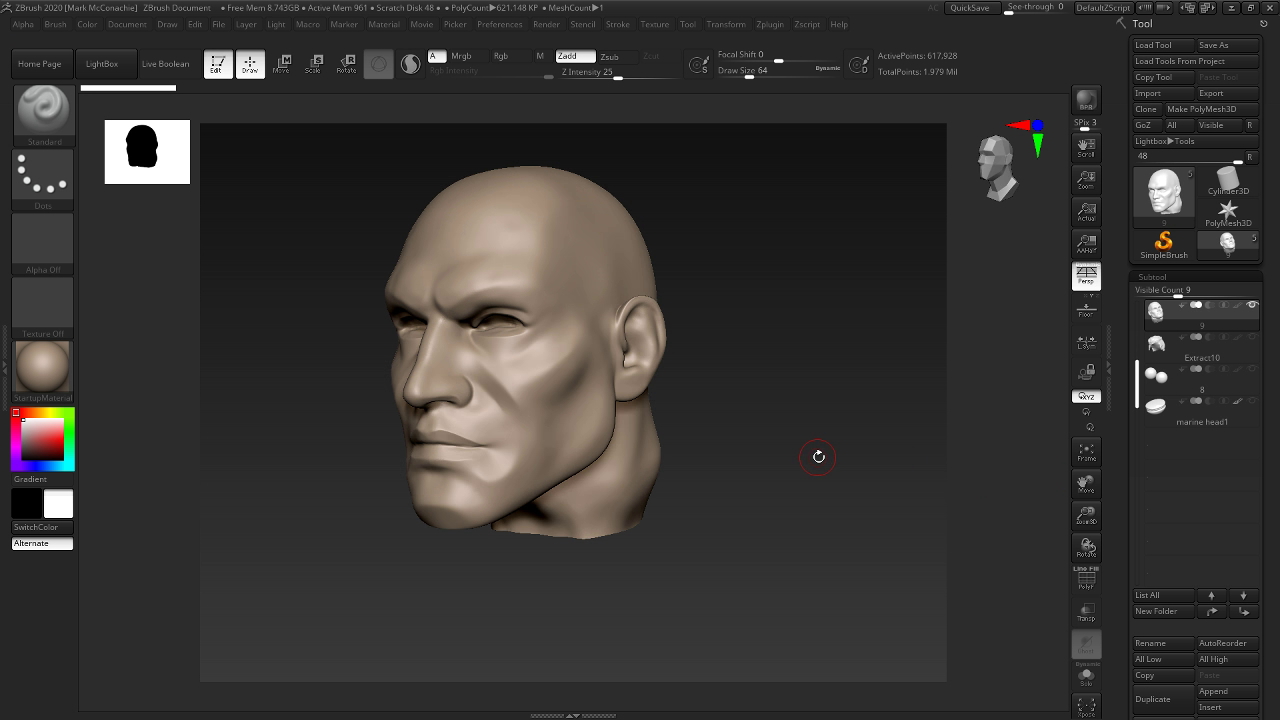
Move into front view and disable perspective by pressing P.
Step 4
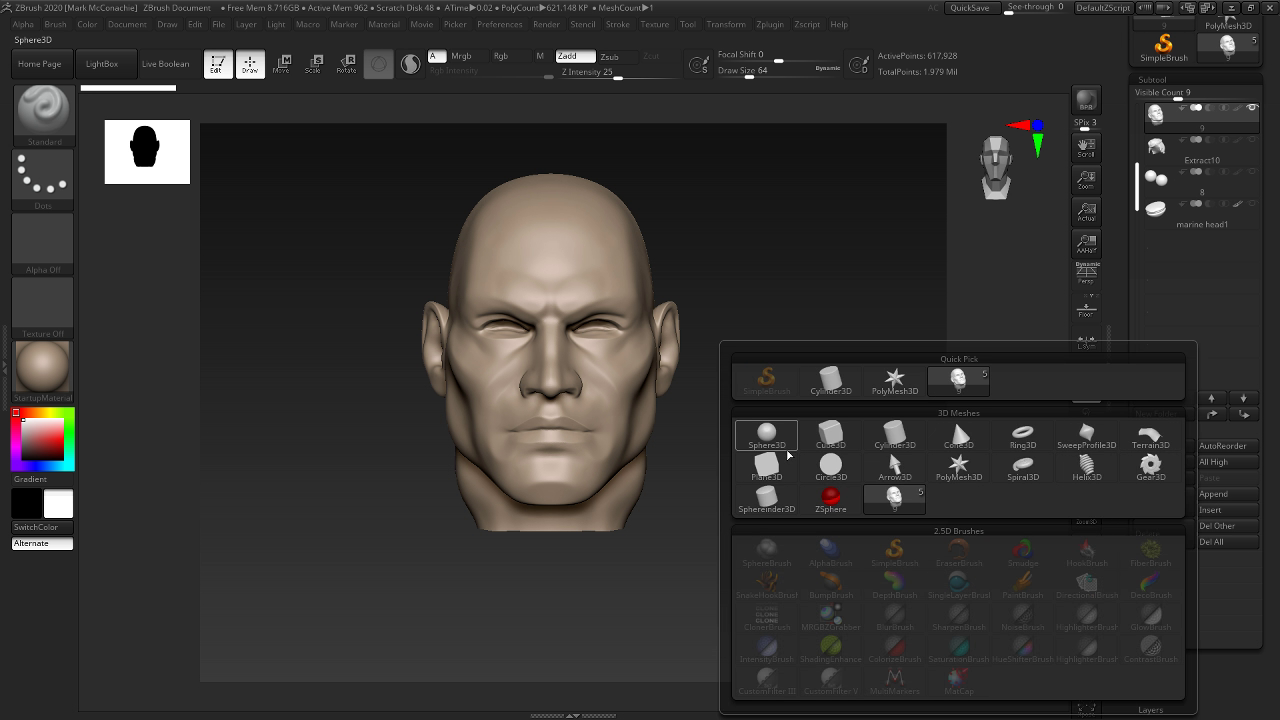
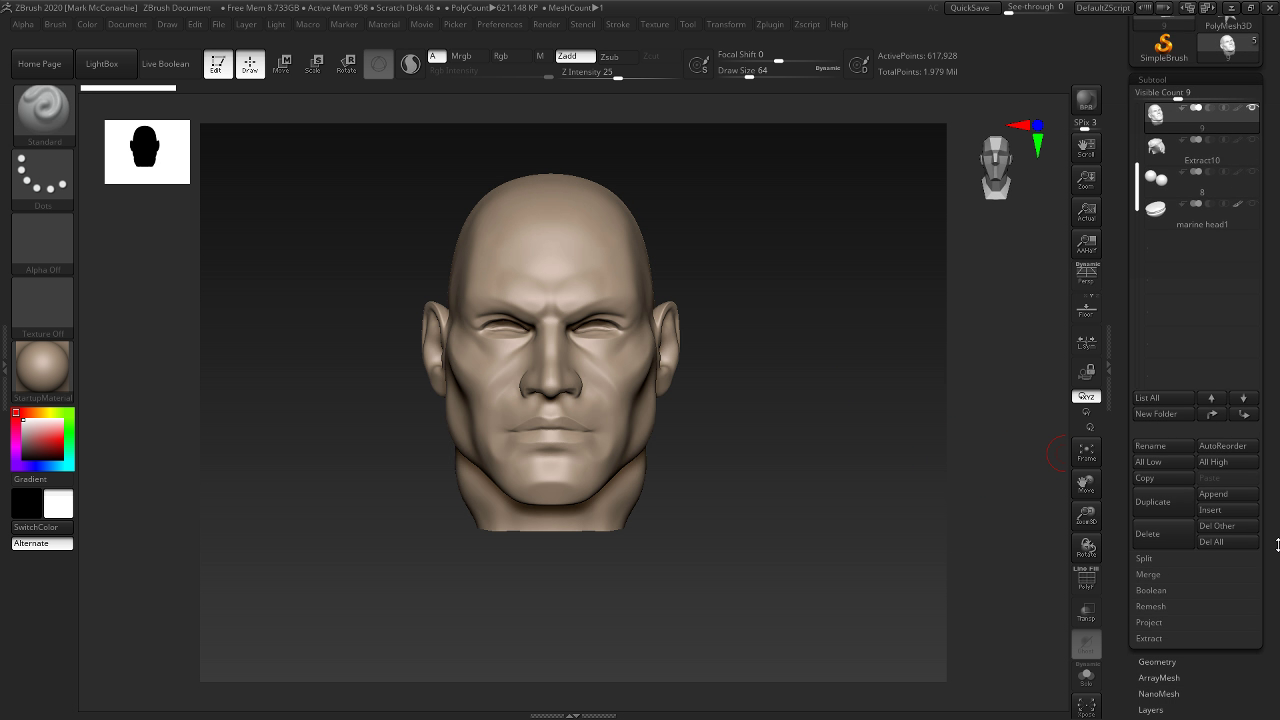
Append a Sphere3D
Step 5

Step 6
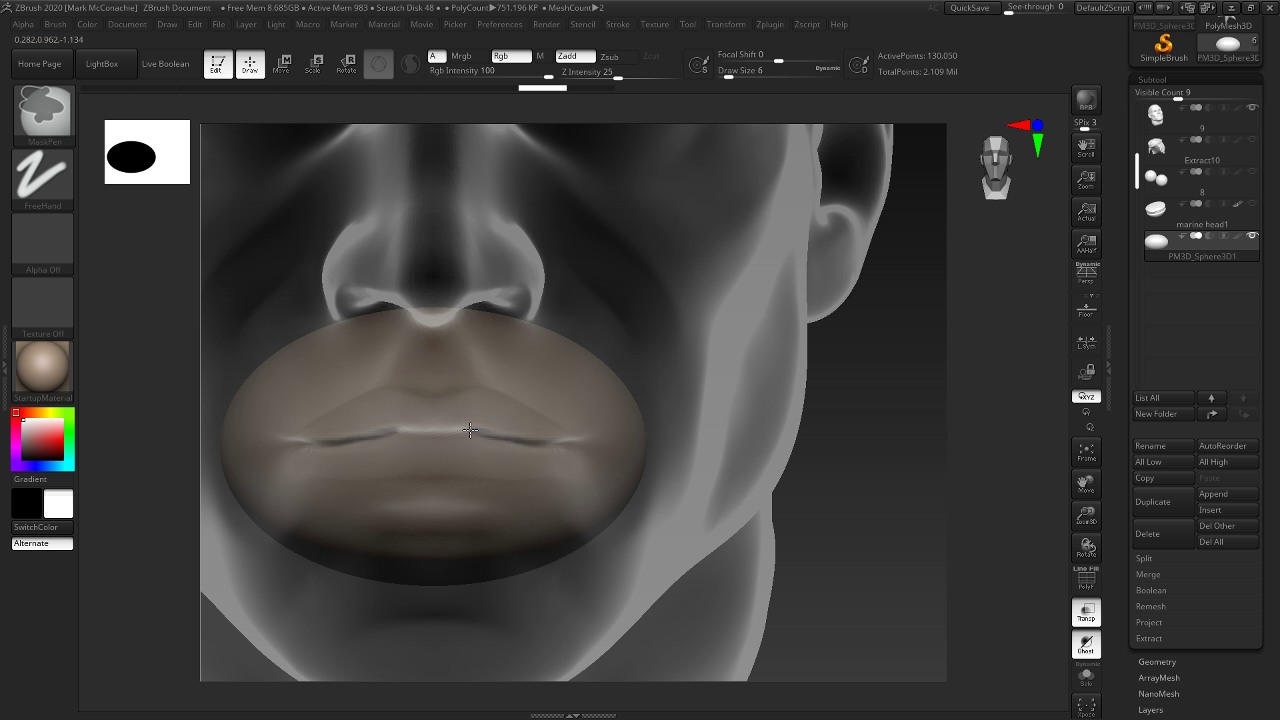
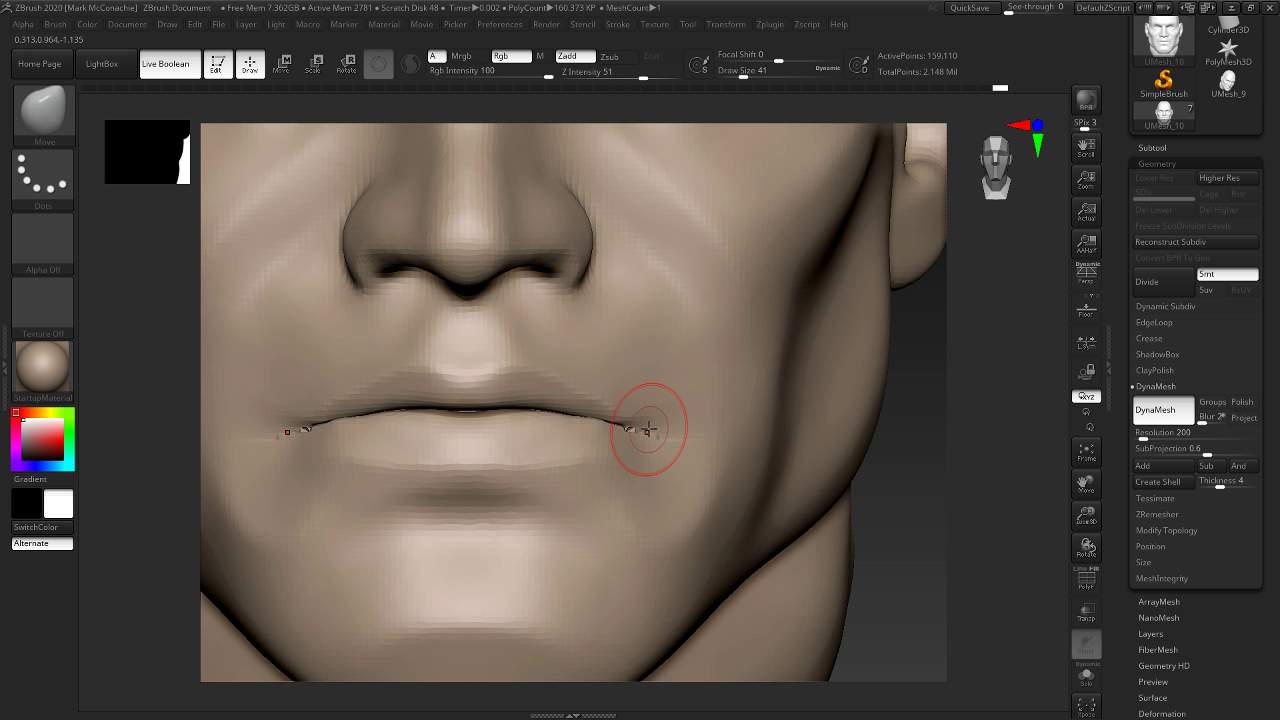
Subdivide the sphere 2 times and then from the front view (still without perspective) make a mask tracing where the lips meet.
Step 7

Your line should be thin clean and as smooth as you can make it.
Step 8

Invert the mask, go into side view and press W to enter move mode.
Step 9
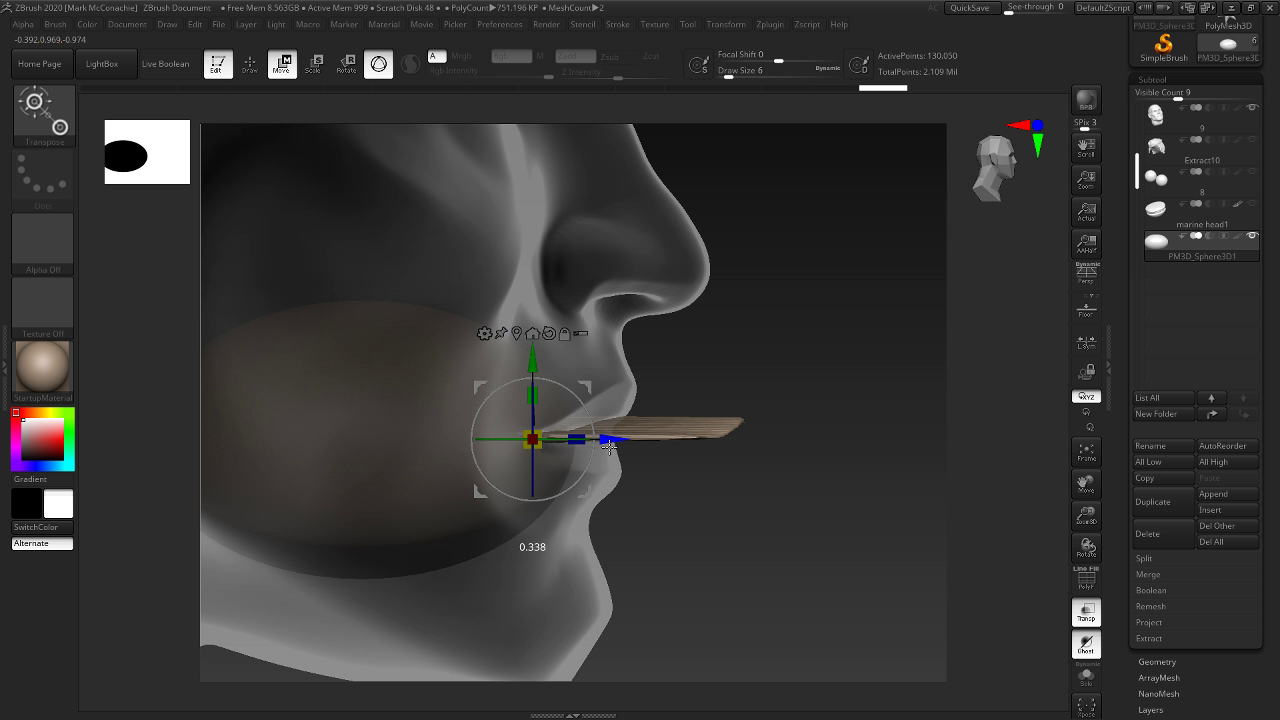
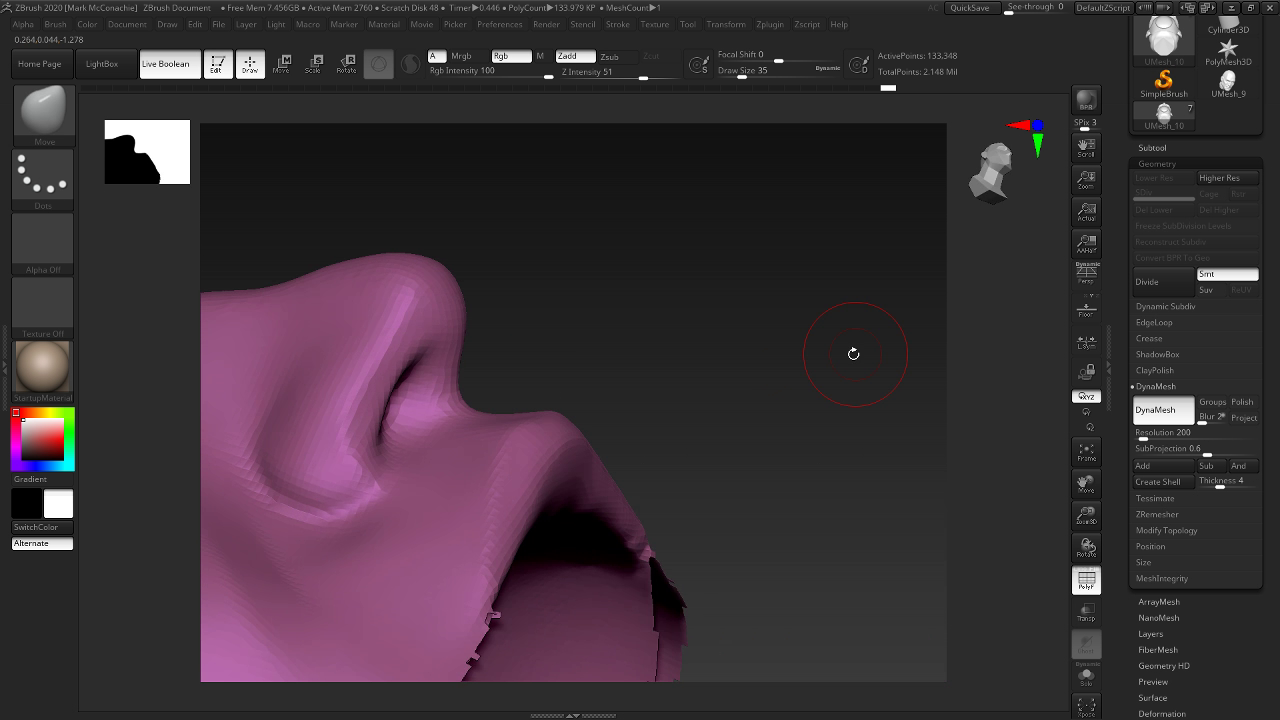
Move the unmasked area forward so that it goes through the lips.
Step 10

The geometry here is horrible so apply a ZRemesher.
Step 11

Much smoother…
Step 12

Go back to the Subtools Pallet and set the mouth shape to be subtractive.
Step 13

Enable Live Boolean in the top left of the screen
Step 14

Now our mouth is subtracted from the head. But they are still separate subtools and are not easy to work on later.
Step 15
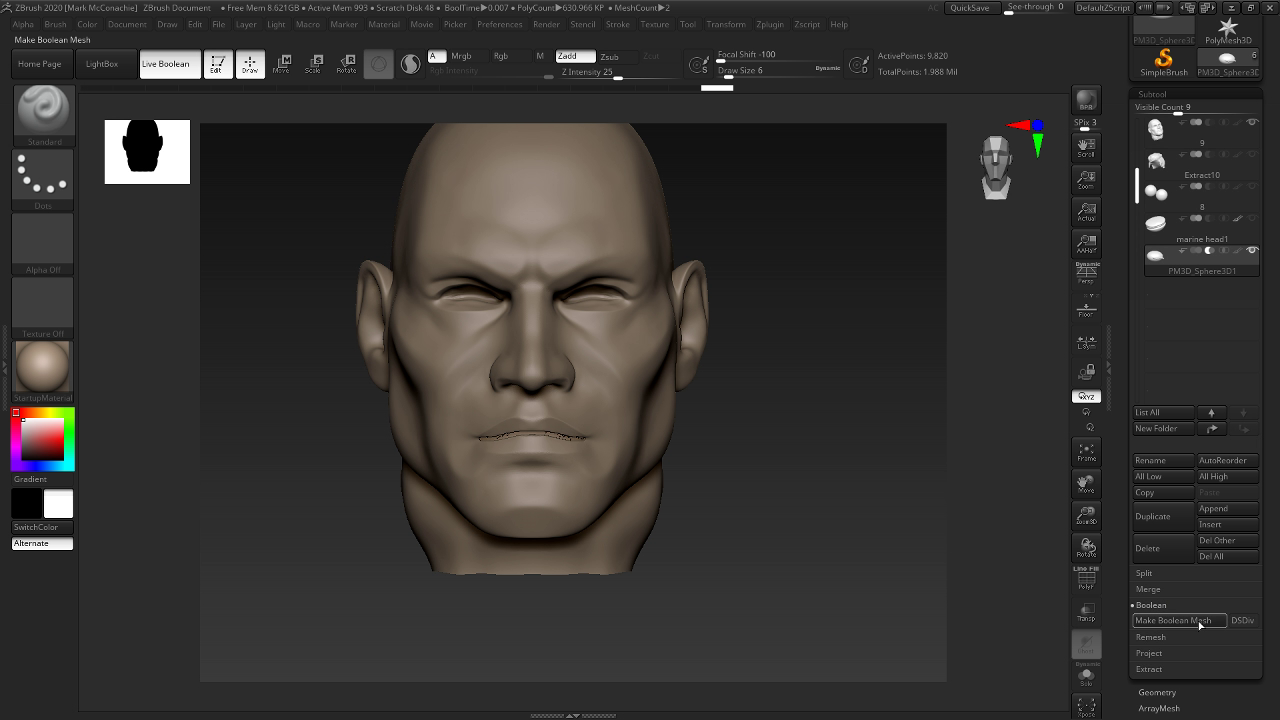
Select Boolean -> Make Boolean Mesh. This will create a new ZTool with a mesh made from the head with the mouth shape subtracted.
Step 16

Select ‘Append’ and choose that ztool.
Step 17 - Cleaning up the lips

We can now hide the original head and mouth subtools. You could delete the mouth subtool at this point but do NOT delete the original head yet.
Step 18

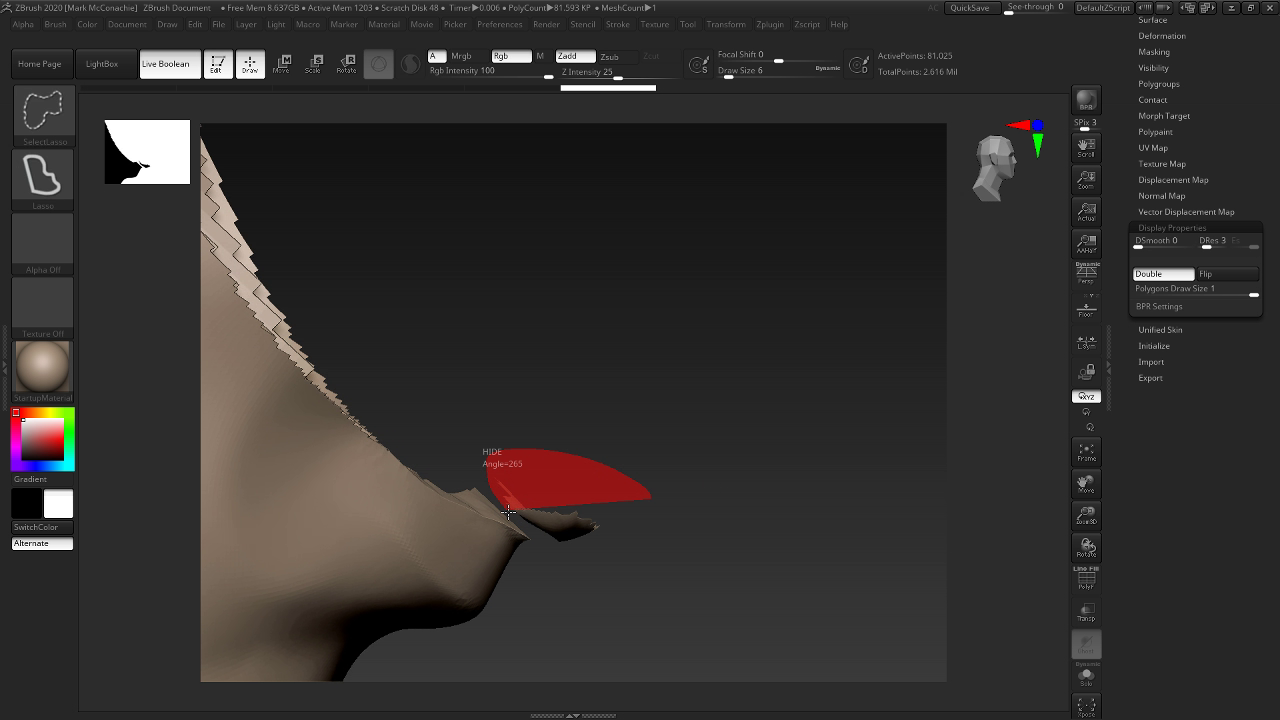
Choose the ‘Select Lasso’ brush
Step 19
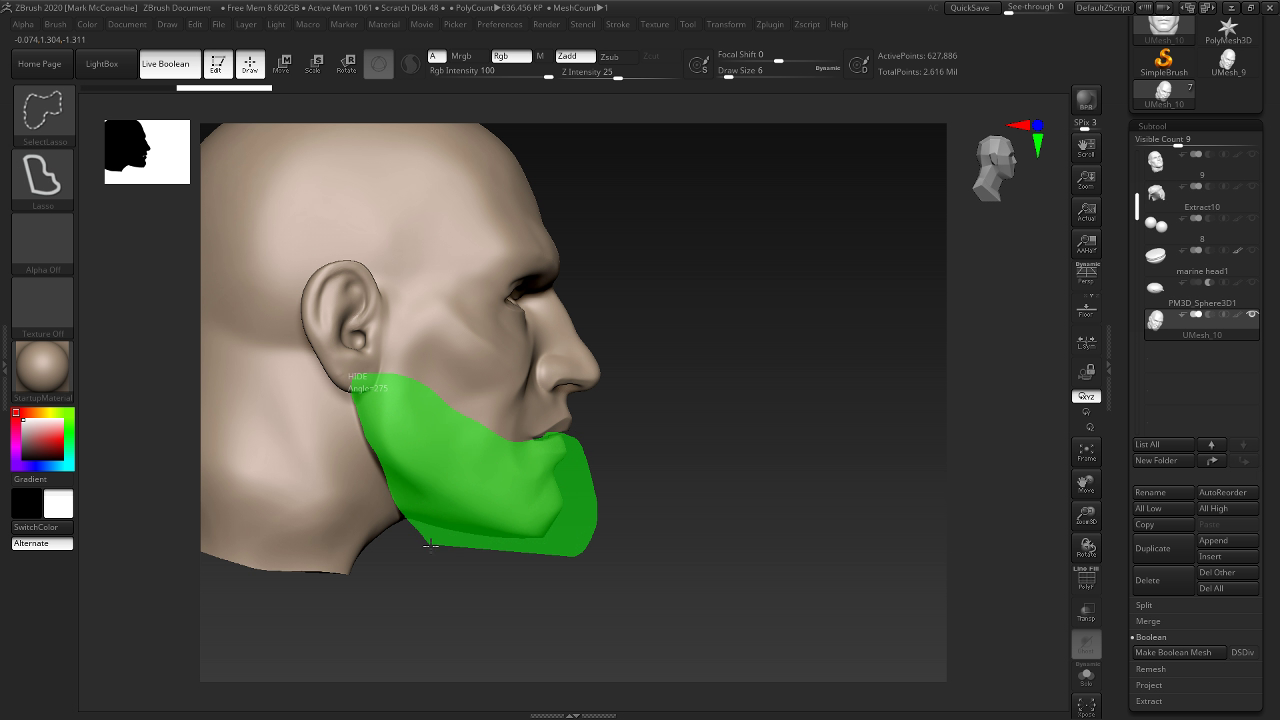
Select the bottom jaw
Step 20
Step 21

Take care of the corners too…
Step 22
While showing hiding each half, mask the whole lot and select ‘Group Masked’ in the Polygroups pallet
Step 23
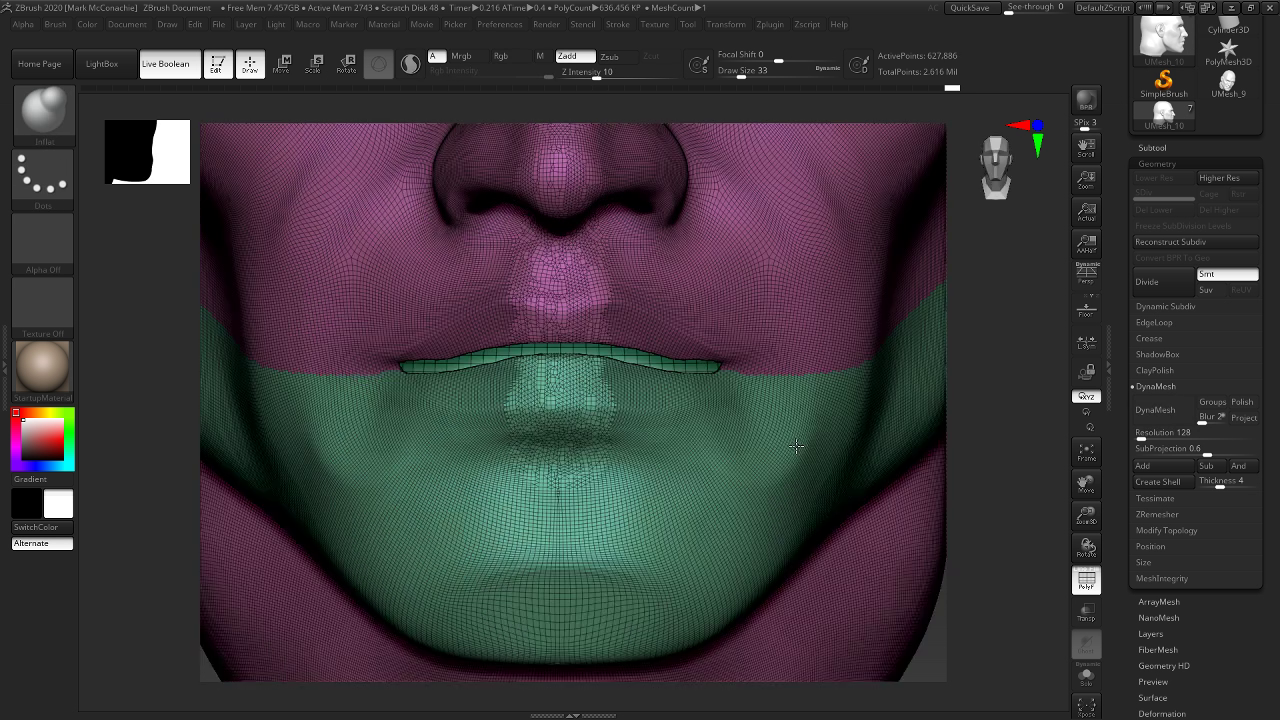
At this point, you should have 2 separate polygroups. Shift-Ctl clicking on either should make it the only one visible
Step 24

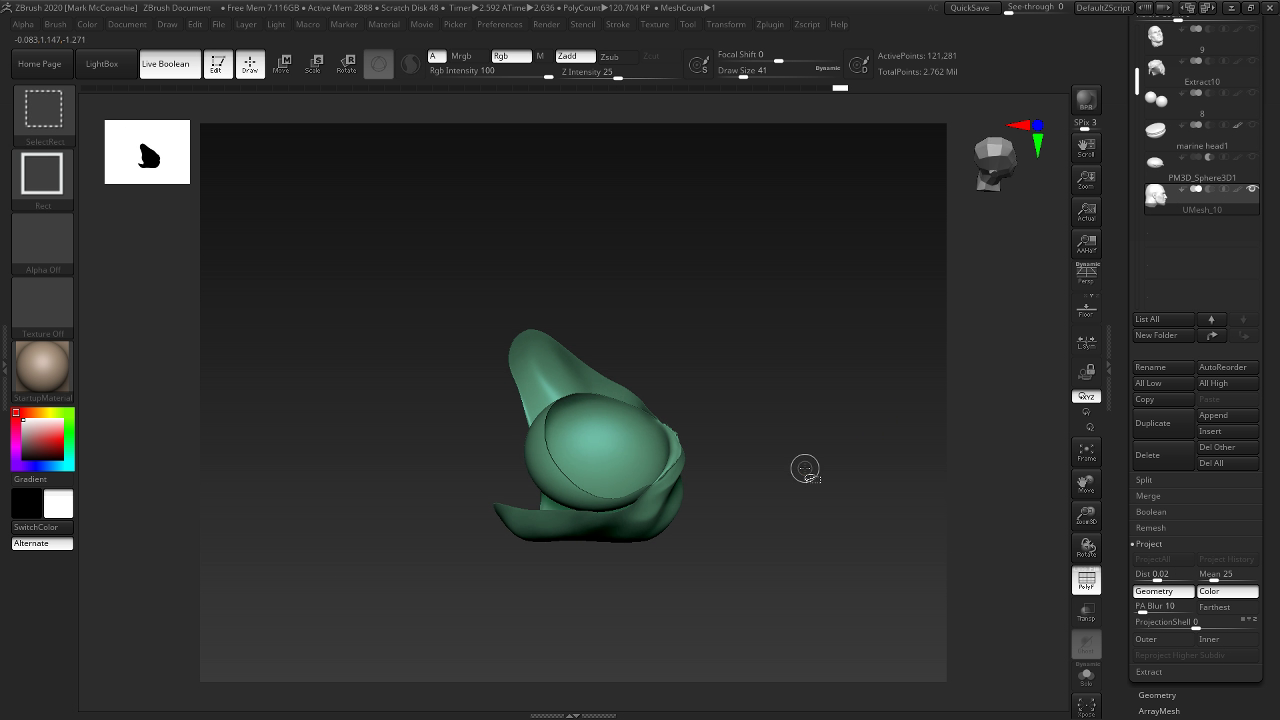
To start cleaning up and finish shaping the lips, first we will dynamesh. If your lips come out stuck together, then increase the ‘Resolution’ slider
Step 25
Enable symmetry and smooth out the each lip. Hiding the opposite polygroup makes accessing the lips easy
Step 26
Smooth out the opposite lip
Step 27

Now we have lips, let’s close them...
Step 28

By hiding one polygroup, we can mask a single lip
Step 29

Do this for each lip until the lips meet as you want them to.
Step 30
Remove the masks and smooth the corners
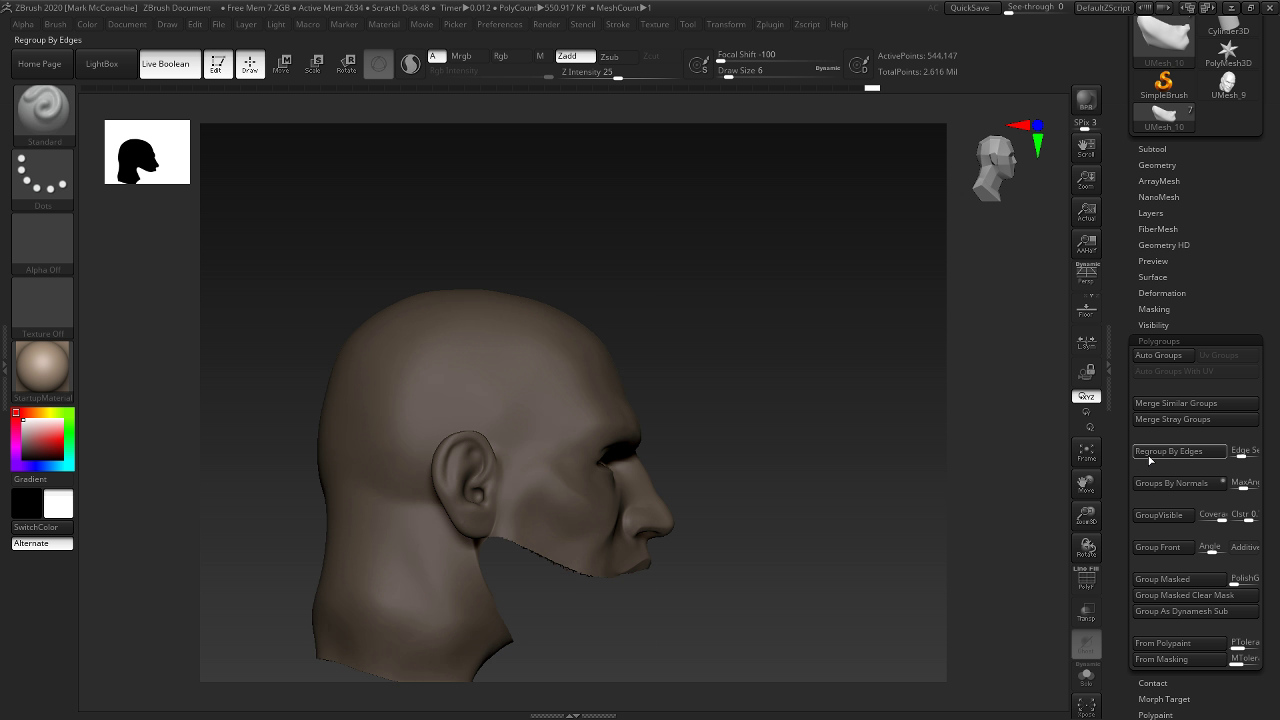
Step 31 - Fixing topology and getting details back
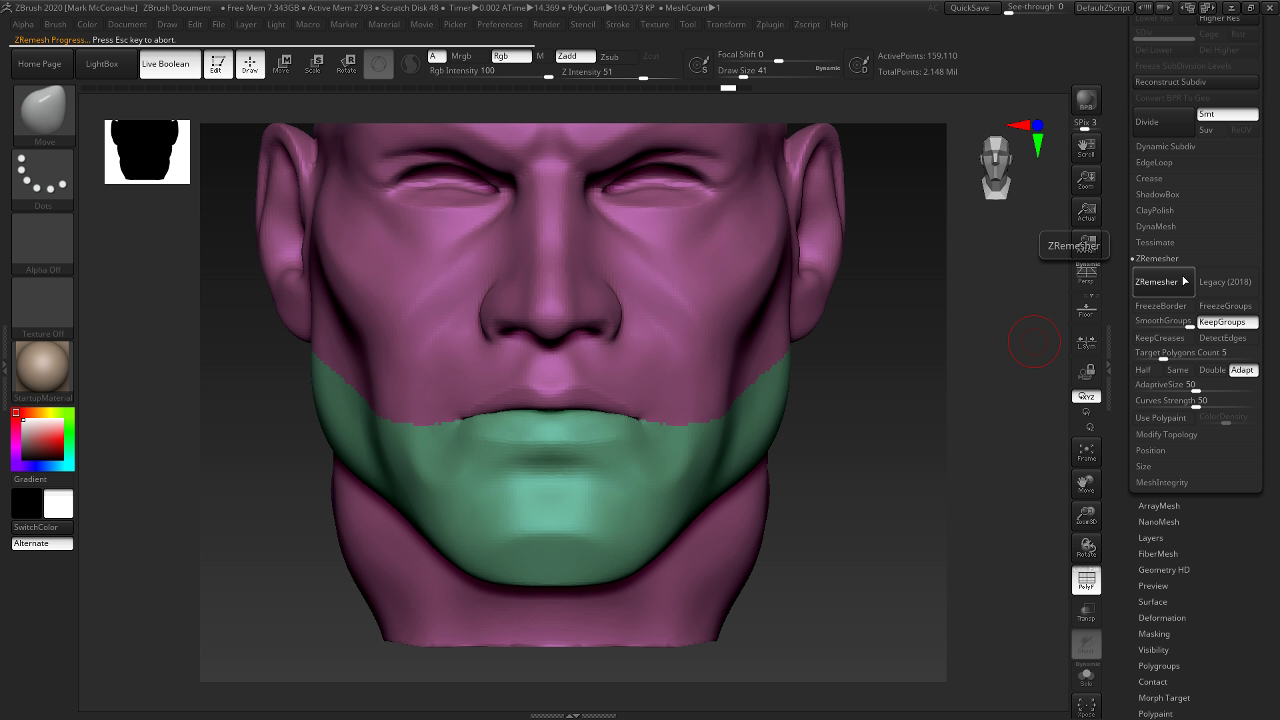
Now is time to get some nicer topology and get our detail back. Use Zremesher to make a nice pretty mesh. Make sure to select ‘KeepGroups’ we still need the separate group for the jaw so that we can open the mouth.
Step 32
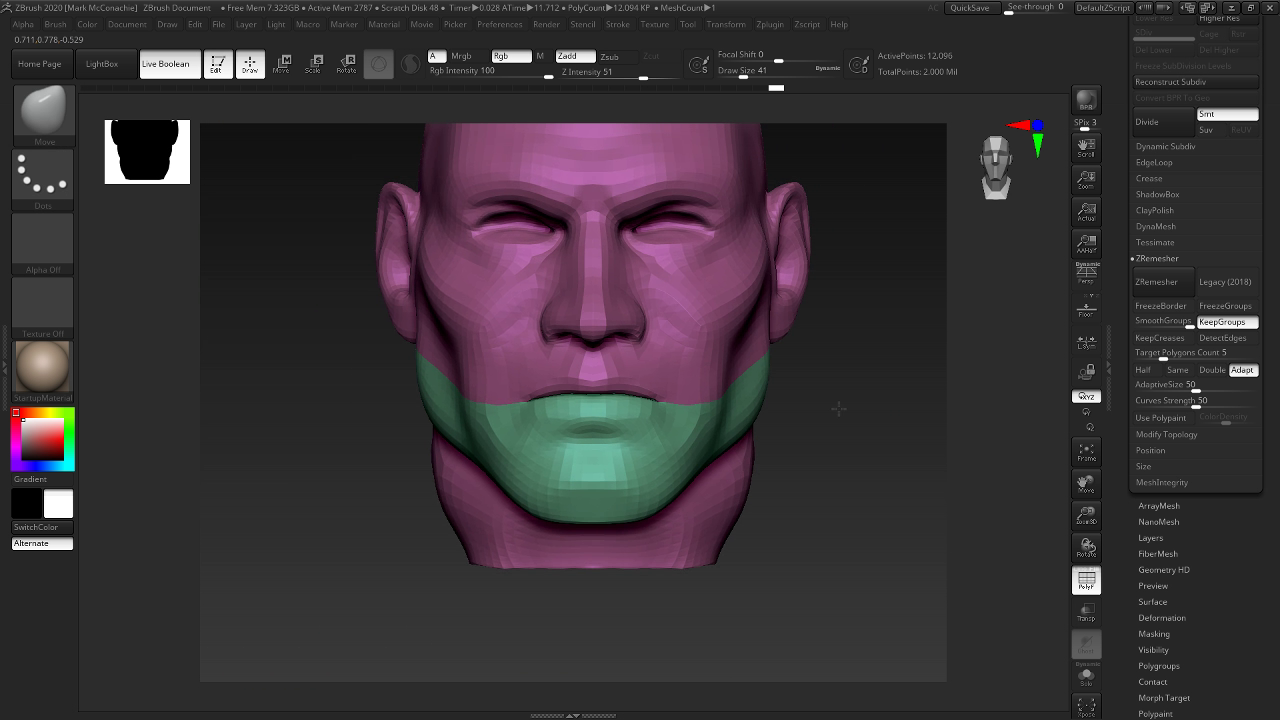
The result is a low poly mesh that matches the curves of our sculpt
Step 33

Now, to get our detail back… Go to the subtool palette and make the original head visible. The only two tools visible should be the original head and our new head.
Step 34
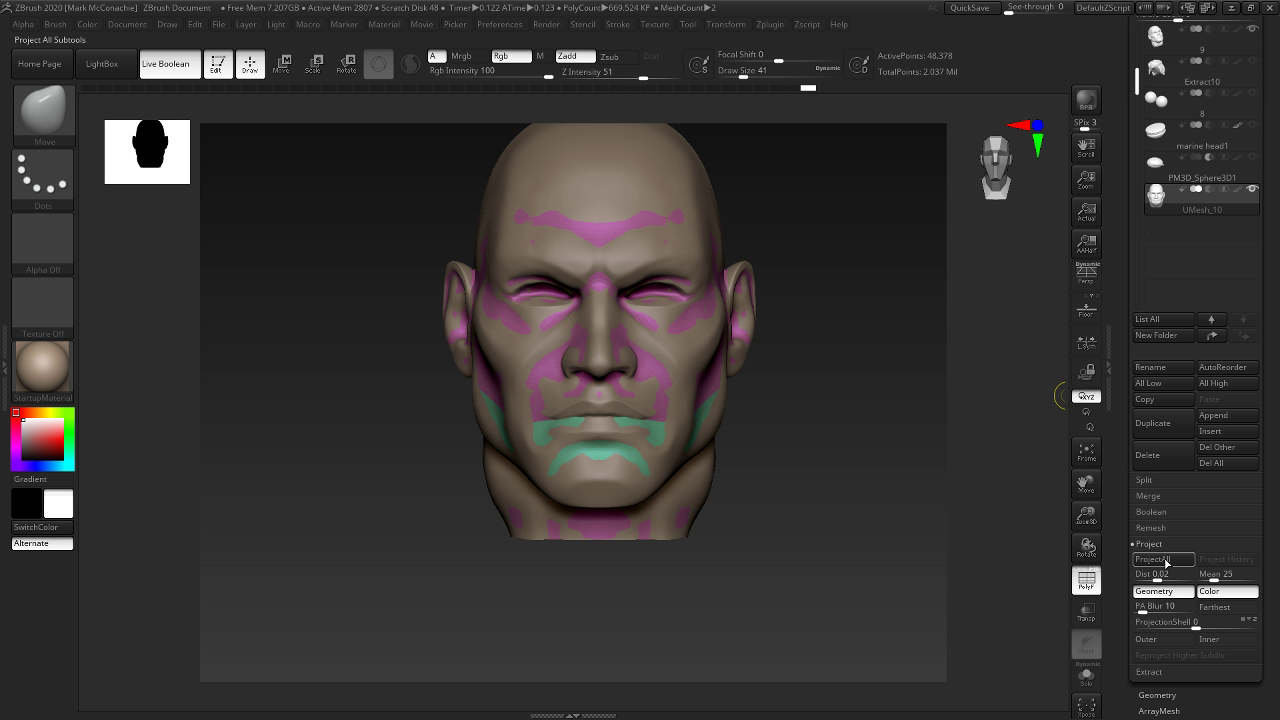
Press Ctr-D to subdivide the mesh, then go to Project -> Project all to project the detail back on to our new mesh. Do this a few times until you have the resolution you require.
Step 35

Now we have a nice, detailed, high poly mesh with lower subdivisions and a neat polygroup for the bottom jaw.
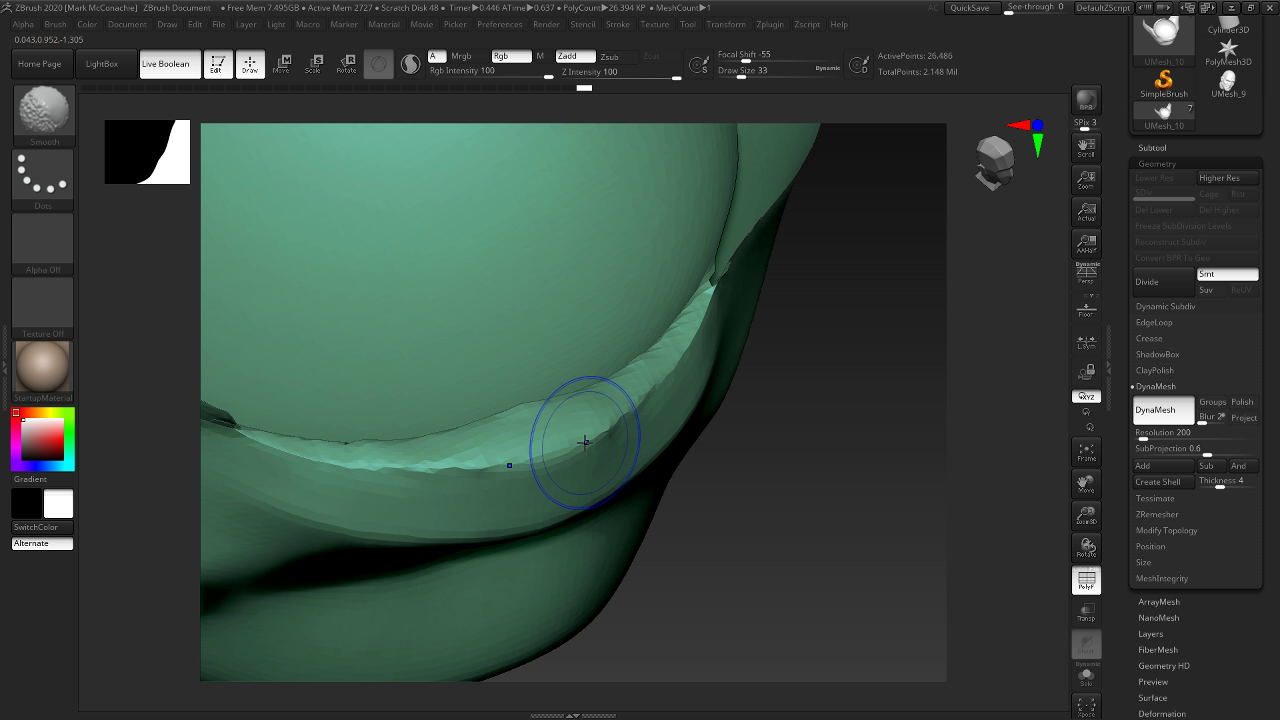
Step 36
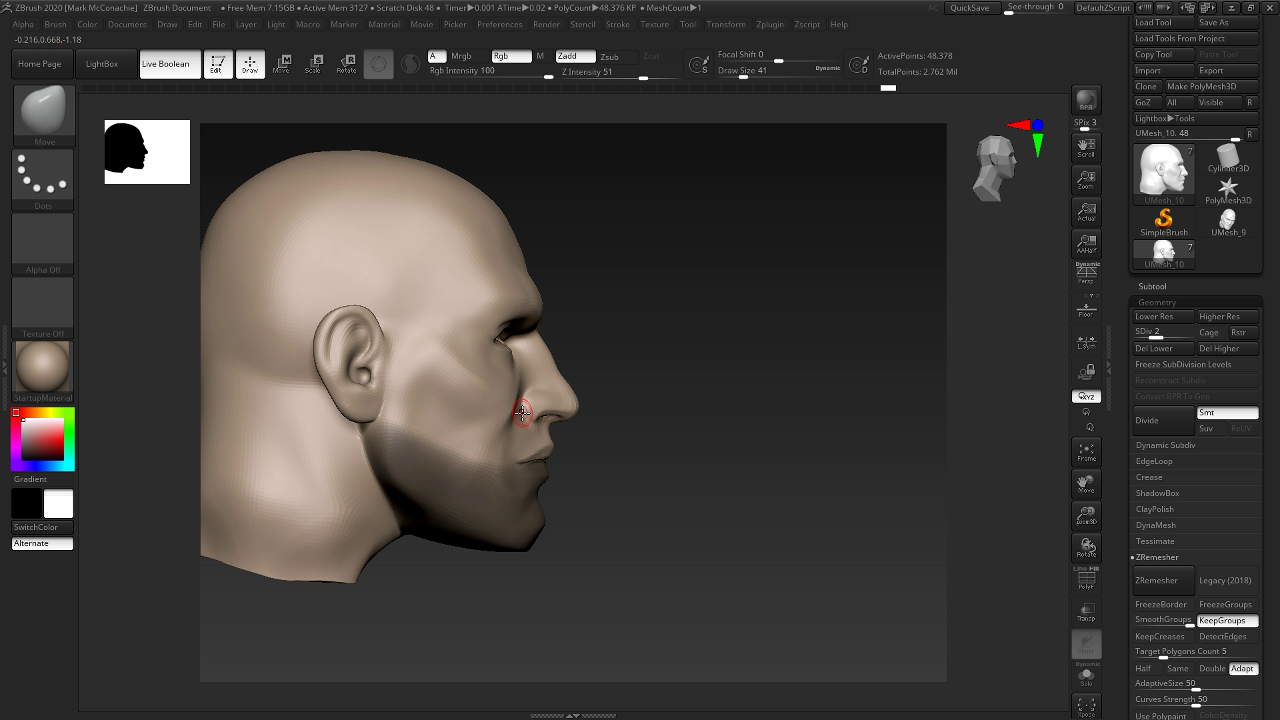
There is a small issue on the lips where there was a difference between the new and old mesh. A single stroke with smooth should clear it up instantly. I forgot to do this and did it at a later step but it’s probably best to do it now. Now is a good time to save a backup of your ztool.
Step 37 - Opening the mouth

In the Layers Pallet, click the new layer button. The new layer is added and automatically in record mode.
Step 38

Move down to a lower resolution subdivision
Step 39
Mask the bottom jaw (with the help of your polygroup) and blur the mask quite a bit.
Step 40
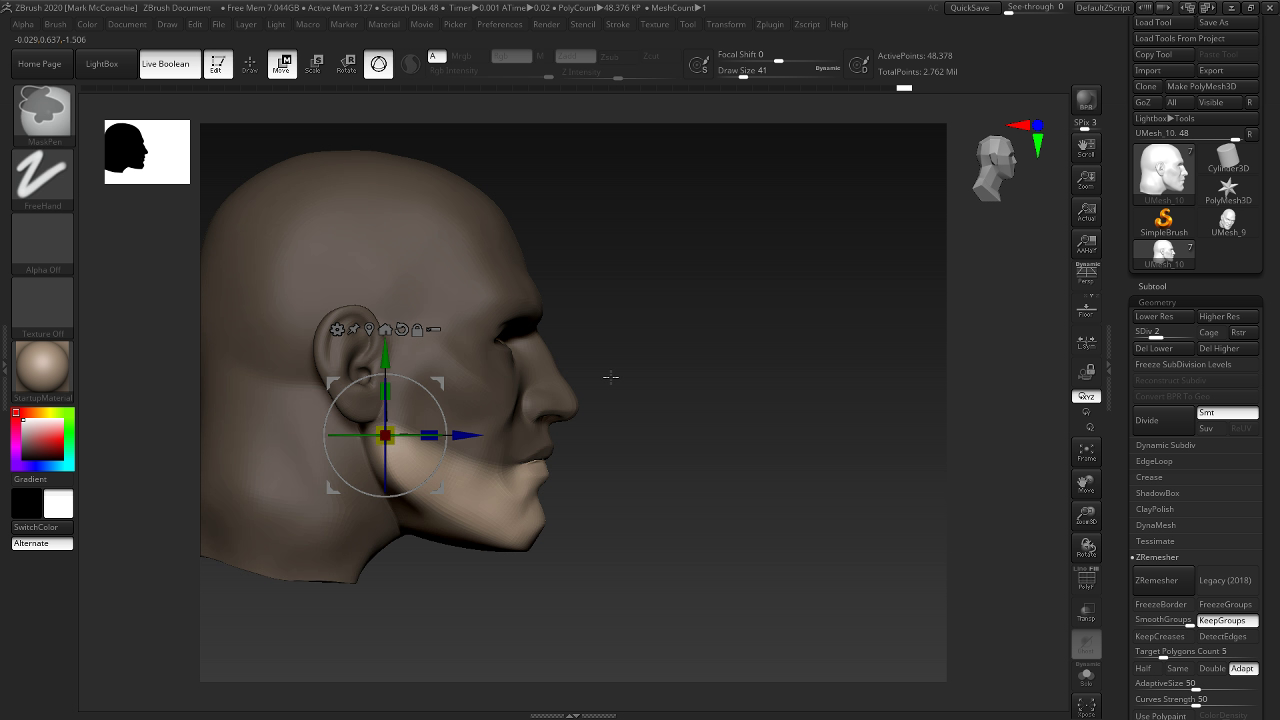
Invert the mask, enter move mode and move the gizmo so that it’s at the pivot point of the jaw.
Step 41
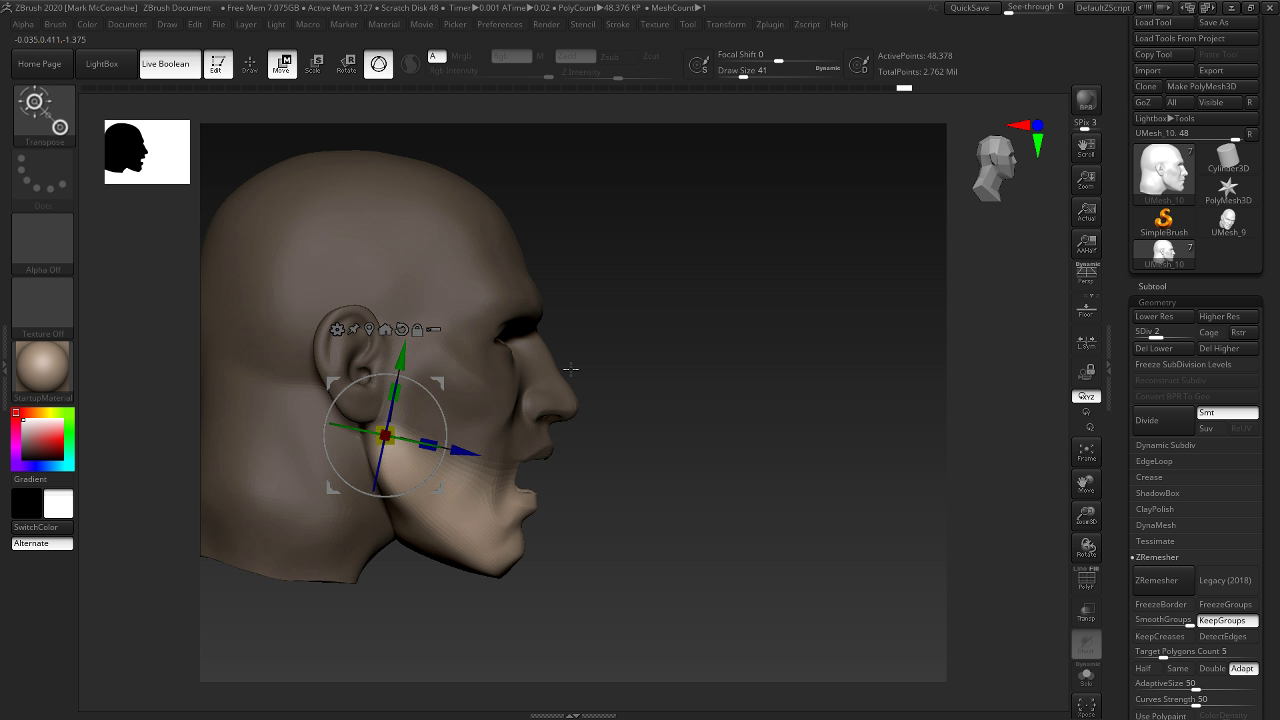
Pivot the Jaw so that it’s open
Step 42
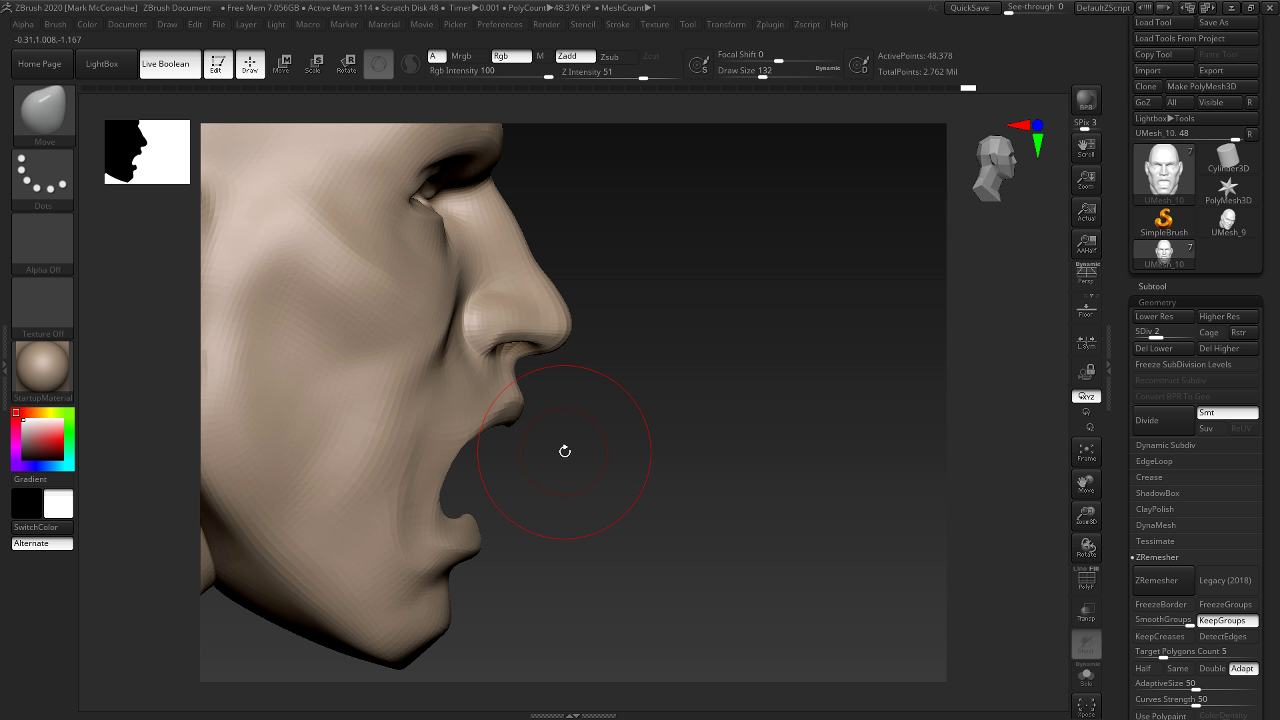
Shape your lips how you want them when open
Step 43
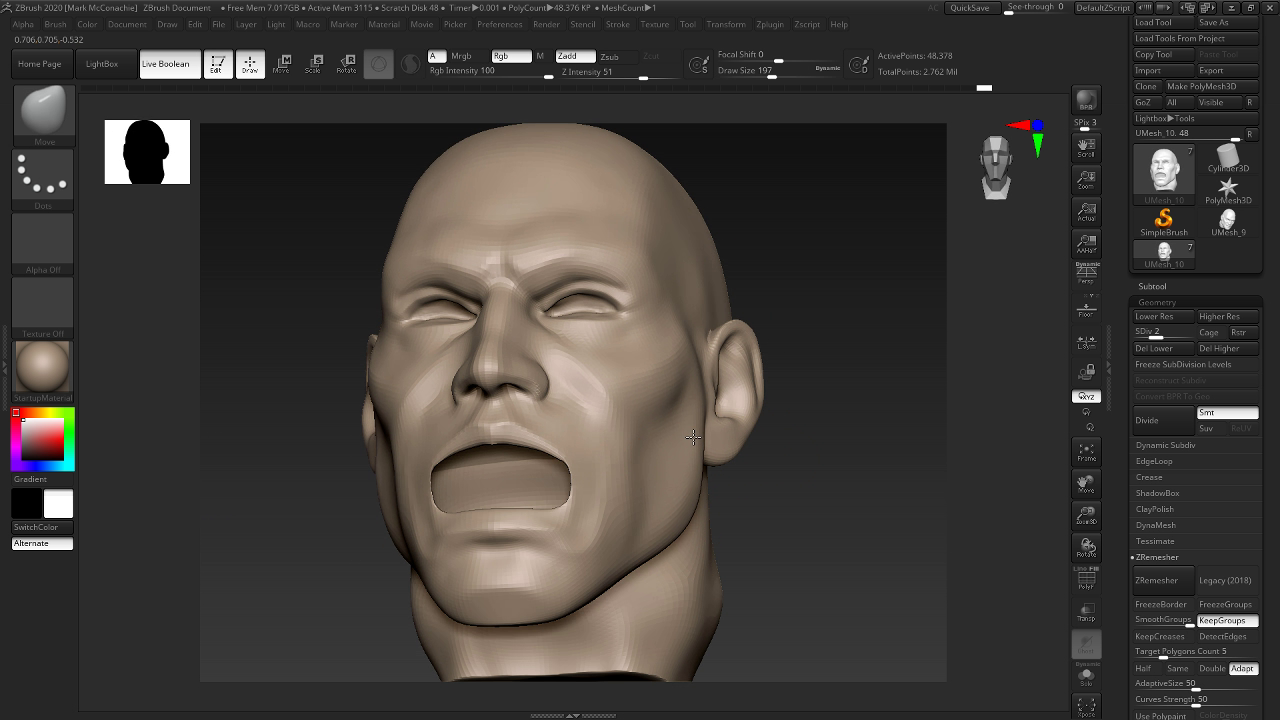
Adjust the masseter shape to deform properly when open
Step 44
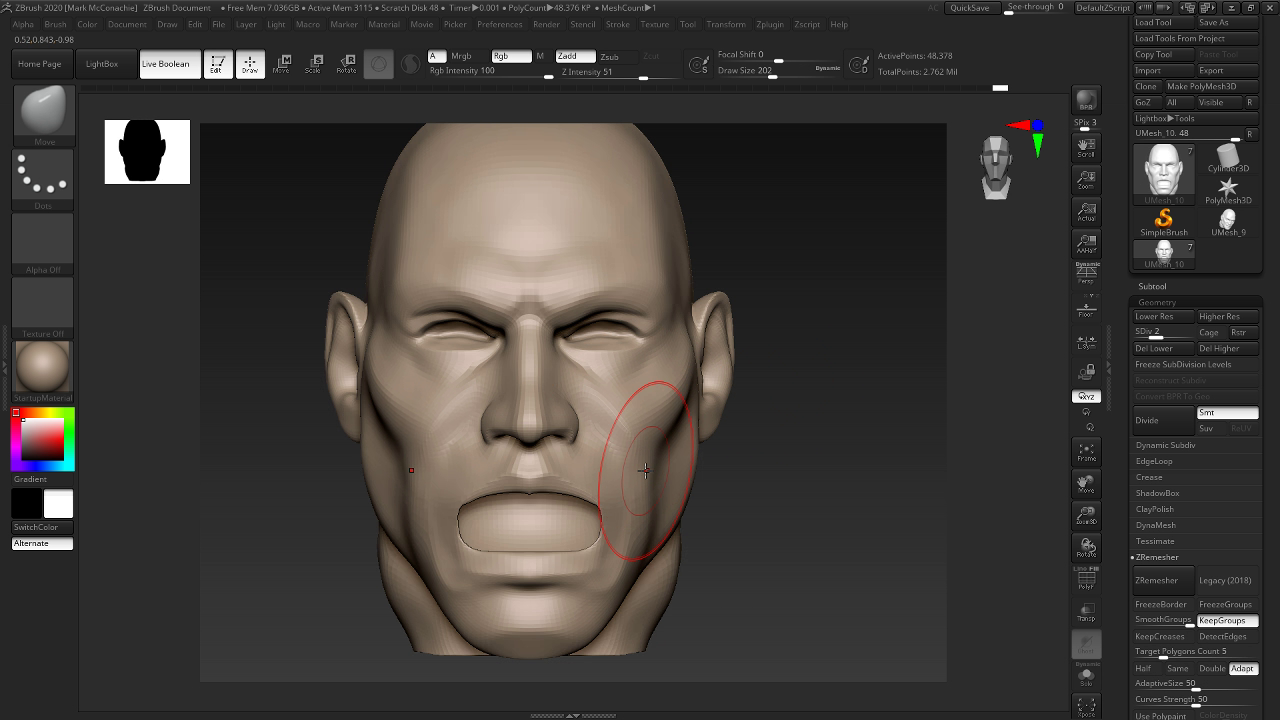
Adjust the shape of the facial muscles to to react to the jaw opening. Feel your own face or look in a mirror if you need help understanding how it reacts.
Step 45

Go back up to the highest subdivision level.
Step 46 - Blending facial expressions

Now if we go back to the layers pallet, we can control how much the jaw is open or closed.
Step 47
Add a new layer for each facial expression and sculpt the face to match that expression
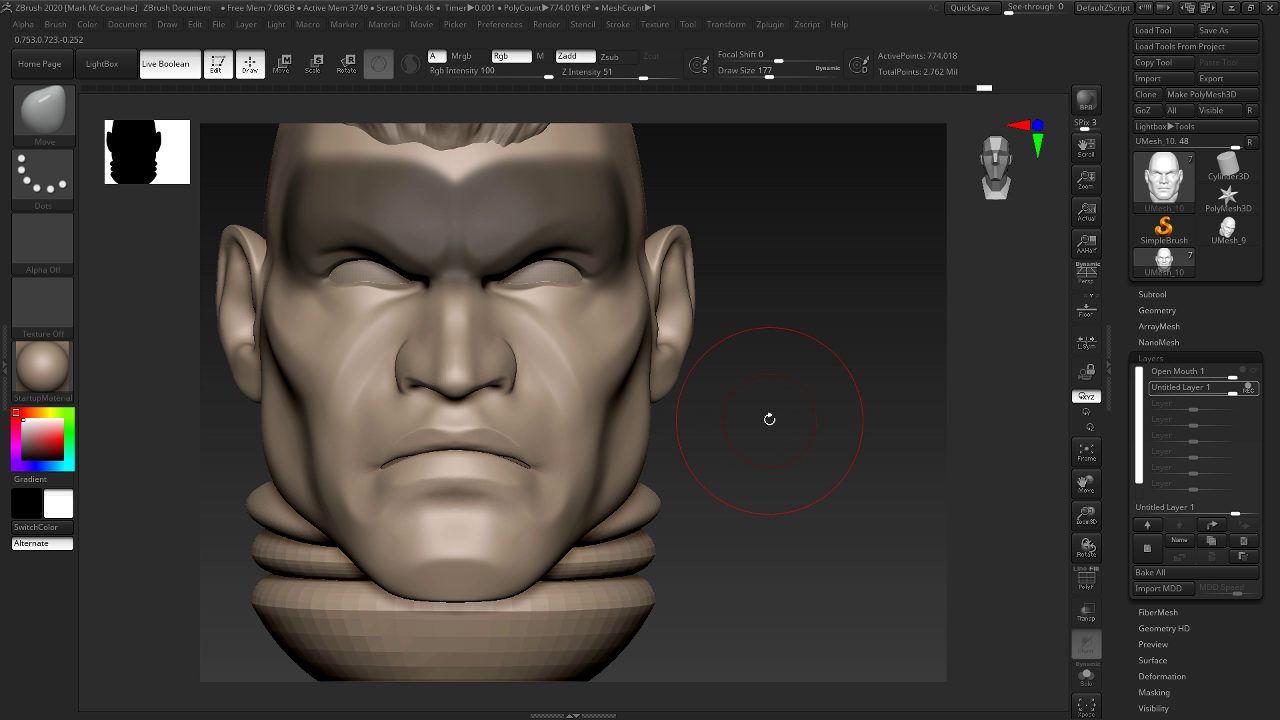
Step 48

You can now mix these different layers or expressions to get whatever combination you want.
Comments