Buy Professional 3D models
Find the exact right 3D content for your needs, including AR/VR, gaming, advertising, entertainment and others
Explore 3D Models Categories
Buy or free-download professional 3D models ready for CG projects, film and video production, animation, visualizations, games, VR/AR, and others. Assets are available for download in many industry-accepted file formats, including MAX, OBJ, FBX, 3DS, STL, C4D, BLEND, MA, MB, and others.

Exterior 3D Models
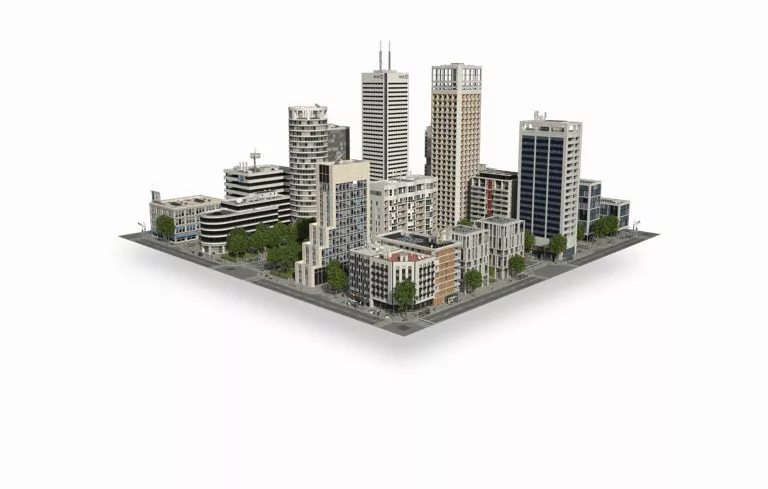
Browse architectural exteriors from facades, urban buildings to landscape objects, residential houses, industrial constructions, and full scale 3D city models. Some of the assets are low poly and could help you complete your game or VR/AR application.

Interior 3D Models
This category contains realistic 3D elements and details of architecture, construction and engineering interior design. You can use these 3D models for animation or games - some of them are rigged and low poly.
Architectural 3D Models
Stair, fireplace, 3D models as well as decorations like frame, pillow, or lamp can be found in the extensive architectural detail model library. Interior and exterior can be used to build both digital kitchens, bedrooms, castle rooms or dungeons whether you are an architect, engineer or indie game developer.

Car 3D Models
Car category contains automobile 3D models, low-poly versions of which will be attractive to game designers, others - to film makers or advertisers. From classic cars to racing and track cars to the concept ones, there’s a great variety of 3D auto models.
Furniture 3D Models
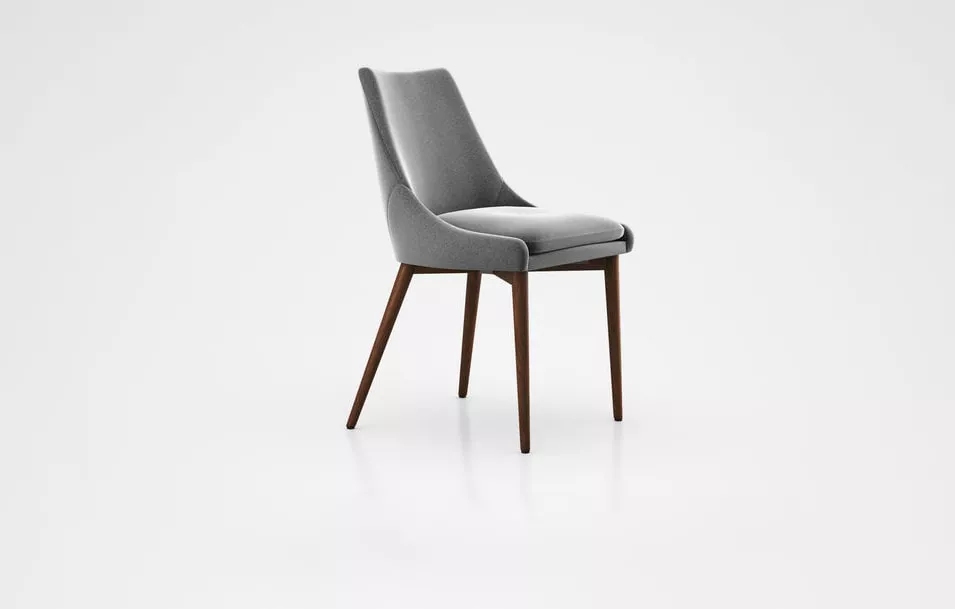
3D tables, chairs, sofas, beds in a variety of textures (wood, metal, etc.) and styles ( retro, modern, etc.) are on-hand. This category is meant for anyone involved with architecture and interior design, as well as advertisers.
Military 3D Models
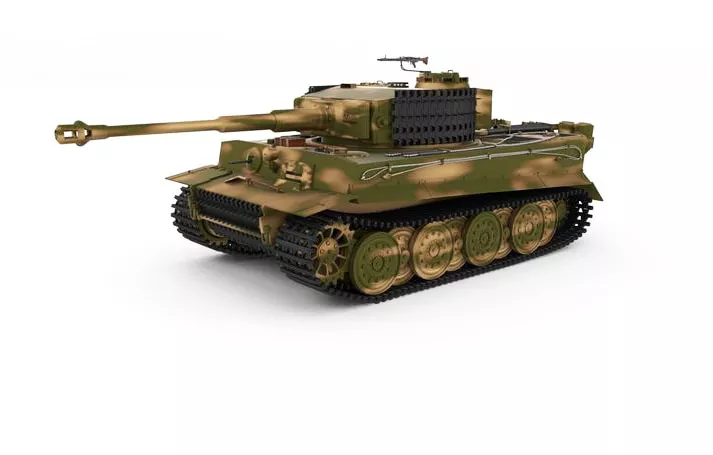
In this category you can buy 3D models of weapons, arms, swords and artillery both modern and historical used by military forces and self defence. You can use models for games - some of them are polygons optimized and ready for game engines.

Animals 3D Models
This category contains 3D models of living fauna organisms, aquatic or land 3D animals who live in zoo, domestic or wildlife. Some of them are real and some are just imagined fantasy. To buy or download a free 3D model, browse the categories below. You can use models for animation or games - some of them are rigged and low poly.

Plant 3D Models
This category contains 3D models of flora organisms such as flowers, trees, grass, creepers, greenery, herbs, perennials, seedlings, shoots, shrubs, slips, sprouts, vines, weed. To buy or download a free 3D model, browse the categories below.

Food 3D Models
Food helps to create realistic scenes of domestic life. 3D fruits, vegetables, beverages and meals are all here. Advertisements for restaurants, AR applications for healthier eating. Whether you were looking for 3D pizza or a wedding cake model, they’re here.
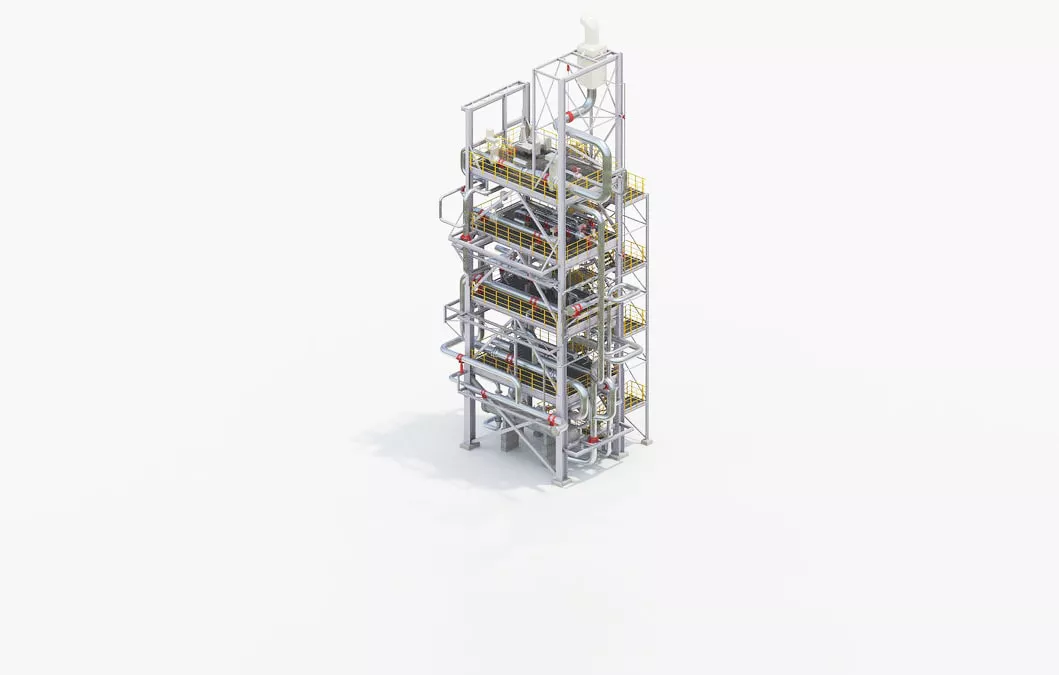
Industrial 3D Models
Construction materials, engineering tools, machinery and containers that provide both environmental details and interactive, rigged elements. This is perfect for simulation game developers or people building construction yard level.
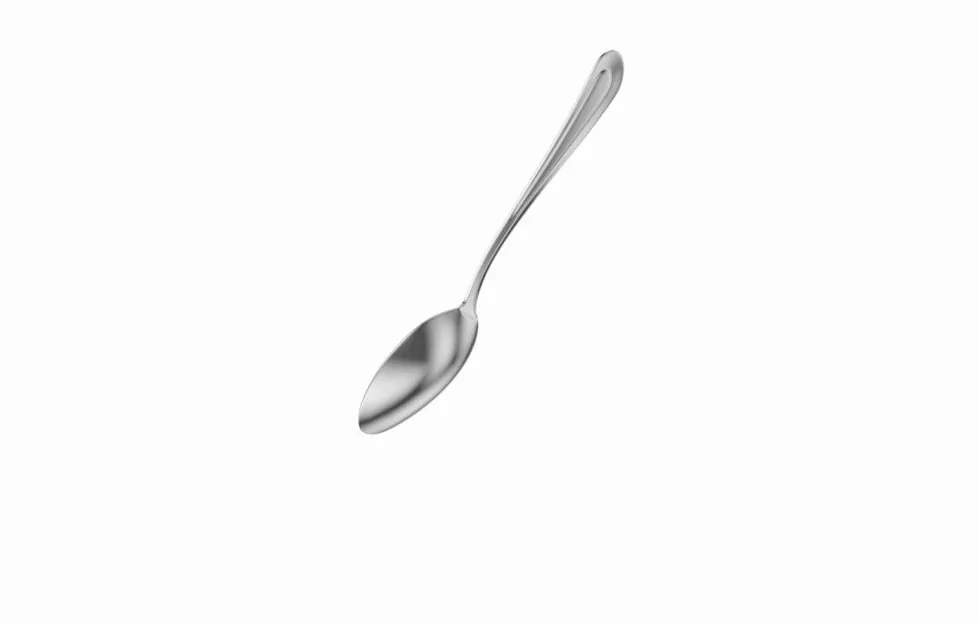
Household 3D Models
Household item 3D models are used to give details to rooms. You can put a 3D dinner set on the table, or have pepper and salt containers to complete kitchen interior, maybe put some lights and flowers near the bed to create luxurious feel.

Aircraft 3D Models
This category covers 3D aircraft. CG airplanes will fit into simulations, visualizations, advertisements and videos. Drone bodies and parts will delight fans of tiny flying vehicles. And the rigged models are ready to be imported into game engines.

Space 3D Models
Space is a category full of low poly, game-ready models of sci-fi spaceships, asteroids, planets (including Earth and realistic space shuttles for the more scientifically inclined. 3D space models are useful for VR space simulator games.

Vehicle 3D Models
Trucks, ambulances, buses, trains, tractors, bikes and motorcycles - this category is for the people who want their city streets to be filled with realistic and sci-fi vehicles, and for those making simulation games or formating posters.

Watercraft 3D Models
Watercraft covers boats, yachts, ships and other water vehicles. The rigged 3D models will do well in video games, animation while CG models are there for your scenes or other applications where visual fidelity is more important than polycount.
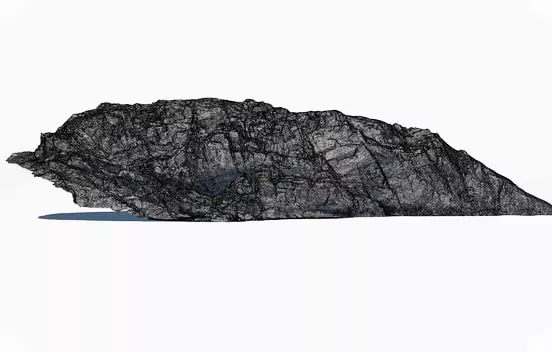
CG Textures 3D Models
Browse through a library of beautifully-made 3D materials and find the best suited, ready-to-use textures to prepare game-ready or photorealistic models, upgrade your asset library, and improve your 3D works.
3D Models Marketplace
Low-poly 3D Models
Low-poly 3D models ready for video games, VR & AR real-time applications.
Zbrush
Find ZTL file format 3D assets for your digital sculpting, 3D modeling, texturing and painting projects.
Cinema 4D
Uncover thousands of high quality Cinema 4D Models available in c4d file format.
Sketchup
Browse the vast selection of Sketchup 3D Models for your architectural, interior and video game designs.
What's more?
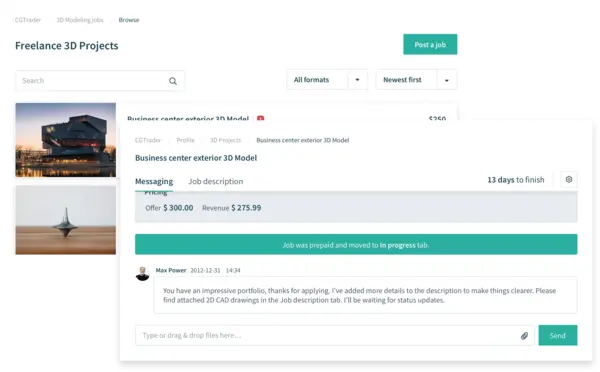
CGTrader 3D Projects
Hire quality freelance 3D artists and solve all your custom modeling challenges.
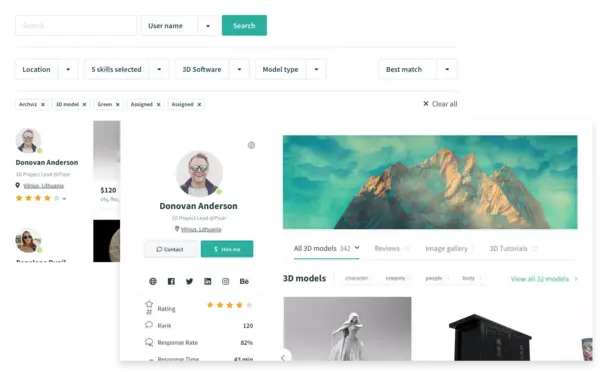
Find Best 3D Designers
Browse thousands of 3D designer portfolios and find exactly what you need for your application.
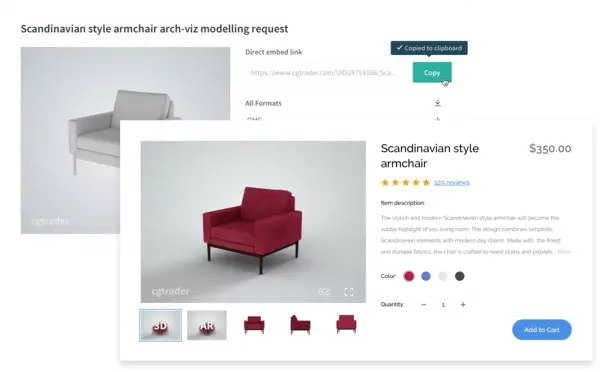
3D Visualization for e-Commerce
Turn your products into photorealistic 3D models for e-Commerce and other business applications.
