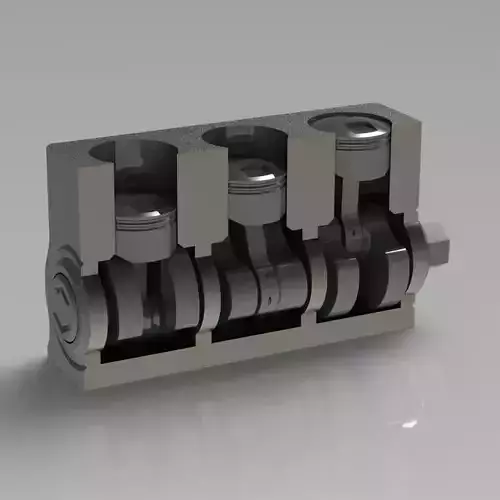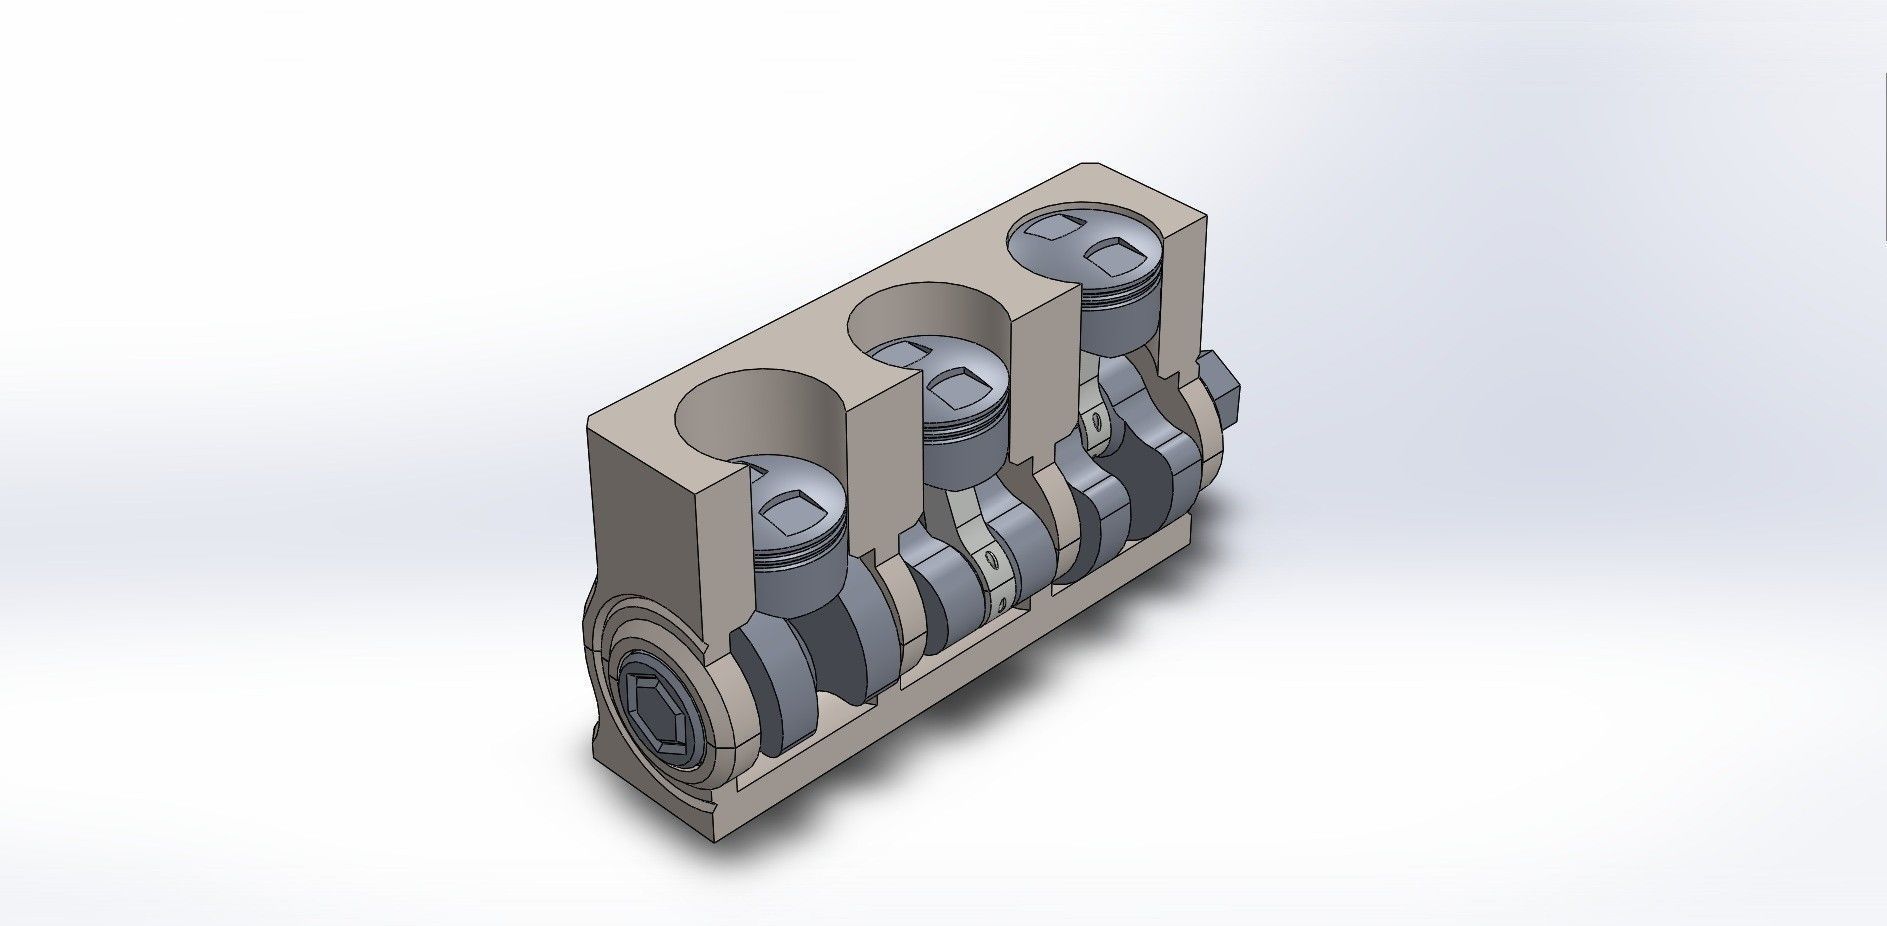
Three-Cylinder Engine 3D print model
Hello people! Here is the Three-Cylinder Engine!
• Fully functional• Easy to assemble• 6 individual parts (total of 12)• Perfect tolerances between parts• Can be used for educational purposes
ASSEMBLY
Parts are quite simple, you can understand where to put for each part at the first sight.
You will need some metal paper clips and ordinary wooden skewers cut into specific lengths for combining Connecting Rod (conrod) - Rod Clamp (rodclamp) together and Piston (piston) - Connecting Rod (conrod) together.
Note: These skewers and clips are not essentials. You can just carefully super glue Connecting Rod - Rod Clamp together. For Piston - Connecting Rod, you can model and print a pin with 2.5 mm diameter and use it instead.
After you assemble crank, pistons, conrods, rodclamps all together, fit piston heads through upperblock then let crank take its place.
Place the lowerblock into its position then fix it with super glue after you give crank a test-spin.
All of the moving parts should rotate freely without any restrictions. If you have a problem with rotating free then you need to check;
• the Y-Plate to be perpendicular to the X-axis• the extrusion multilier (under/over extrusion)• any possible surface problem on models caused by your printer
PRINTING
Layer Height;for piston, conrod, rodclamp: 0,1 mmfor lowerblock, upperblock crank: 0,2 mm
Infill: minimum of 30% for each part
No support materials needed for lowerblock, upperblock, conrod, rodclamp for the correct orientation.
Feel free to contact me through cgtrader, instagram or email for further problems.
Instagram: 3dcaveE-mail: 3dcave.info@gmail.com


