1/8
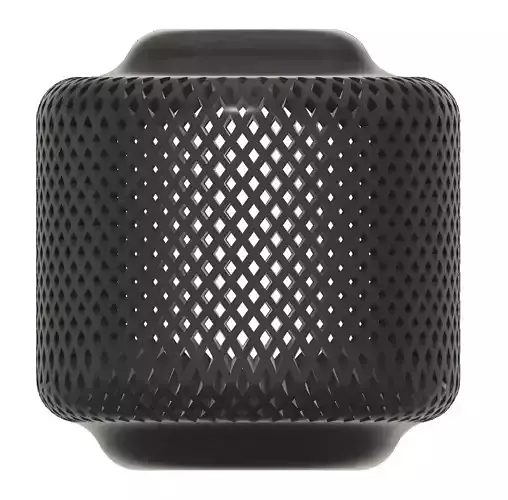
The model features a cool and easy to print lamp shade to hang anywhere around the house. I found it gave a really nice lighting with a warm vintage style lightbulb.
Before printing, make sure the socket you would like to use is OK with the hole diameter at the top (40 mm). I used a farely standard one that I found on Amazon, just get one with the standard screw on that secures it in place (see red rectangle in picture of the cord and light)
This model was design specifically for an FDM printer such as the Ultimaker or Prusa but can be printed with any other technology if the build area is large enough. I did my best to avoid unnecessary support material. The only supports needed are on the buildplate. Make sure to place the top of the lamp shade (where the light socket will go) on the build plate.
I used an Ultimaker S5 (see print settings bellow) and it took about 3 days to print and about 400g of PLA and 100g of support material
Print settings:
- Material : Black PLA
- Support material : Breakaway
- Layer height: 0.15 mm
- Top Layer : 4
- Bottom layer: 4
- Infill : 5 %
- Supports : Only touching buildplate
As for post processing, I tried a version where I sanded the outter surface, cleaned up any imperfections and then spraypainted the outer part (see pictures). Honestly I thought it wasn't worth the extra effort to do so, the part already came out pretty clean right out of the printer. And all the imperfecions due to the support material are not visible since they are at the top where no one can see. Though this might be due to my lack of experience in visual finishing of prints. Let me know if you get better results!
REVIEWS & COMMENTS
accuracy, and usability.


