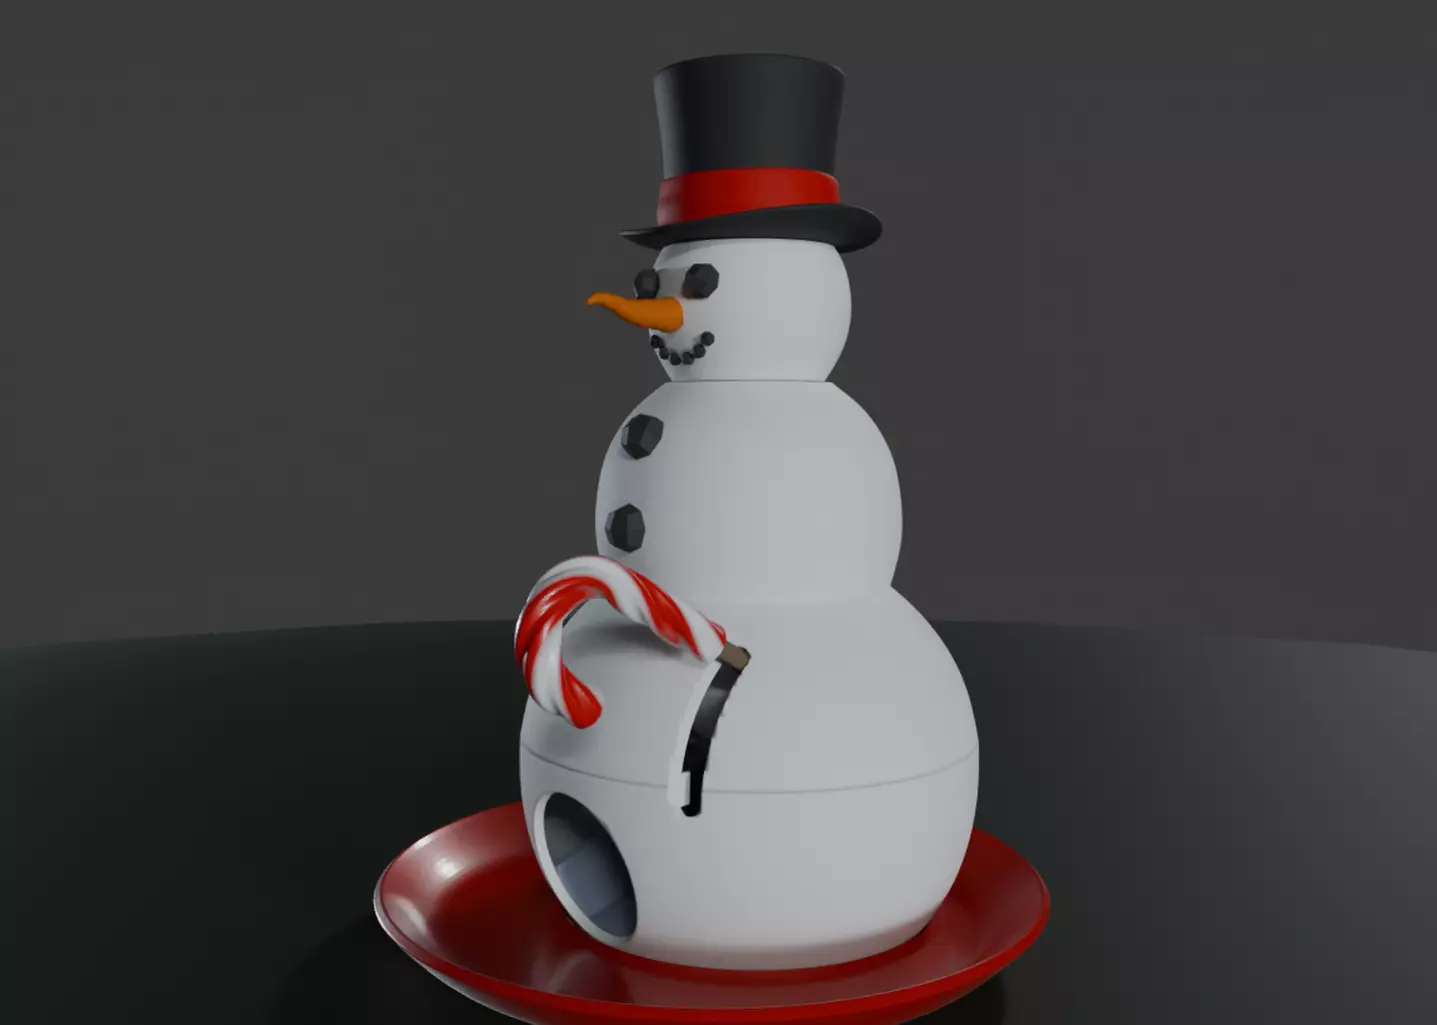
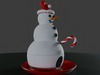
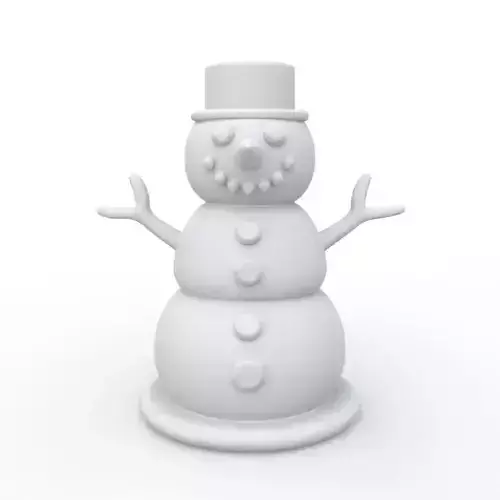
The Snowman Candy Dispenser is a simple design, with its tray position sustained by a single rubber band. Easy to assemble, the dispenser has been broken up into several parts for the main body, head, snackChamber, bottom Top, and bottom base. Other parts include the core elements for the dispensing of candy and a few options to customize the head and face of the snowman. Standing approximately 250mm tall and 140mm at the base, if printed at 100%, the dispenser is an easy print. Most parts can be printed flat or on their flattest end, without supports. A few come with custom supports or are easily printed using standard slicer support options. .The dispenser can be scaled down without negatively impacting assembly and performance, as long as all part are scaled equally. Avoid scaling down further than 60%, as smaller part will become to weak for proper functionality.
Print suggested for a full snowman :1 head with or without face1 carrot nose2 coal eyes1 snack chamber (chest)1 body btm top1 body btm base1 candyLever or shovelHead1 lever shaft1 snack door2 door hinge1 catch tray
One small rubber band (several to test different lengths) is needed to keep the candy door in a closed position beneath the candy chamber. It should to large enough to stretch at least 32mm with some tension, but not overly tight. It needs to stretch a bit further to allow the door to open. Adjust length as needed, by tying knots to shorten...
Assembly Instruction :Overall assembly should be simple. The majority of the parts slot together. The head, candy chamber, and body top lock into place with a slight twist, making it easy to switch parts or open the chamber to add more candy.The body bottom base houses the slide, lever, and access door to release the candy. Its assembly takes a bit more care. Glue is not necessary, but it may be used on certain parts. .
- Insert the door hinges into the rectangular slots on to the left and right of the slide, with the flat side facing inward and the round end up. Glue in place if you like, but it shouldn't be needed. Make sure that things work before gluing anything..
- Insert the ends of the candy door into the circular ends of the door hinges, with the door aimed toward the circular opening in the base, resting on the top of the slide..
- Once the door is in place, loop one end of a small rubber band between the two prongs on the arm extend from the door, on the snowman's right side of the candy door pivot. Be careful not to uproot the hinges..
- Lower the body top into place with the little hook inside positioned to the same side as the rubber band. Loop the rubber band over the hook in the body top..
- Insert the bottom of the candy chamber into the body top, pressing down on the candy door. Insert the lever shaft into the lever slot extended from the candy door pivot on the left. The end of the shaft should protrude from the front of the body top..Test the candy door. It should press firmly into the bottom of the candy chamber, while allowing it to tile down to the slide when pressed down..
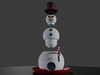
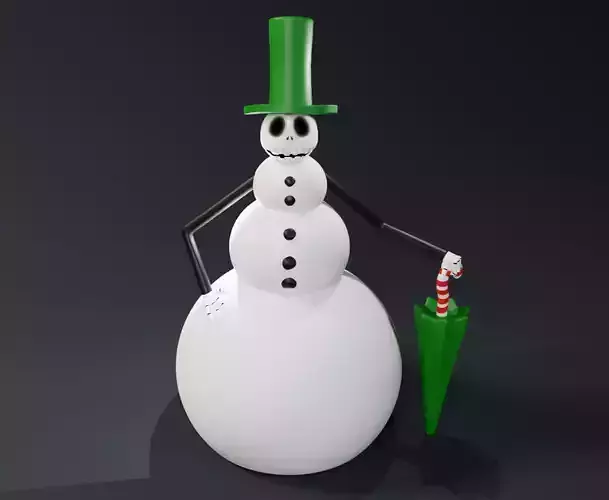
- Finally, insert the head into the top of the chamber, twisting slightly to lock into place. If printed separately, eyes and nose can simply be inserted into the sockets. Finish things off by putting on the Top-hat or Santa cap, gluing them in place, if you wish. Rest the dispenser in the center of the catch tray, with the broadest end positioned beneath the opening in the front of the body bottom...Feel free to paint parts, as needed. I'd suggest printing them in the main colors you'd prefer, if available.(White body / red Santa hat / black coal eyes and top hat/ any for interior parts and lever)