


3D Printed Glass Top End Table or Night Stand 3D print model
Digital Files to 3D Print Glass Top End Table/Night Stand.
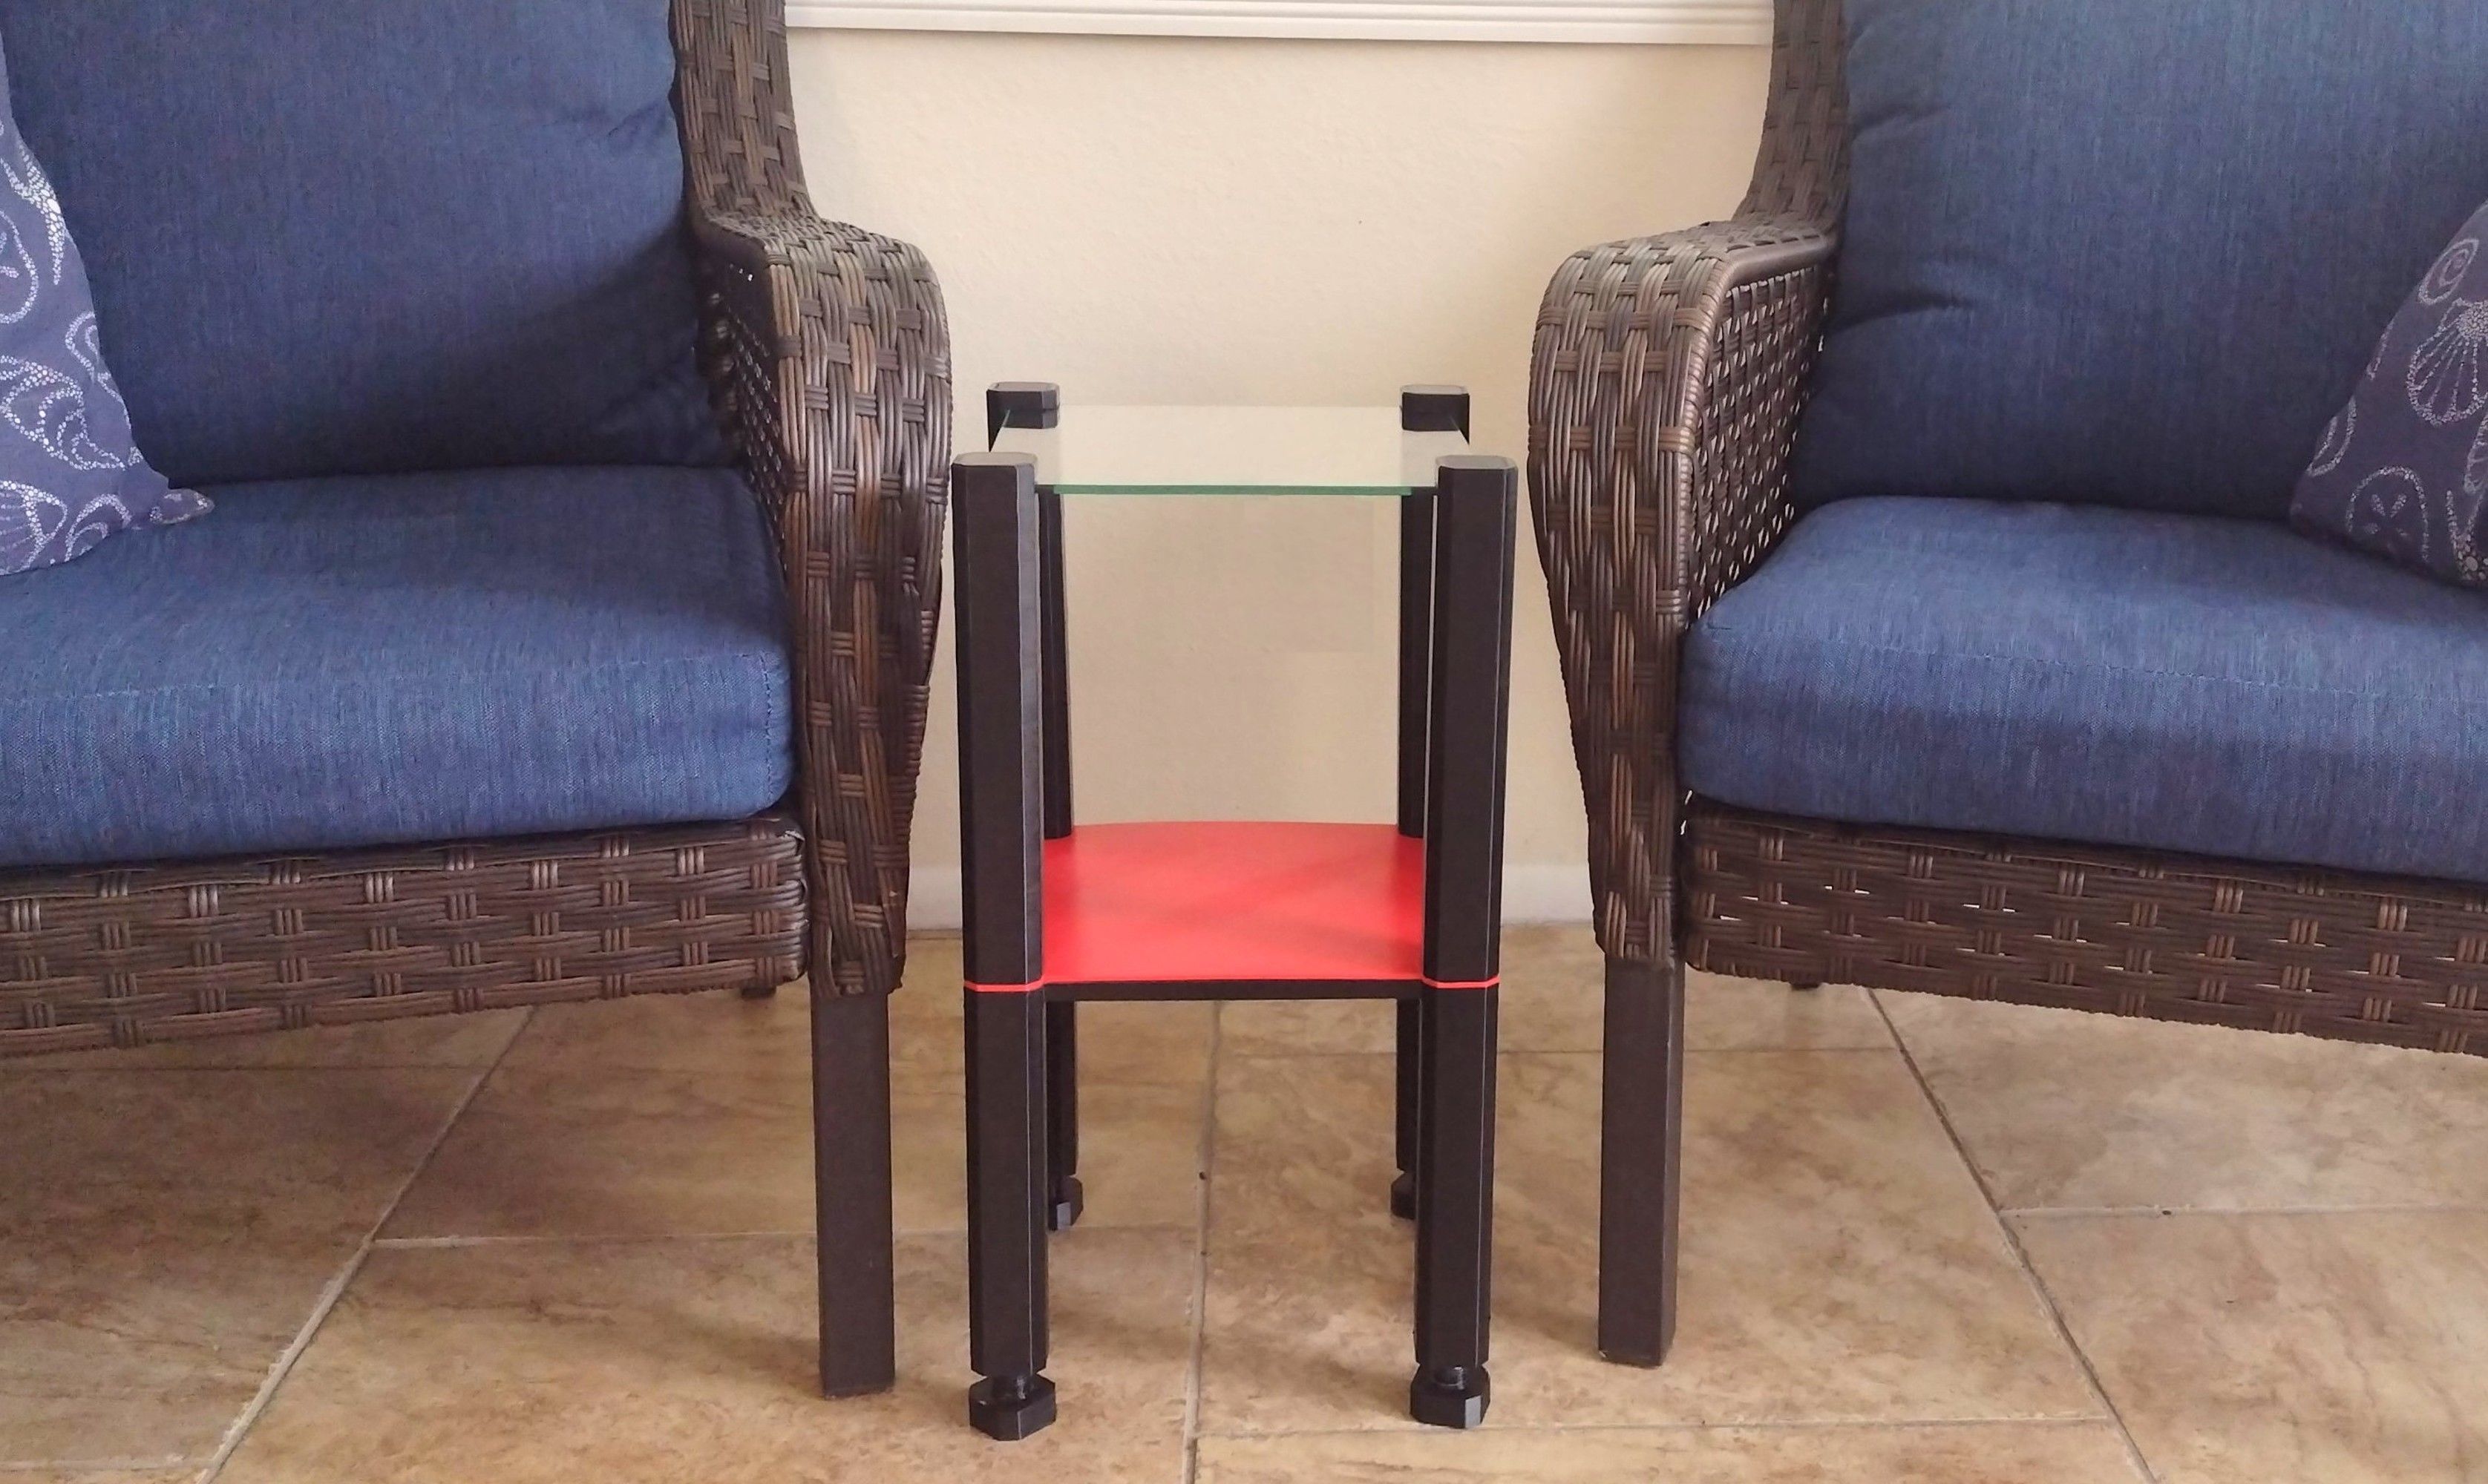
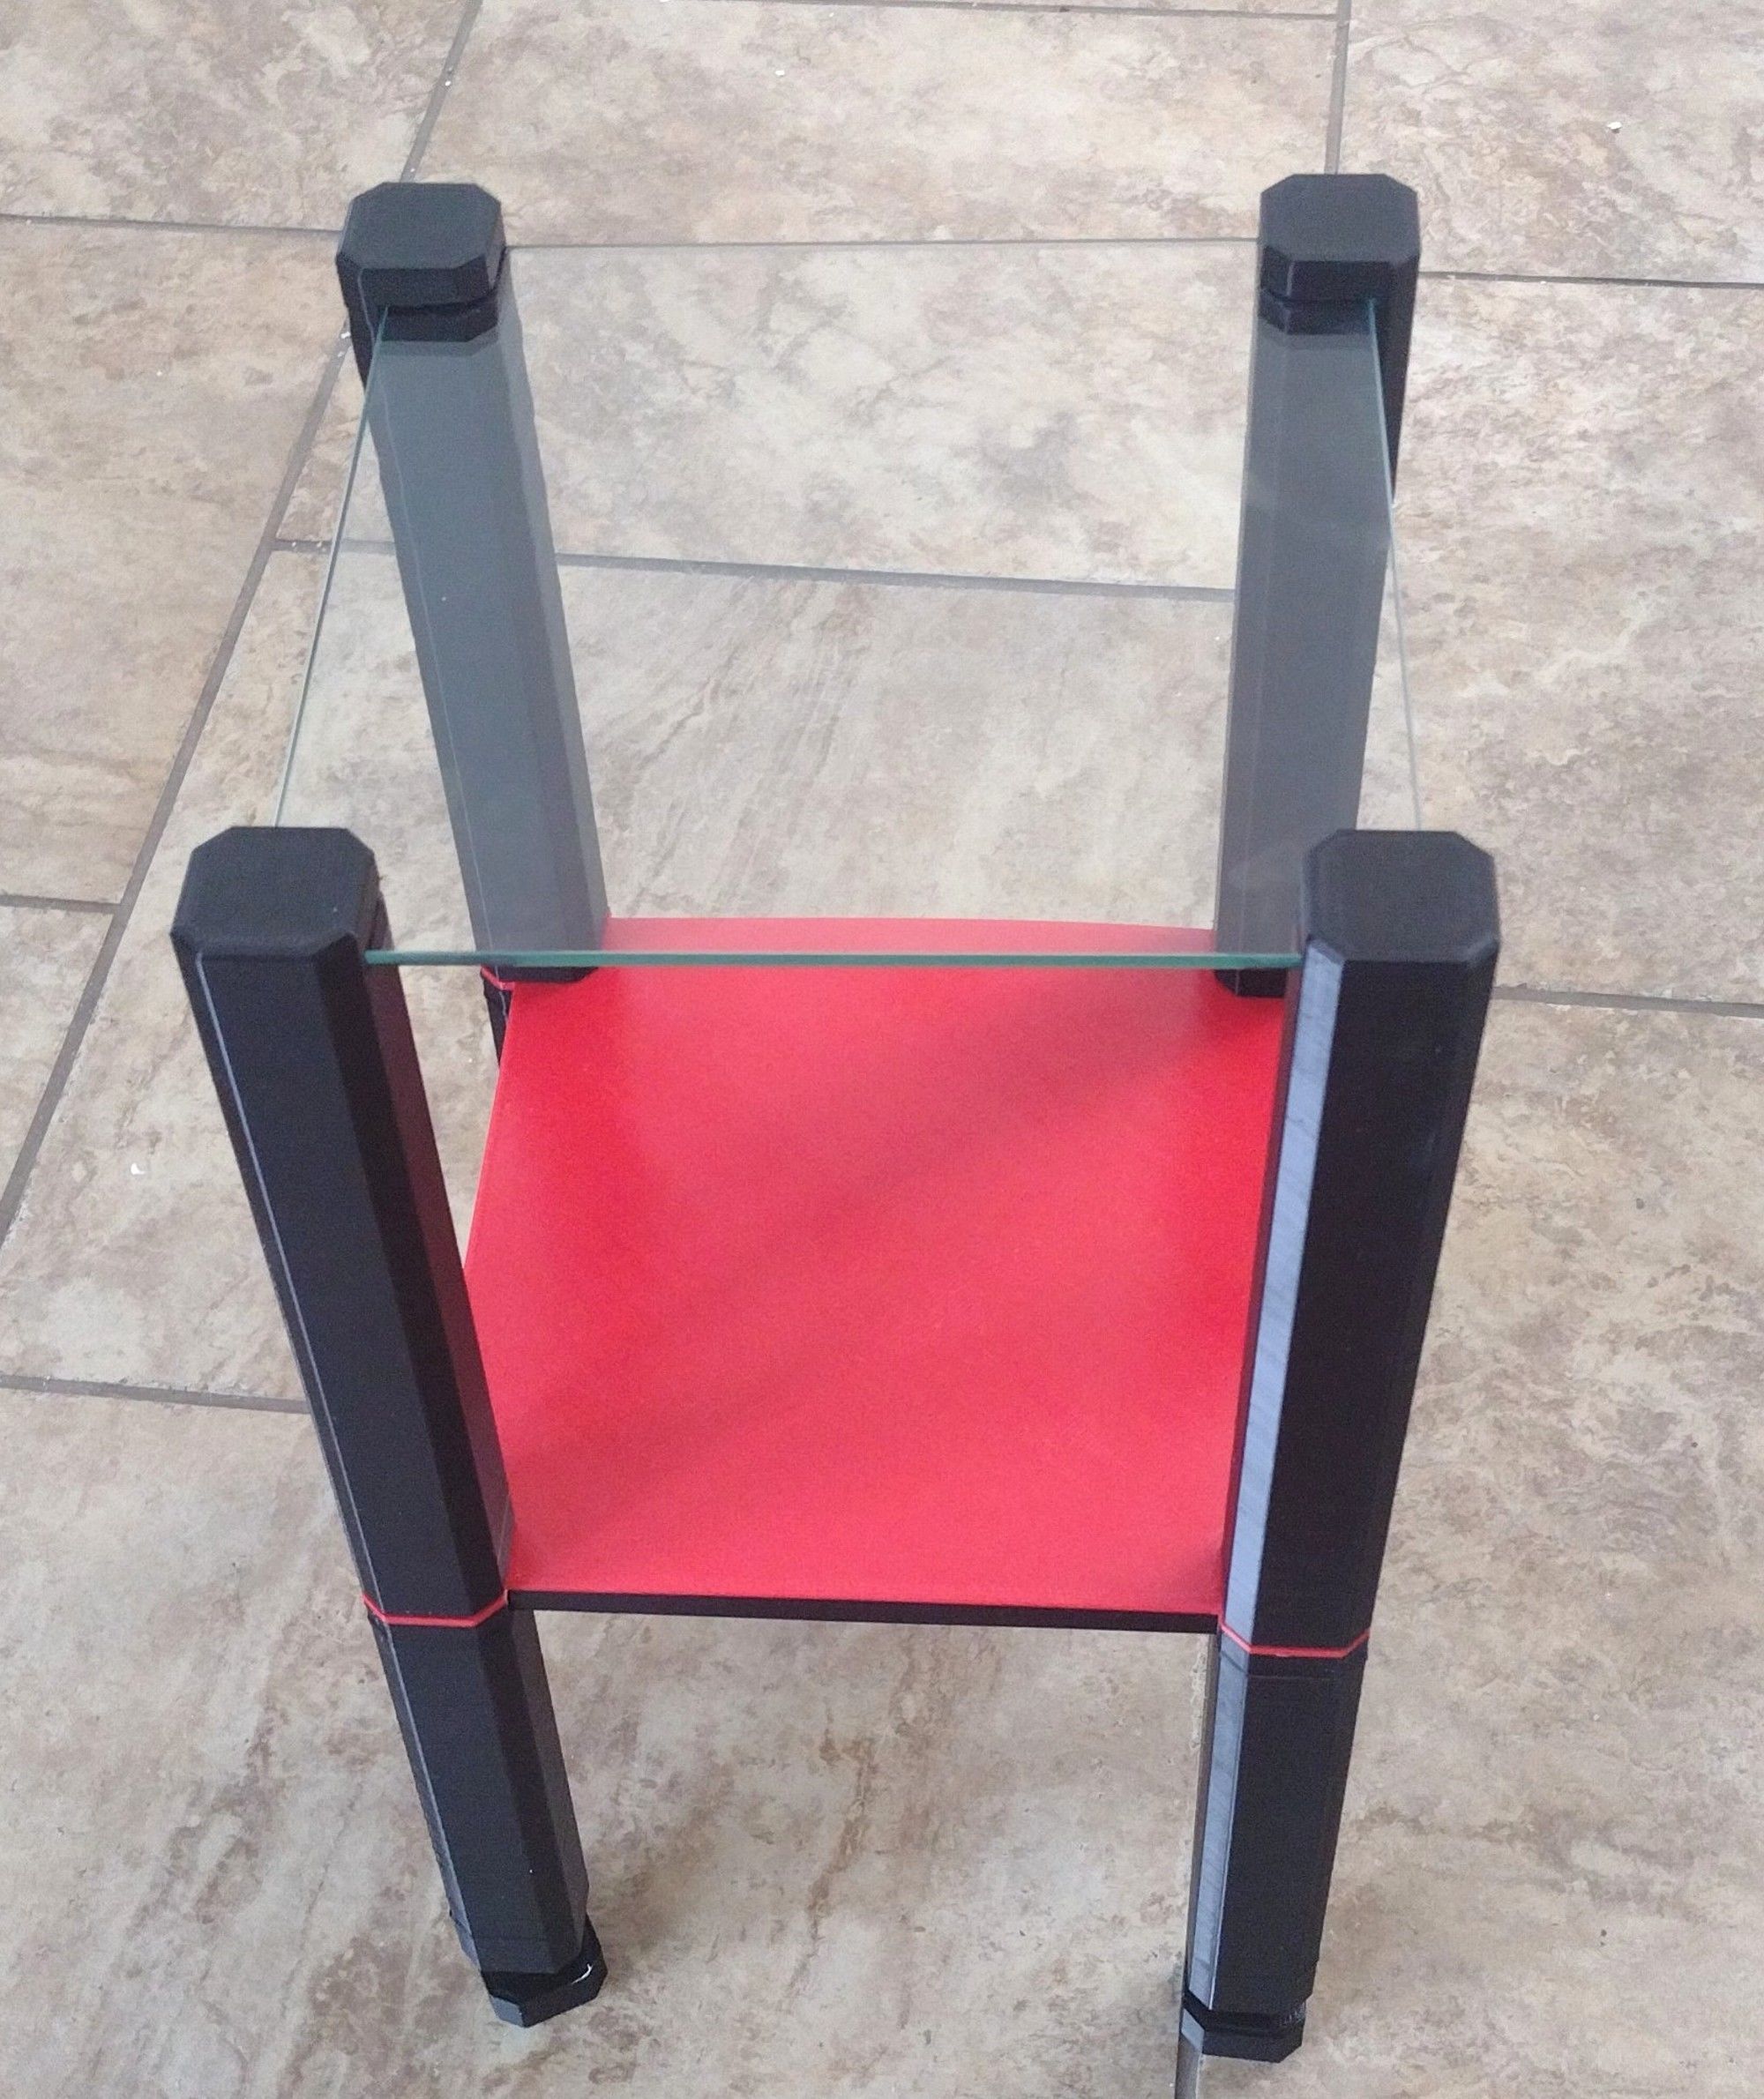
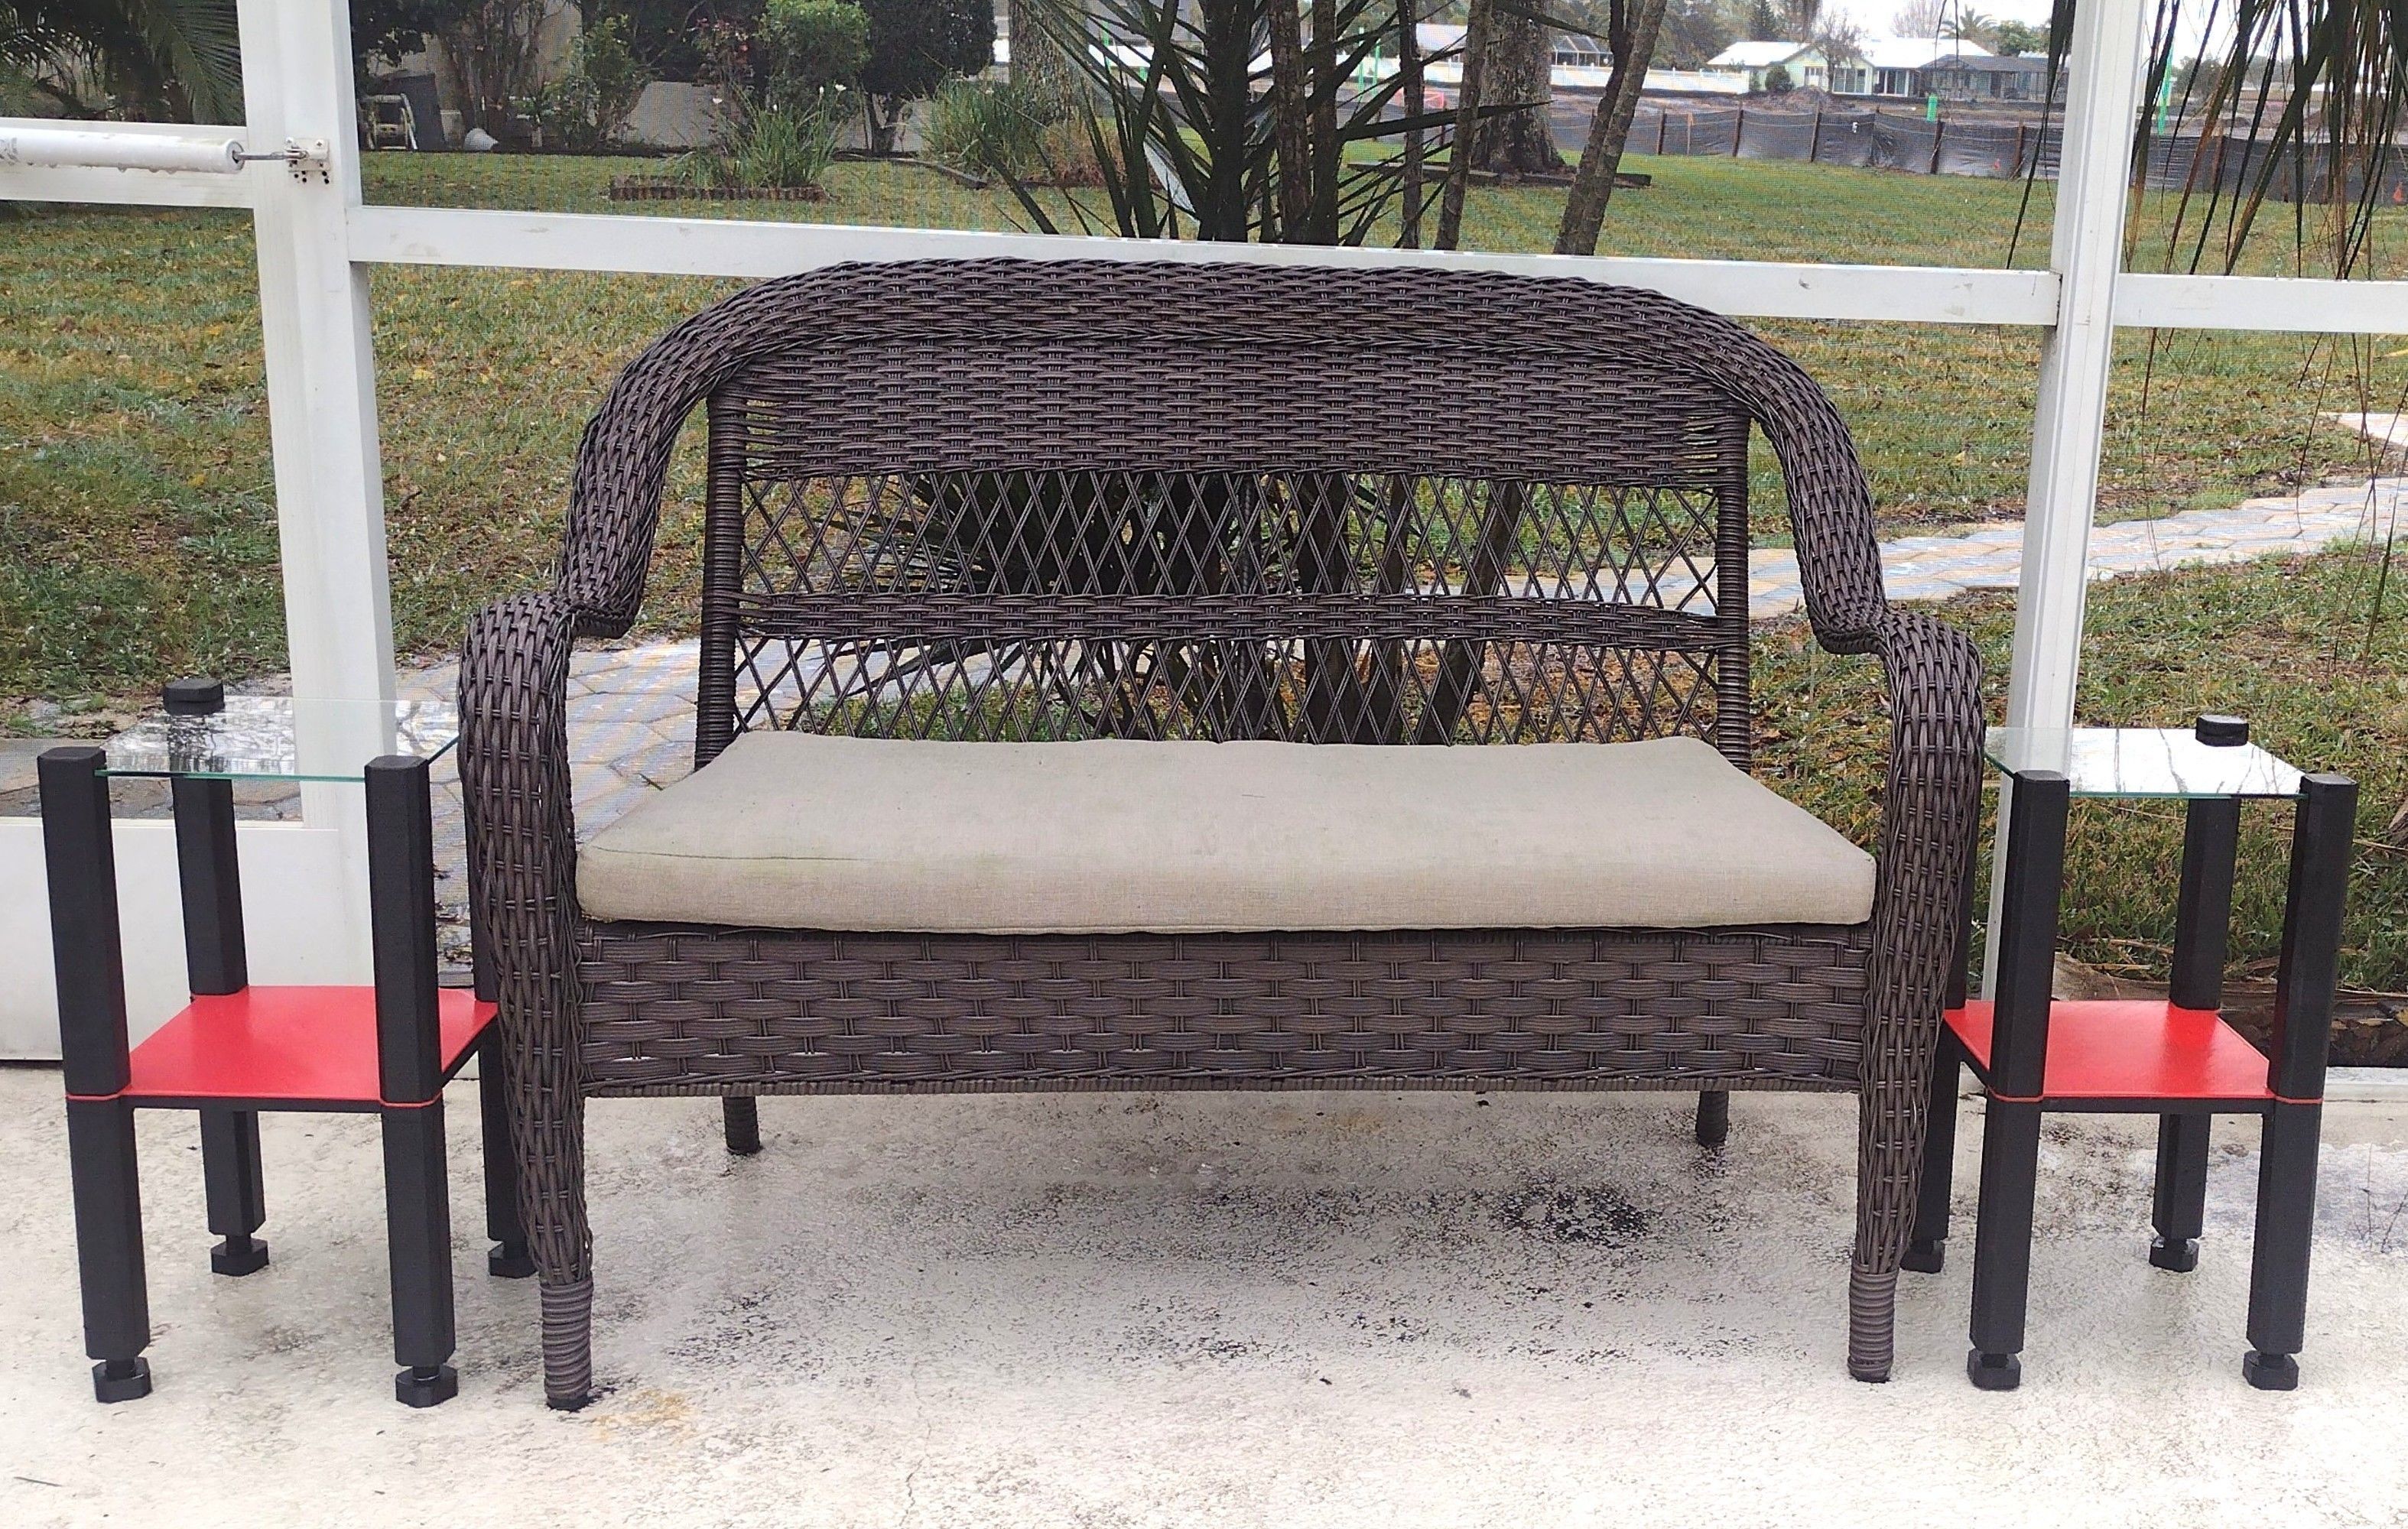
The Glass top is 10x10x3/16" thick hardened glass typically used for glass retail shelving. We usually purchase our glass from StoreSupply.com. Their direct page listing for this is www.storesupply.com/pc-12926-1123-12-x-12-x-316-tempered-glass-panels-67111.aspx. There are other sources as well.
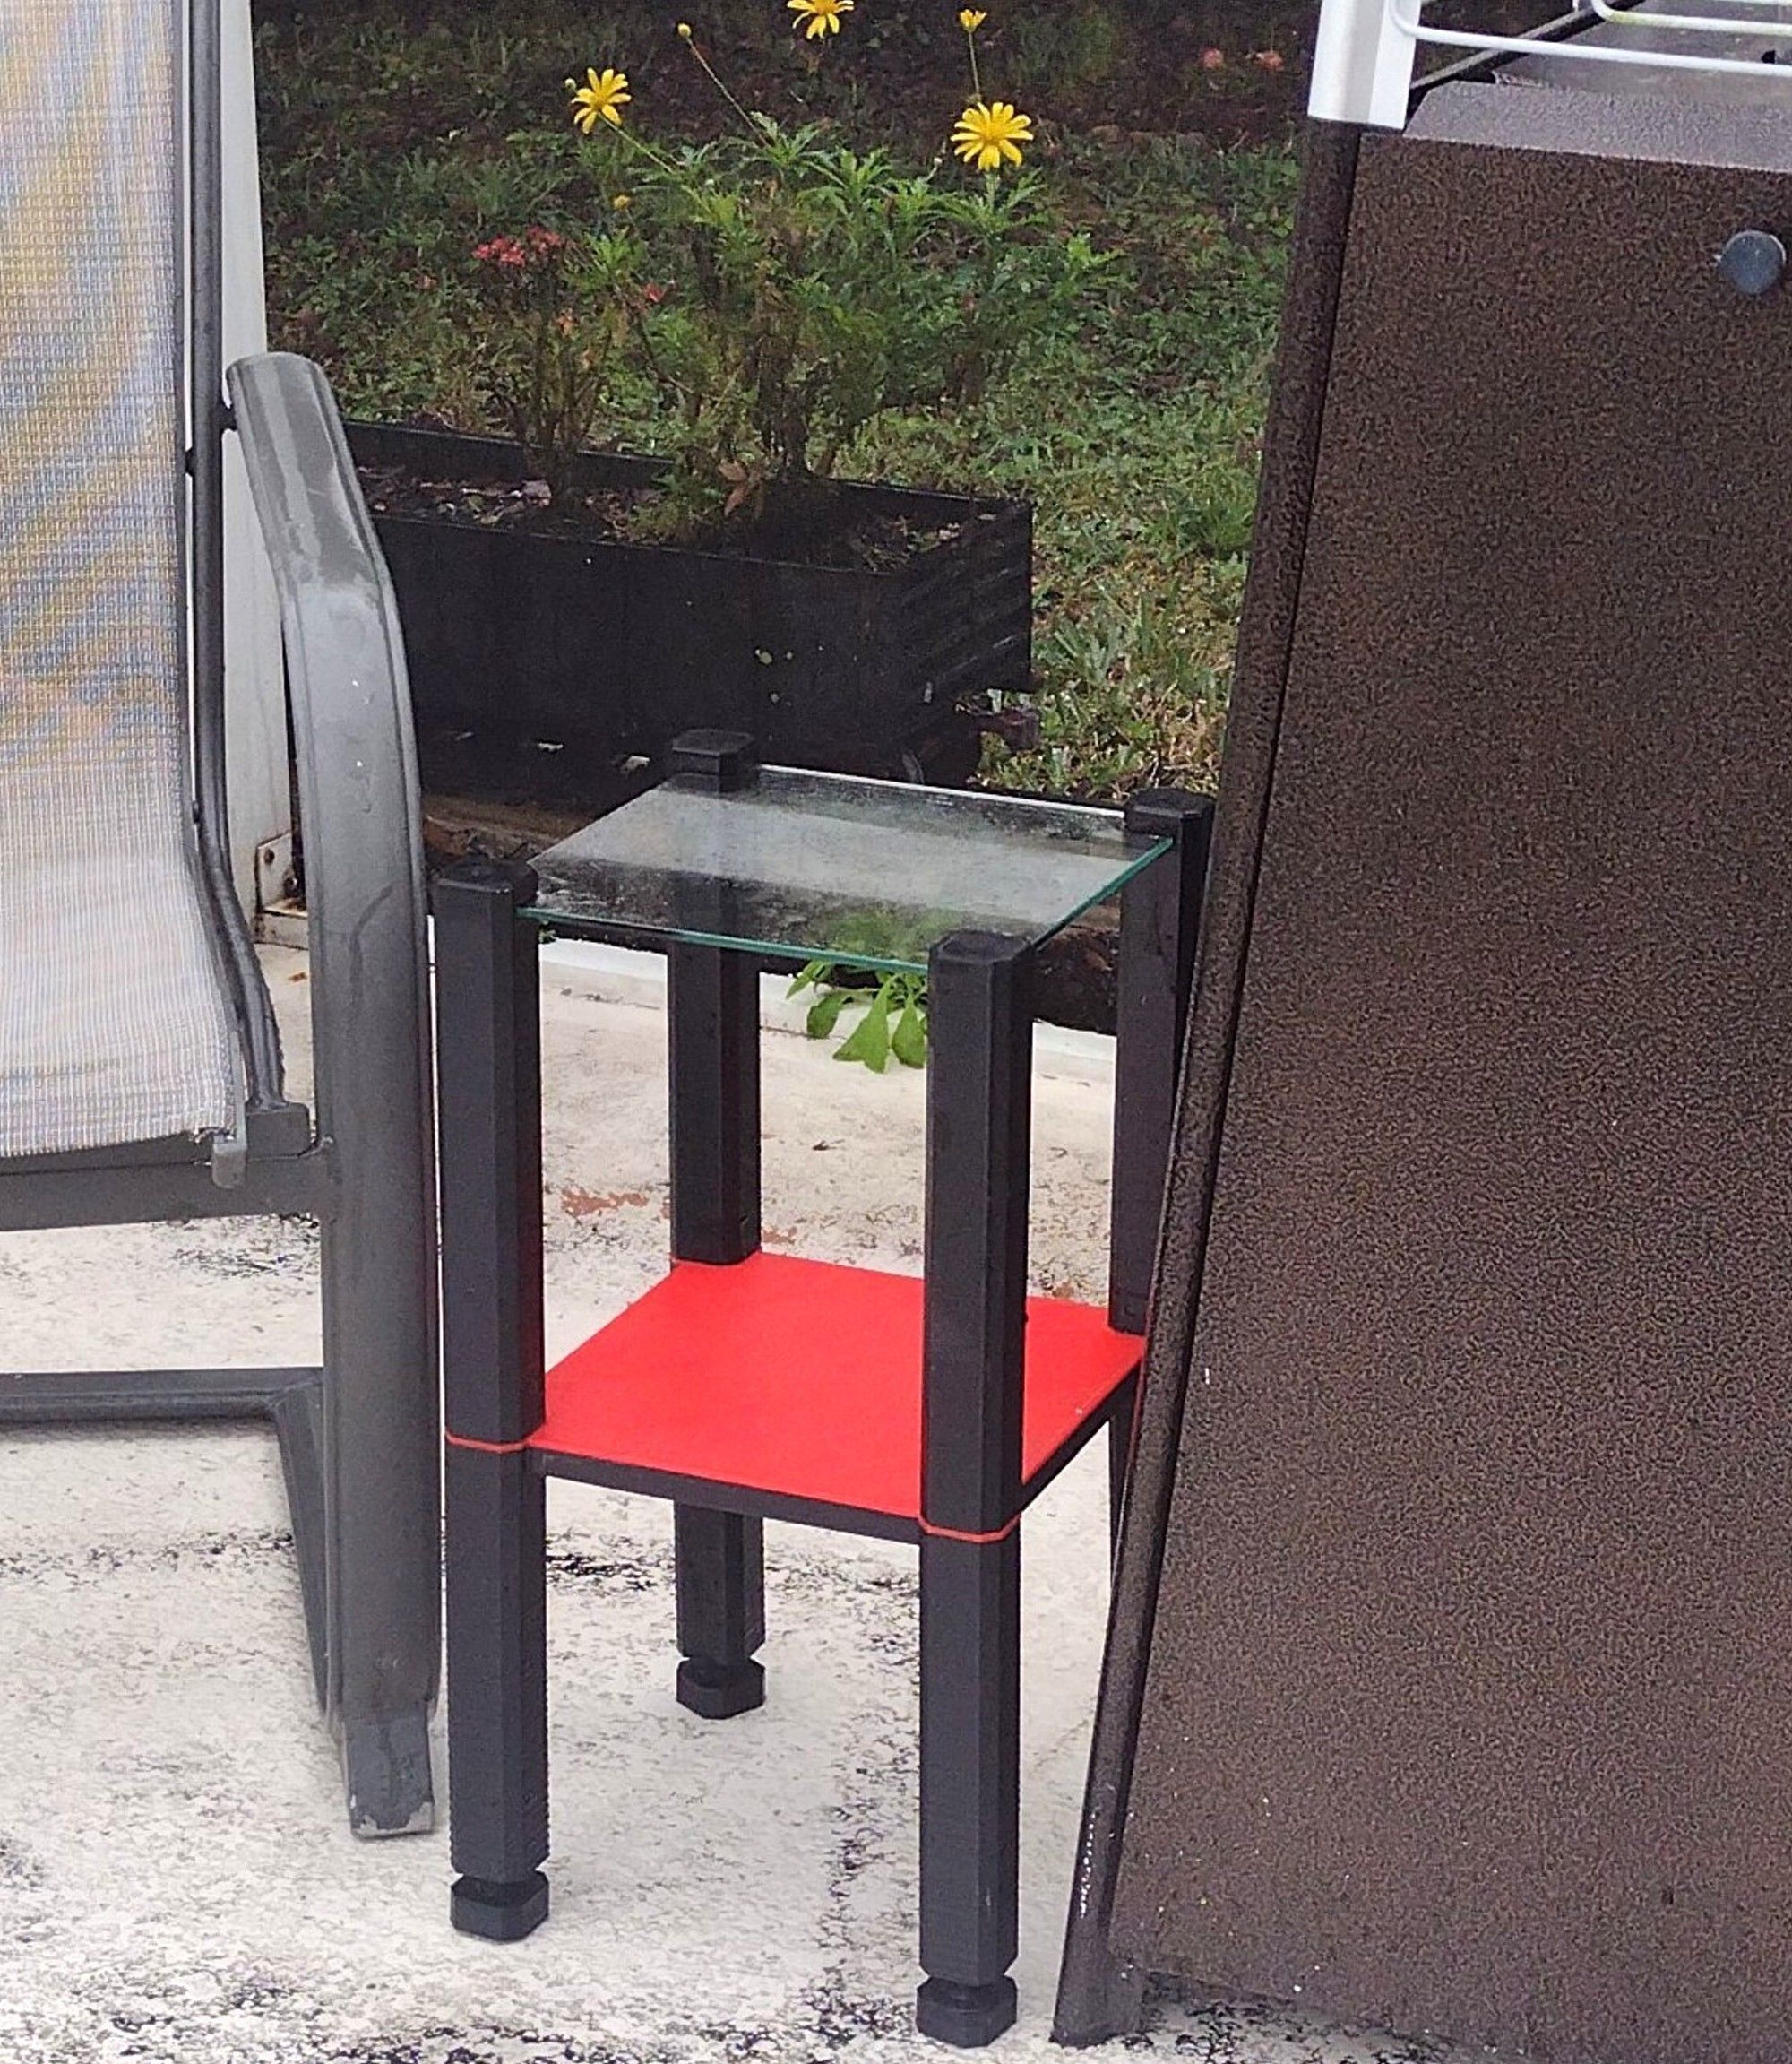
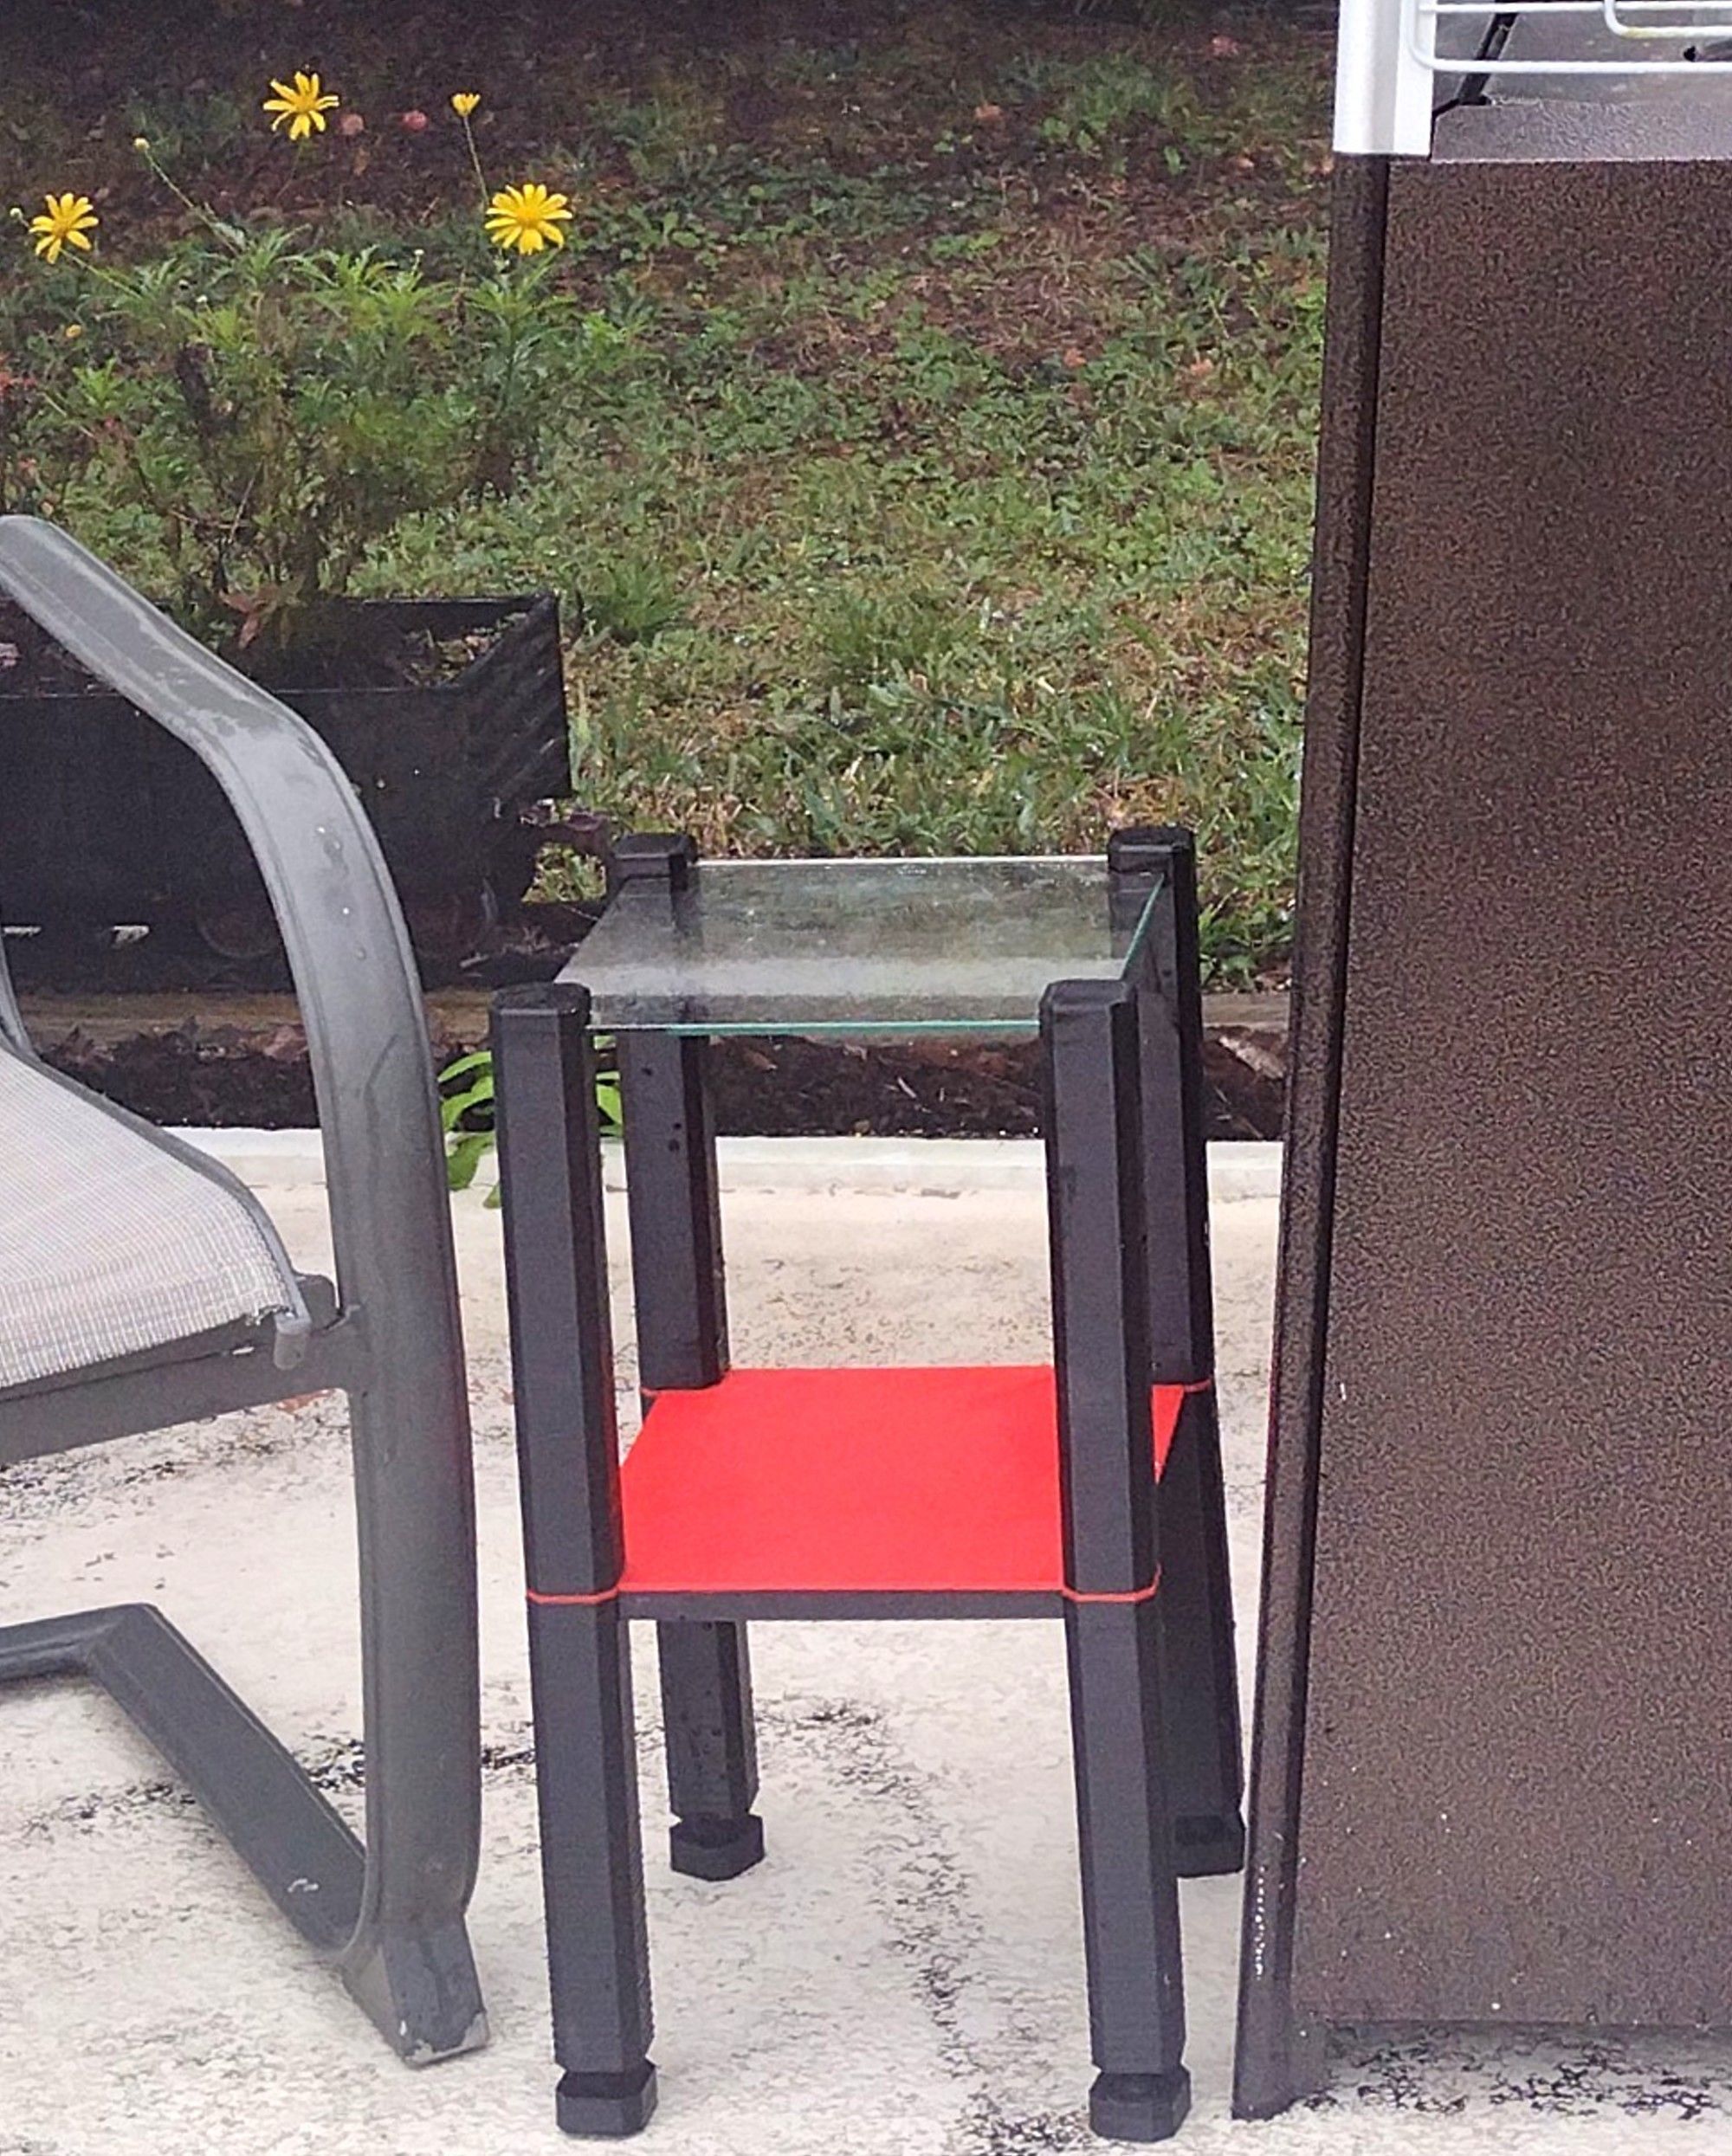
The table size is 10.75x10.75x20.5" high and has 4 adjustable feet to compensate for uneven floors or decks.
A 3D printer with a minimum build volume of 280x280x300mm is required to print the 10 parts for the table in the pictures.
The table in the pictures was printed on a Creality Pro CR-300 printer using a 0.8mm nozzle and PETG filament.We typically used the following major Cura settings:• Line width – 0.8mm• Layer height – 0.32mm• Wall thickness - 1.6mm• Infill – 10%
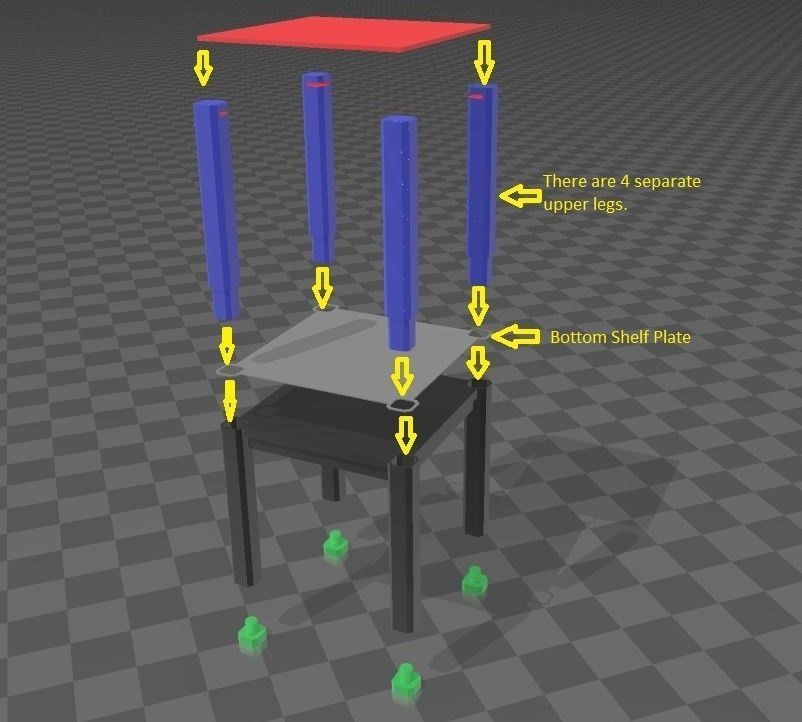
PLA can also be used and is more ridged, but its low melting point is not recommended for outdoor use in bright sunshine.The tempered glass shelve can be purchased from www.storesupply.com. Type 10 10 Glass in their search box, and you should be taken to the listing page.In addition to the glass plate, four ½” screws are used to secure the Upper Legs to the Bottom. The screens go into the small holes on the underside of the Table Bottom.The table has 10 printed components plus the glass plate, as shown below.
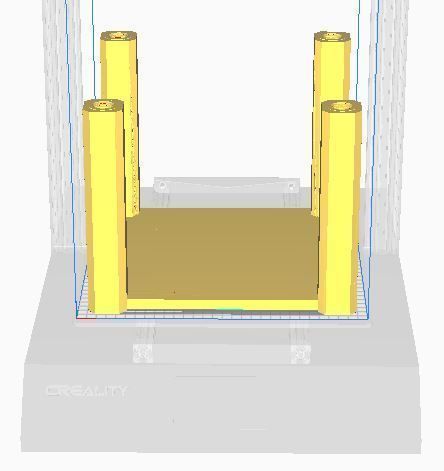
The large table bottom must be orientated on your build plate upside down, as in the Cura print preview photo.
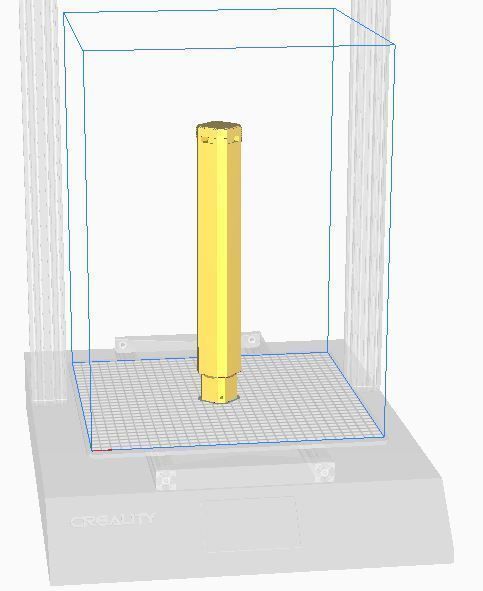
4 upper legs need to be printed in the vertical position as in the Cura print preview photo and have integral supports for the glass plate near the top that need to be cut away after printing. The support material can typically be cut away with a razor, knife, or snippers. The is a small screw hole at the bottom.
The purpose of the thin Bottom Shelf Plate is purely decorative. Because the Table Bottom is printed upside down, the top surface is against the build plate and may not be the prettiest. It also enables adding some additional color to the table.
The threaded bottom feet allow for ¾” vertical adjustment for uneven floors. When screwing them in, a little grease applied to the threads can be helpful.
Similar Models

