Are you a hardcore gamer? If not, I'm guessing someone really important to you is... So, do not miss this design!
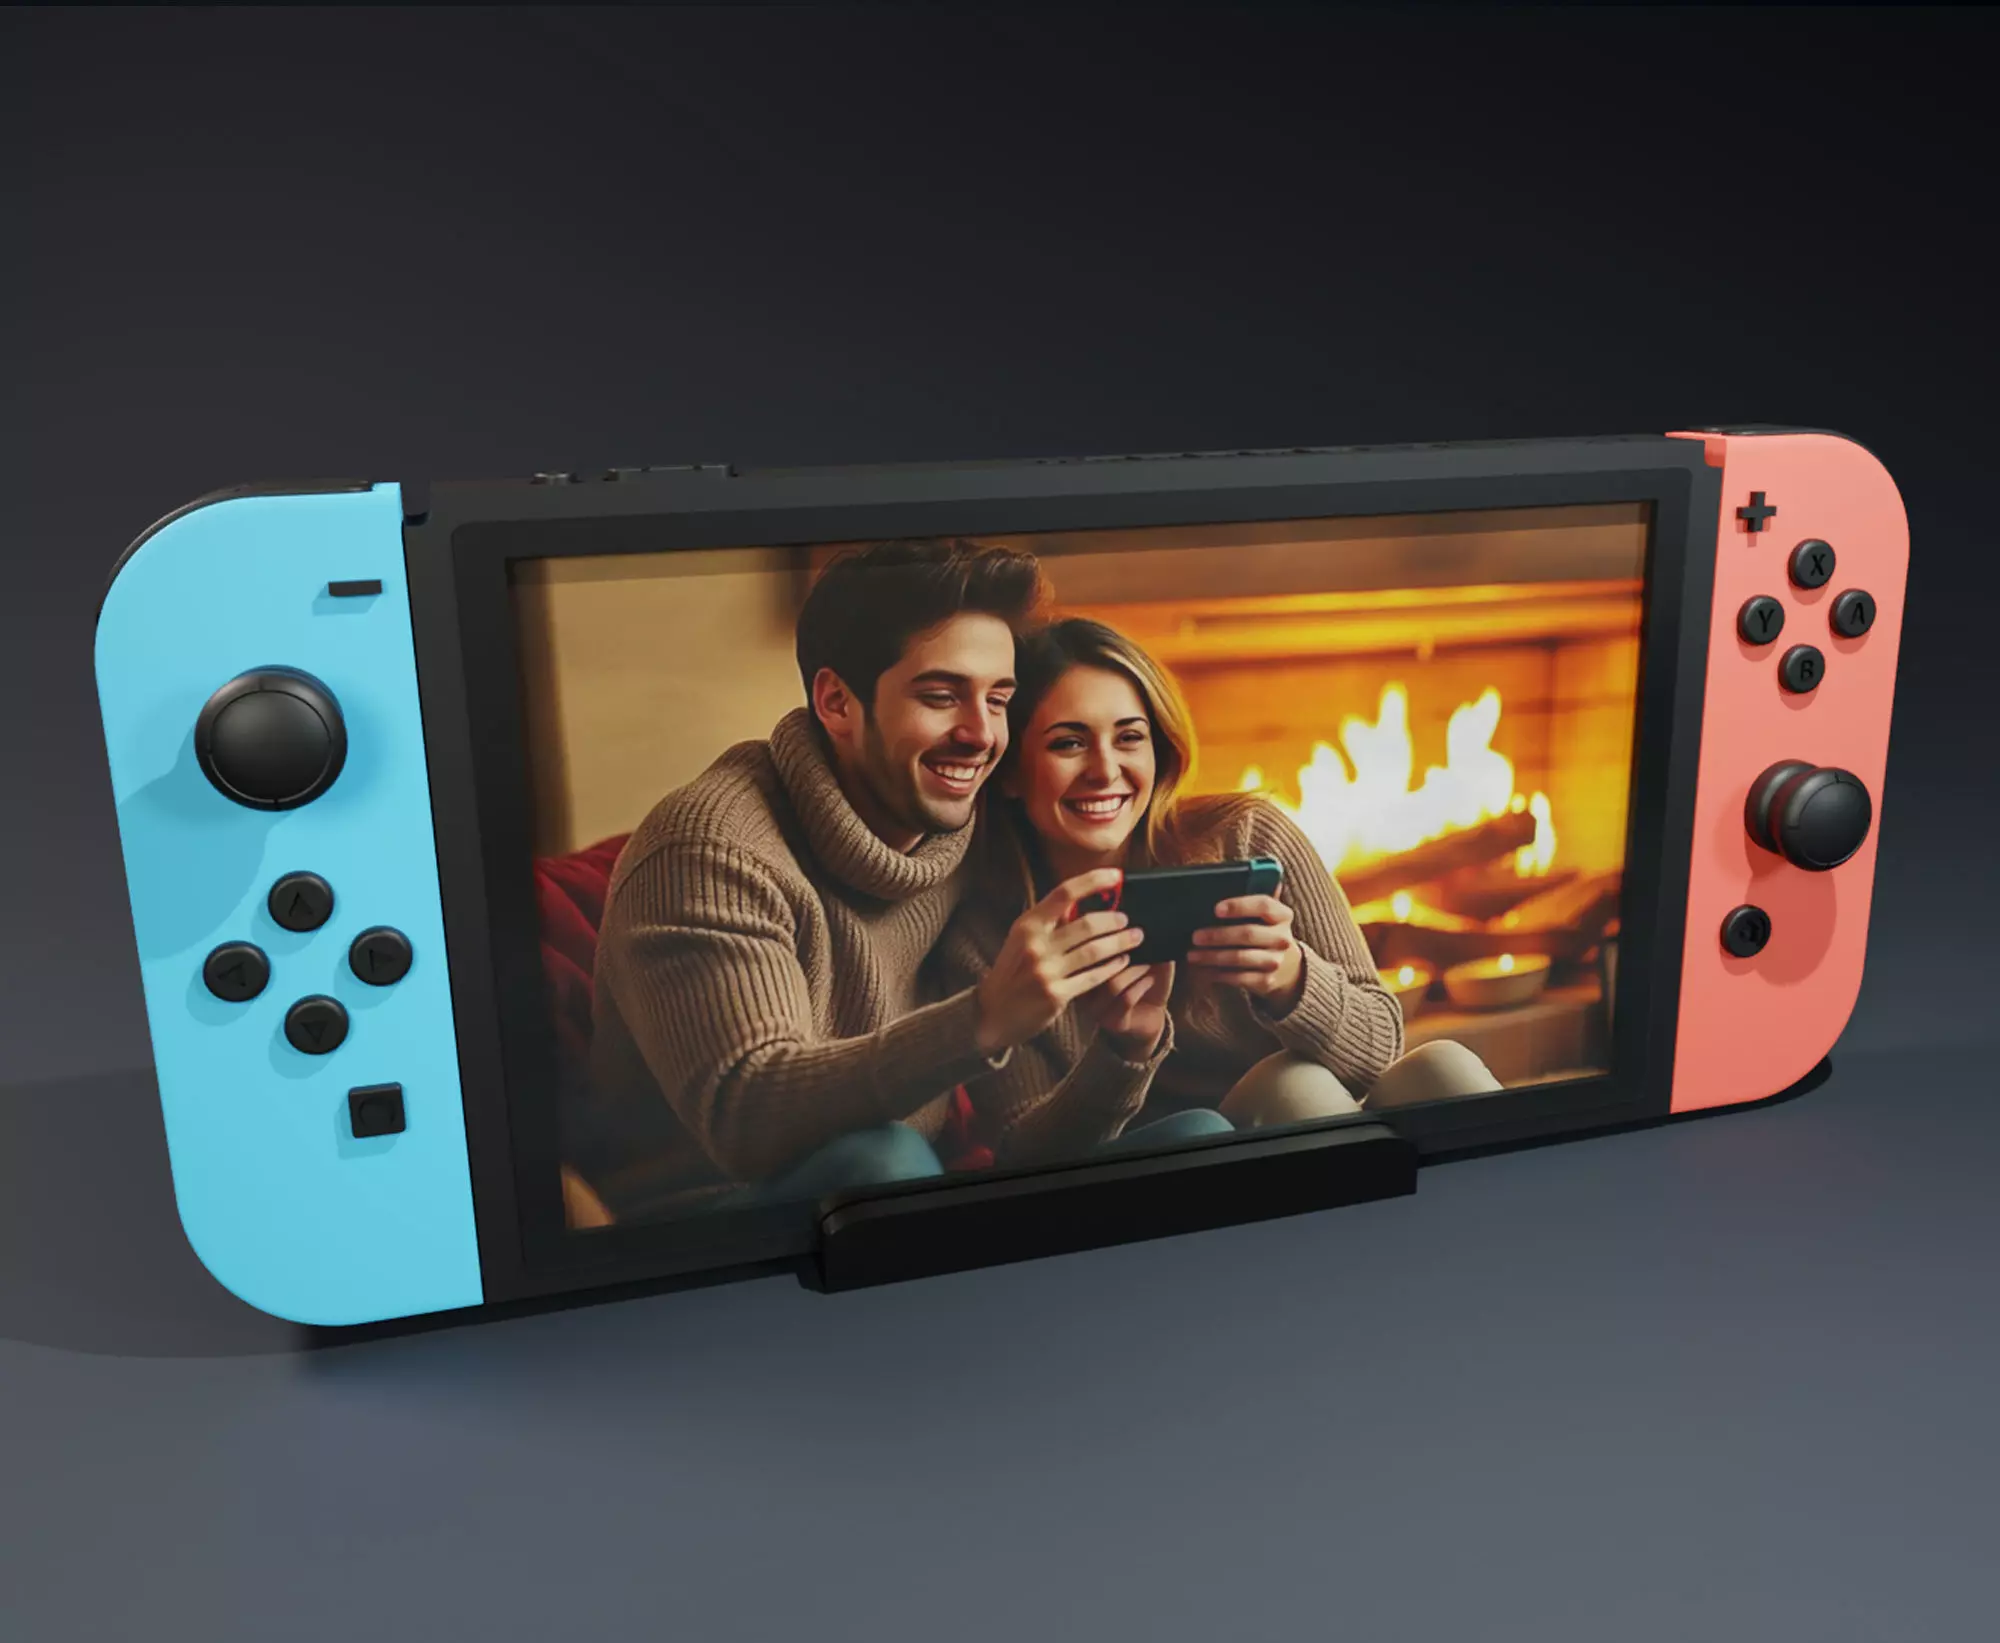
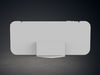
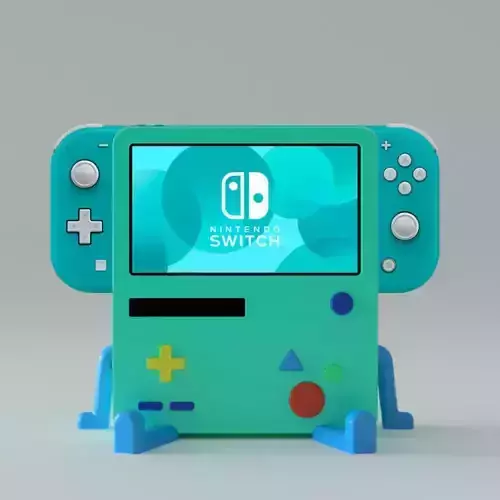
Capture one of your favorite moments and add it to this Photo Frame Nintendo Switch-themed. I'm sure you will love the final result!
These files do not have any color, so I've created three different versions. This will allow you to use any printer (multicolored or not) to add the best color scheme for this design.
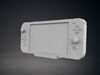
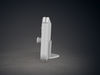
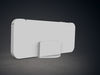
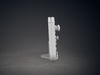
For all three versions, the Photo_Frame, Glass, and Switch_Stand must be printed separately from the main piece.
Regarding the Glass file, despite being optional, I advise printing it with a transparent filament to add an extra touch of realism.
You can add a really thin double tape to connect these separate pieces or just glue them together. However, with this last option, the photo will be permanently in the frame.
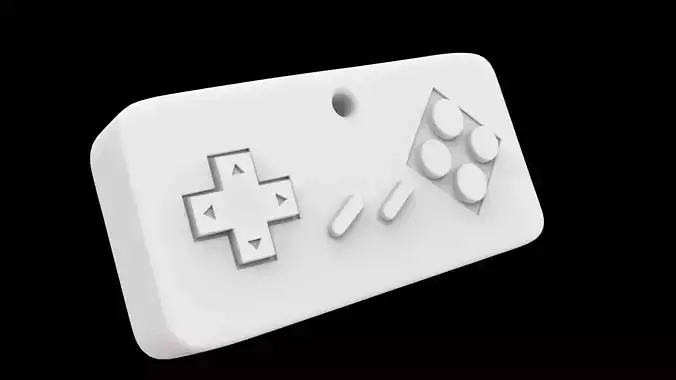
If you decide to print the Joy-Cons separately, you can glue them to the main LCD piece by using the little cube to guide them to the perfect location.
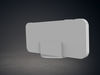
Just as a side note, the back of this design is completely flat (not following the real Nintendo Switch). I've done this to help you with the print, gaining adhesion and making this design support free.
The analog sticks are also a bit thicker here, just to help the final structure and, again, to prevent overhanging.
Now, regarding the three versions. Please find below why they are different:
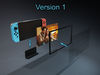
Version 1:
In this version, the LCD and Joy-Cons are printed as a single piece.
And these are the files you should use:
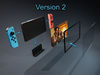
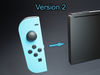
Version 2:In this version, the LCD and Joy-Cons are printed separately (you can, for example, print the LCD in black and each Joy-Con with a different color).
And these are the files you should use:
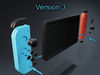
Version 3:
In this version, not only are the LCD and Joy-Cons printed separately, but each button can also have a dedicated print printed (you can, for example, print the LCD and buttons in black and each Joy-Con with a different color).
And these are the files you should use:
The design fully assembled (excluding the stand) has the following dimensions (mm):
Height- 75
Width- 57
Depth- 82
The Photo that you can use should have the following dimensions (mm) (if you are having issues, you can use the Photo_Size_Reference file that I've added):
Height- 86
Width- 153
Sculpting software used: Blender
Render method used for the previews: Cycles
Filament: PLA
Slicer used to 3D print: Ultimaker Cura
Settings I've used to 3D print:
Standard quality - 0.2mm
Infill - 20%
Supports - Support Free.
Speed - 50% first 20 layers and 100% for the rest
Plate Adhesion - Skirt. For the Buttons, I recommend using a Brim or a Raft.
Cooling - Enabled
Travel - Retraction Enabled