


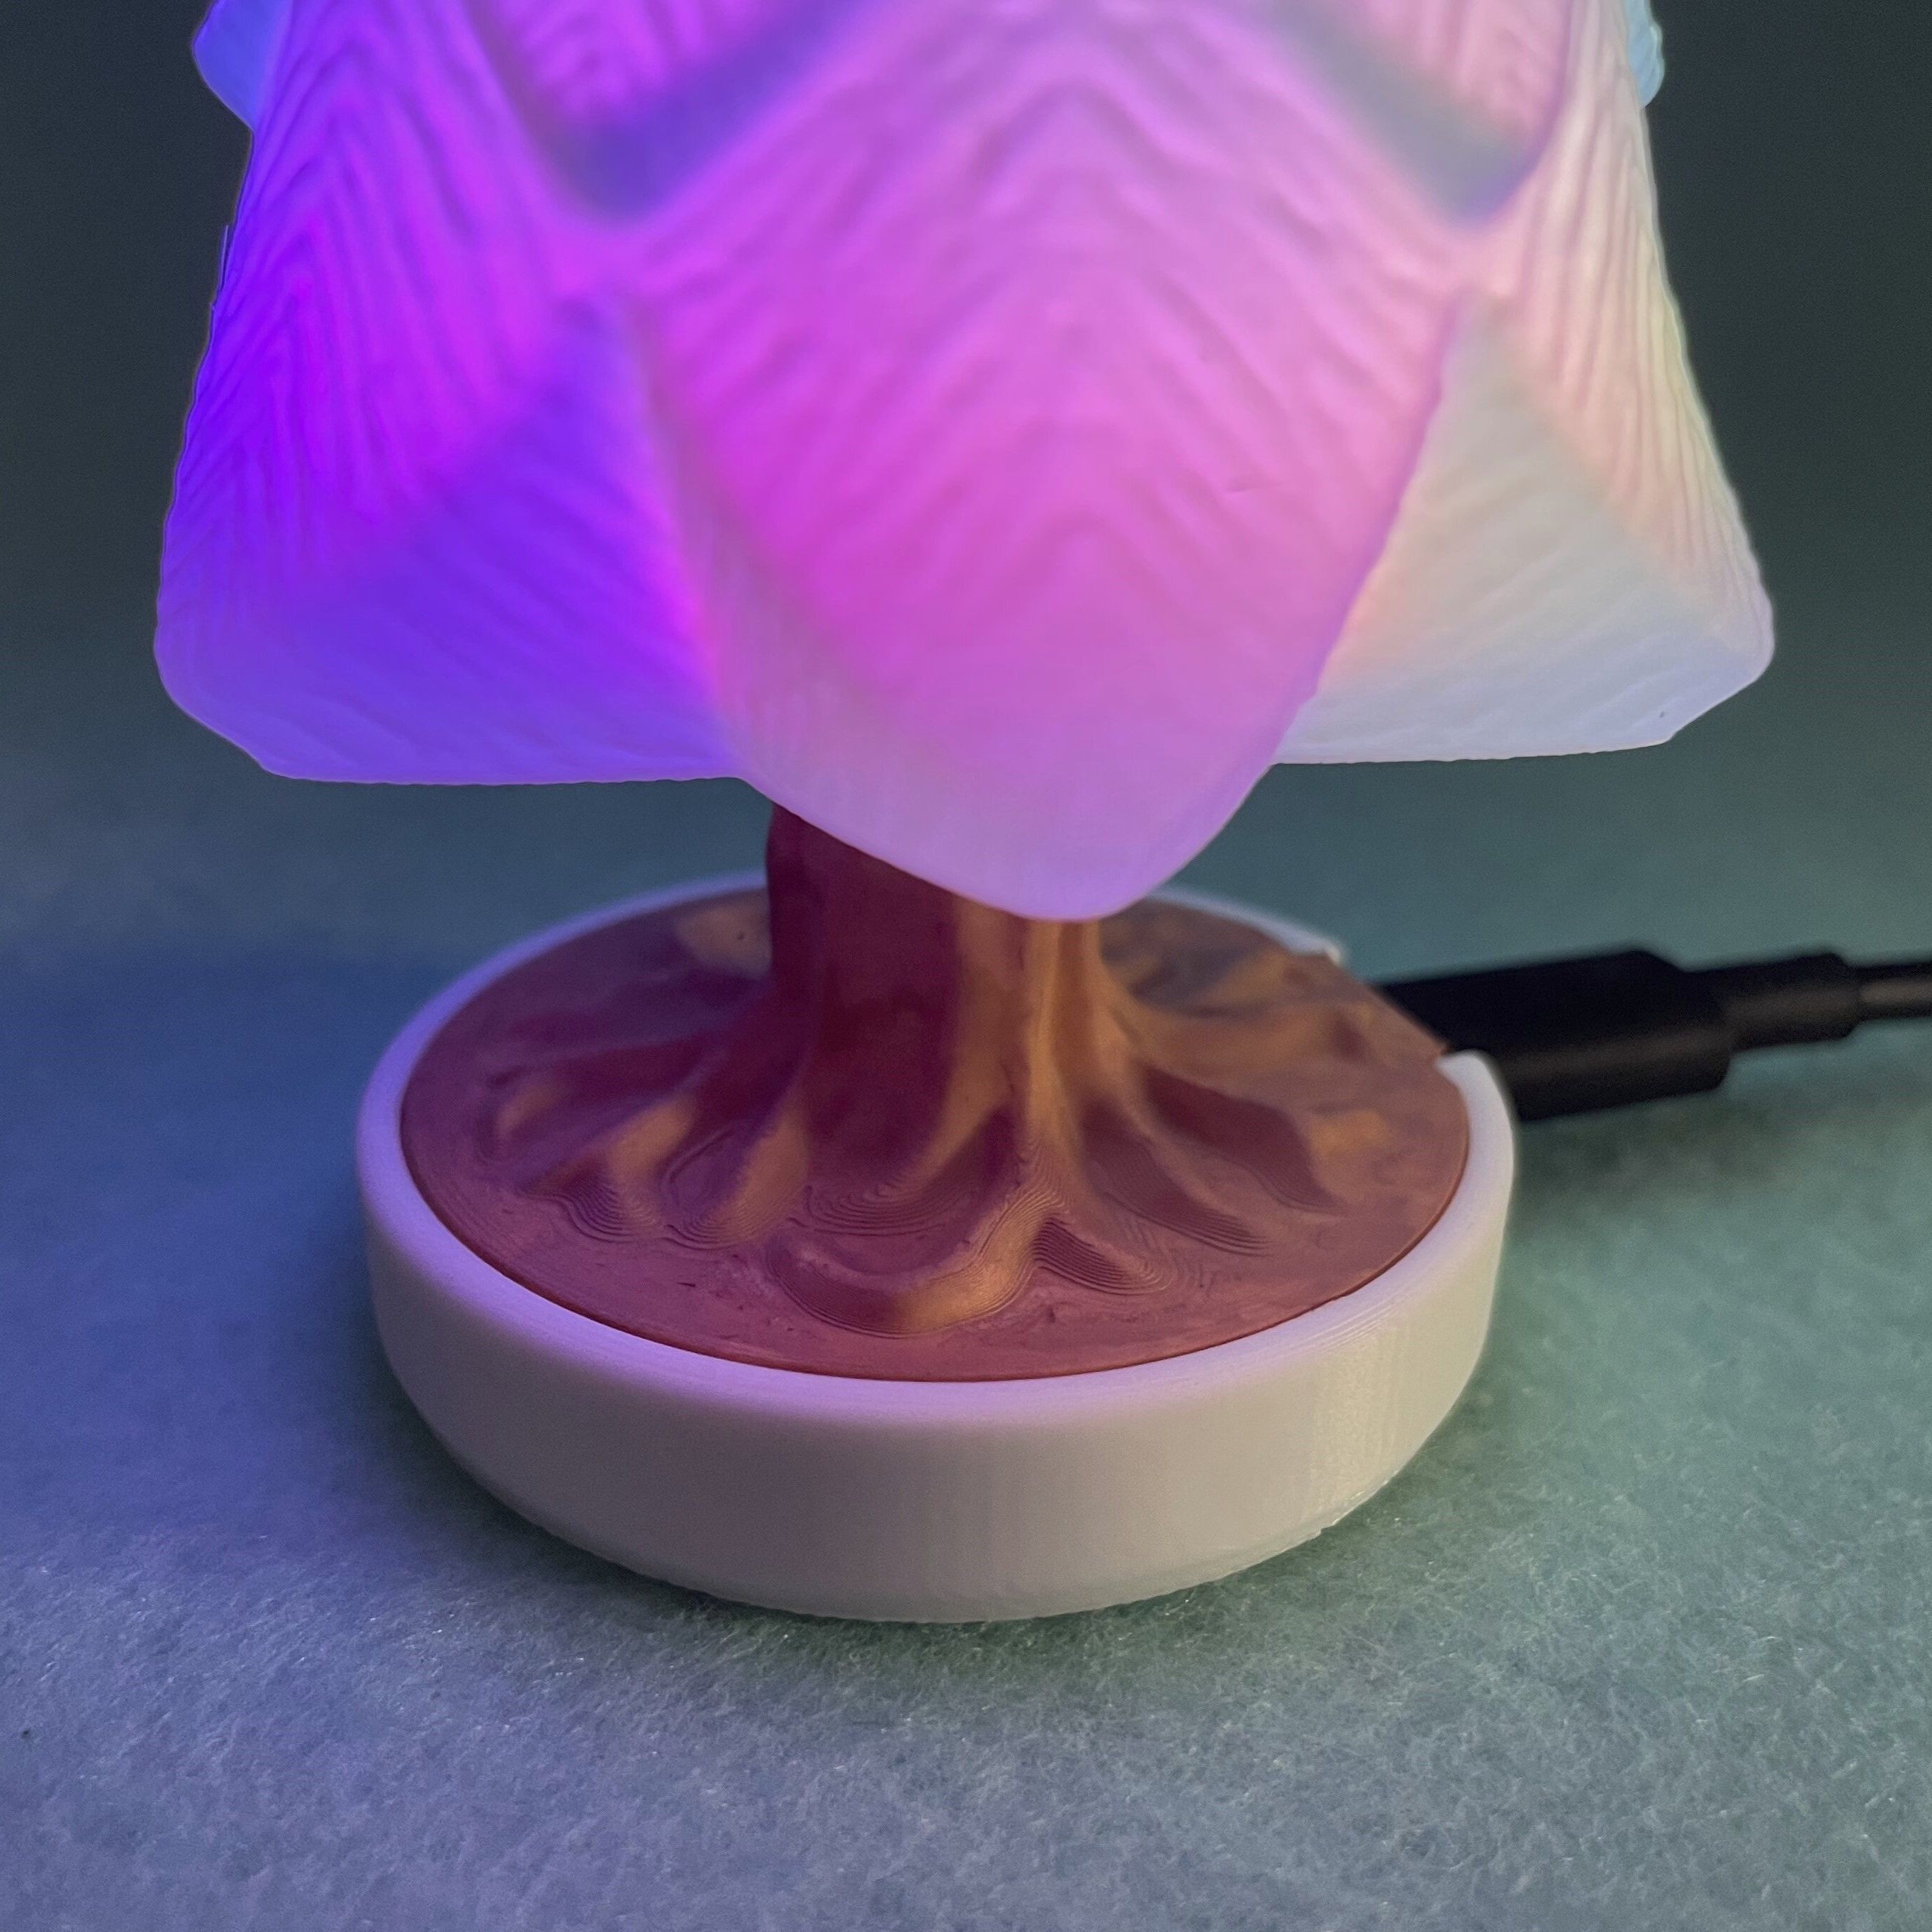


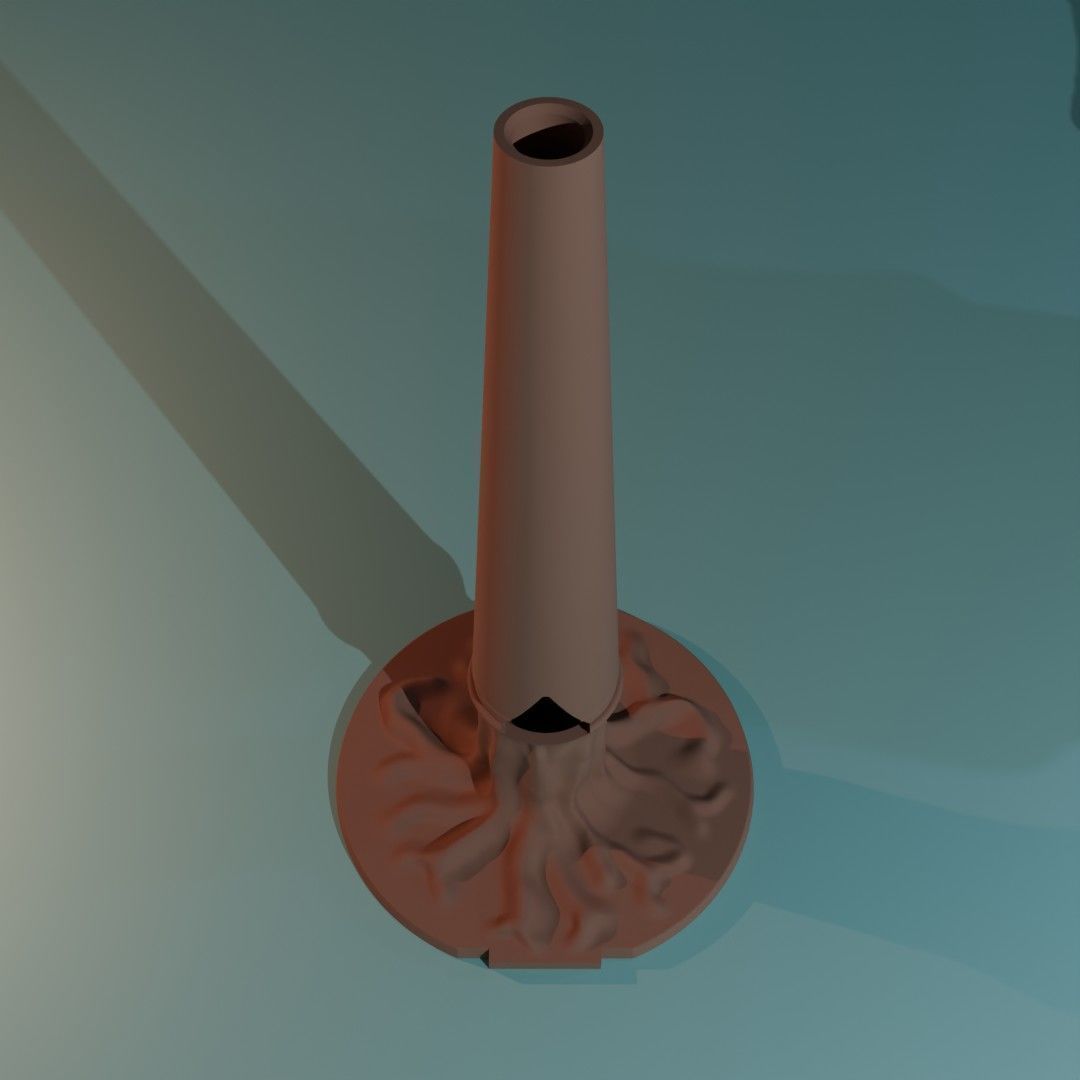
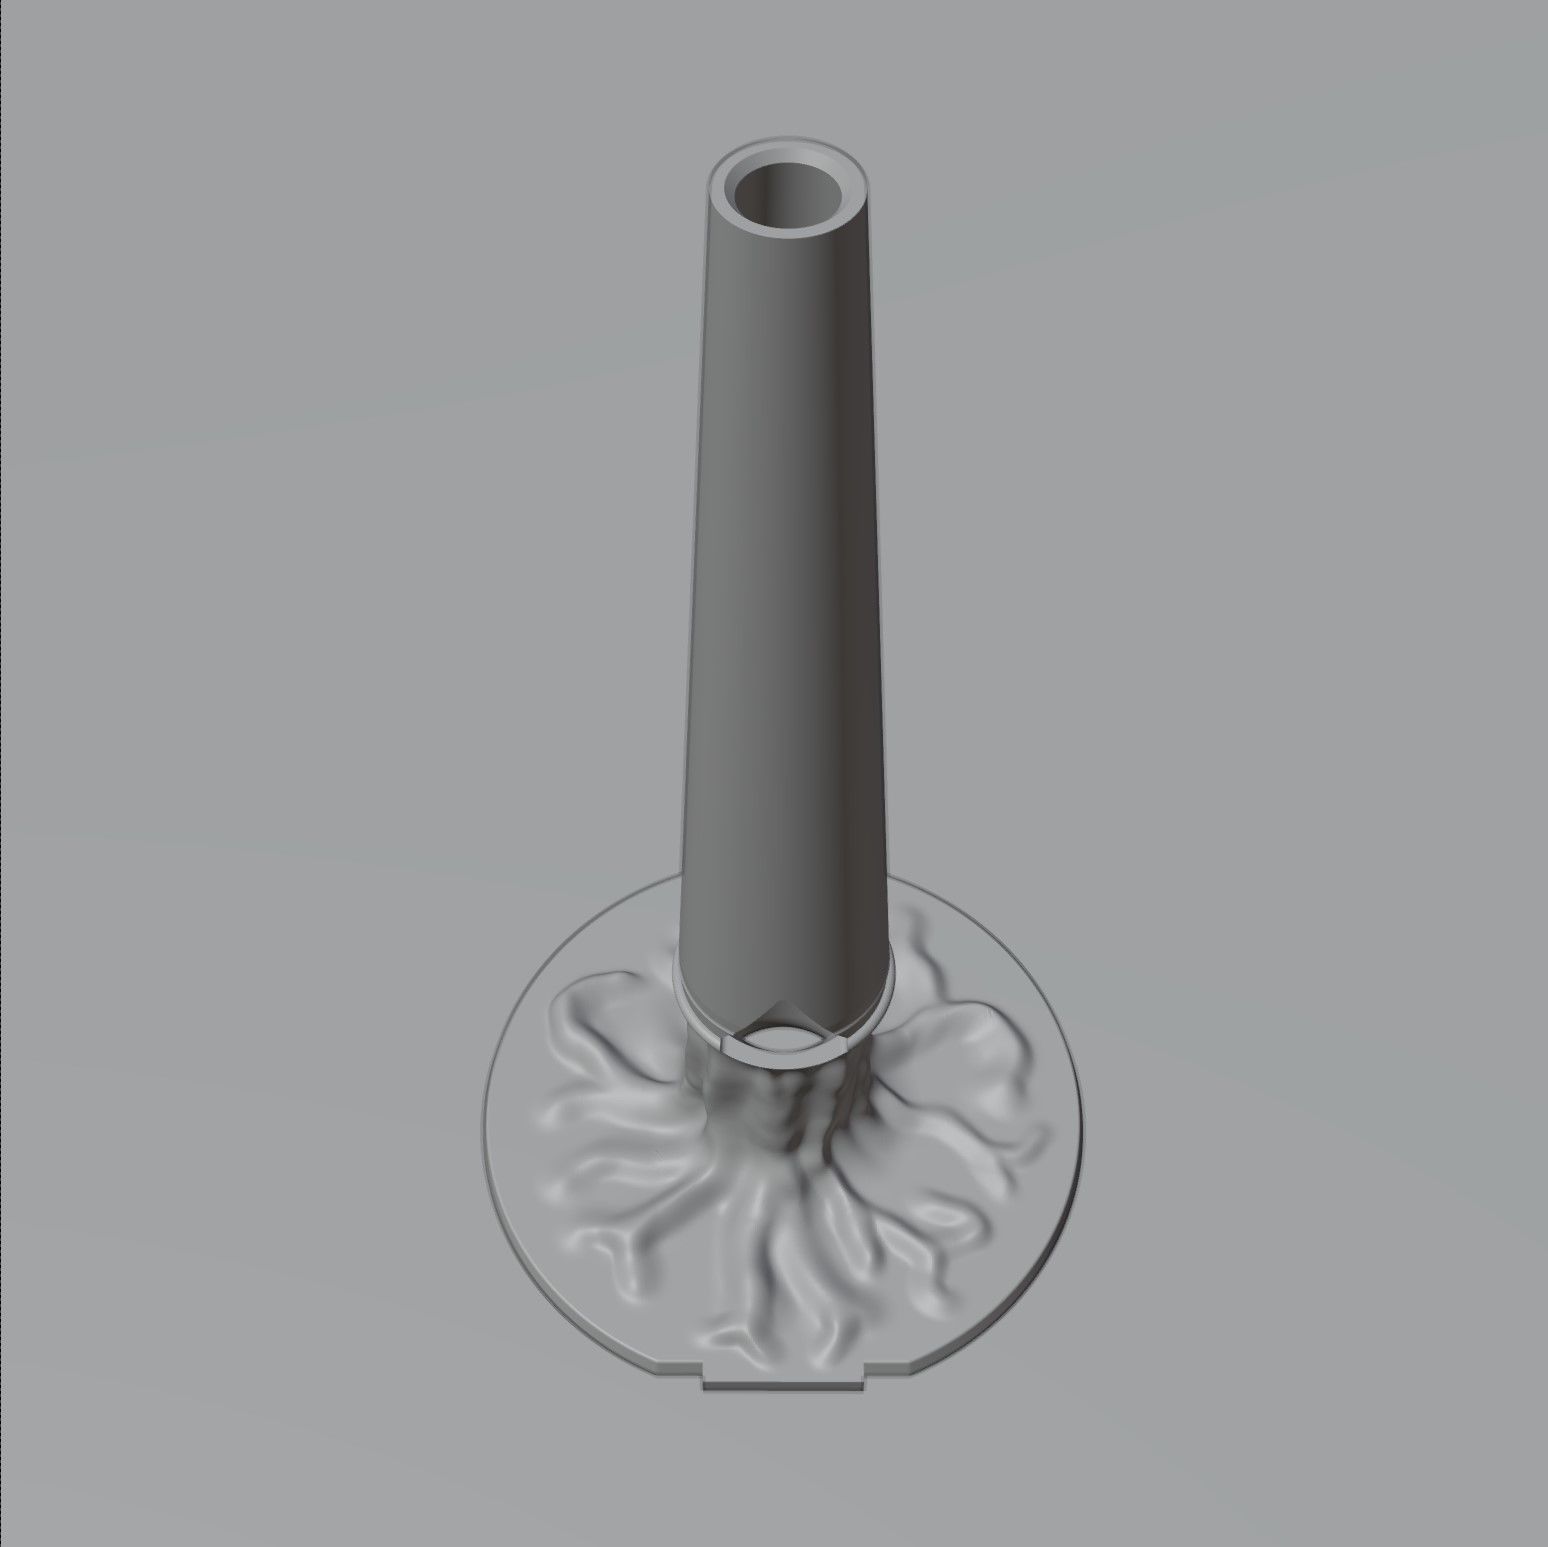

Lightshow Christmas Tree 3D print model
Small Christmas tree with multiple light effects.
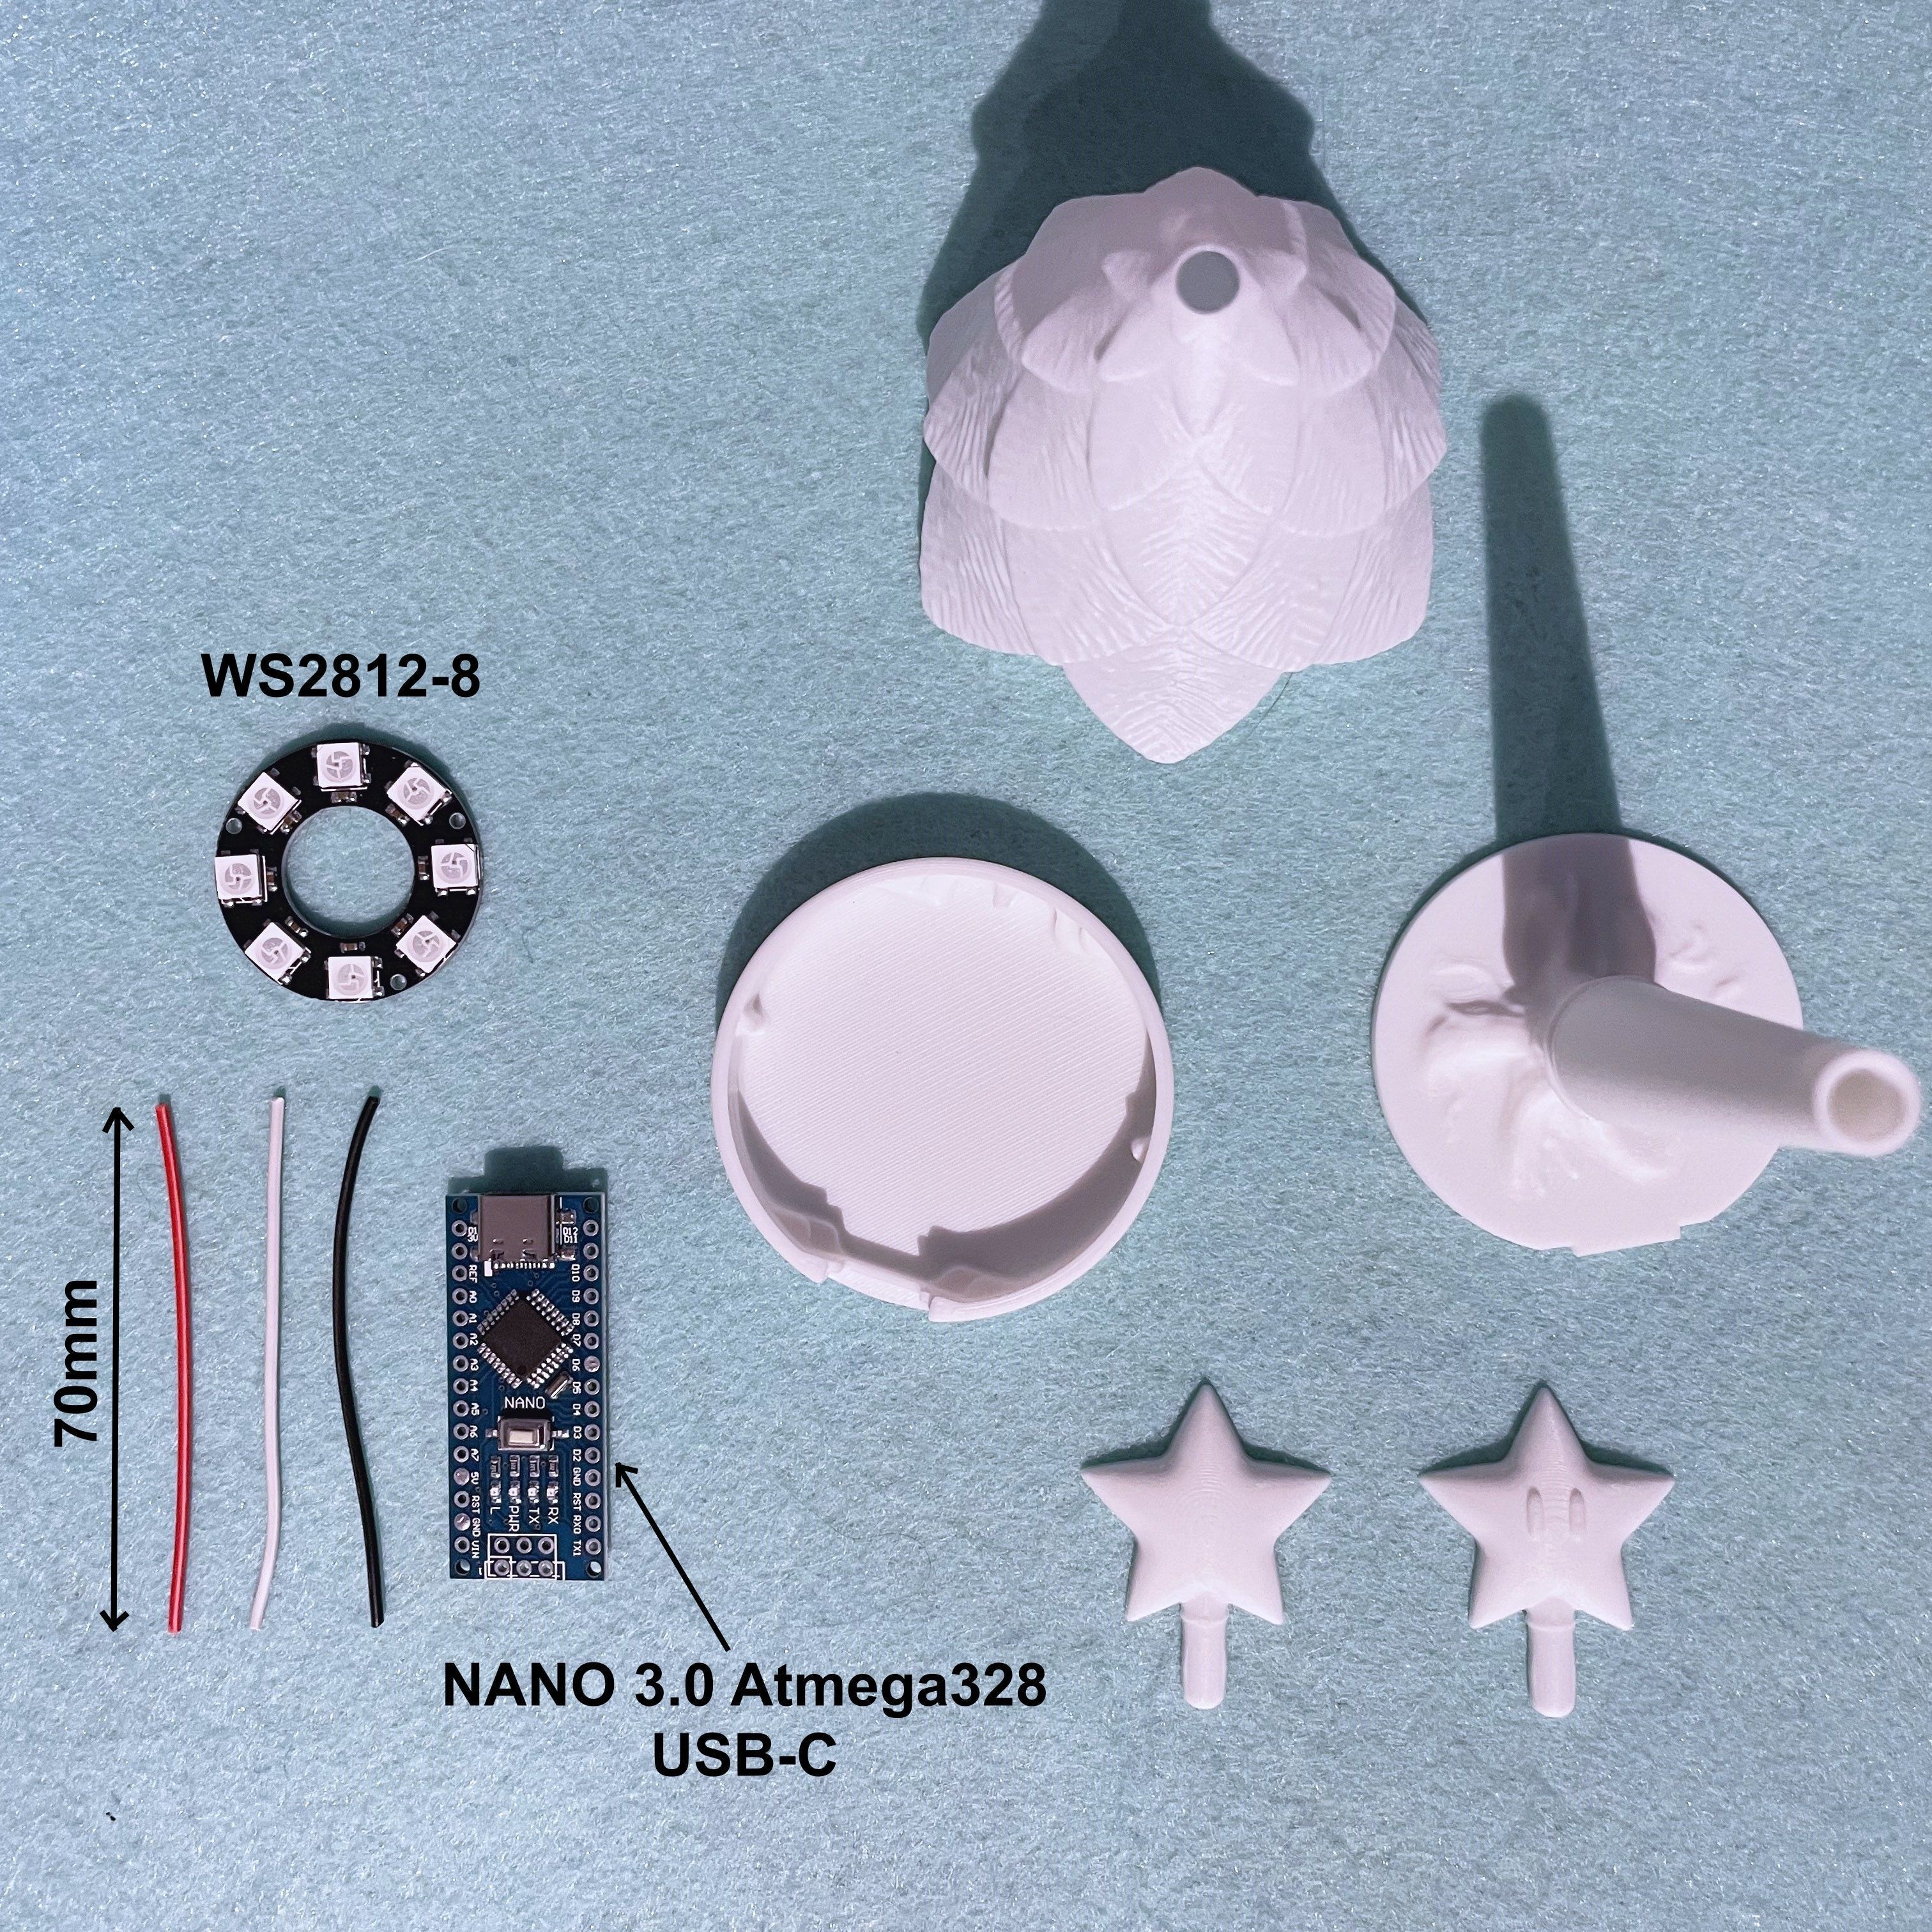
List of additional parts:
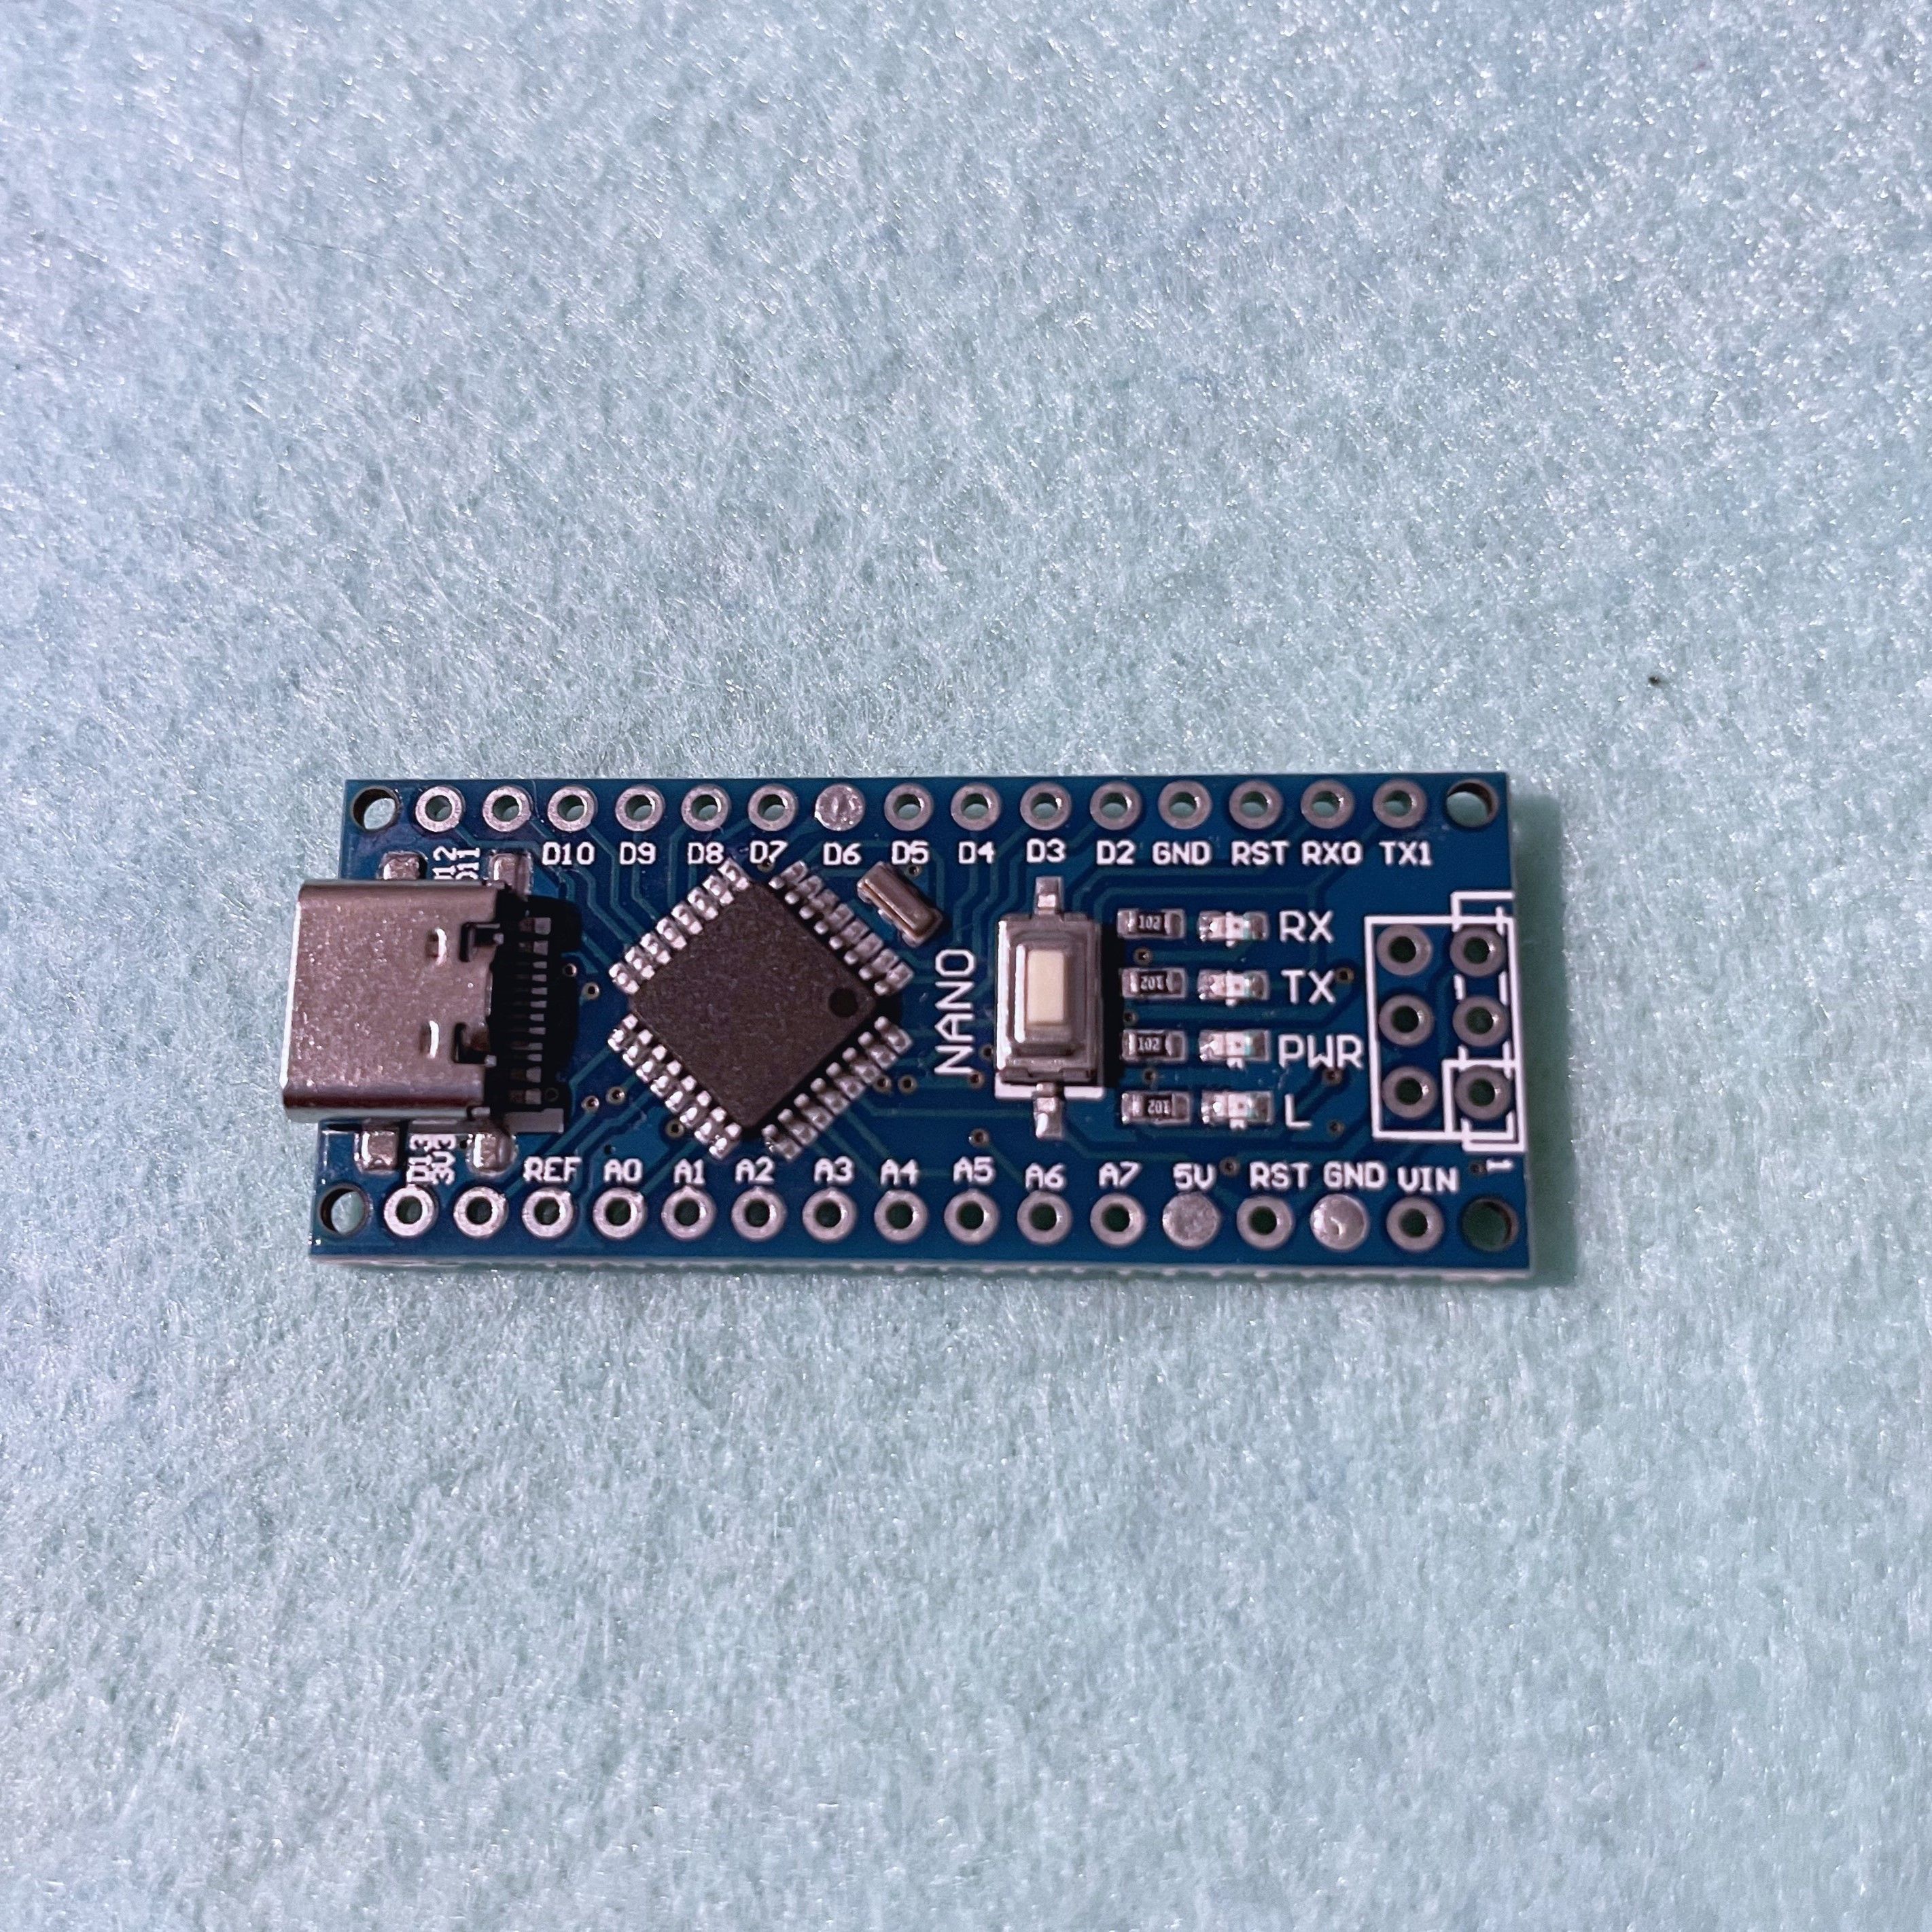
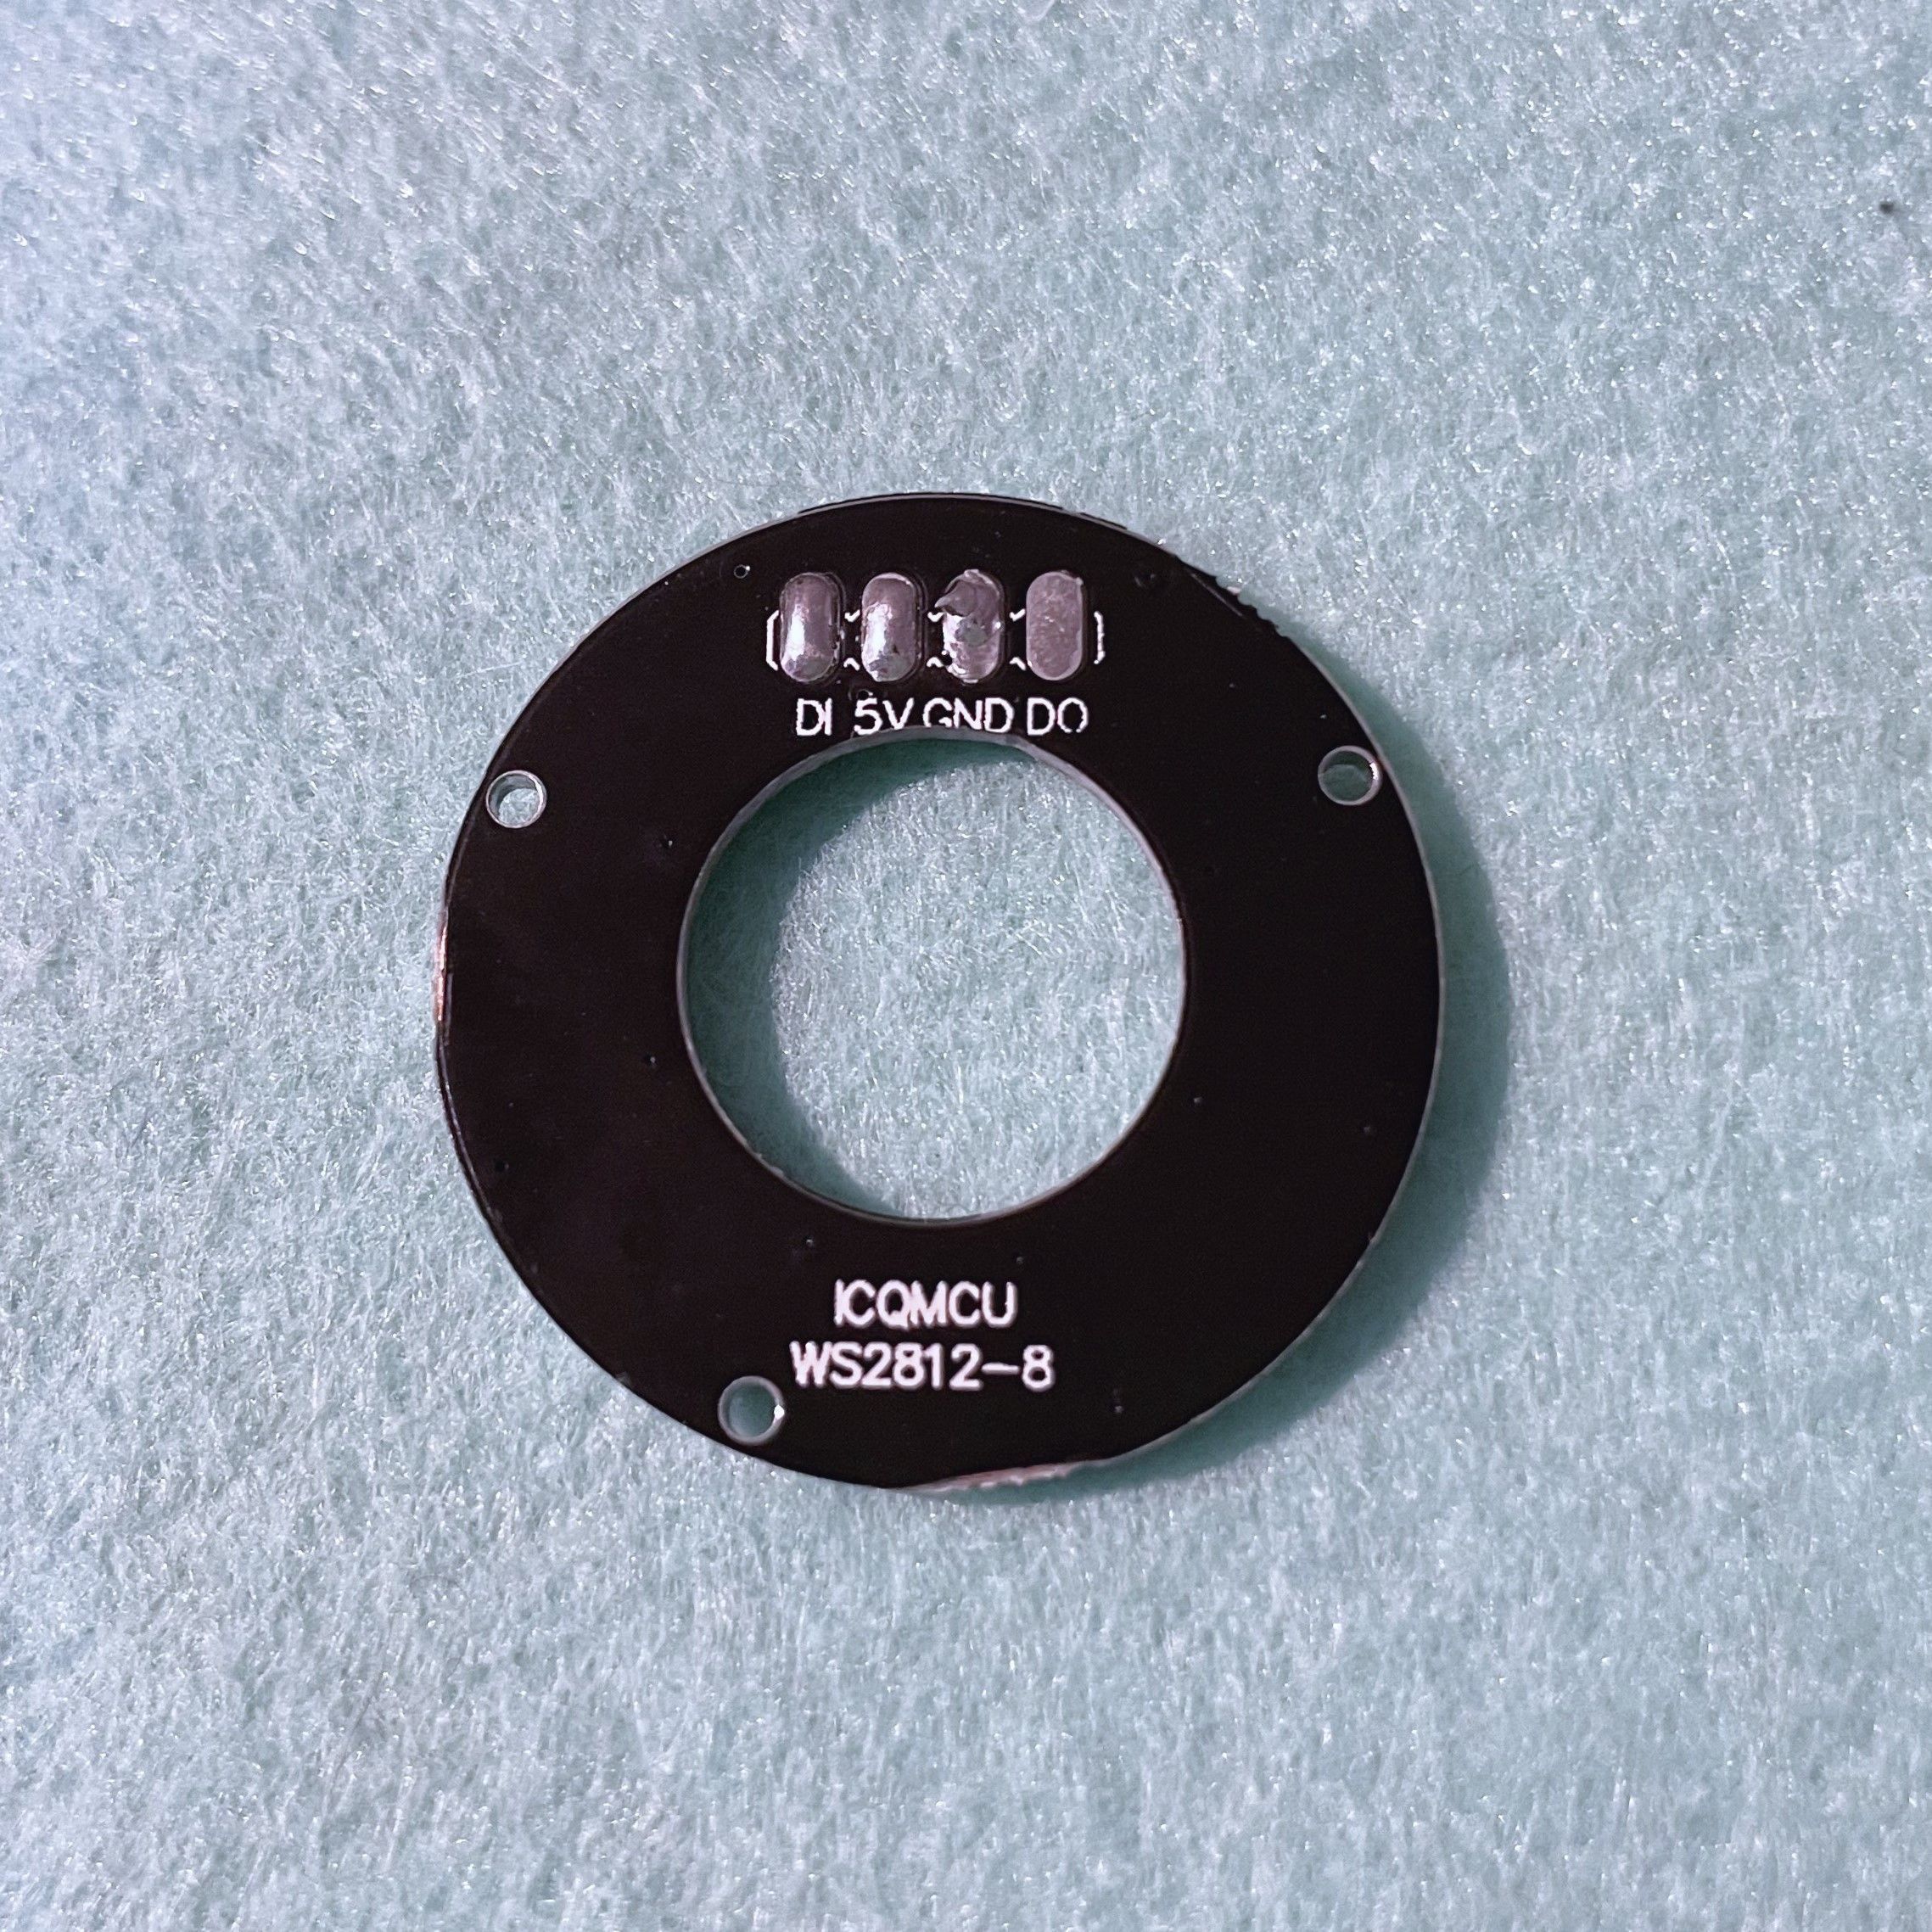
-LED Ring WS2812-8-Generic Microcontroller Nano 3.0 Atmega328 USB-C-3x70mm cable pieces
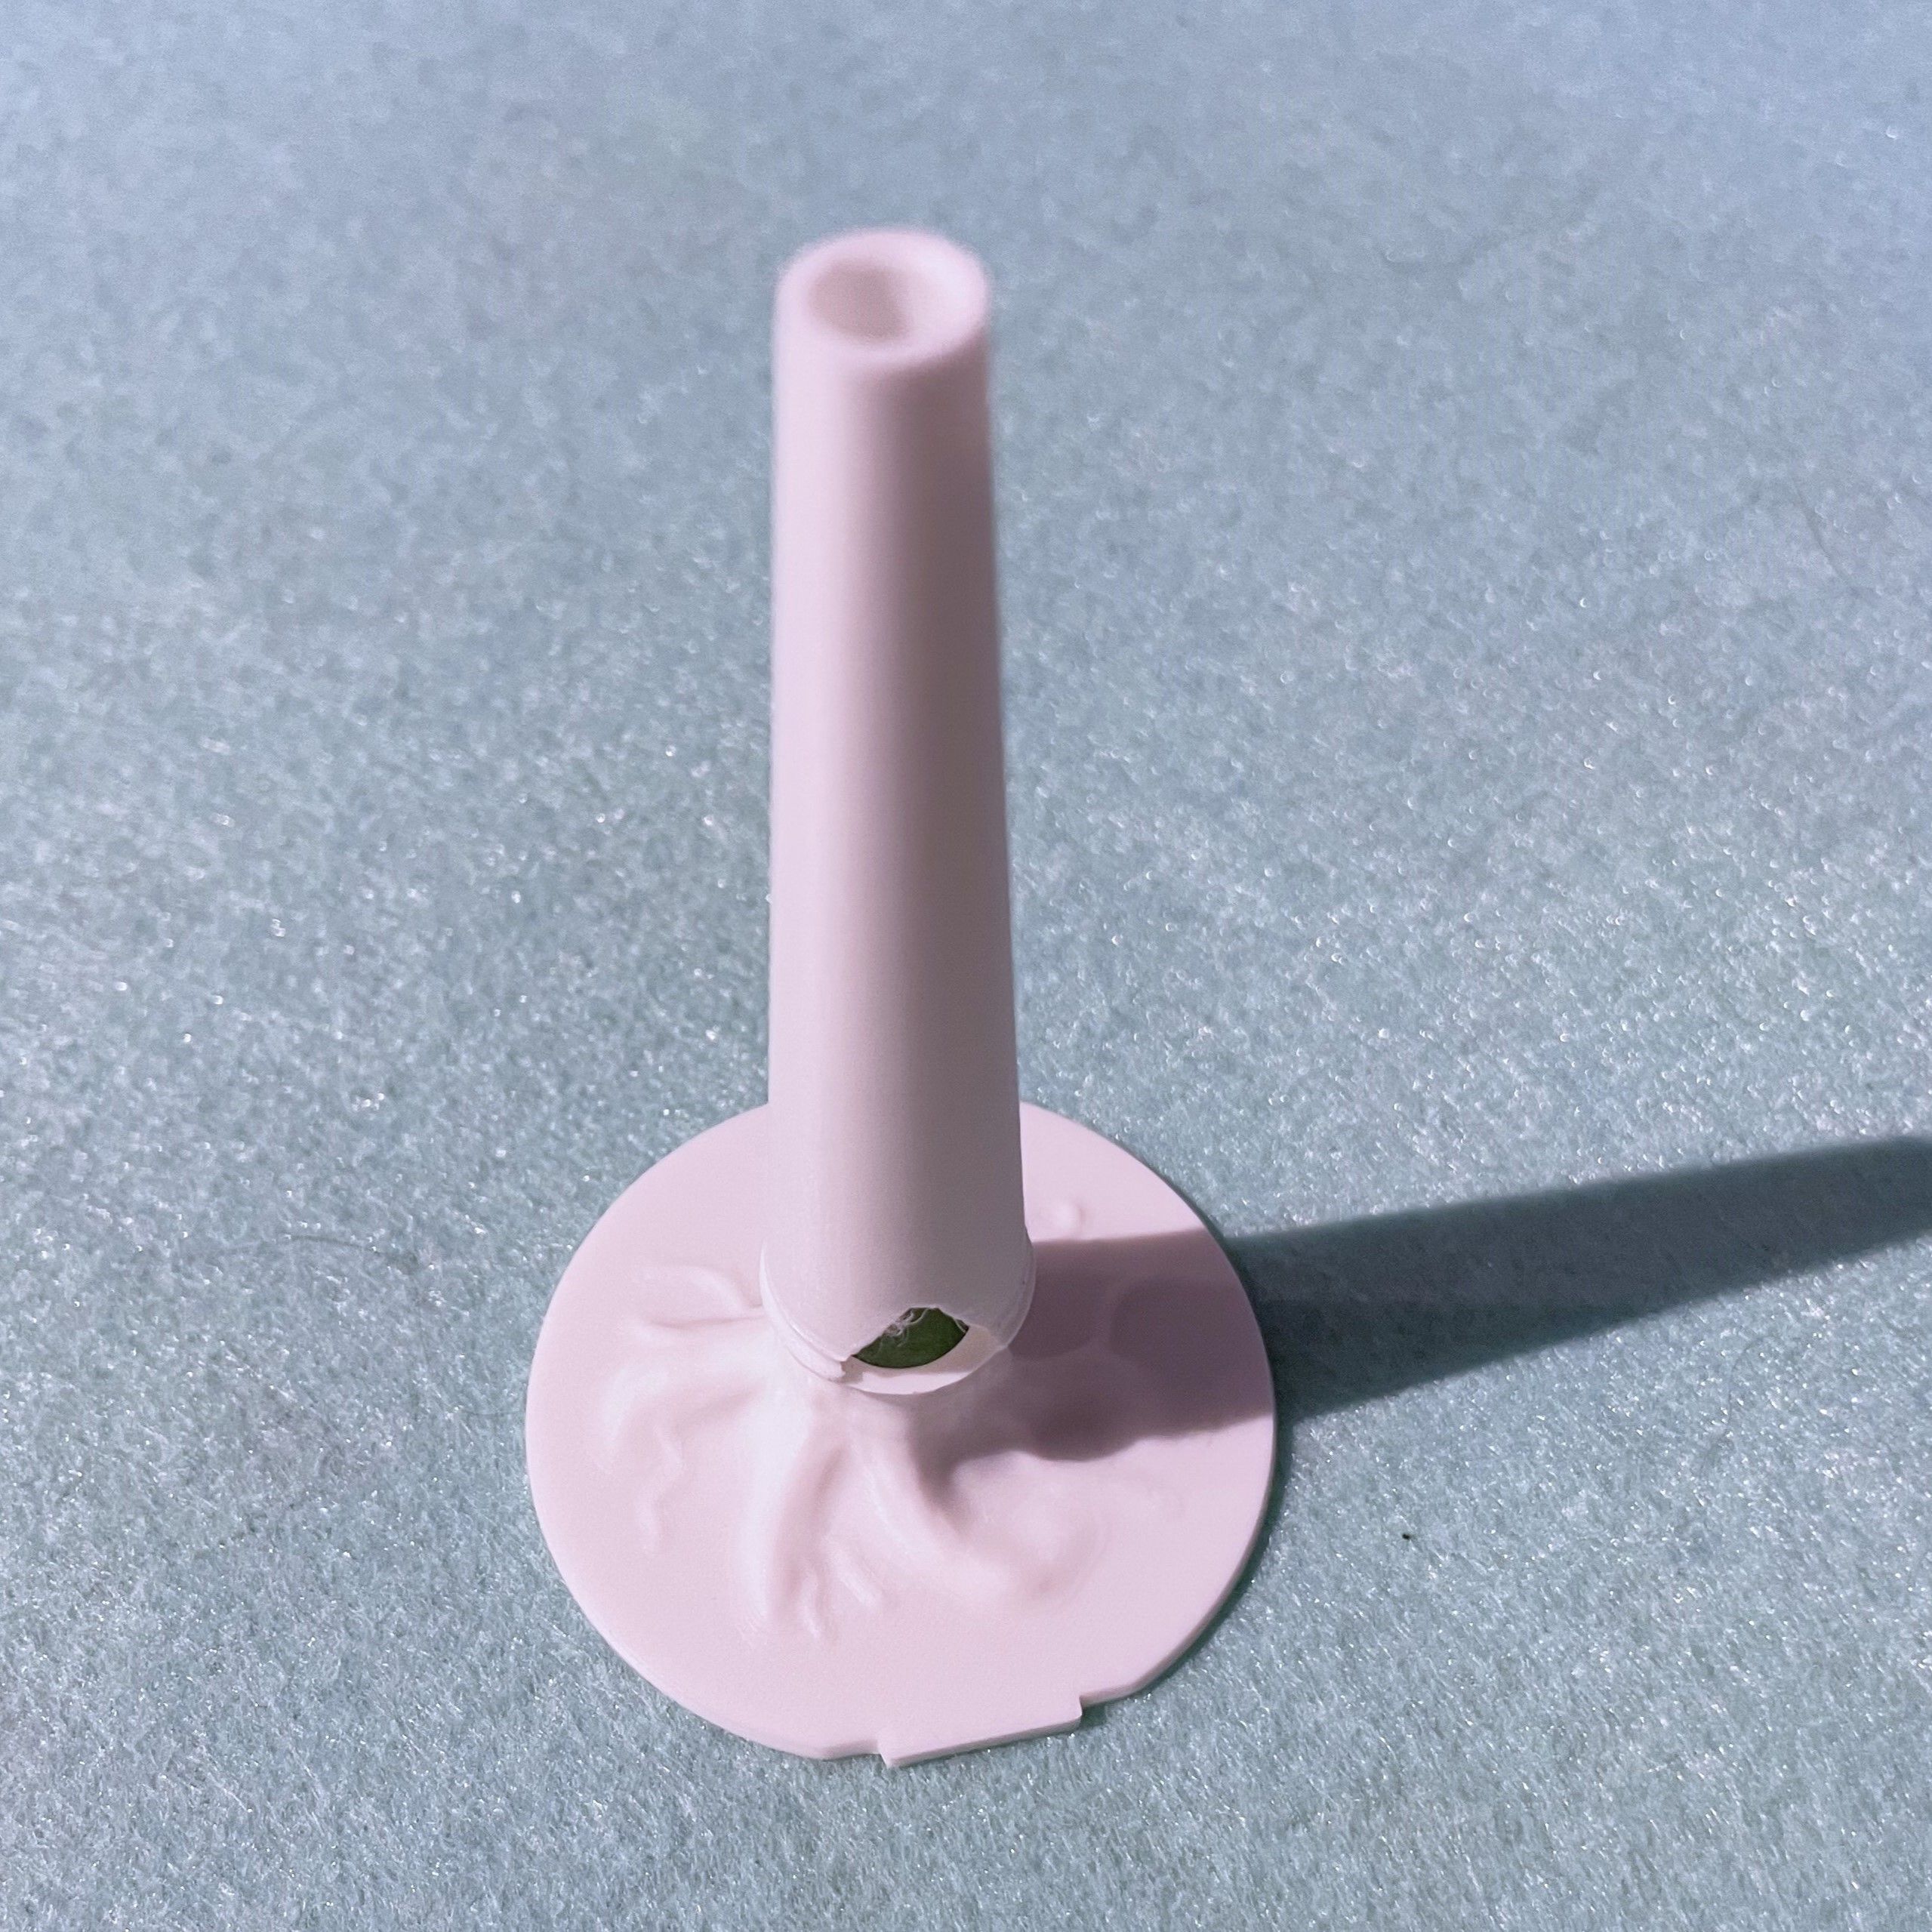
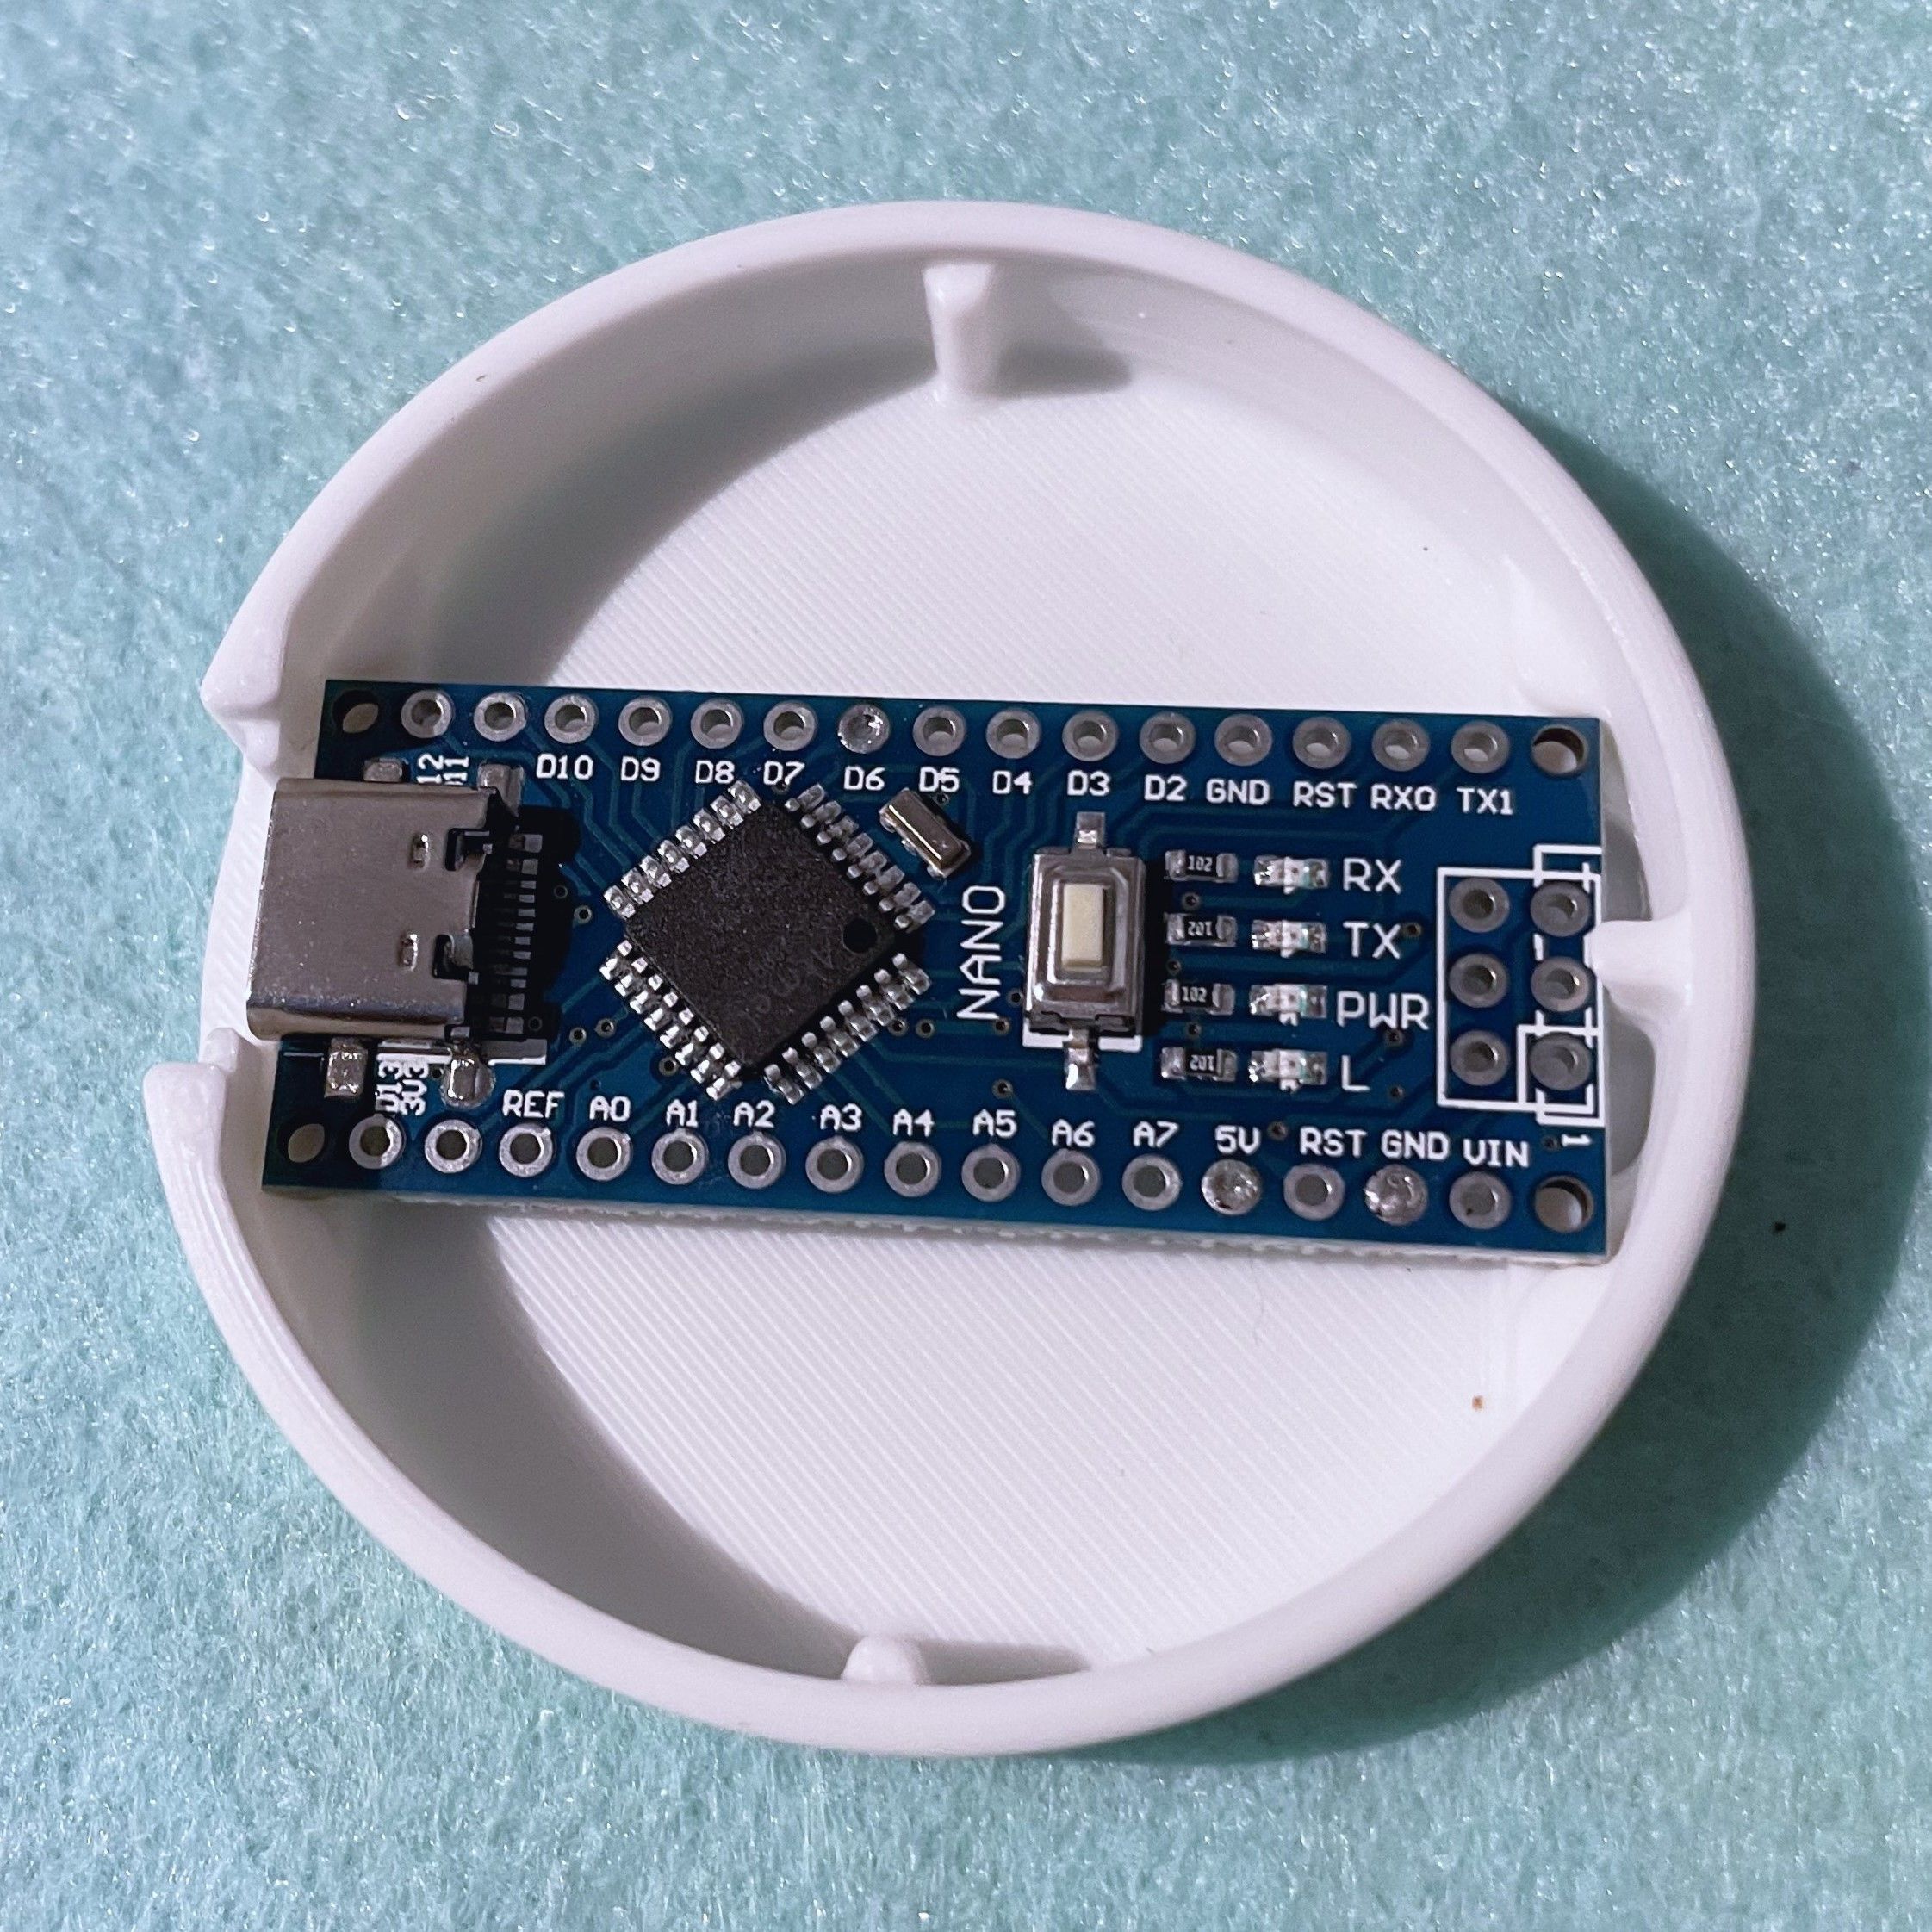
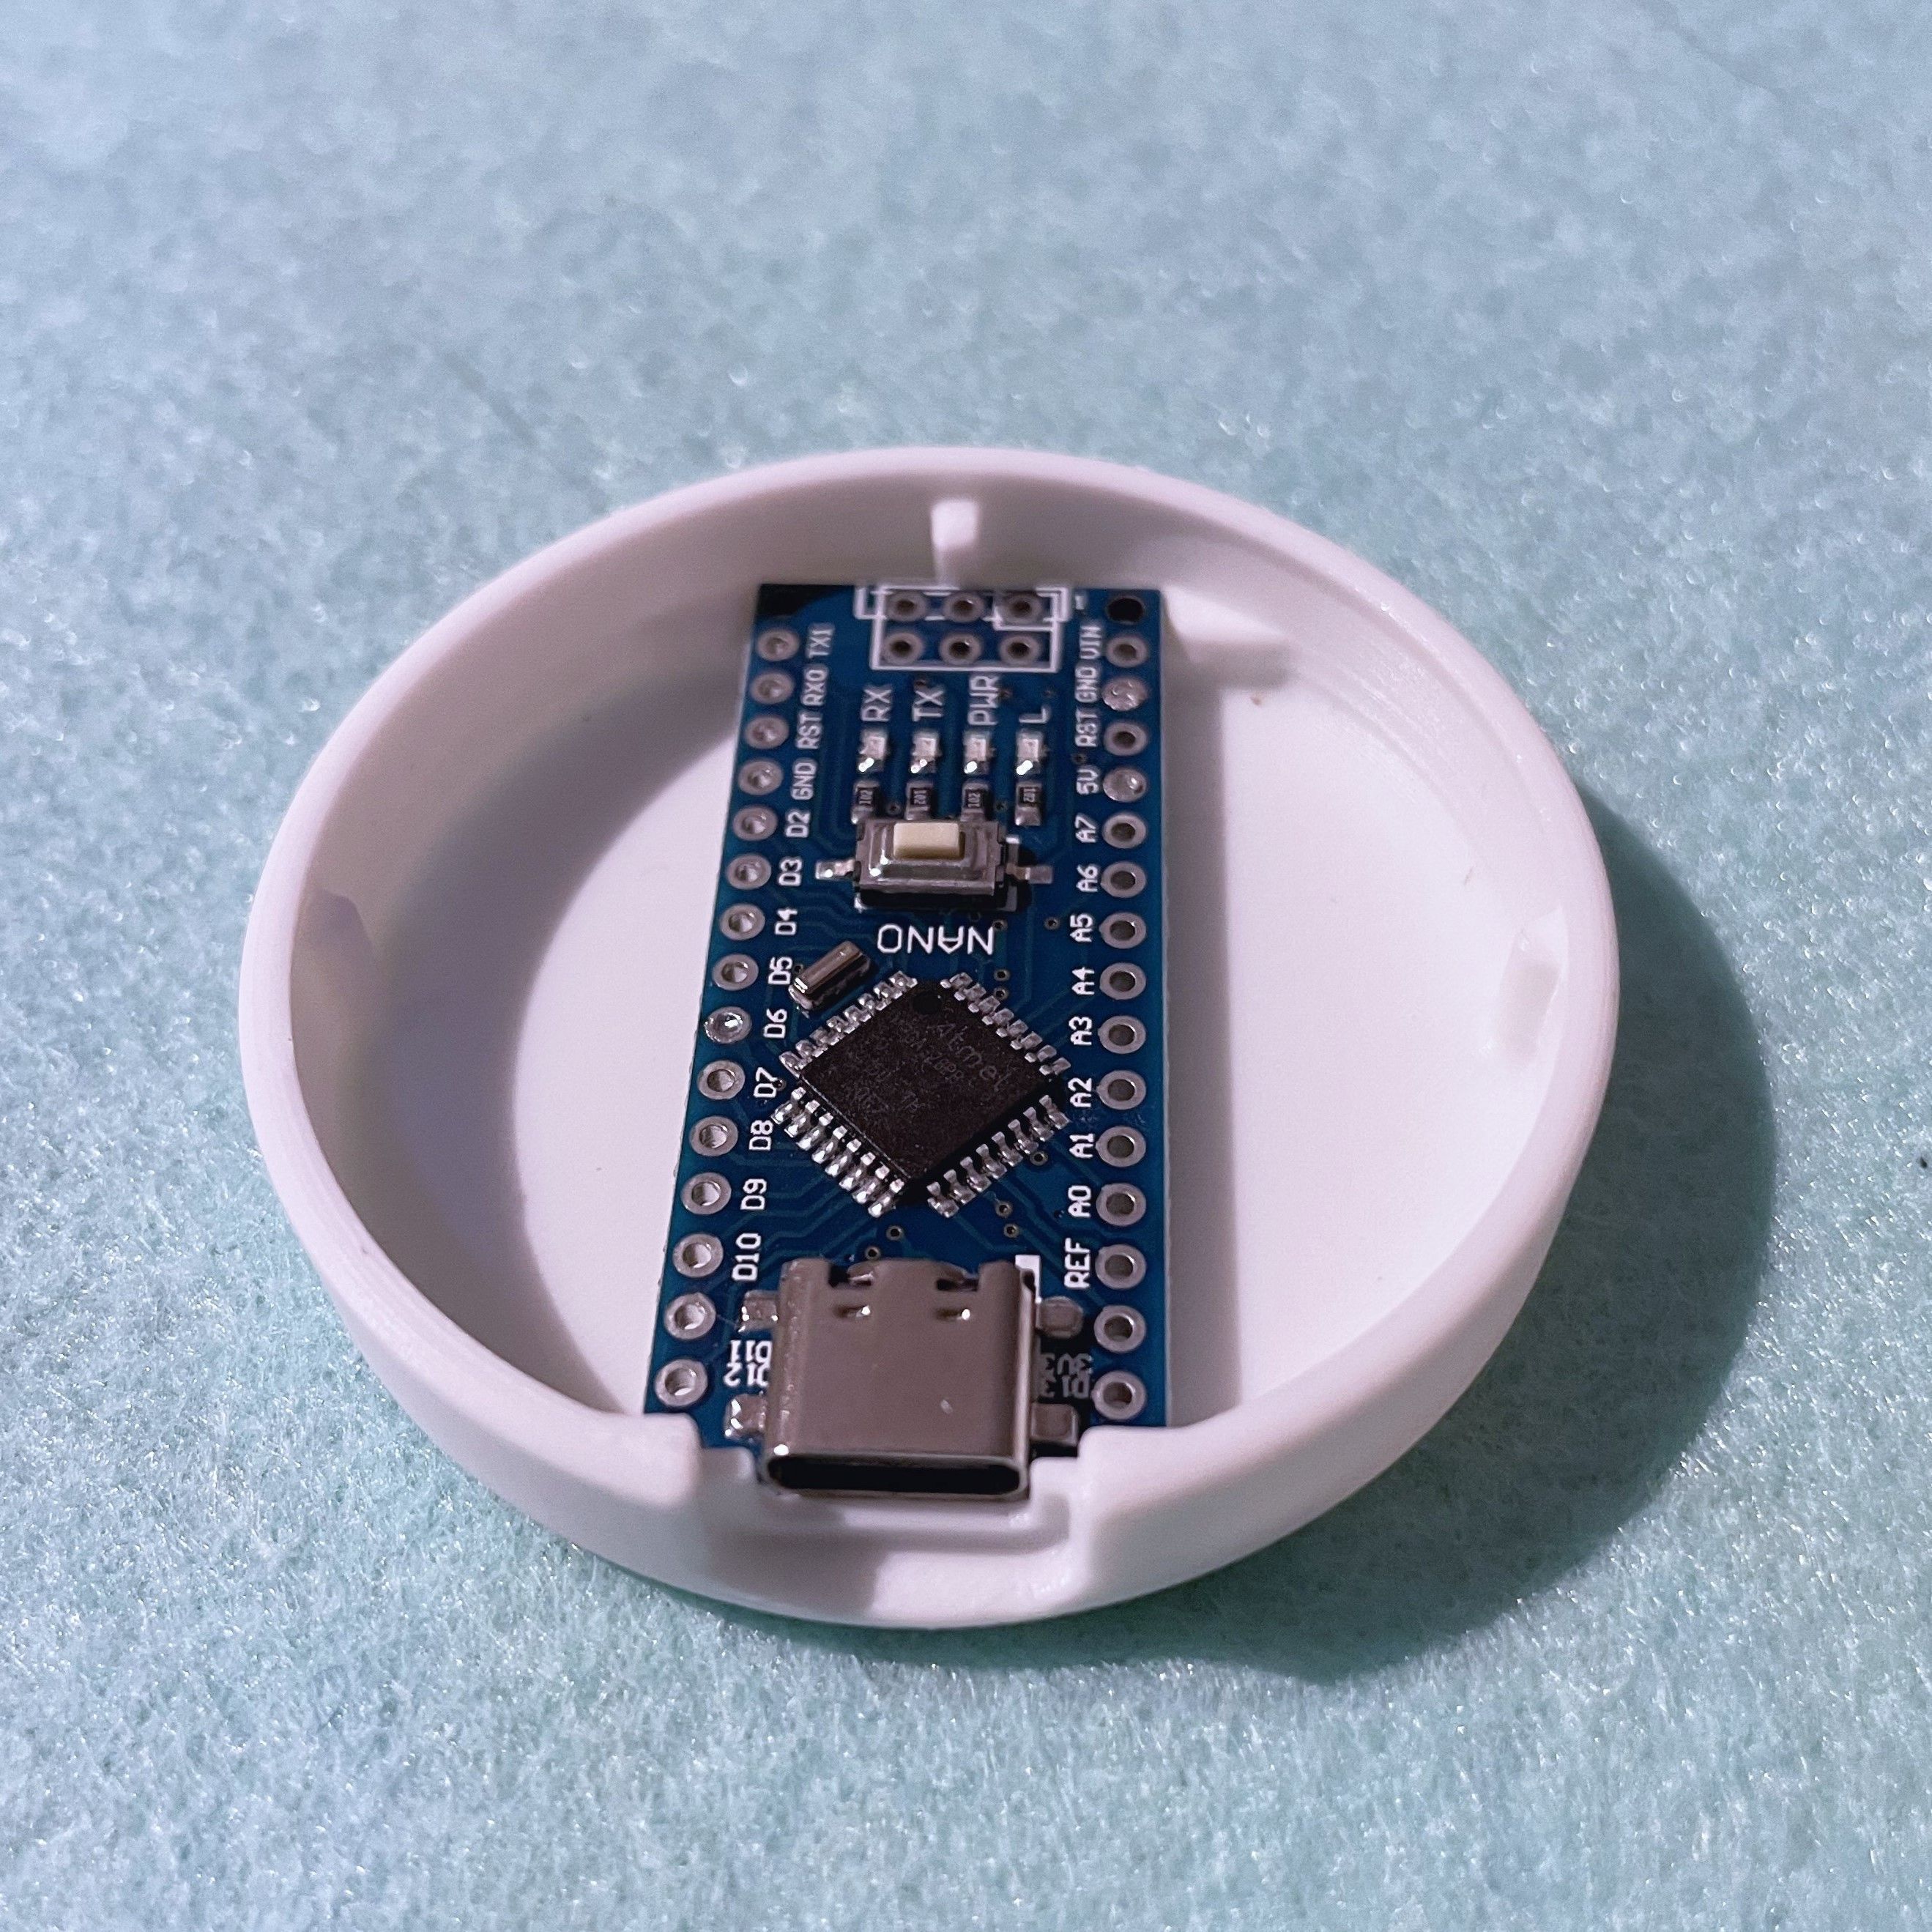
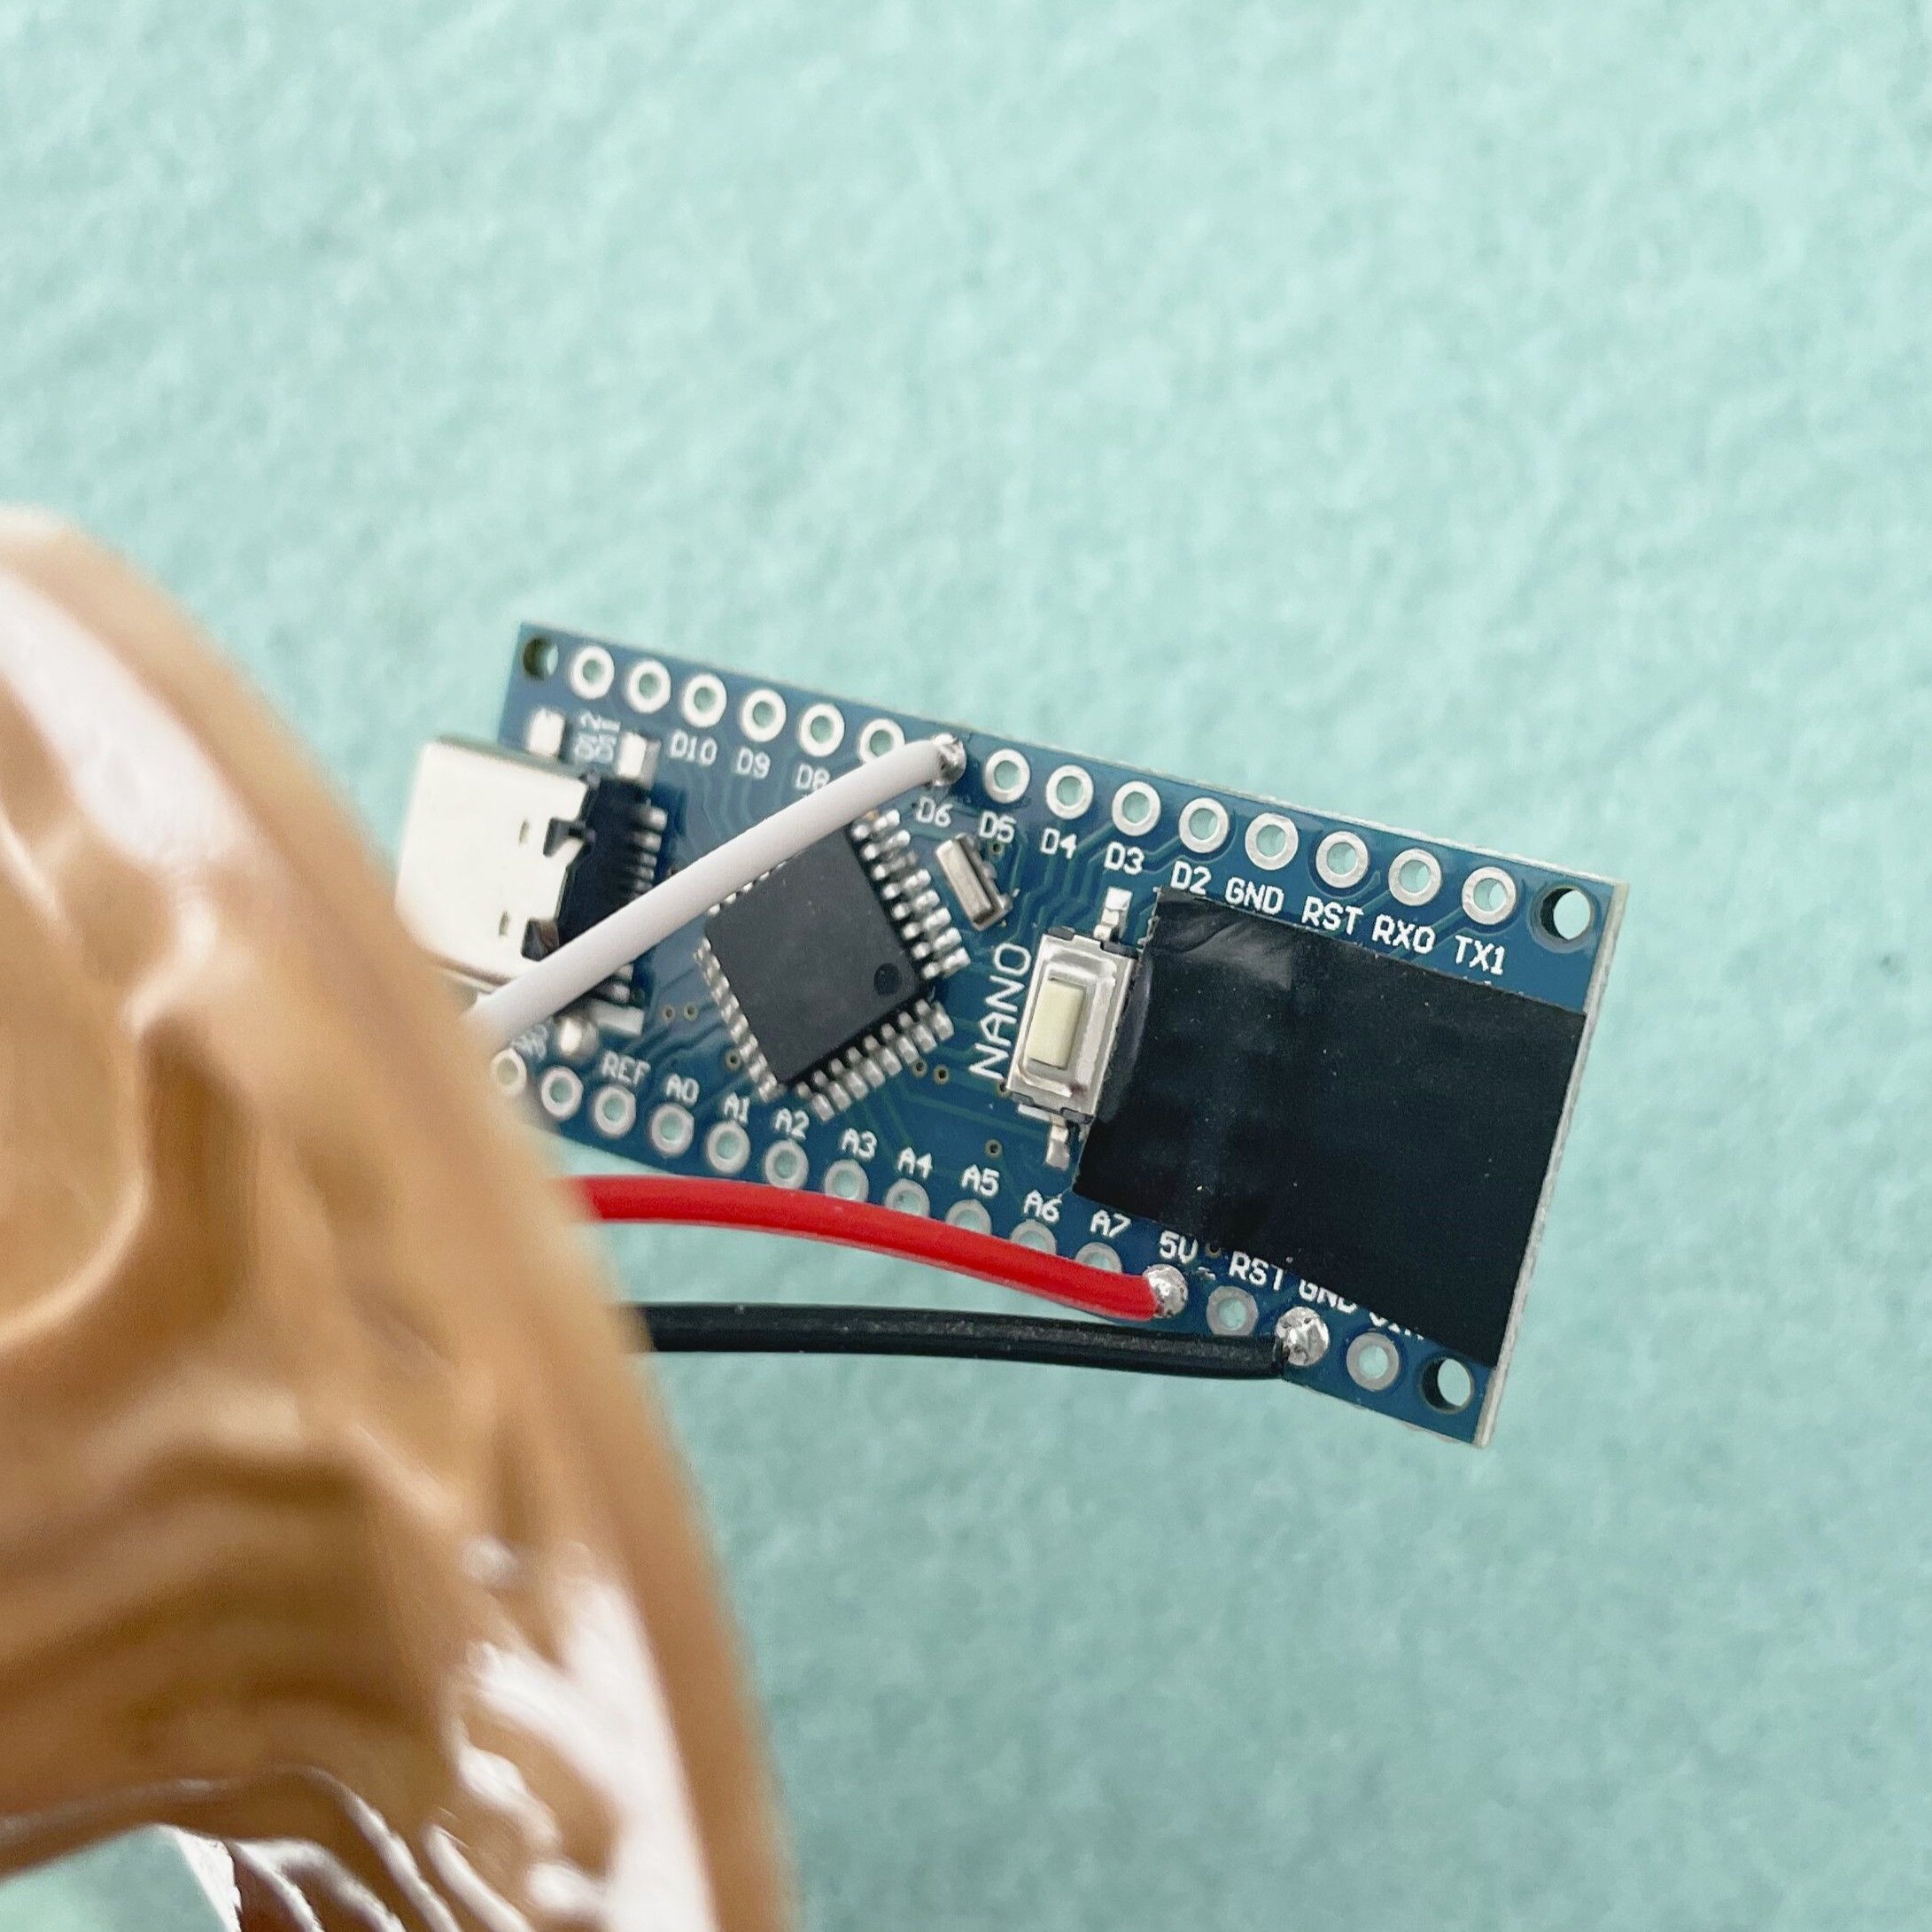
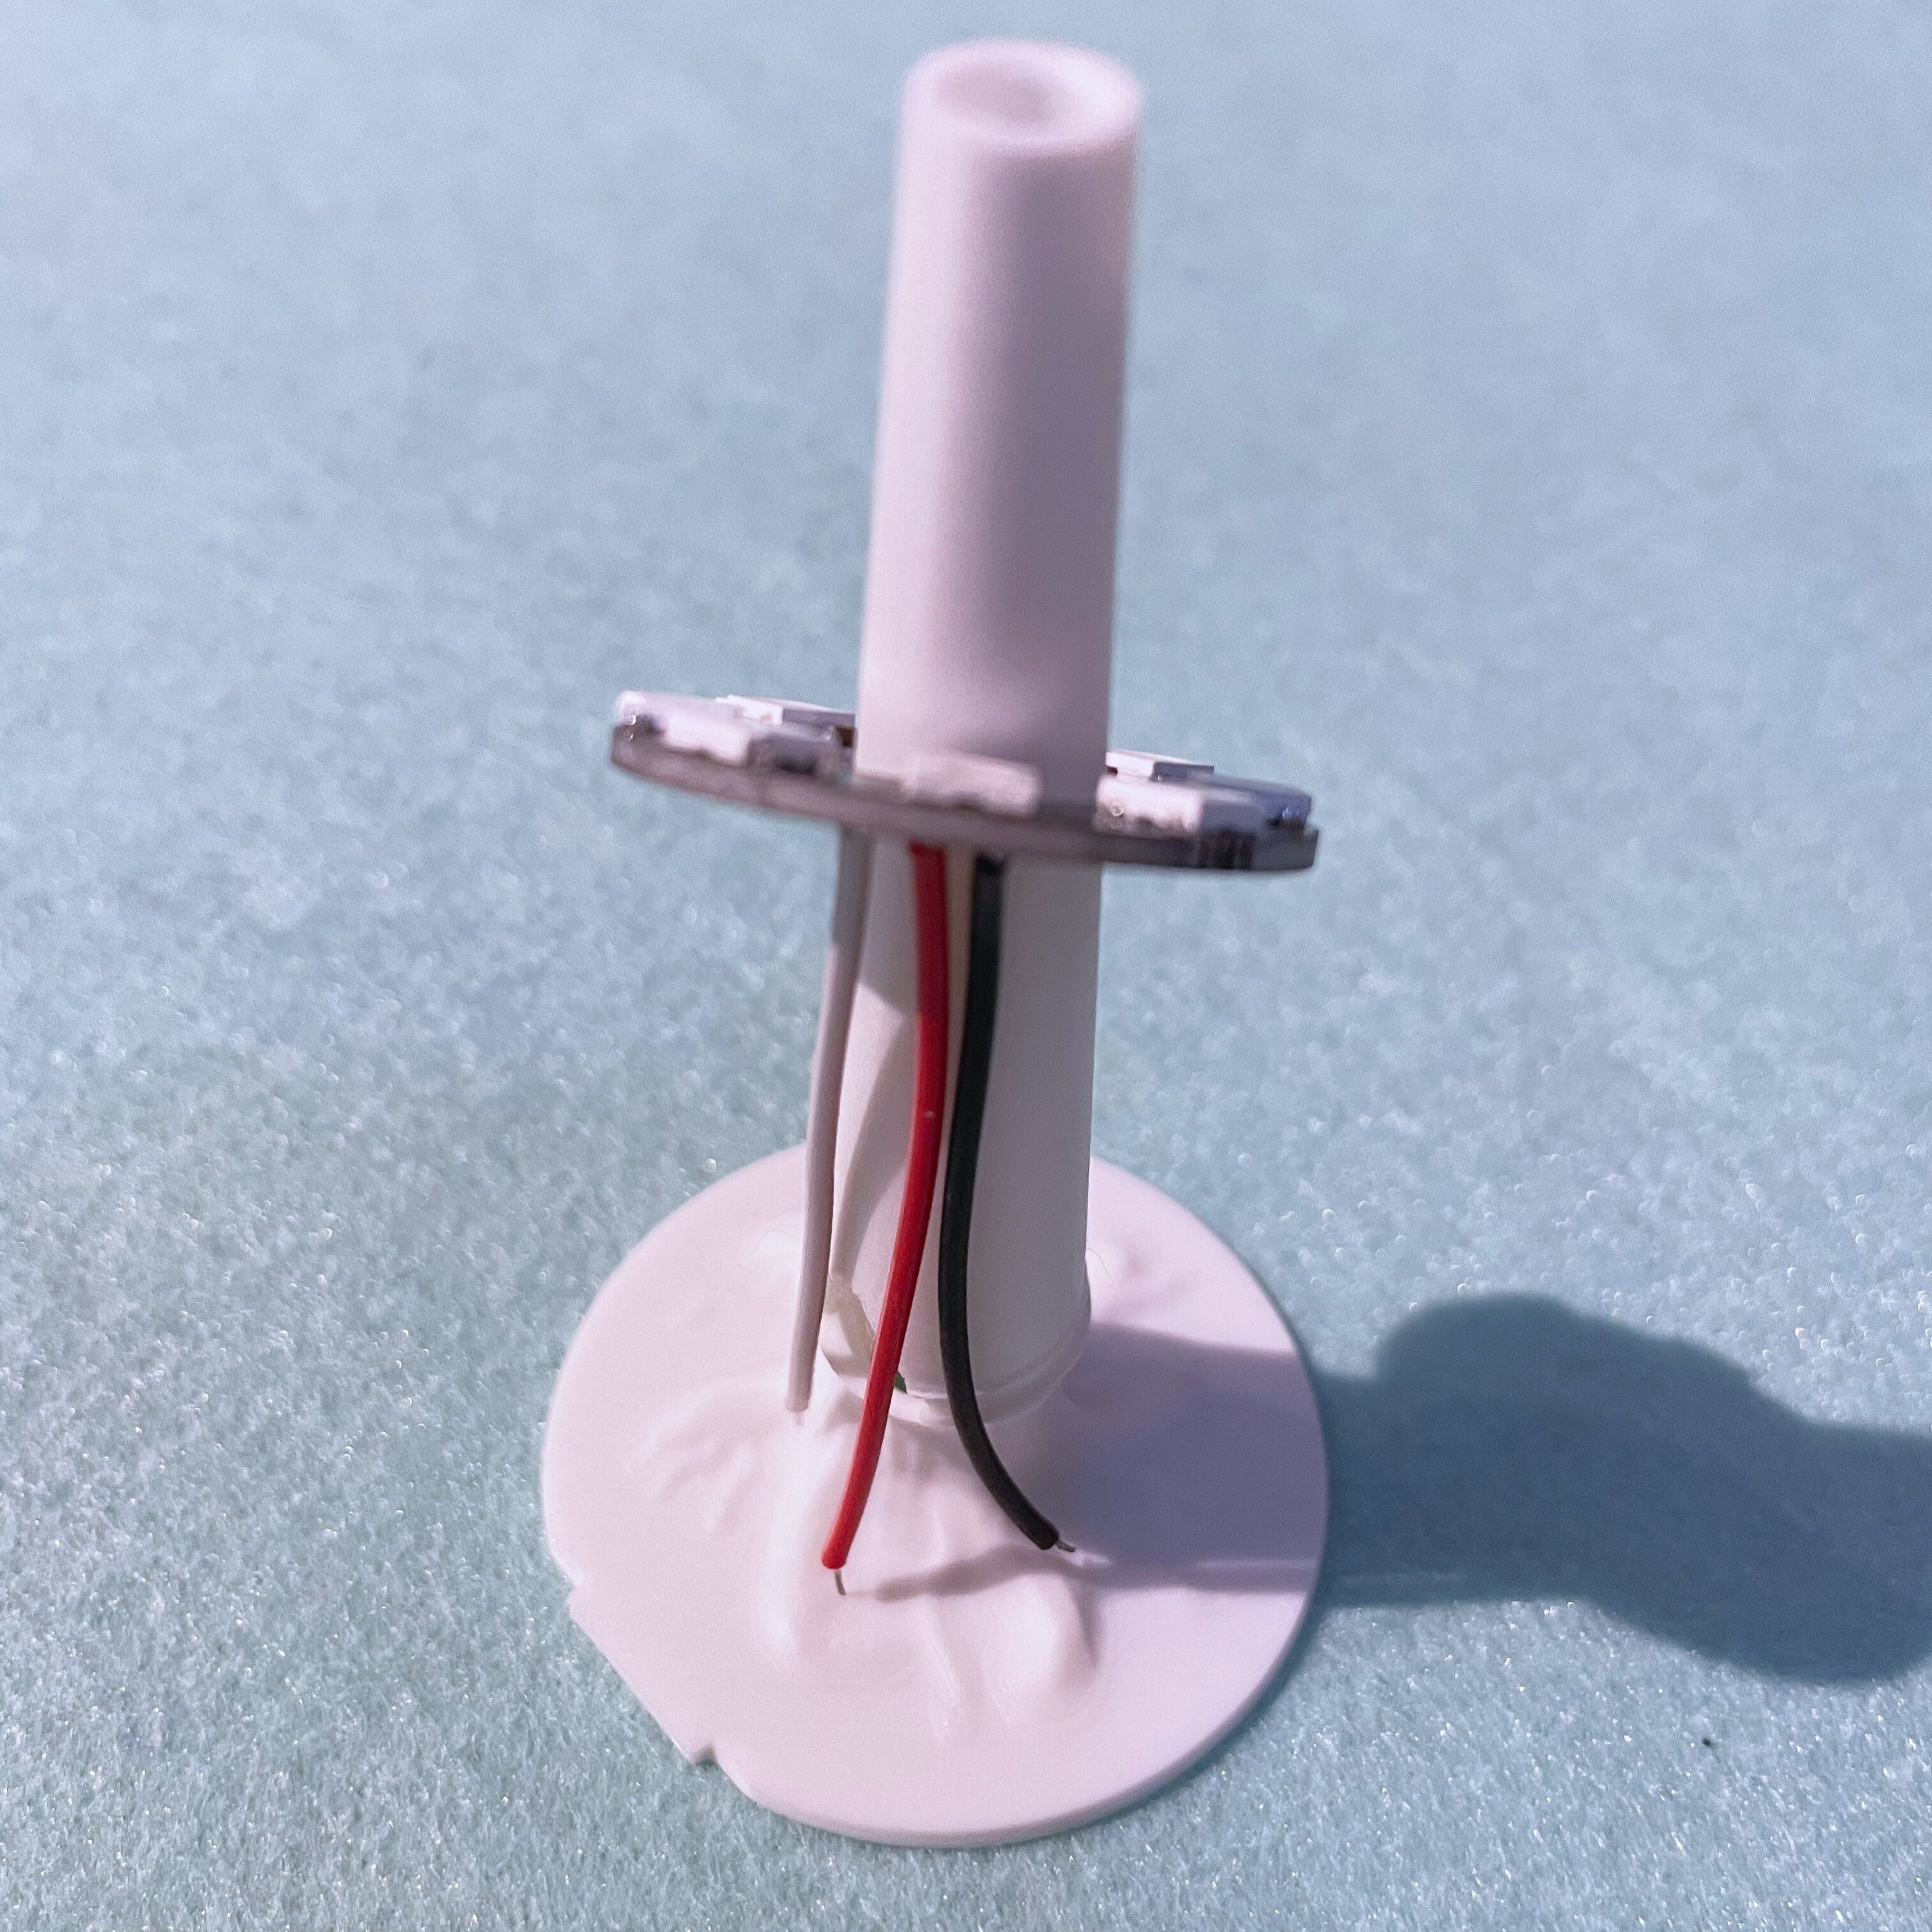
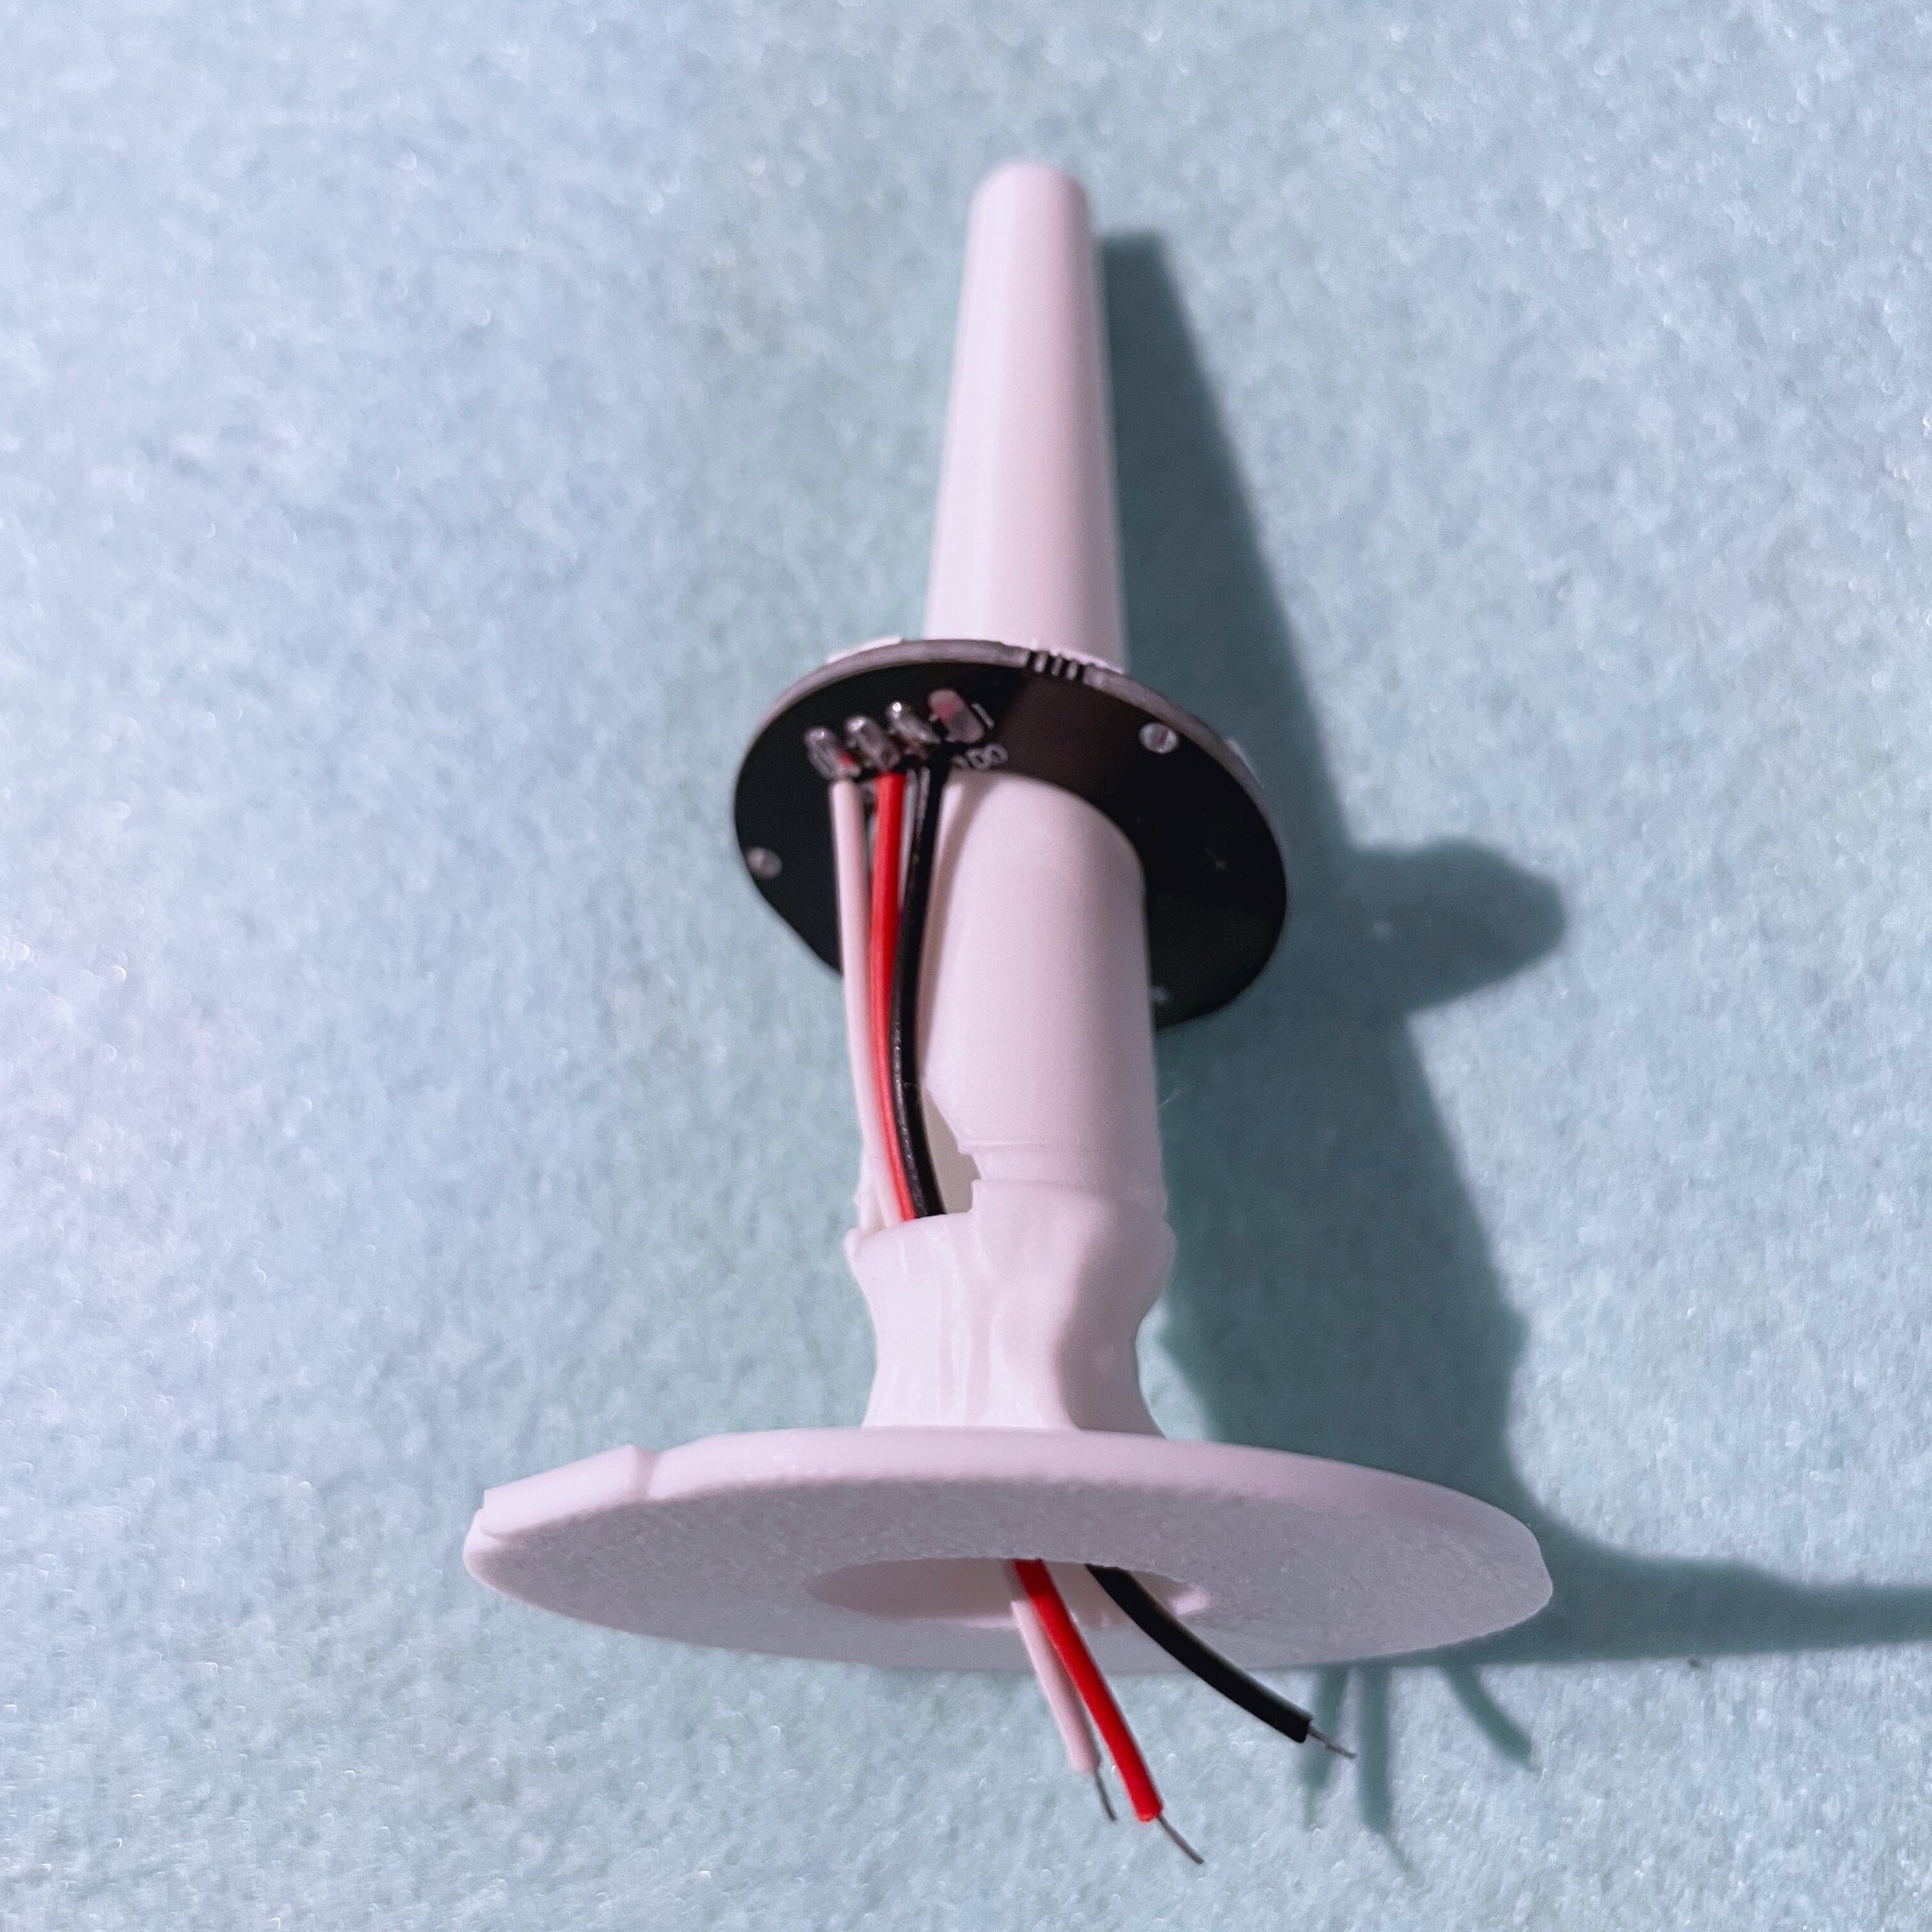
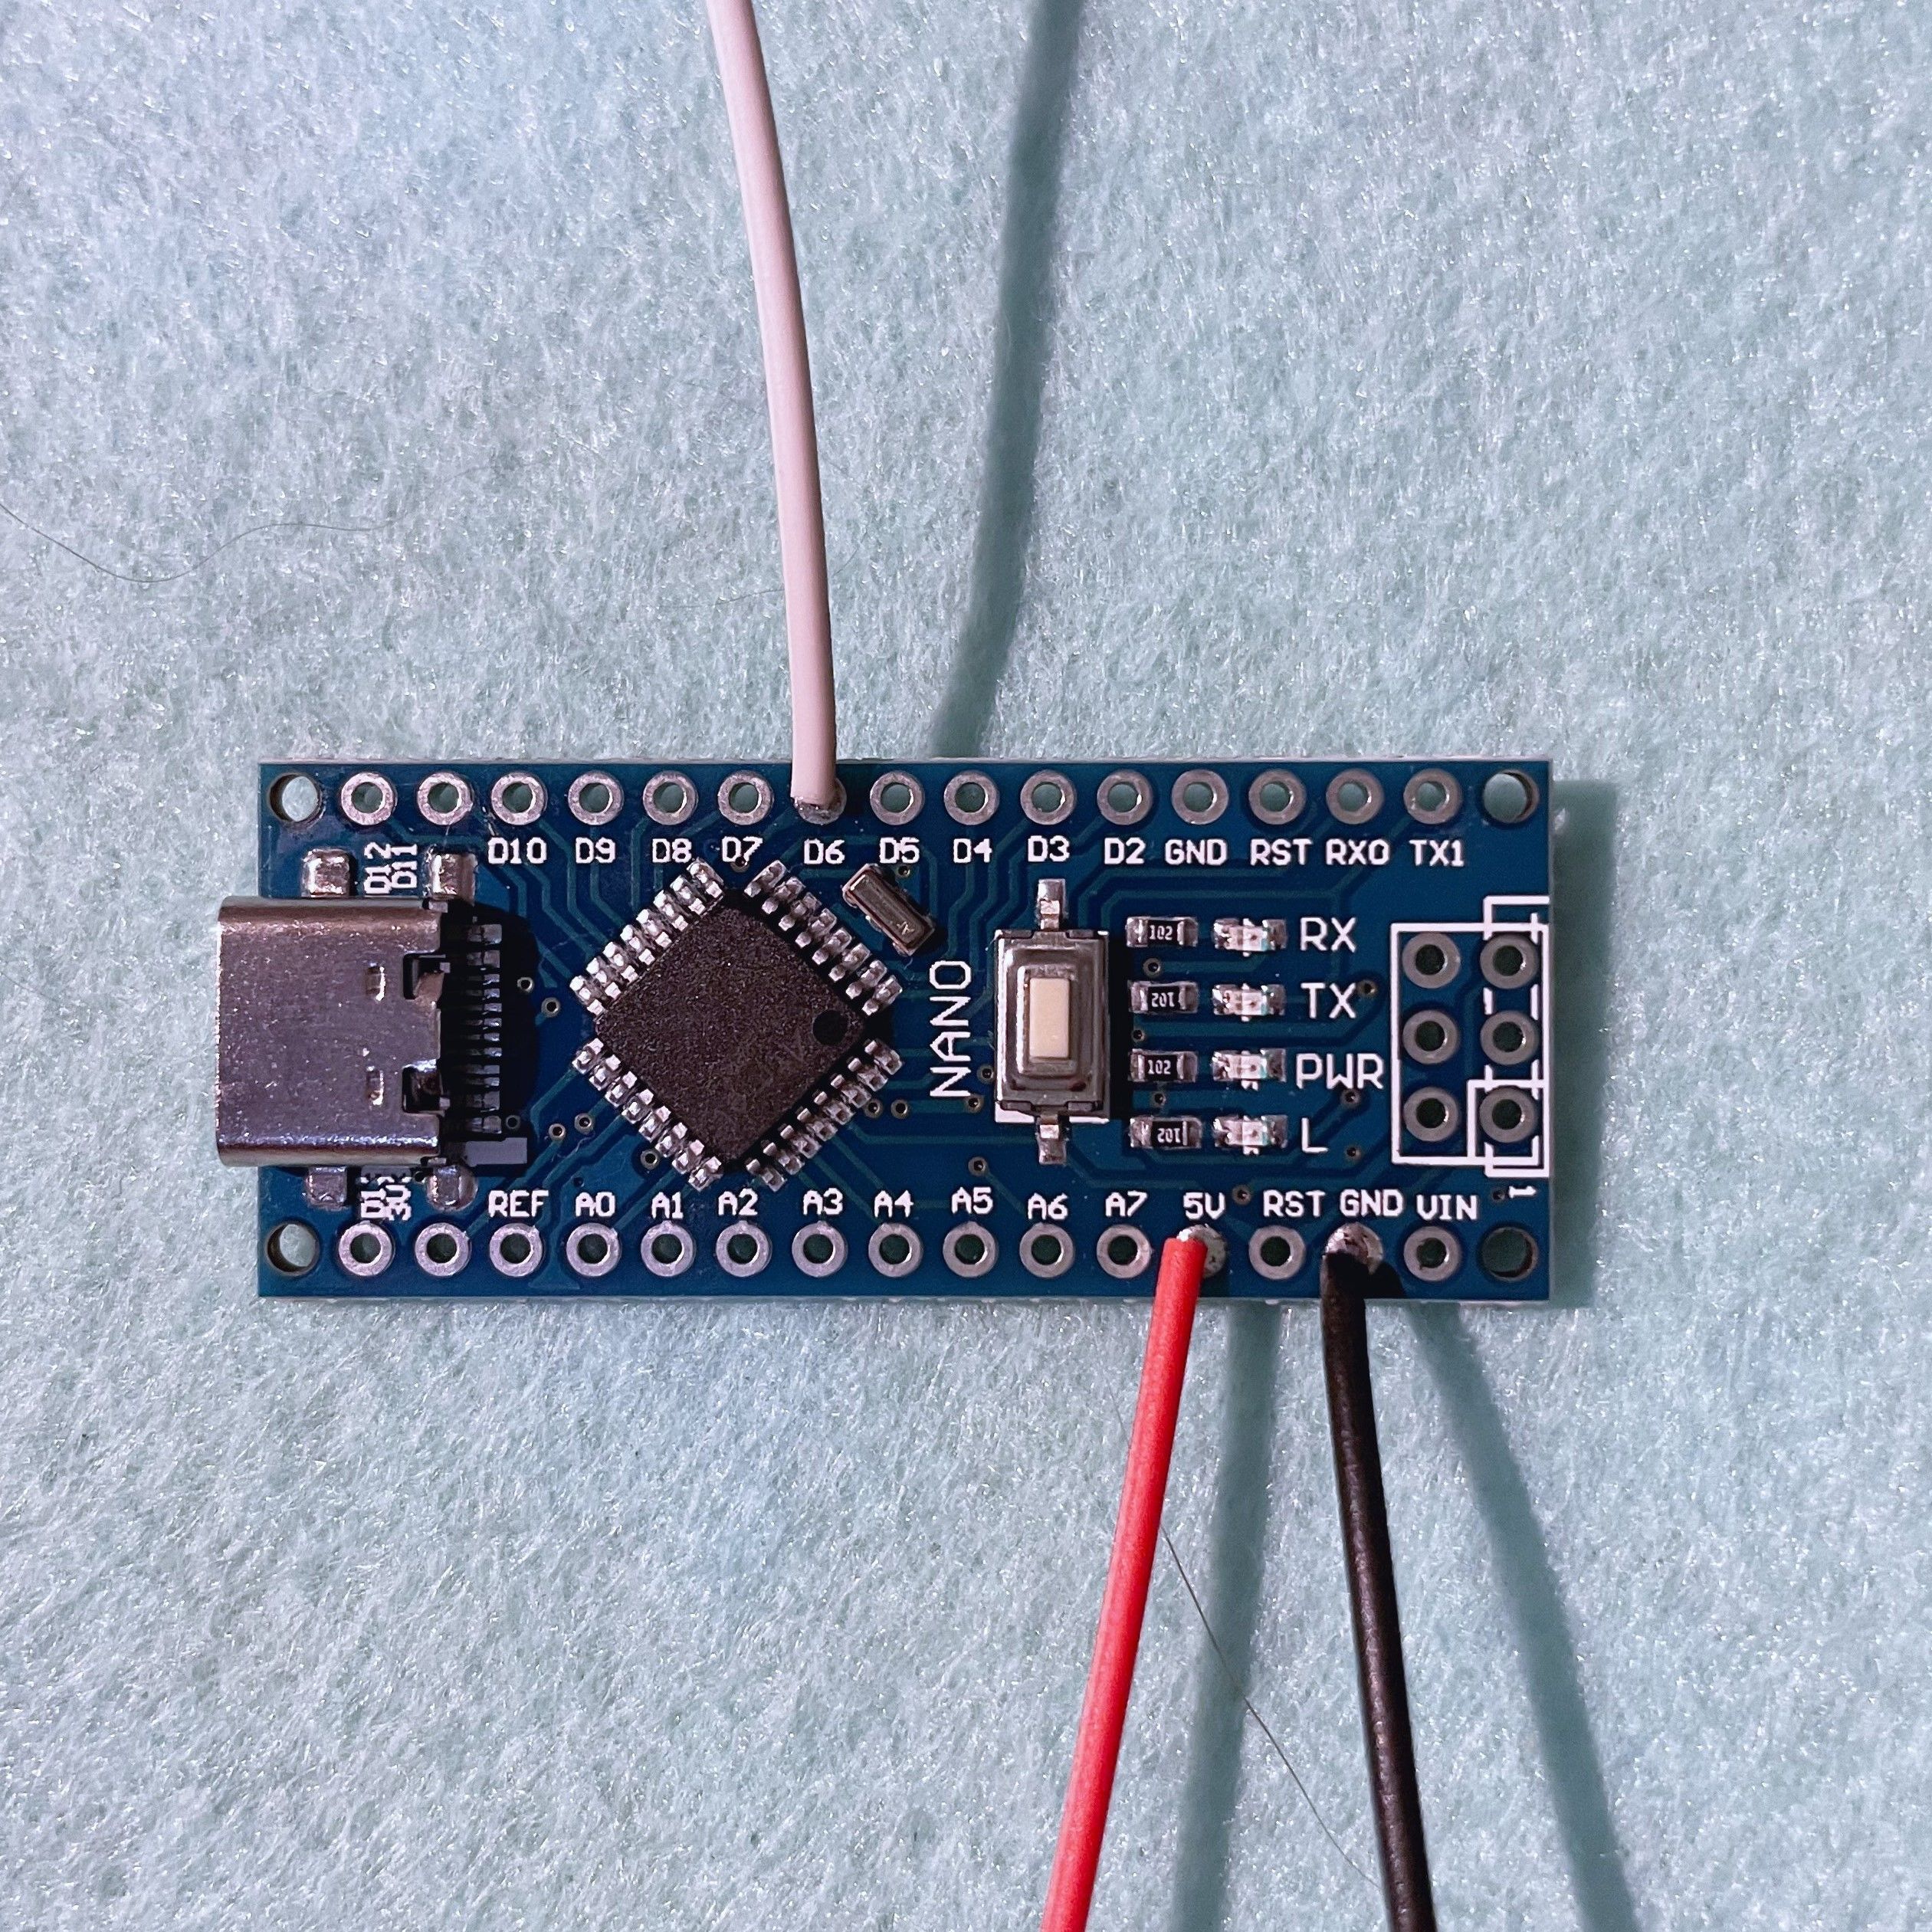
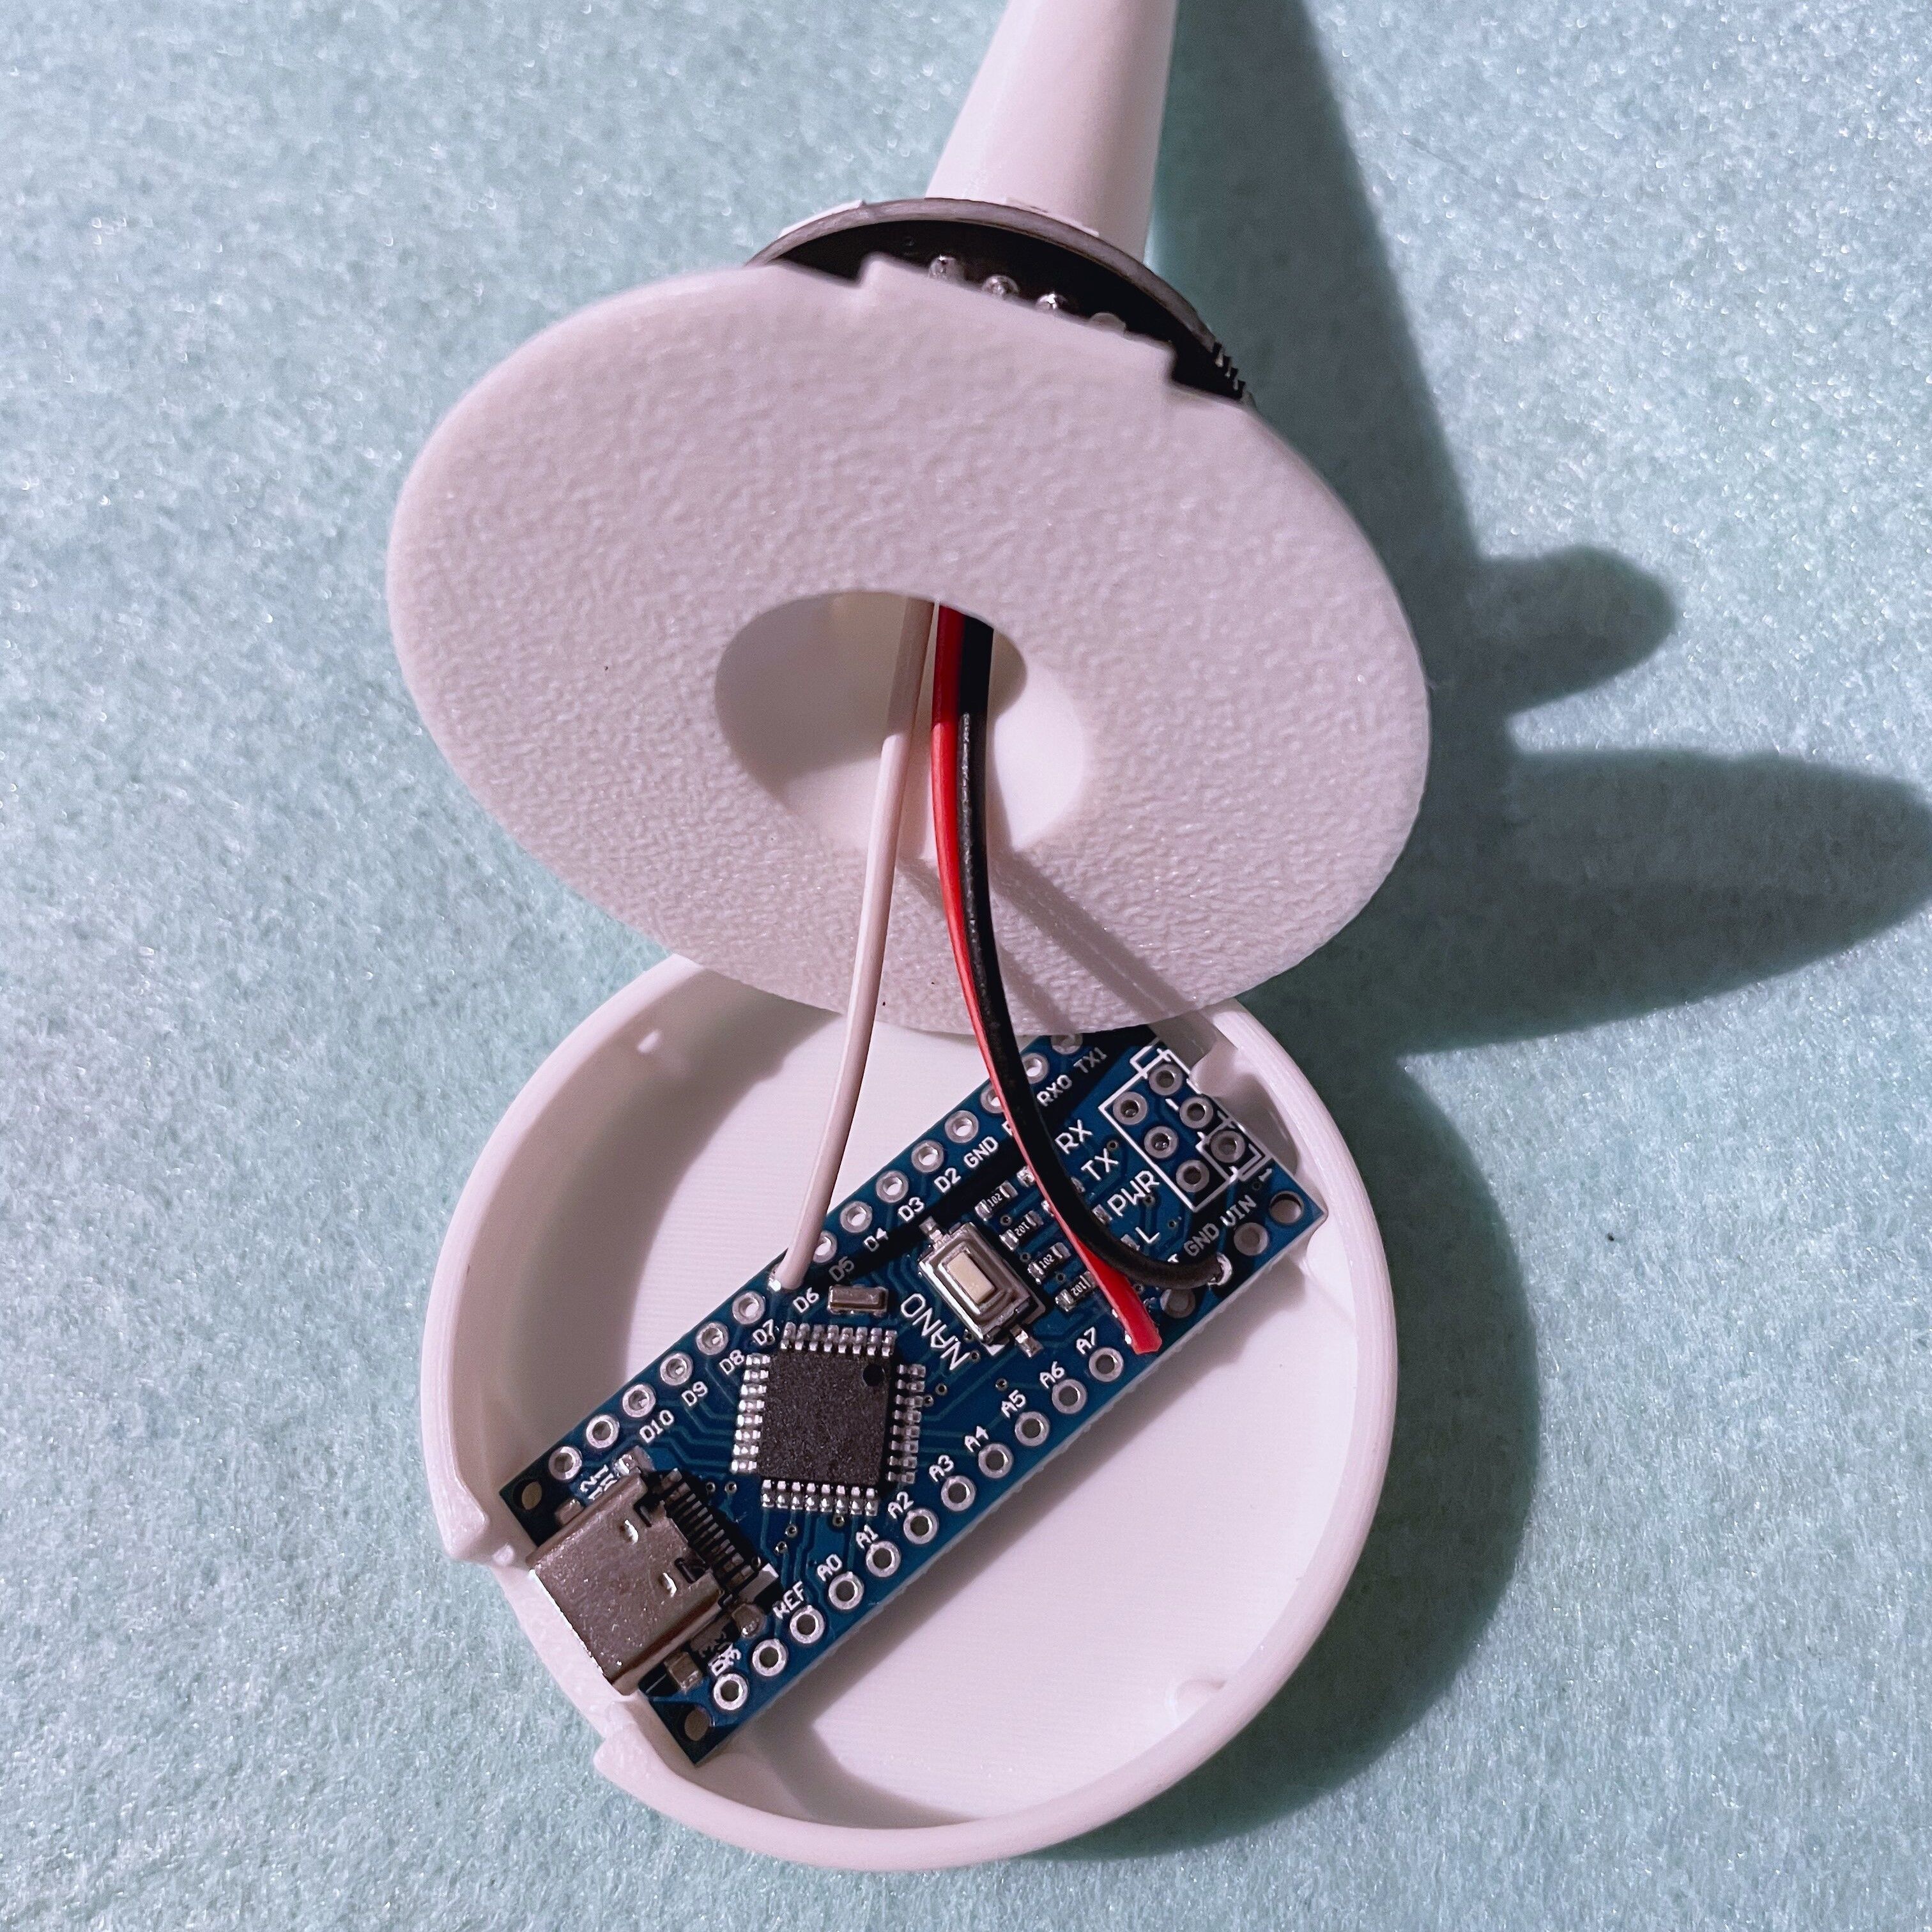
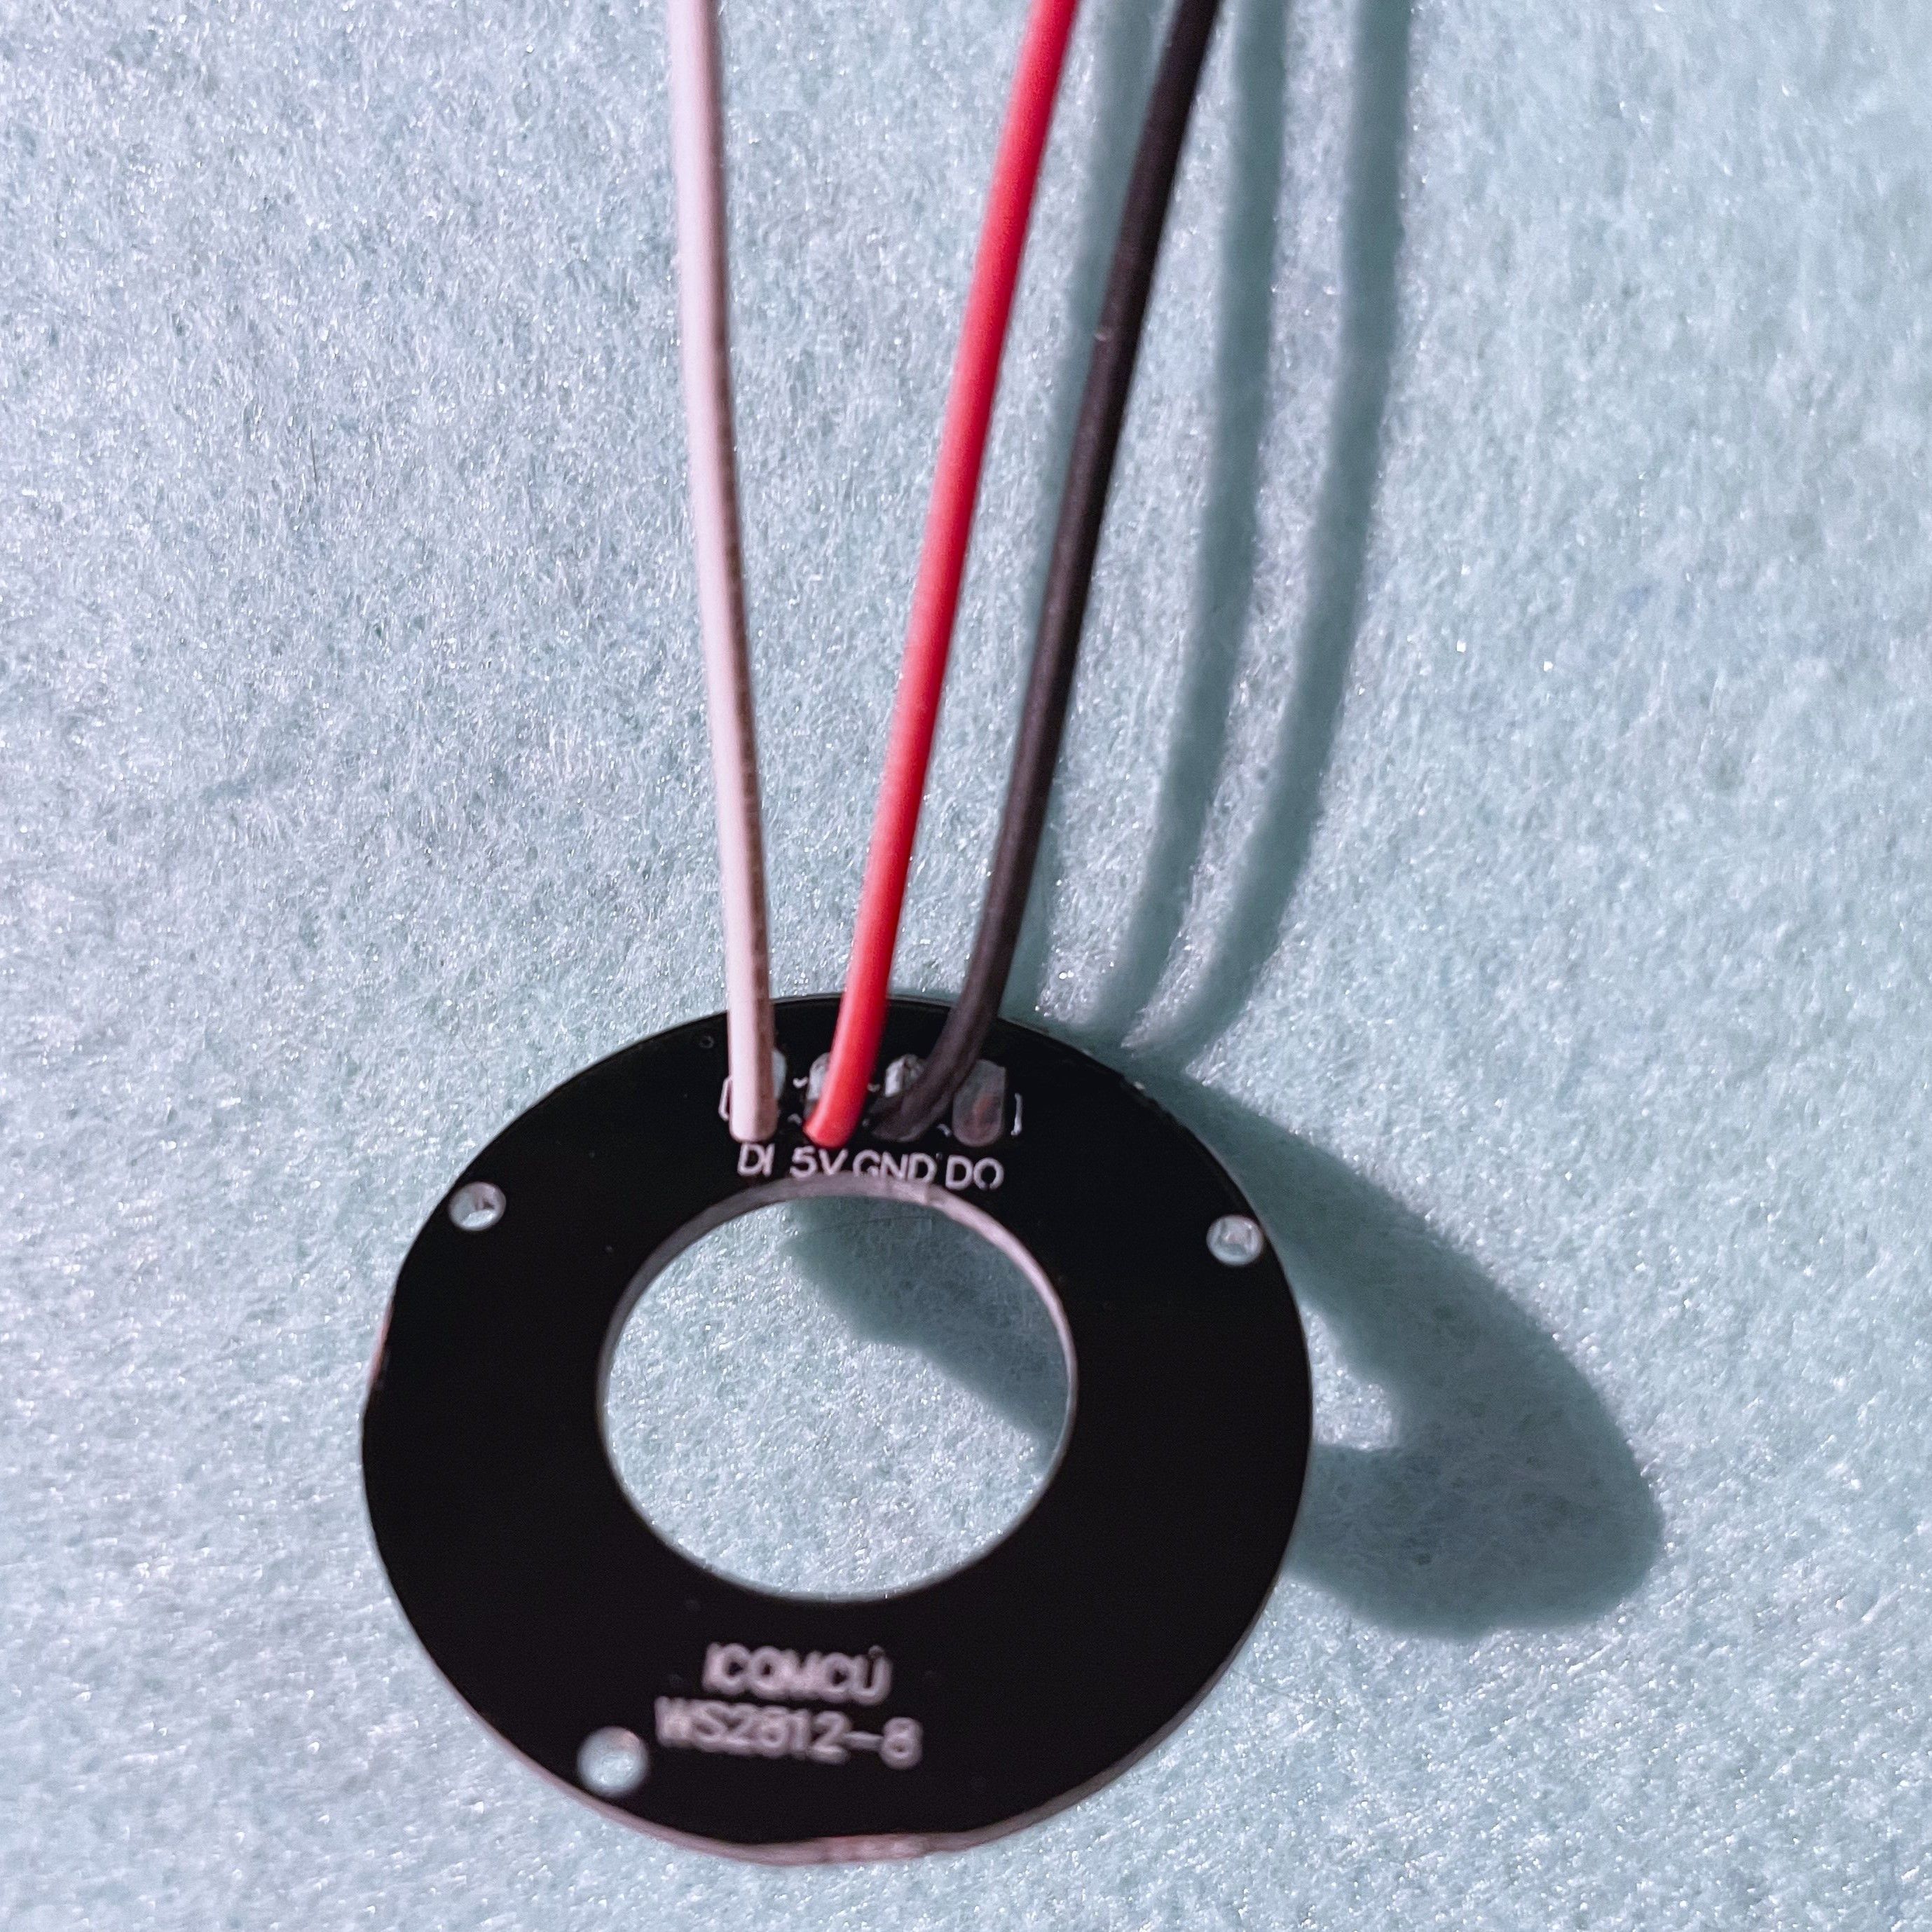
Assembly Instructions:1.Solder a 70mm wire to the “DI” pin of the WS2812-8 ring.2.Solder a 70mm wire to the “5V” pin of the WS2812-8 ring.3.Solder a 70mm wire to the “GND” pin of the WS2812-8 ring.4.Insert the ring into the trunk.5.Pass the wires through the slot.6.Solder the wire coming from the “DI” pin to pin 6 of the Atmega328 Nano 3.0 microcontroller.7.Solder the wire coming from pin “5V” to pin 5V of the Atmega328 Nano 3.0 microcontroller. 8.Solder the wire coming from pin “GND” to pin GND of the Atmega328 Nano 3.0 microcontroller.9.Insert the Atmega328 Nano 3.0 microcontroller into the base.10.Join the base and the trunk by exerting pressure.11.Place the top of the tree on the trunk.12.Finally, insert the two parts of the star to fix the whole. Make sure that the WS2812-8 ring is properly fitted into the tree top.13.To prevent the integrated LEDs in the microcontroller from producing unwanted light, I recommend sticking a piece of black insulating tape on top of the LEDs.
Programming Instructions:Programmed with Arduino IDE1.Select the Arduino Nano board.2.Select Processor Atmega328P.3.Select Programmer Arduino as ISP.4.Upload the program included in the zip file Multicolor_Tree.zip.
3D PRINTING SETTINGS
Common Settings:Printed with OrcaSlicer and Bambu A1 MiniPrinted with PLAPrint temperature: 210ºBuild plate temperature: 60ºLayer height: 0.12 mmNO necessary supports
Top Tree:Print in Spiralized Mode / vase mode
Trunk and Star (both parts):Infill: 30% Gyroid

3D Model formats
Format limitations
- Stereolithography (.stl) (5 files)33.7 MB
- Other 14.9 MB
3D Model details
- Ready for 3D Printing
- Publish date2024-12-03
- Model ID#5690424
Similar Models

Users who bought this item also bought...
