1/7
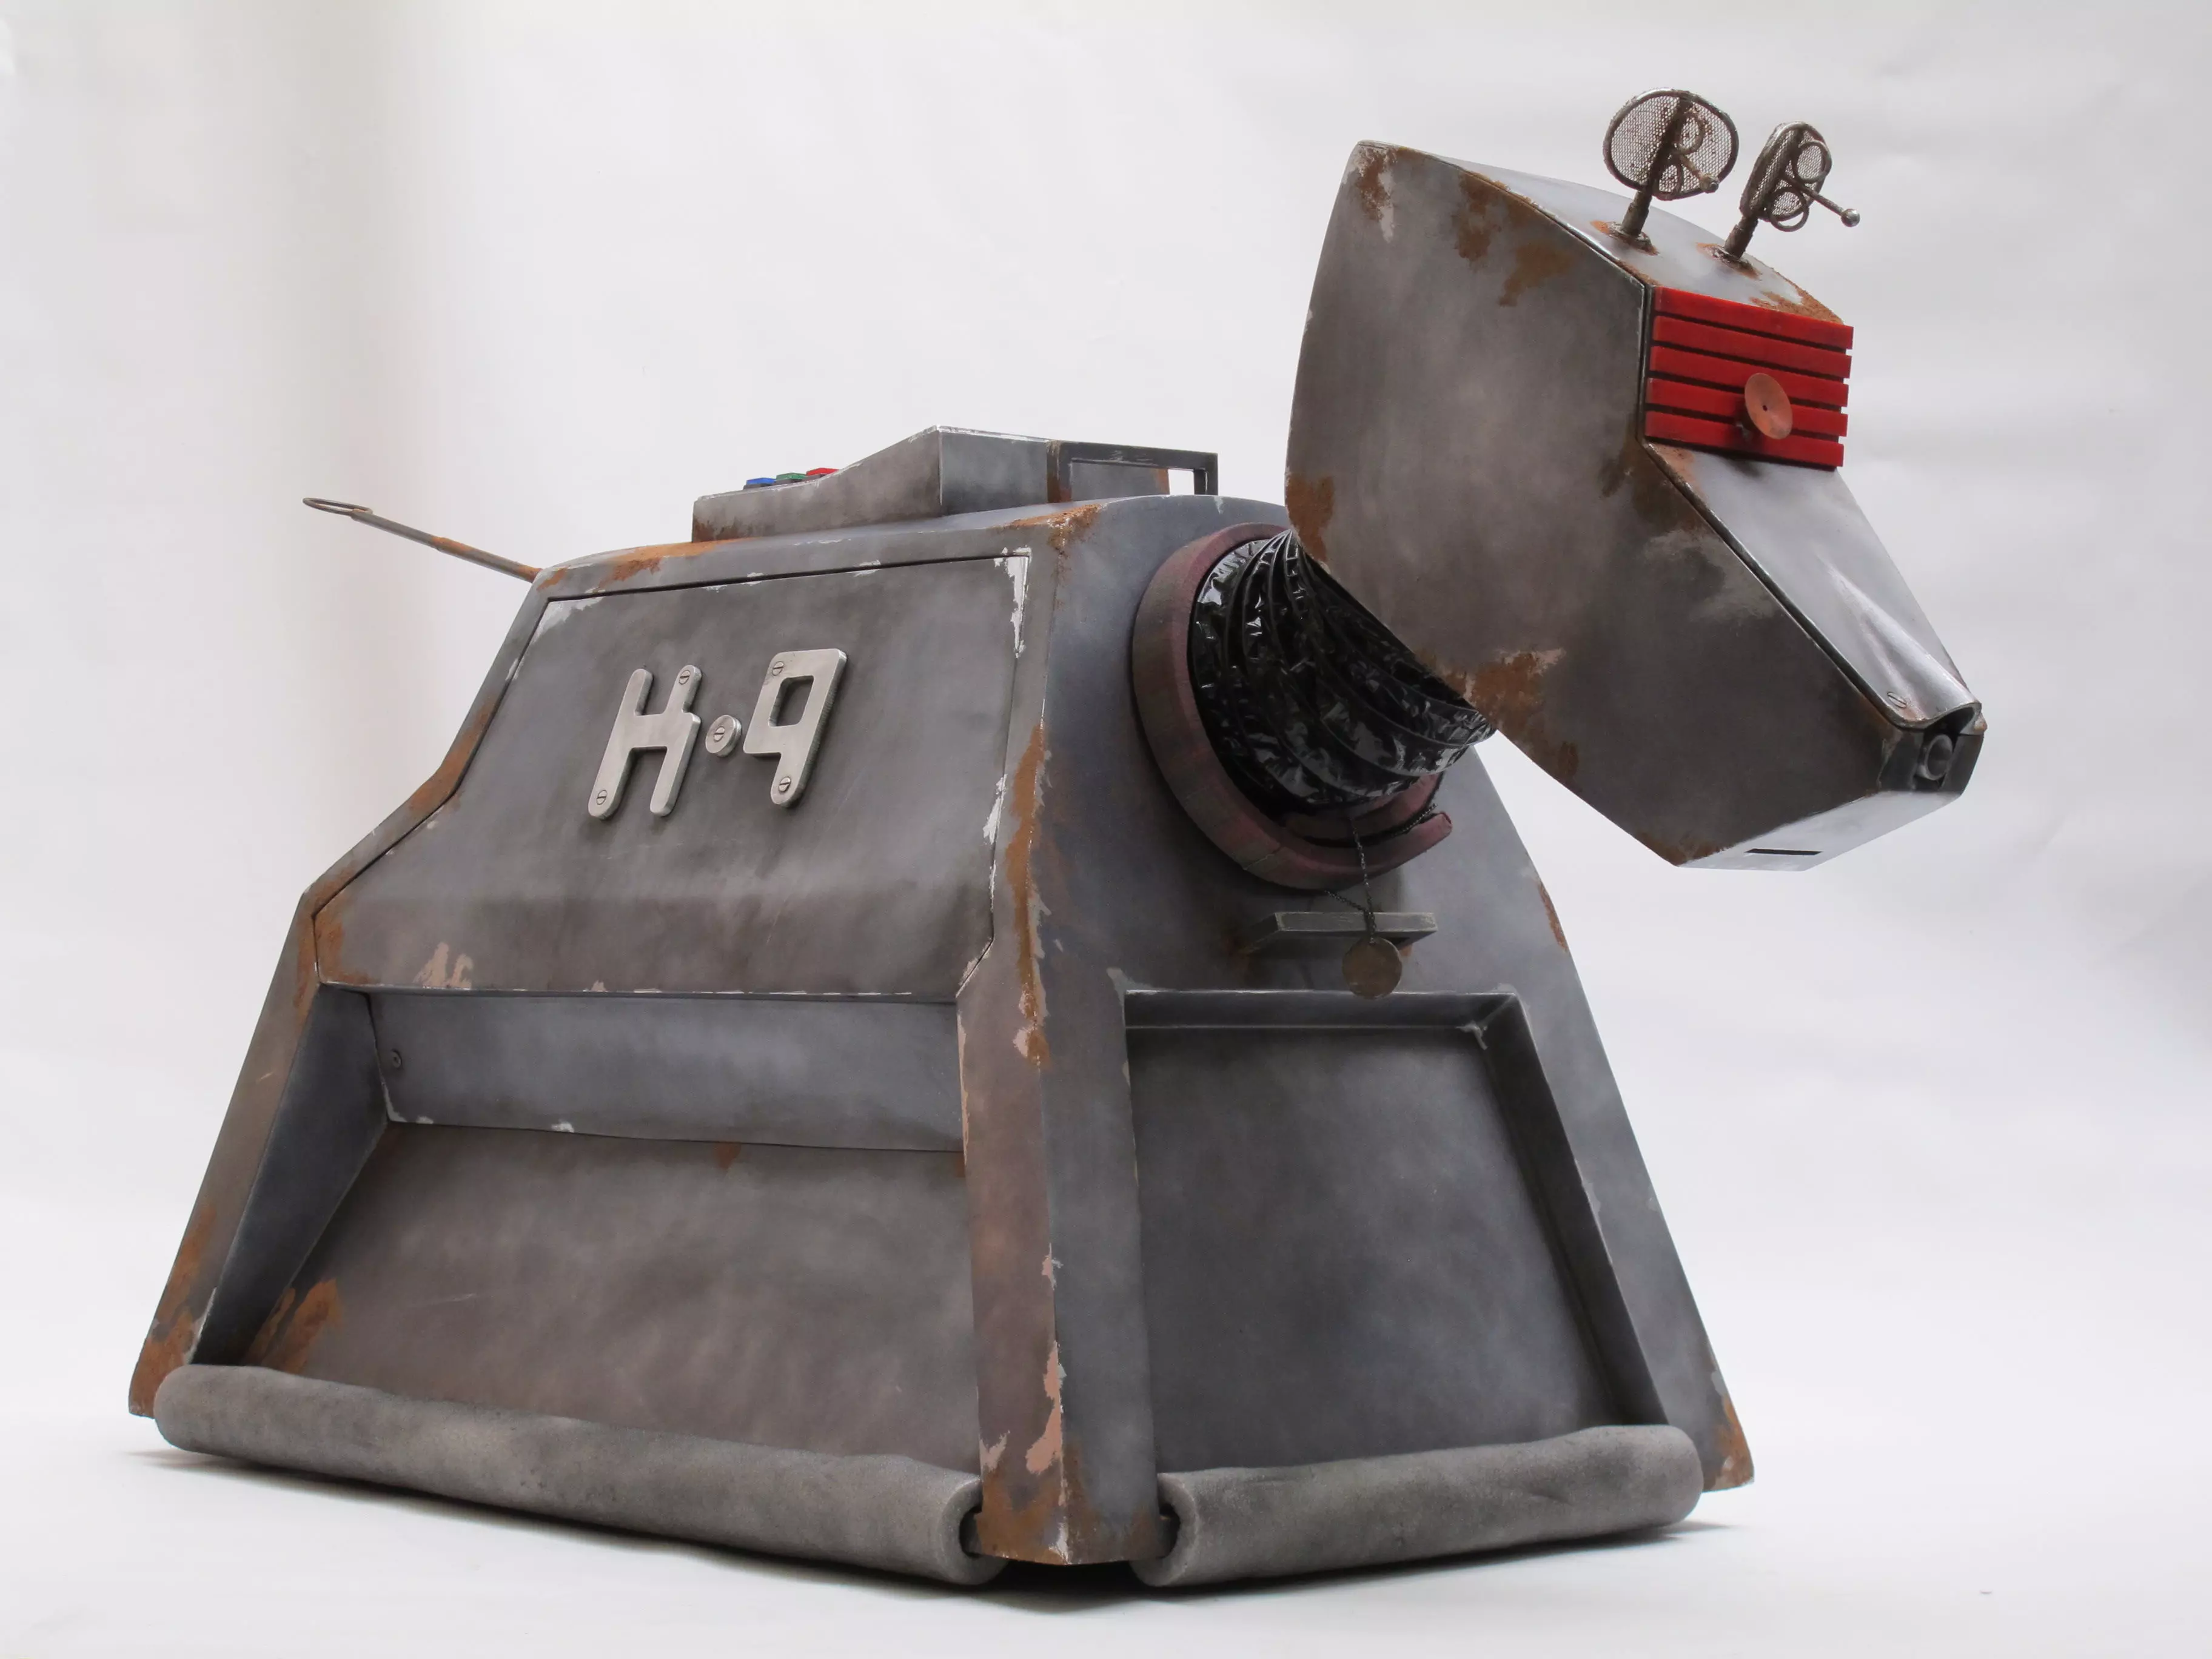
Fill that empty corner of your console room with a faithful tin companion!
You can now recreate K9 at full size using your 3D printer.I was even able to talk with the prop master for the show in 2006 who shared with me detailed pictures of the inner workings of K9. As such, also included is a very detailed and accurate insert of the inside of K9 which can be seen after removing the side panel.
Everything is included except the Foam Pipe Insulation for the 'Bumpers'.
Over 75 parts have been broken up and designed to fit on a print bed with a minimum print area of 250mm x 250mm.
The model is hollow to allow for any electronics you might want.
Included is the option to print a detailed interior as seen in 'School Reunion' behind the removable side panel.Also included are alternate ears, tails, and nose lasers to allow you to choose from a classic 70s look or a modern 2005 look.In the files you will also find two alternate Tartan patterns for the dog collar.
A good degree of modelling know-how is required to produce this at a high quality finish like my photograph.My top tips are as follows:
Print using PLA at 0.3mm for the large body parts.Only the intricate parts like ears should need support.Use Dichloromethane to adhere the parts together and then brush on to seal and strengthen the surface.Use a 2K heavy primer (Now available in Spray Cans from MIPA) to cover the build lines before sanding and filling.There is the option to use 3mm magnets to hold the side panel in place.I also used 'air ducting' to make the neck on my K9, however a rigid version is included in the files.
---Please note, you are purchasing STL files to print this model---
REVIEWS & COMMENTS
accuracy, and usability.


