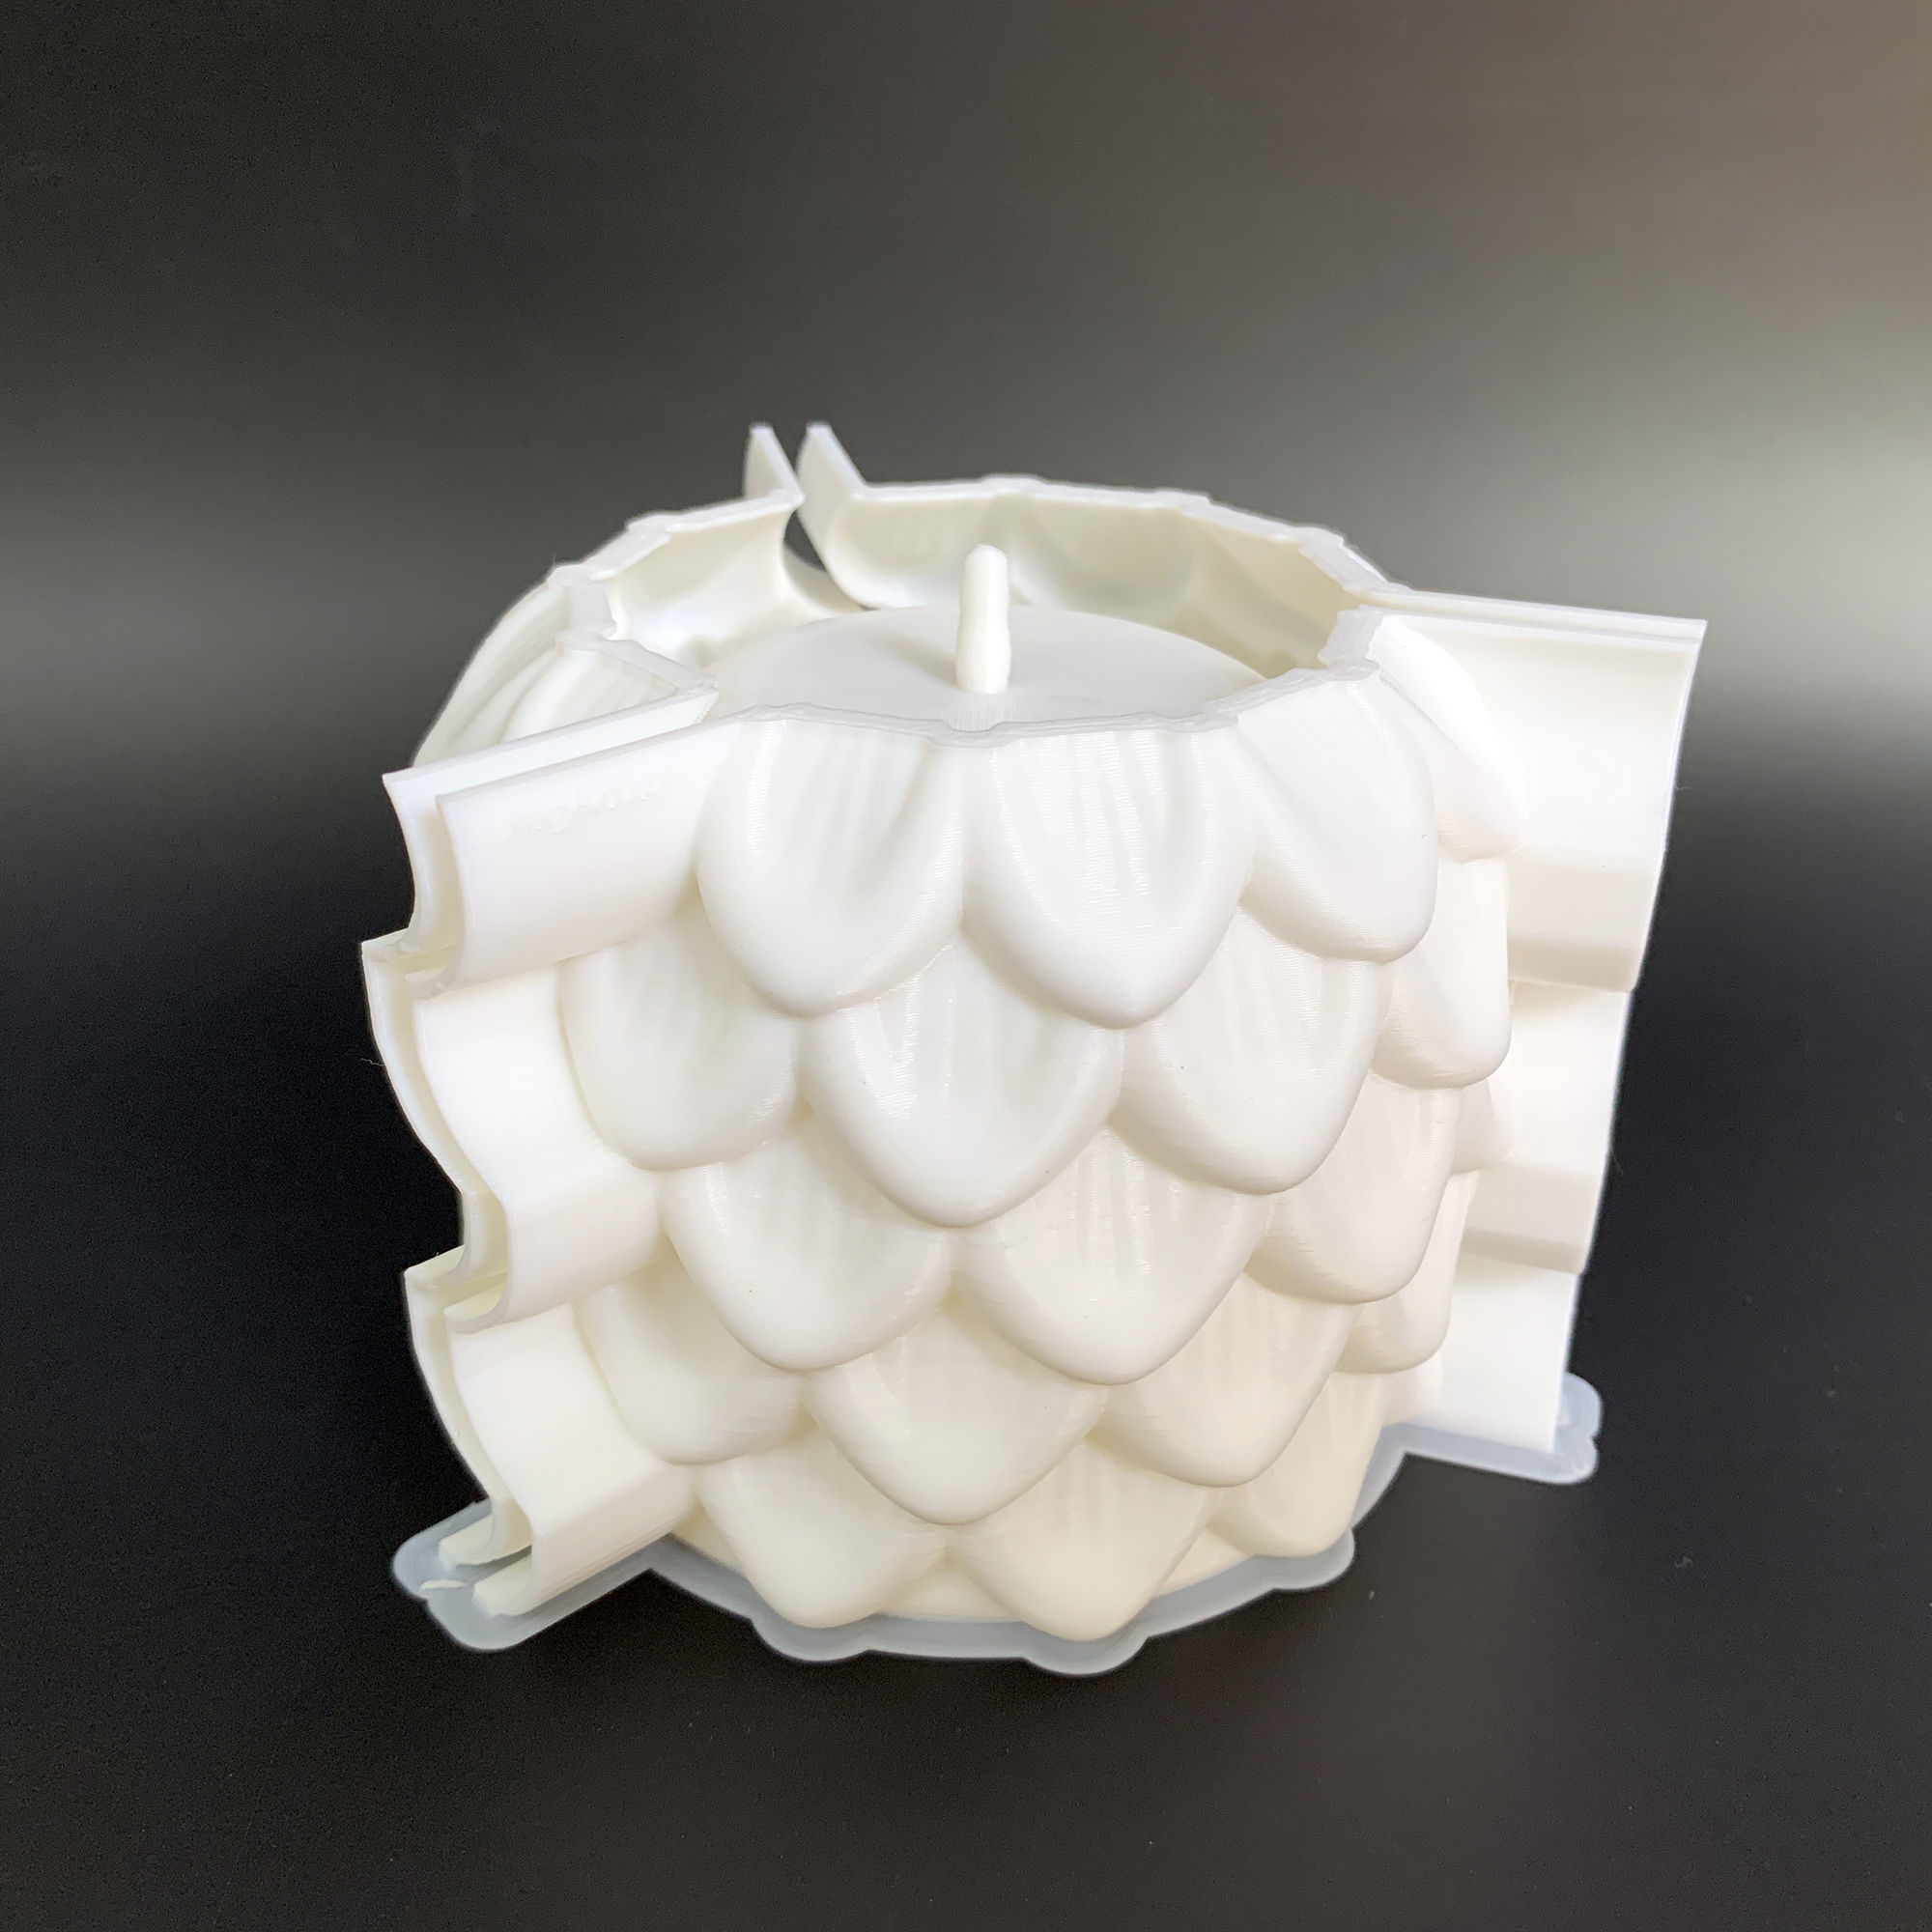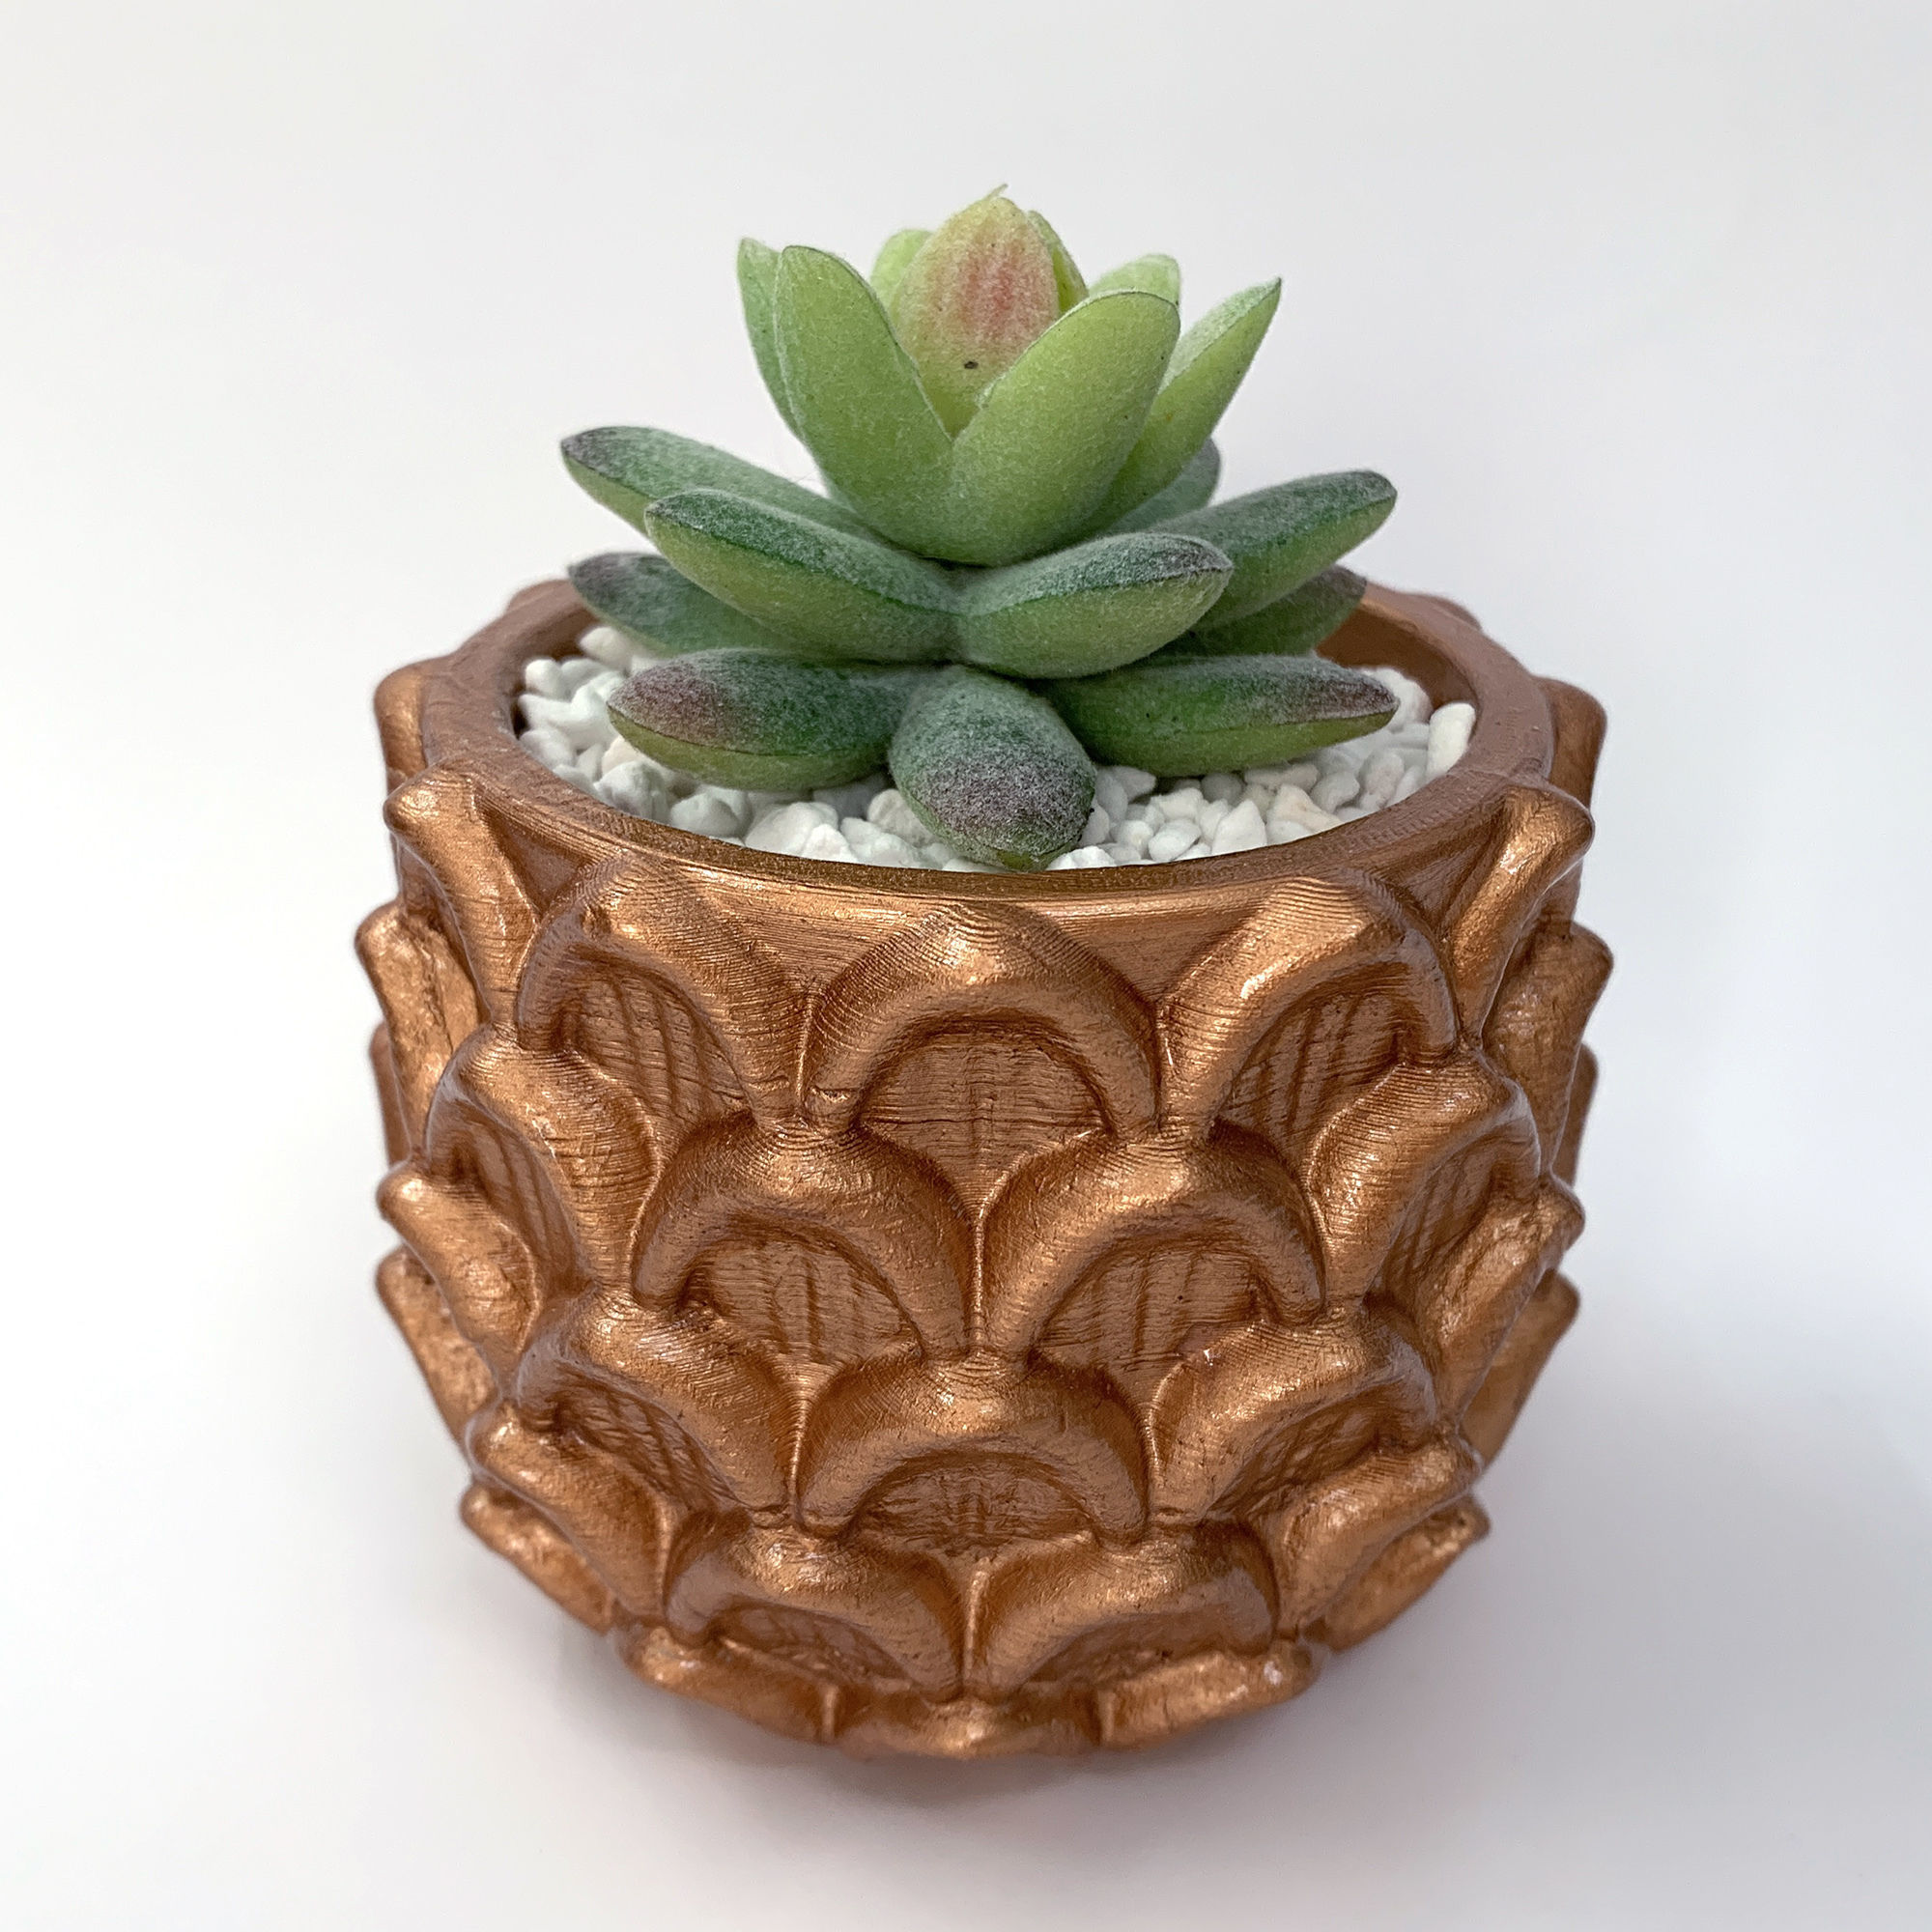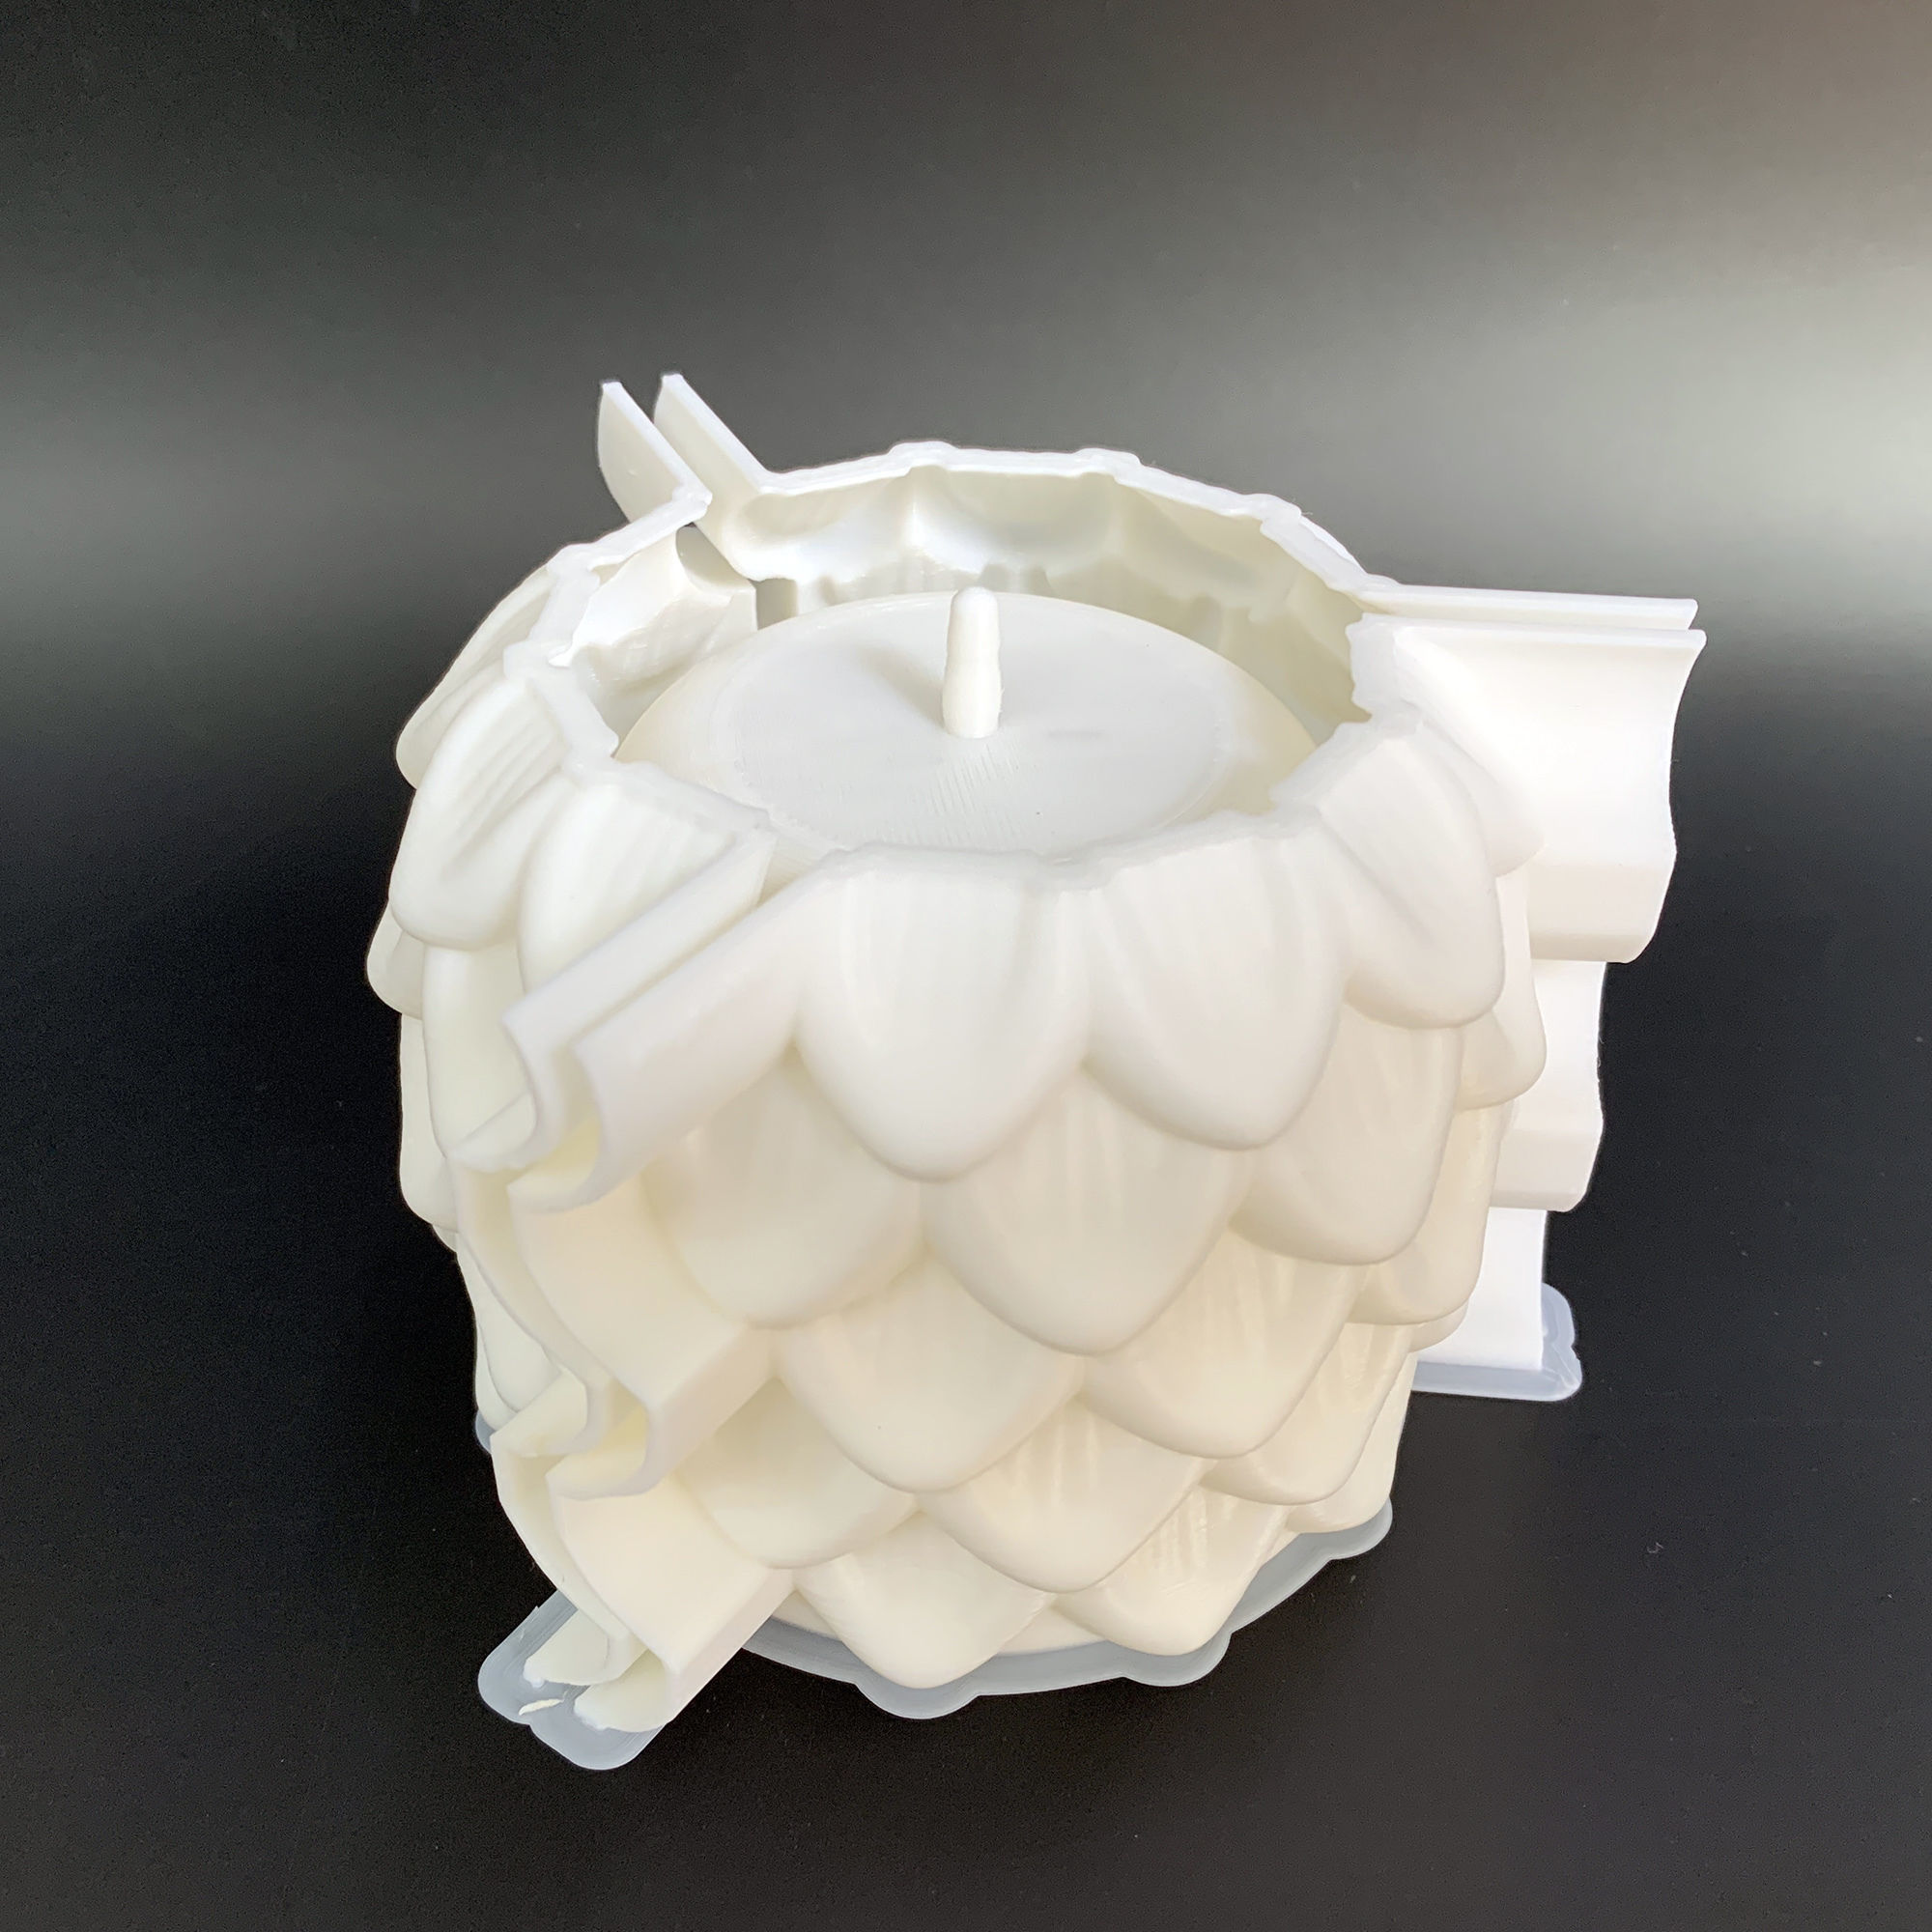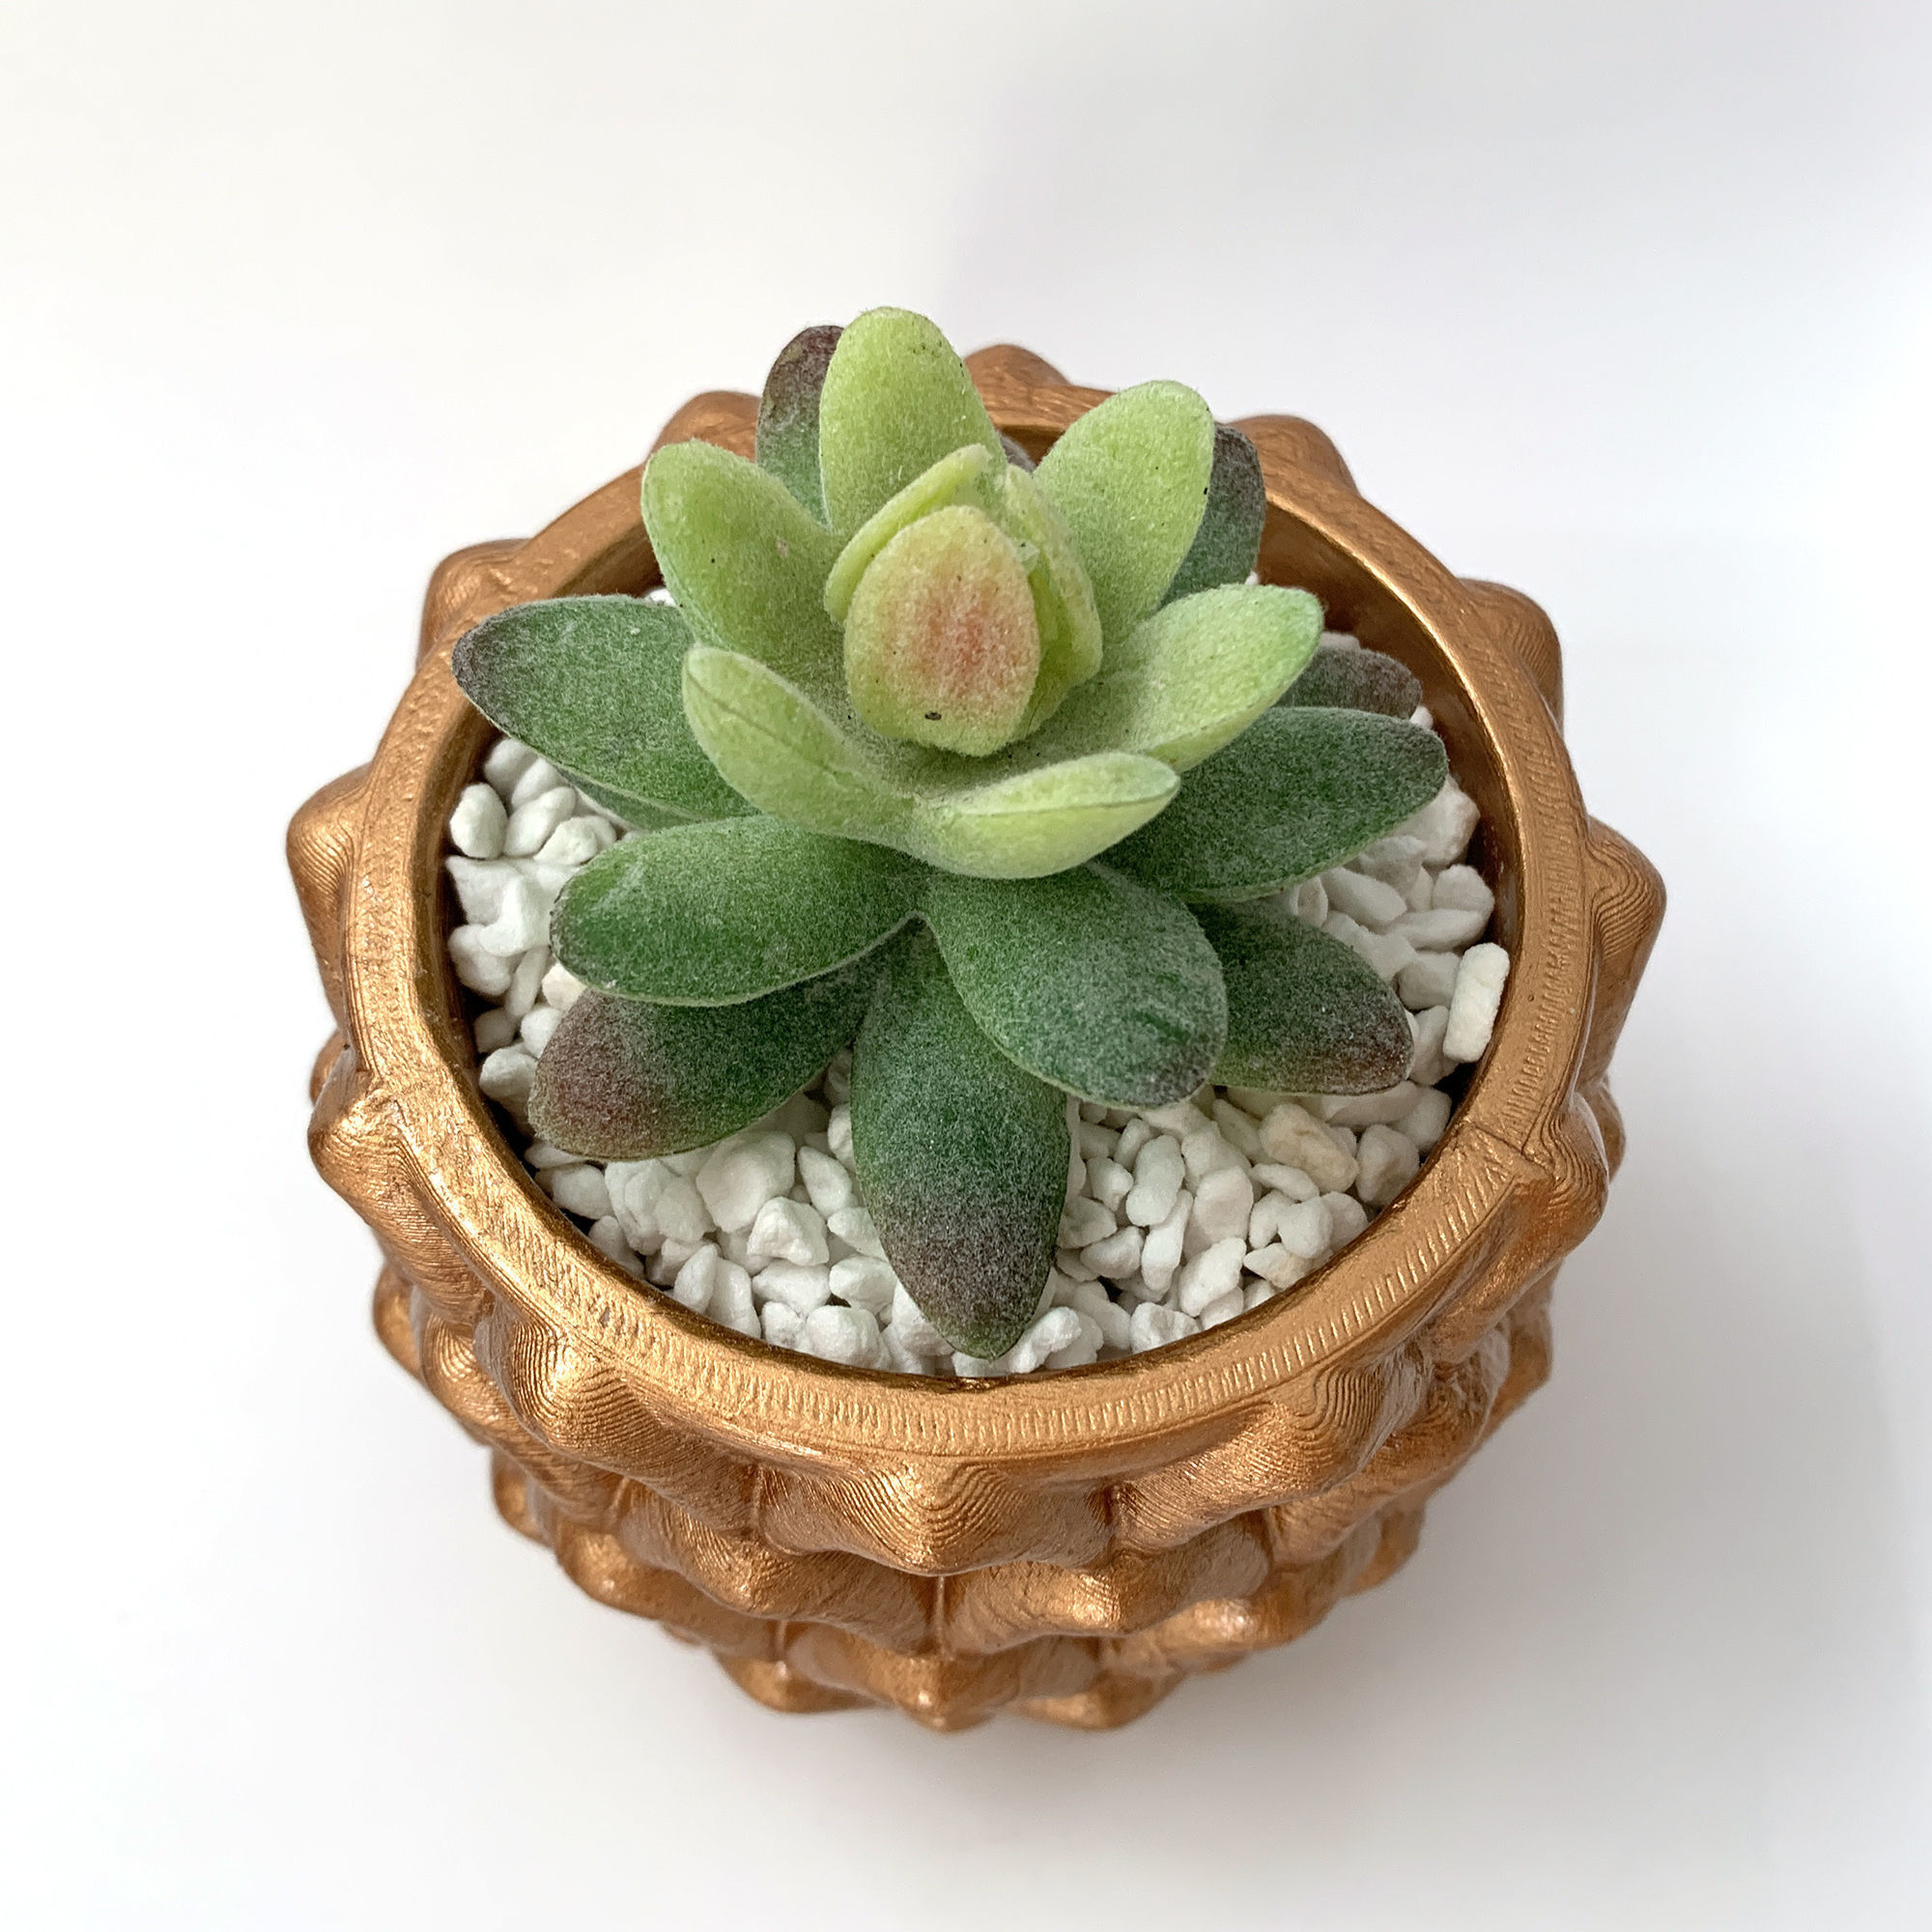
3D printed Pot mold - Include Pot file for print 3D print model
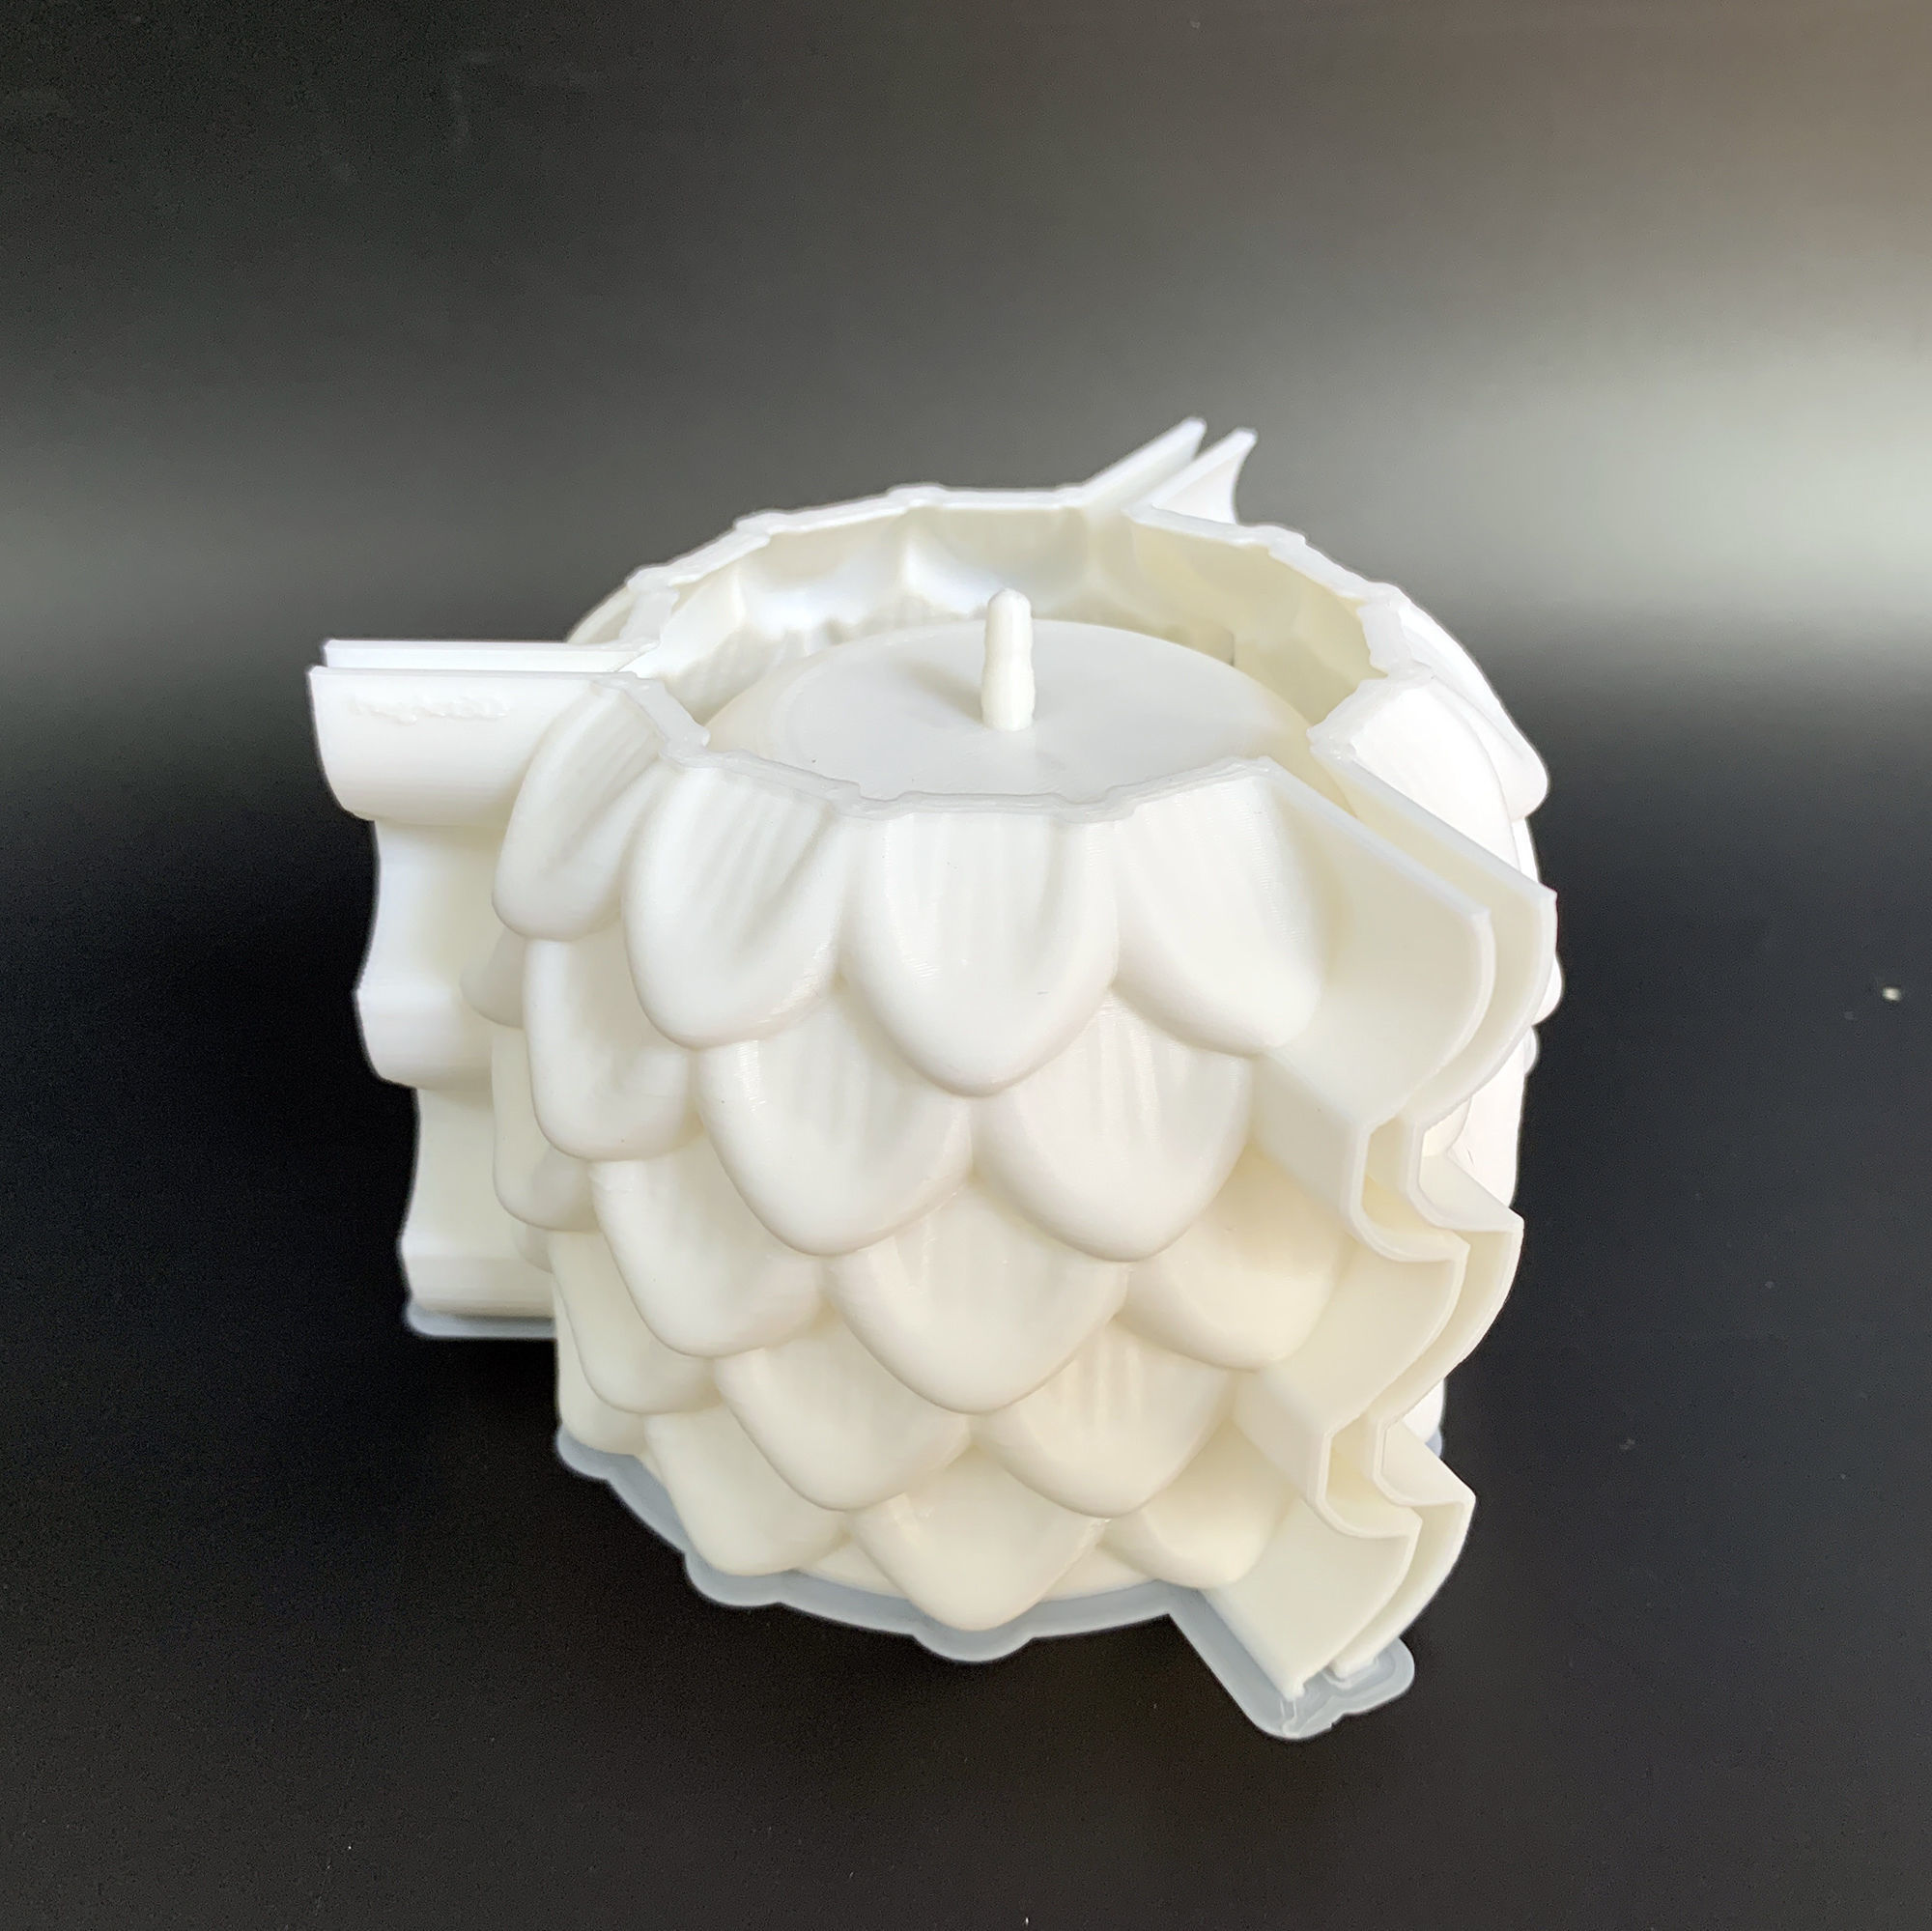
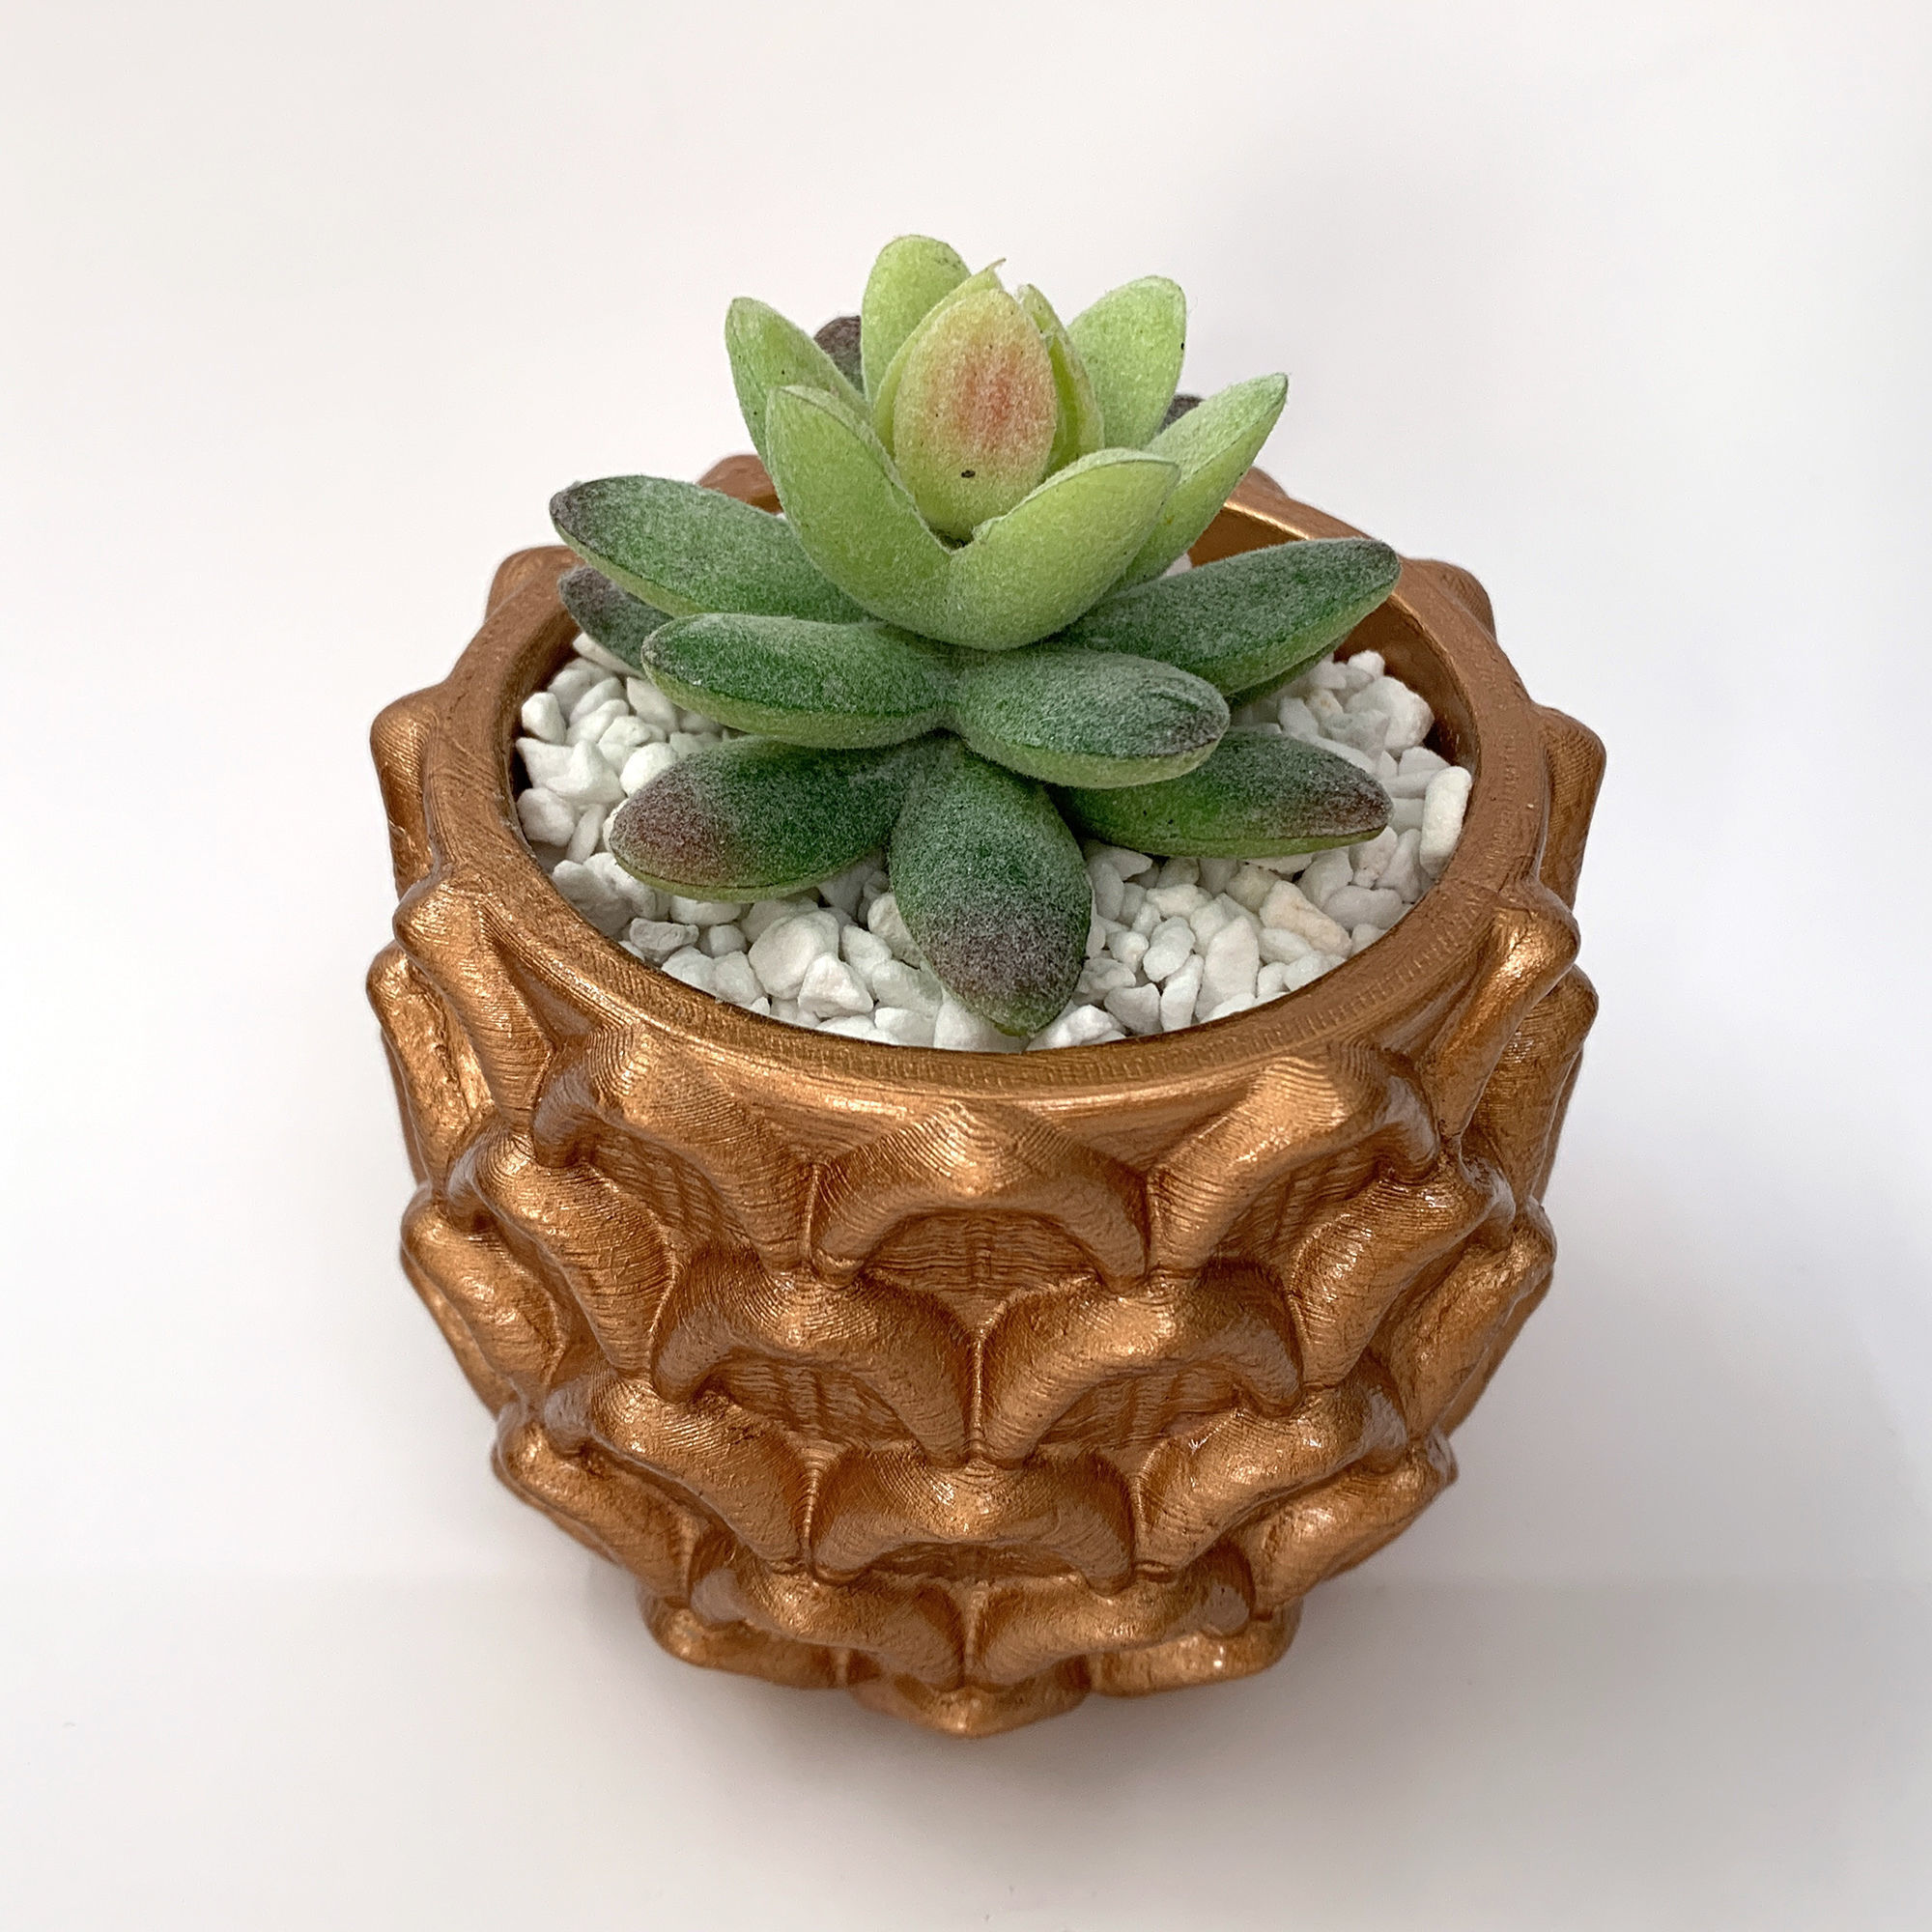
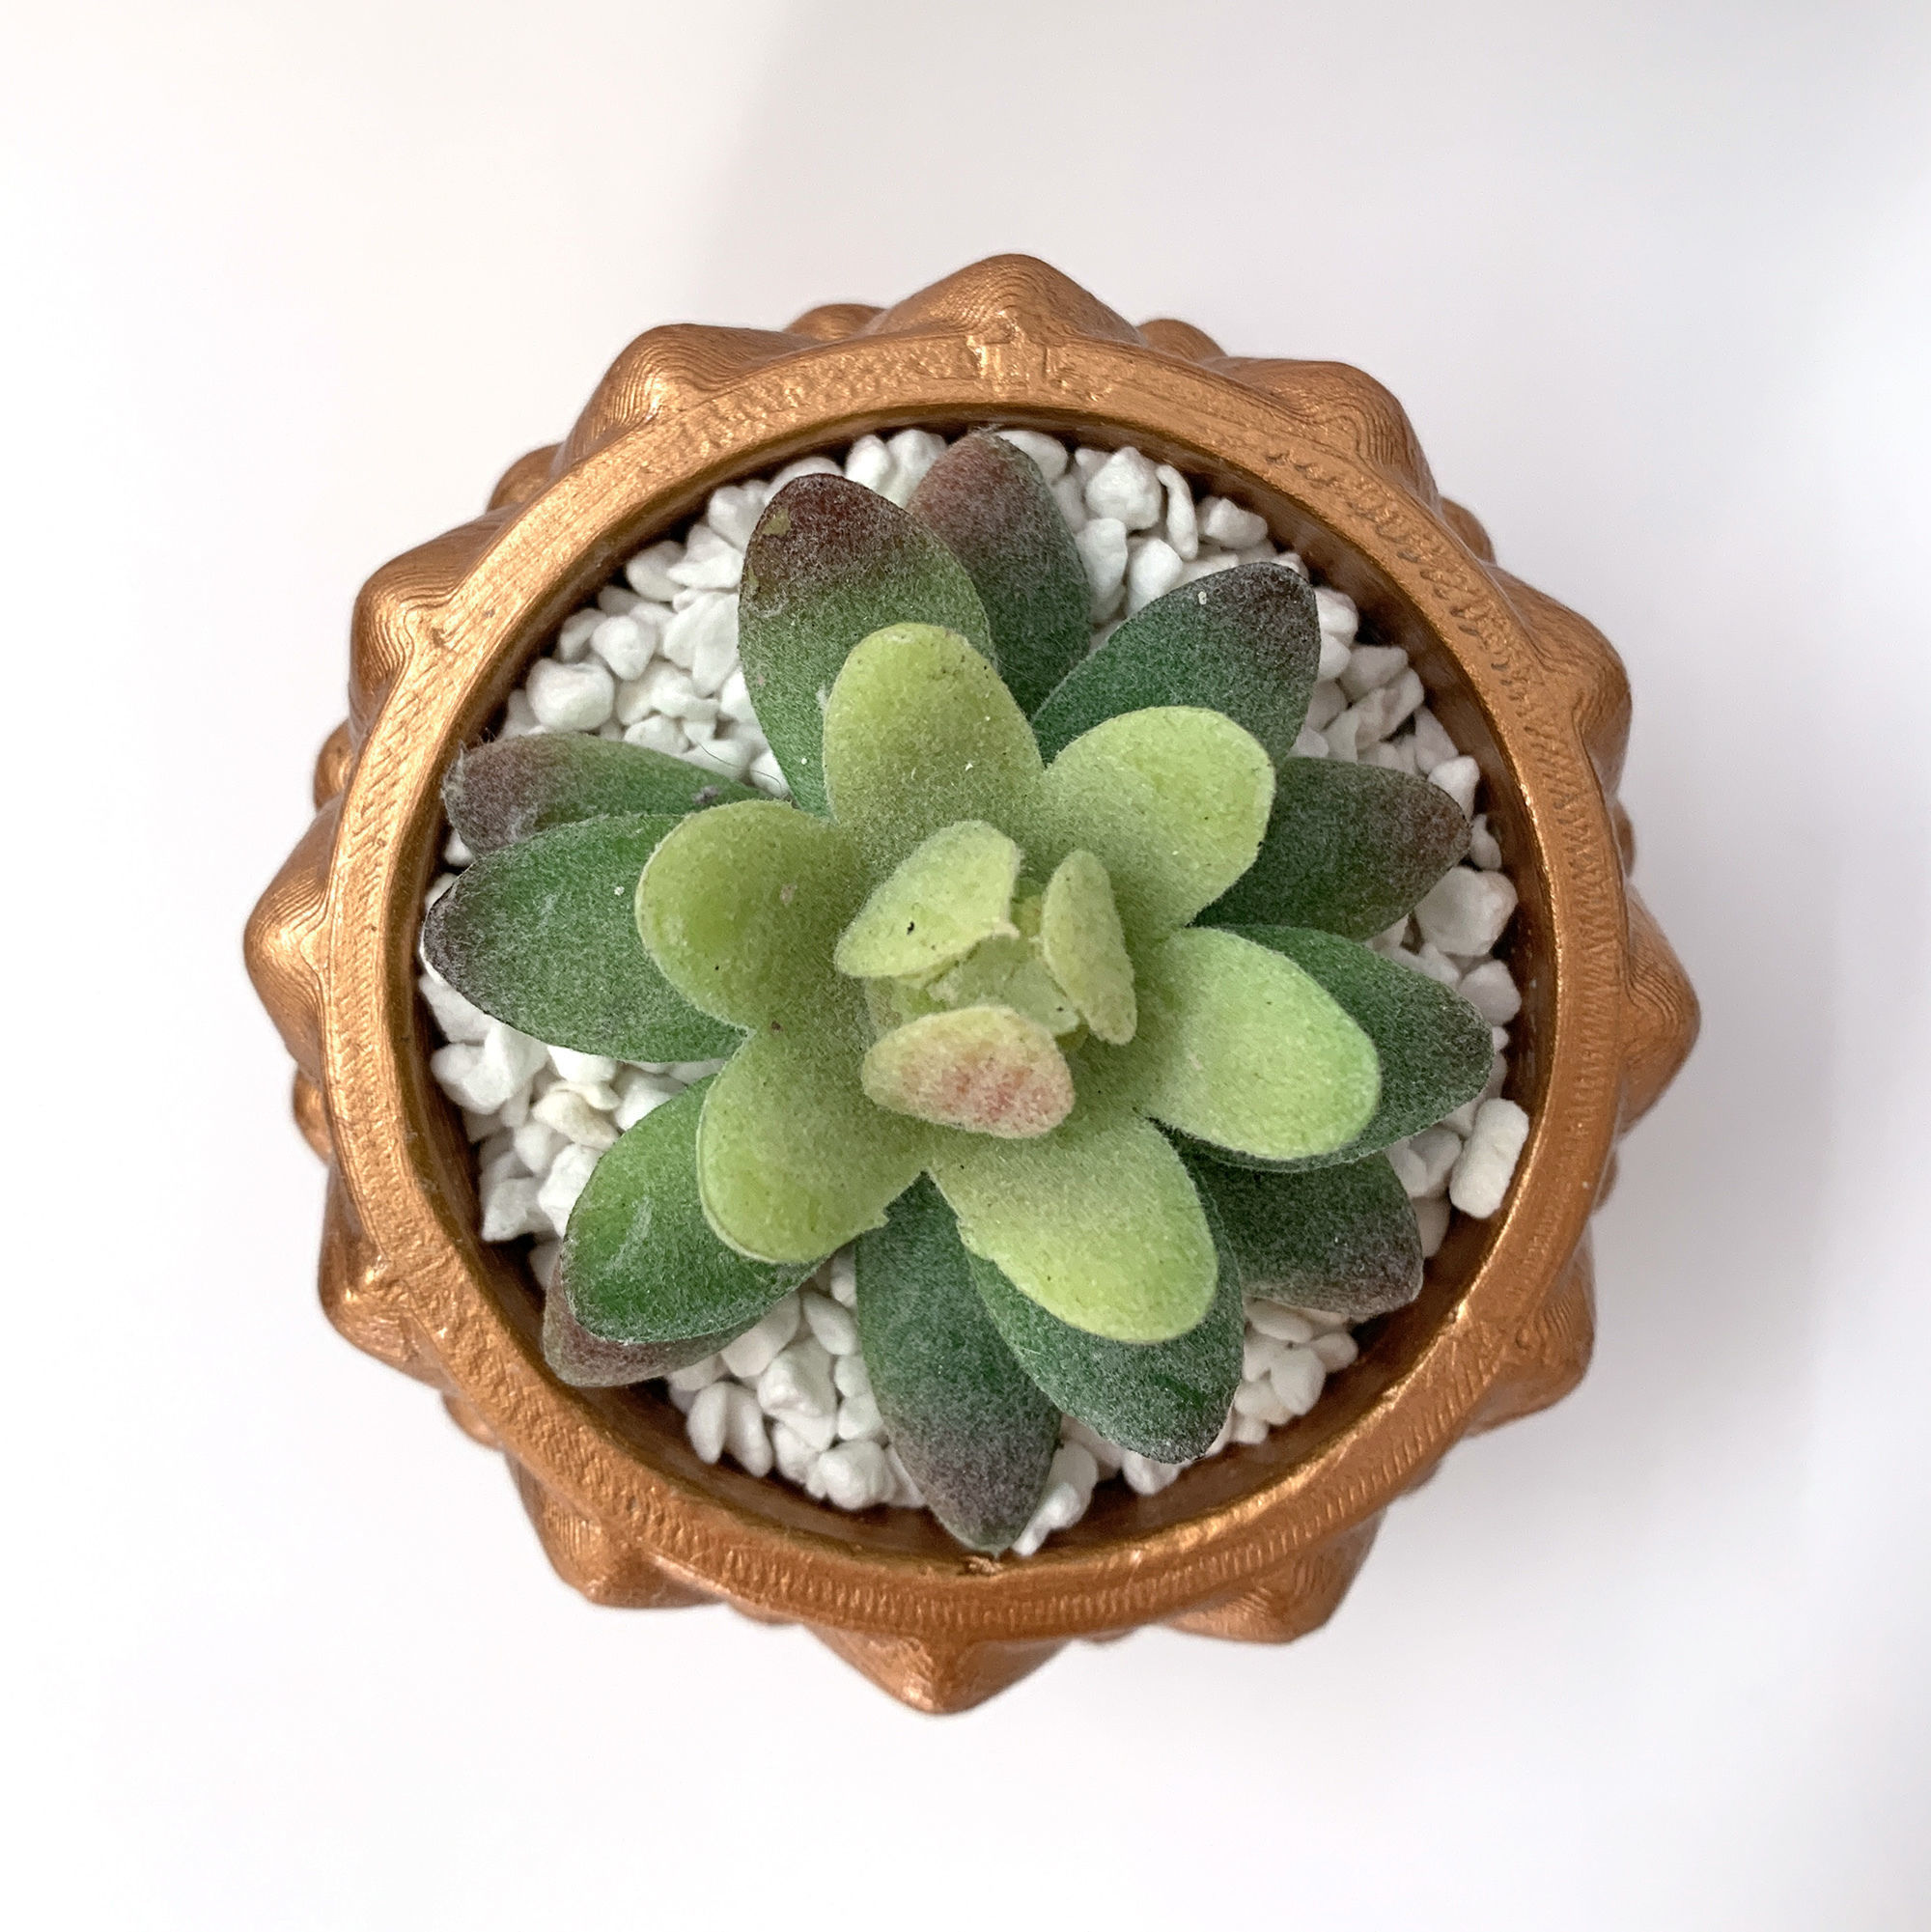
3D printed mold for custom flower pot, include Pot file version for who don't want make a pot by mold.
PRODUCT MOLDING PROCESS
1 - Mold printing:
- the 3D mold is created to apply to hard and common printing materials such as PLA, ABS, the joints have been calculated so that the joint parts of the mold are best hidden into the pattern, easy to remove .
- Use the size of the core file to determine the diameter of the pot you want to cast, then apply scale to all the remaining print pieces, note that the scale parameters of all printed pieces must be equal.
- The default size of the product is set with the size inside the pot default around 8cm, you can zoom in and out depending on the purpose of use. Note that when printing with a small size, the mold wall needs to be sealed, with a large print will be easier.
2 - Clean the printout, cut off the residuals during printing, errors arising during printing, then use clamps to fix the mold.
3 - Use cooking oil or Vaseline oil applied to the inner walls of the mold to help remove the mold easily when the cement dries. For models with a connecting element to create space inside the pot, use foil to secure the core for easy removal later.
4 - Use a single-sided adhesive decal, stick it back on the molding table to help keep the parts sealed below, avoid the core float while pouring.
5 - mix the cement and pour it into the mold, to prevent foam from occurring in the cement, you can add more water, then let the cement settle, remove the top water and use the remaining cement.
6 - After 6 hours (with normal cement, quick-drying cements need to refer to the specific drying time) need to remove the core before the cement is completely dry, it will make it difficult to remove the mold, the outer faces may Let dry completely with complex print.
7 - Let the sample pot dry completely, rinse the pot and you can paint as you like.
8 - Wash the mold and dry it for next use.

