Files to 3d Print this Scale Bell 412 Fuselage for OMP M1 3D print model
Following the link below for RNAF's build process in rcgroups.com:
- https://www.rcgroups.com/forums/showthread.php?4471427-OMP-M1-AB-412-SP-%28Bell-412%29
- https://www.rcgroups.com/forums/showthread.php?2317076-Scale-Modding/page300
Below is the link to download some free optional parts (hoist, radar nose dome, search light, and tail boom handle bars):
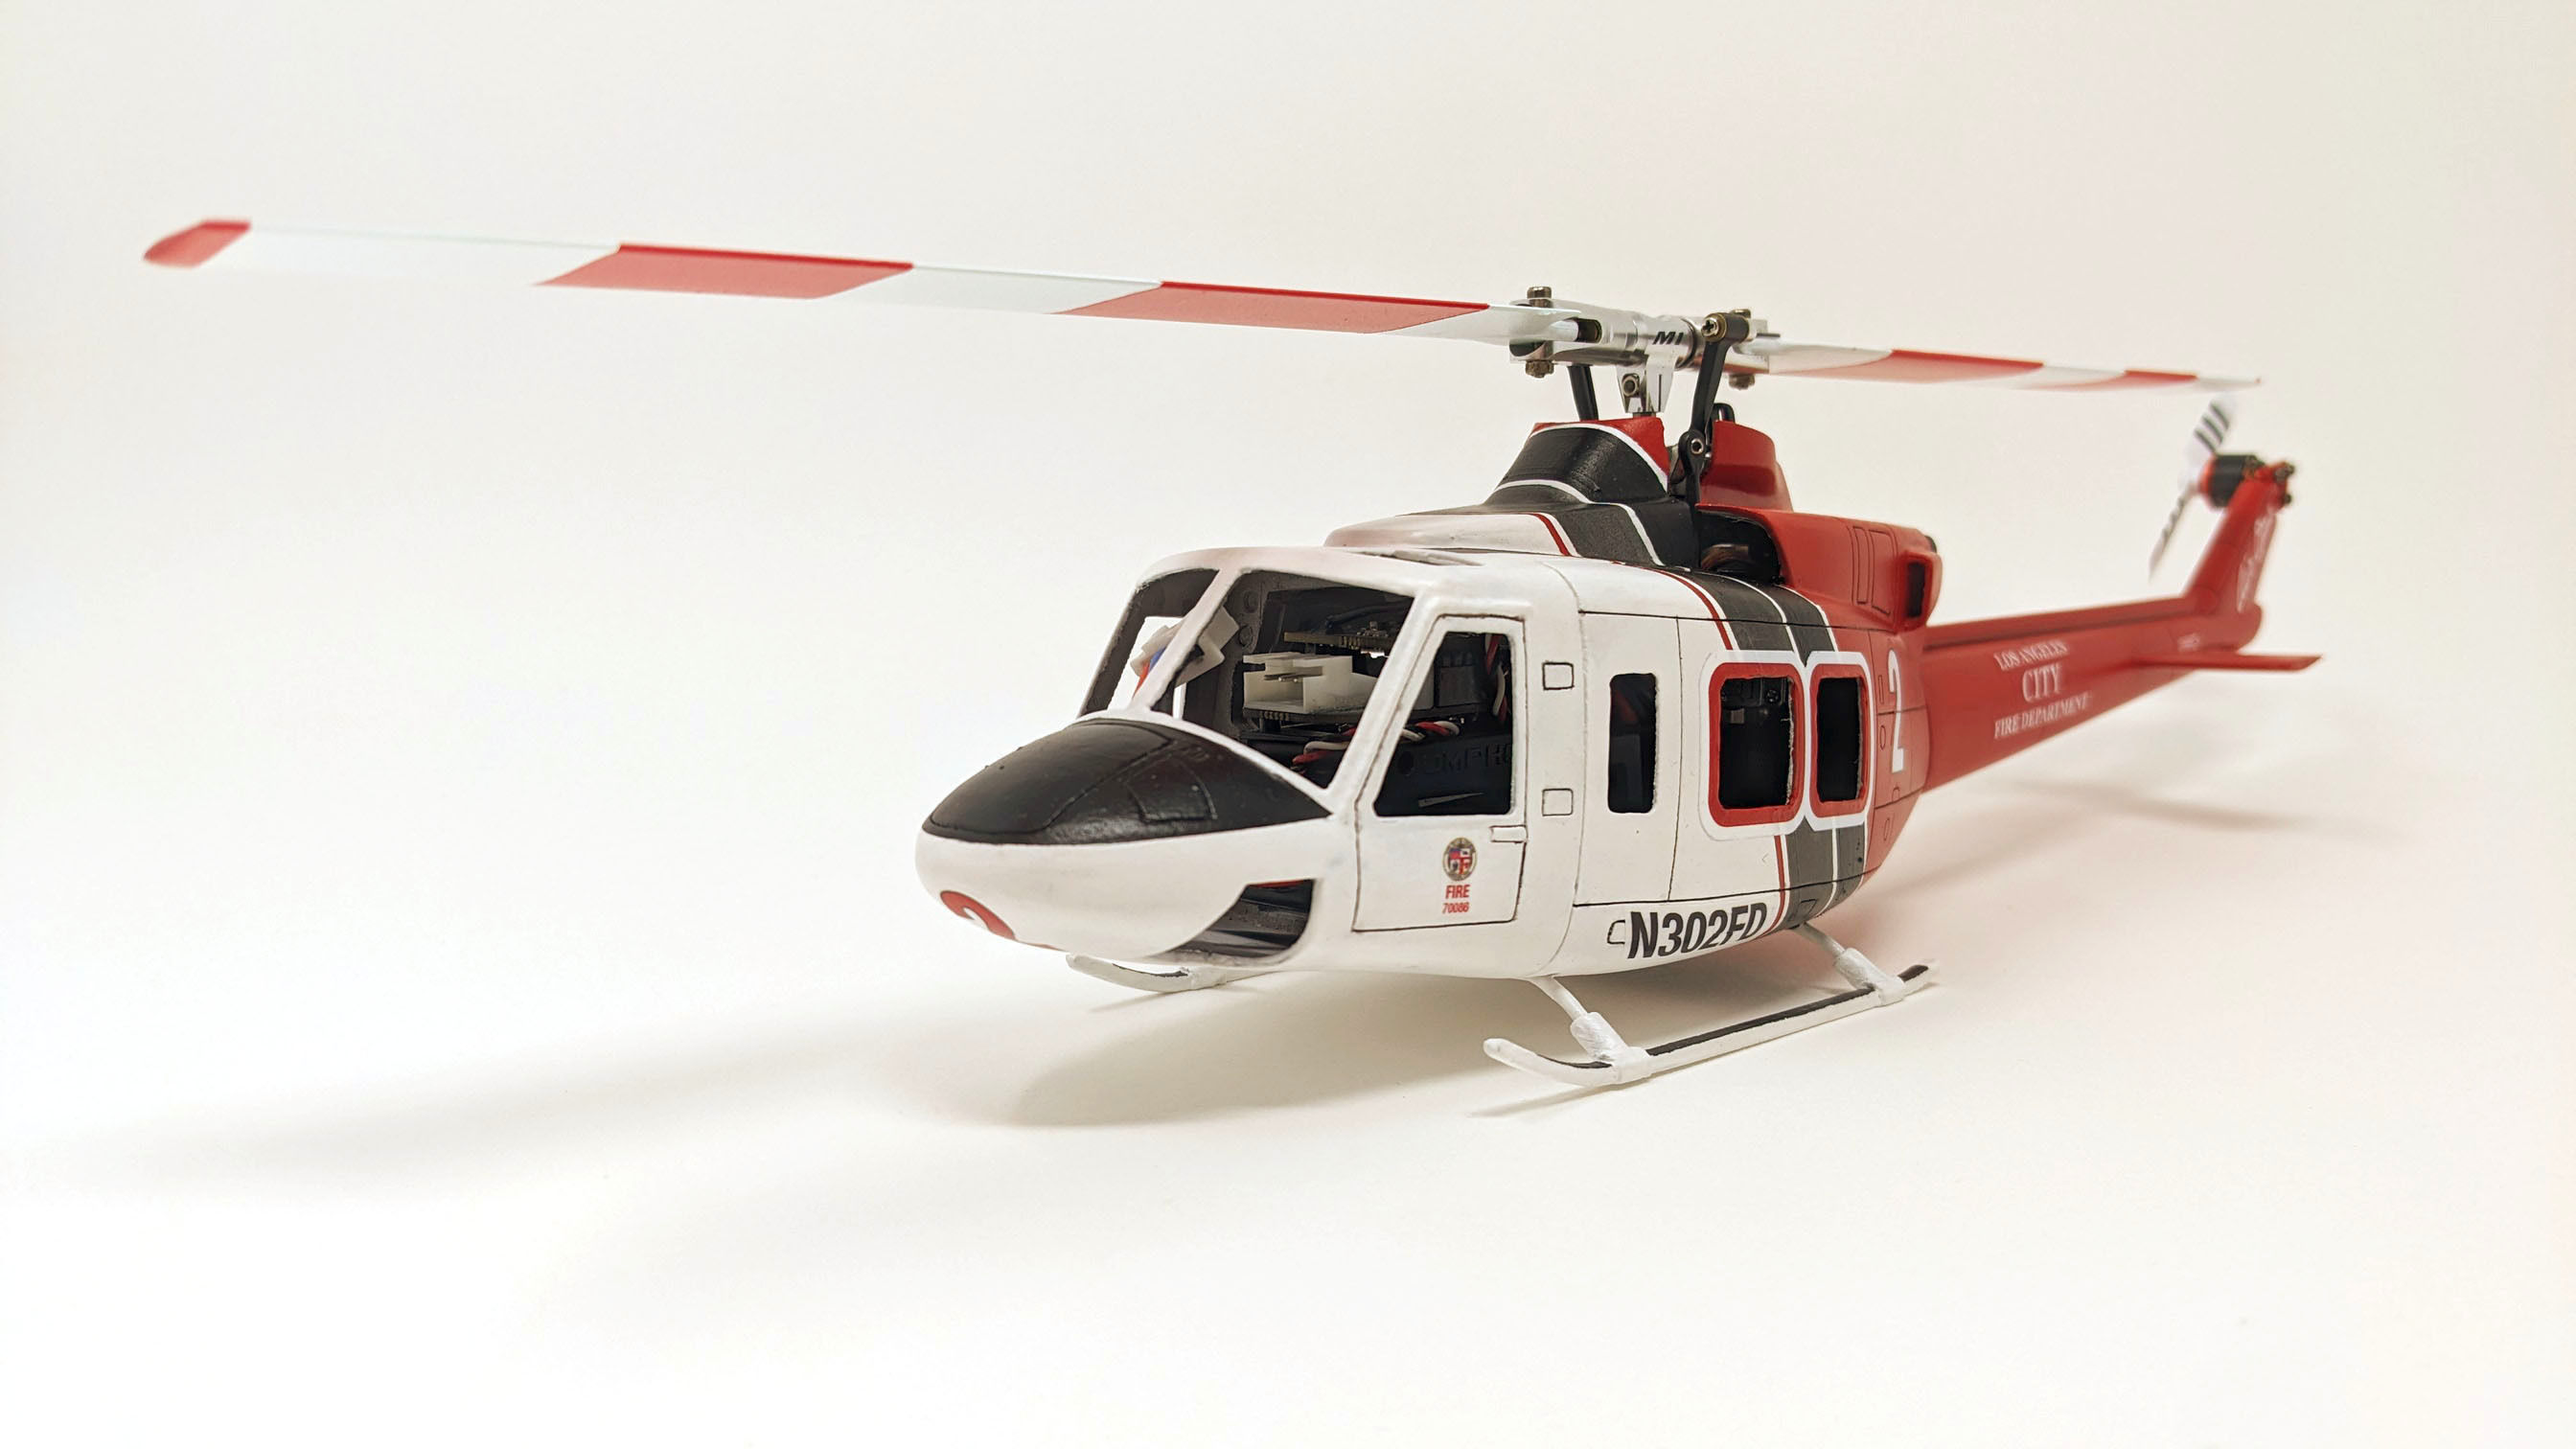
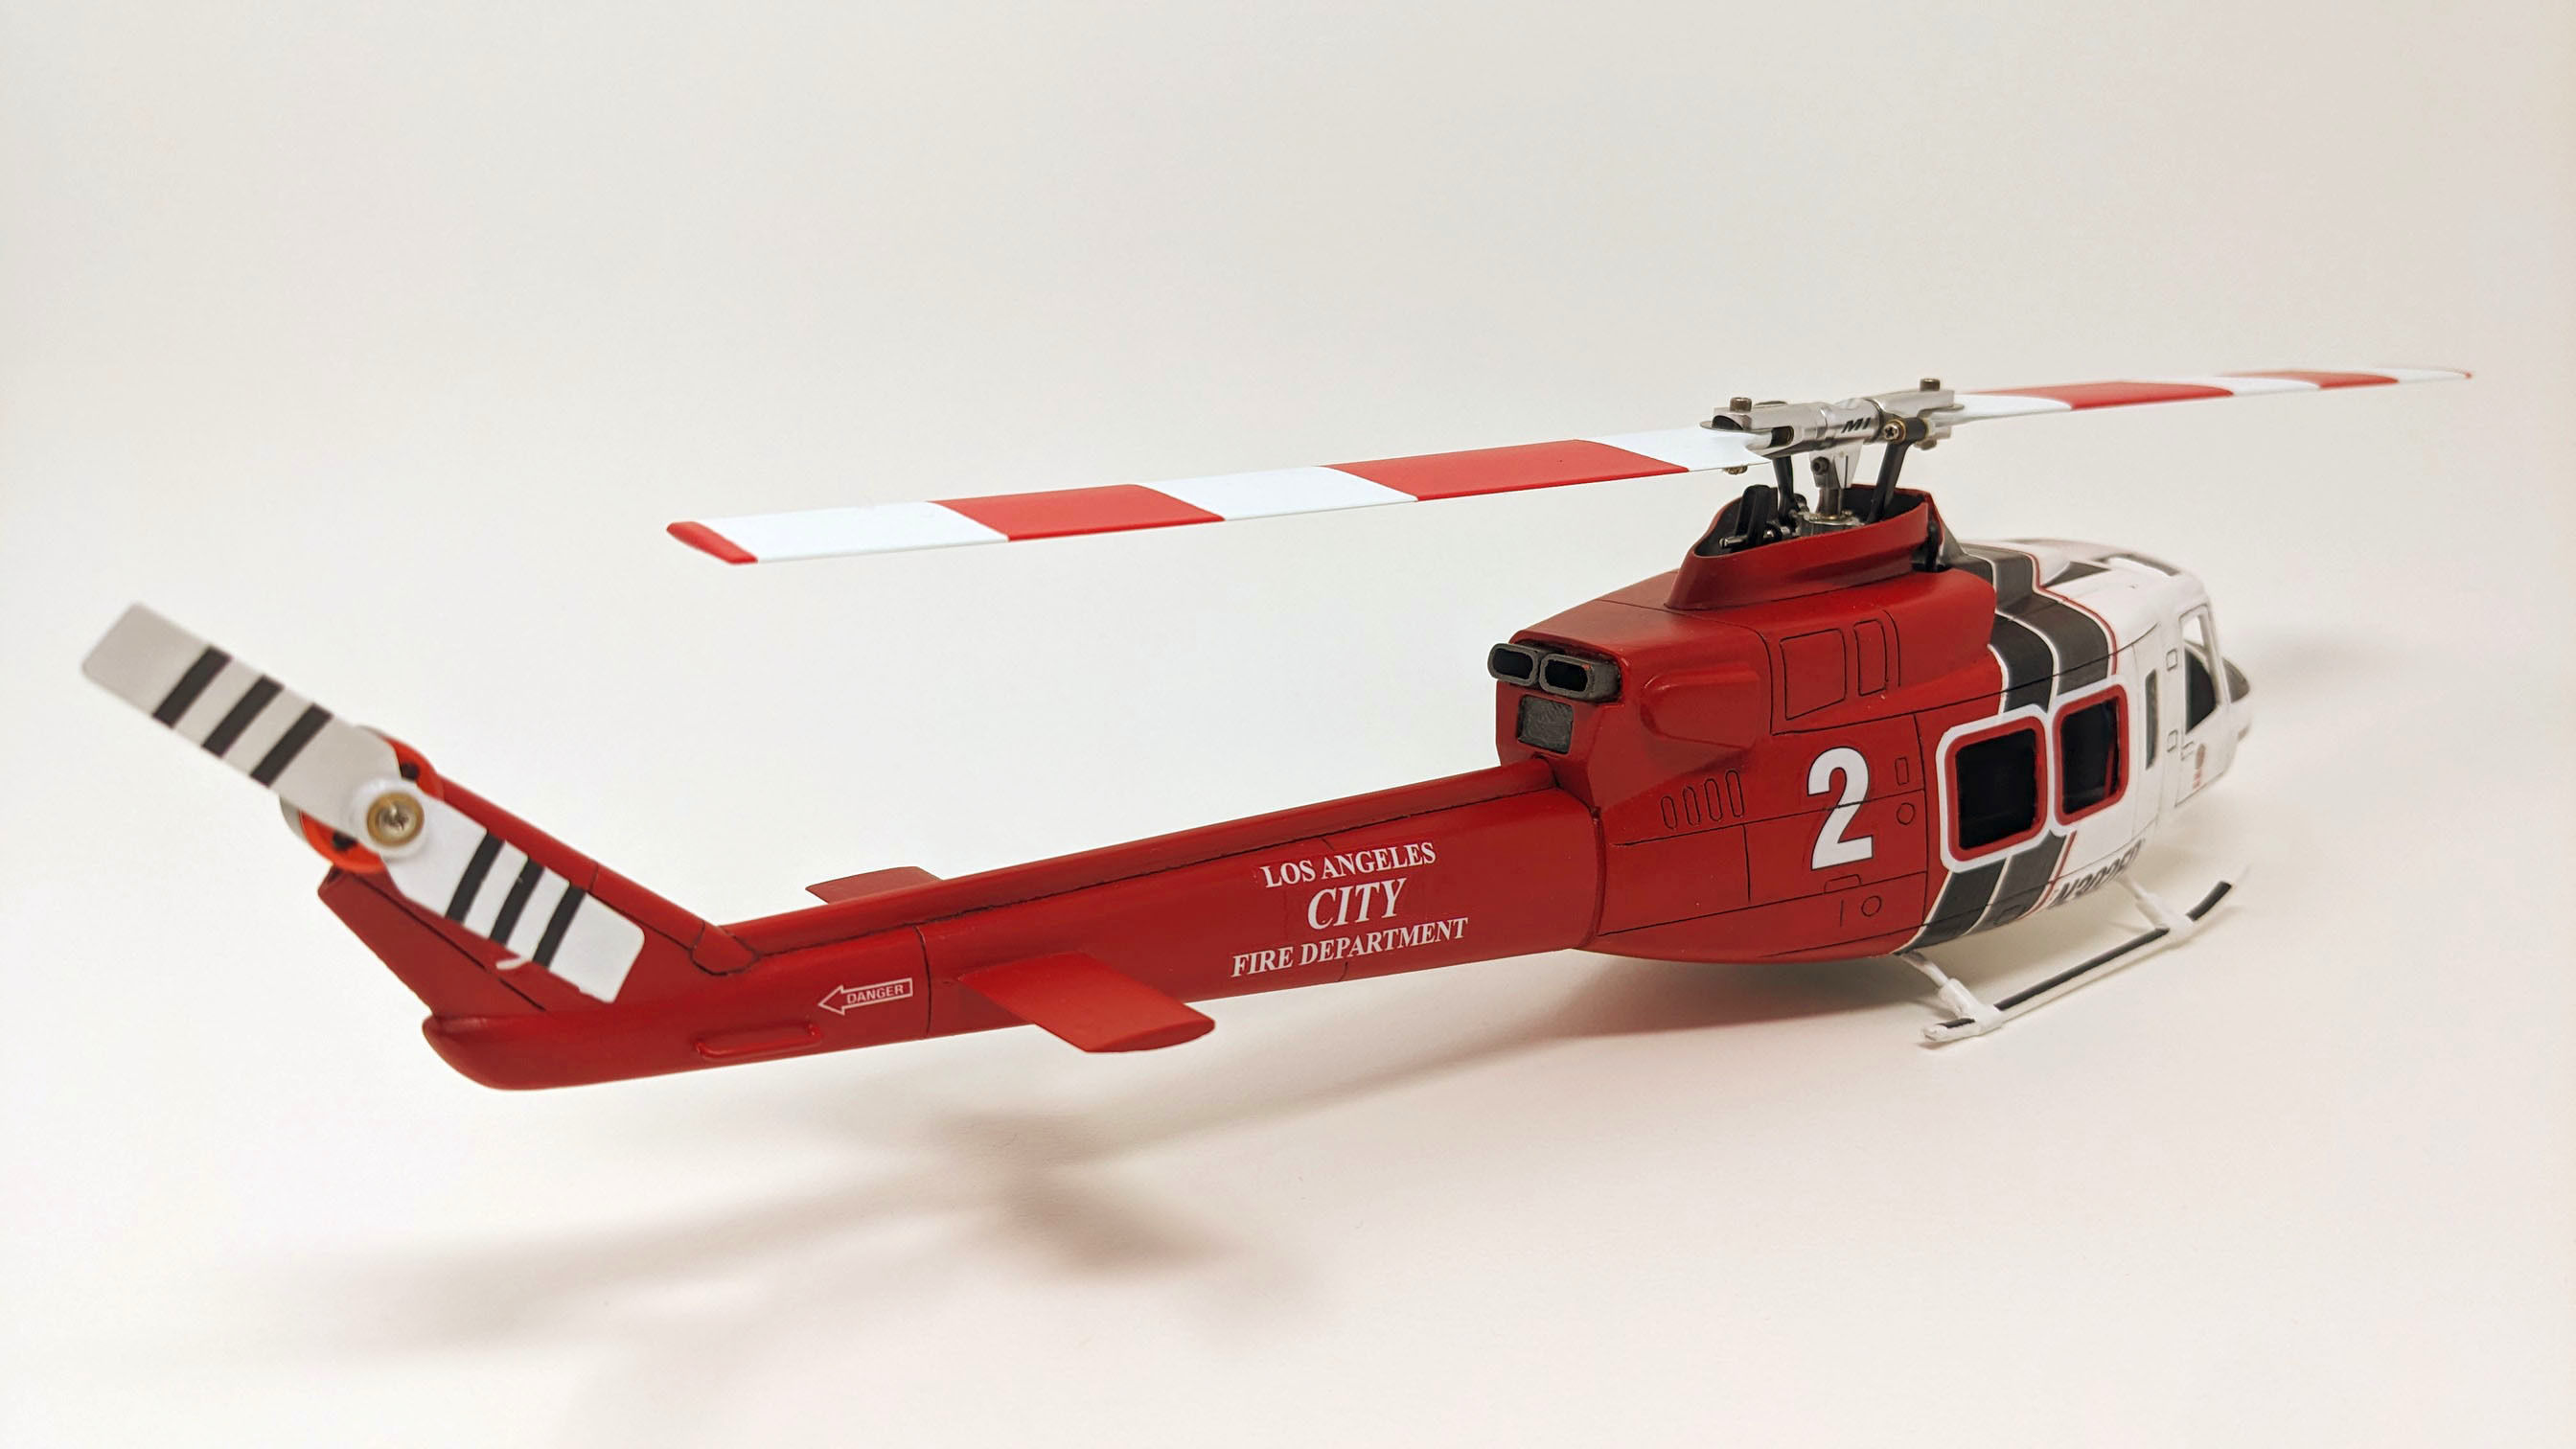
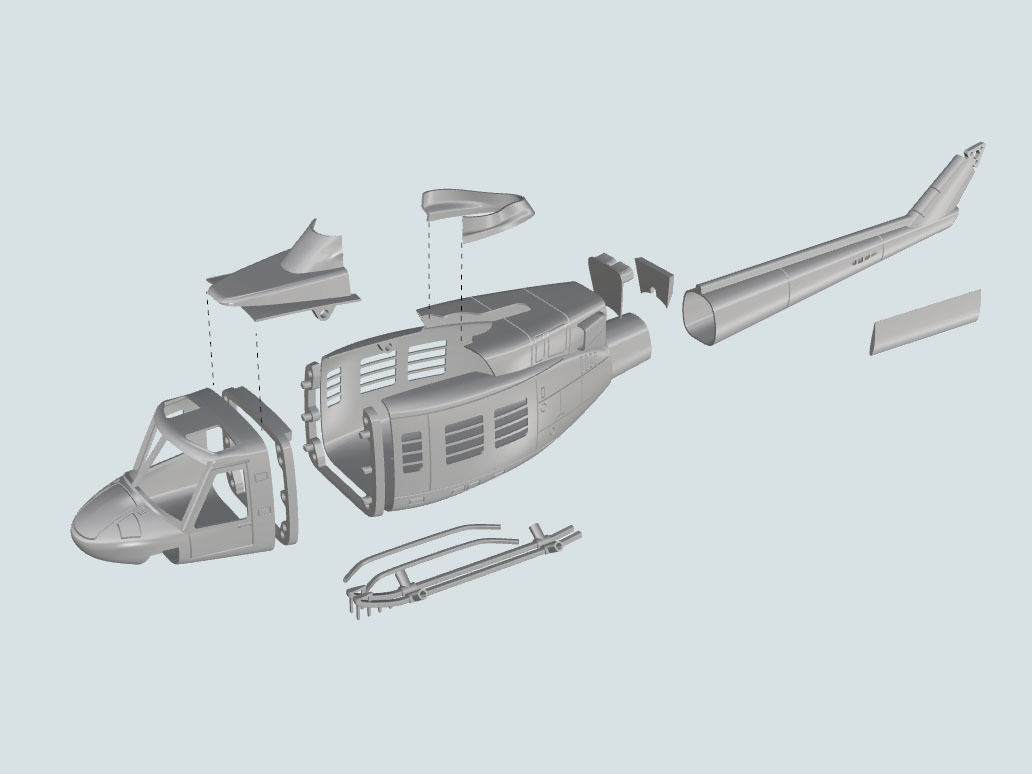
This is a 3D printed scale Bell 412 fuselage designed for the OMP M1 helicopter. It is not tested with other direct drive helicopter, but it may fit the other helis that are similar in size such as the Eachine E150, and the Goosky S1. The great thing about the OMP M1 is the power to weight ratio, which allows it to fly the 3d printed fuselage and still maintain its flight performance.
- Scale: 1/42
- Printing Material: PLA with 30% infill, with 0.8 mm wall thickness to all the parts
- Rotor Blades: Replaced with old 150mm Lynx 30-R
- Skid Support: 1mm thick steel wires wrapped with 1mm heat shrink tubing
- Dimensions: Length: 310mm (Nose to tail); Width: 60mm; -Height: 65mm (Not including skid)
- Weight: 48 grams (3D printed fuselage only); 172 grams (Total flying weight)
- Flight Time: 4:30 (Main and tail motor stays cool)
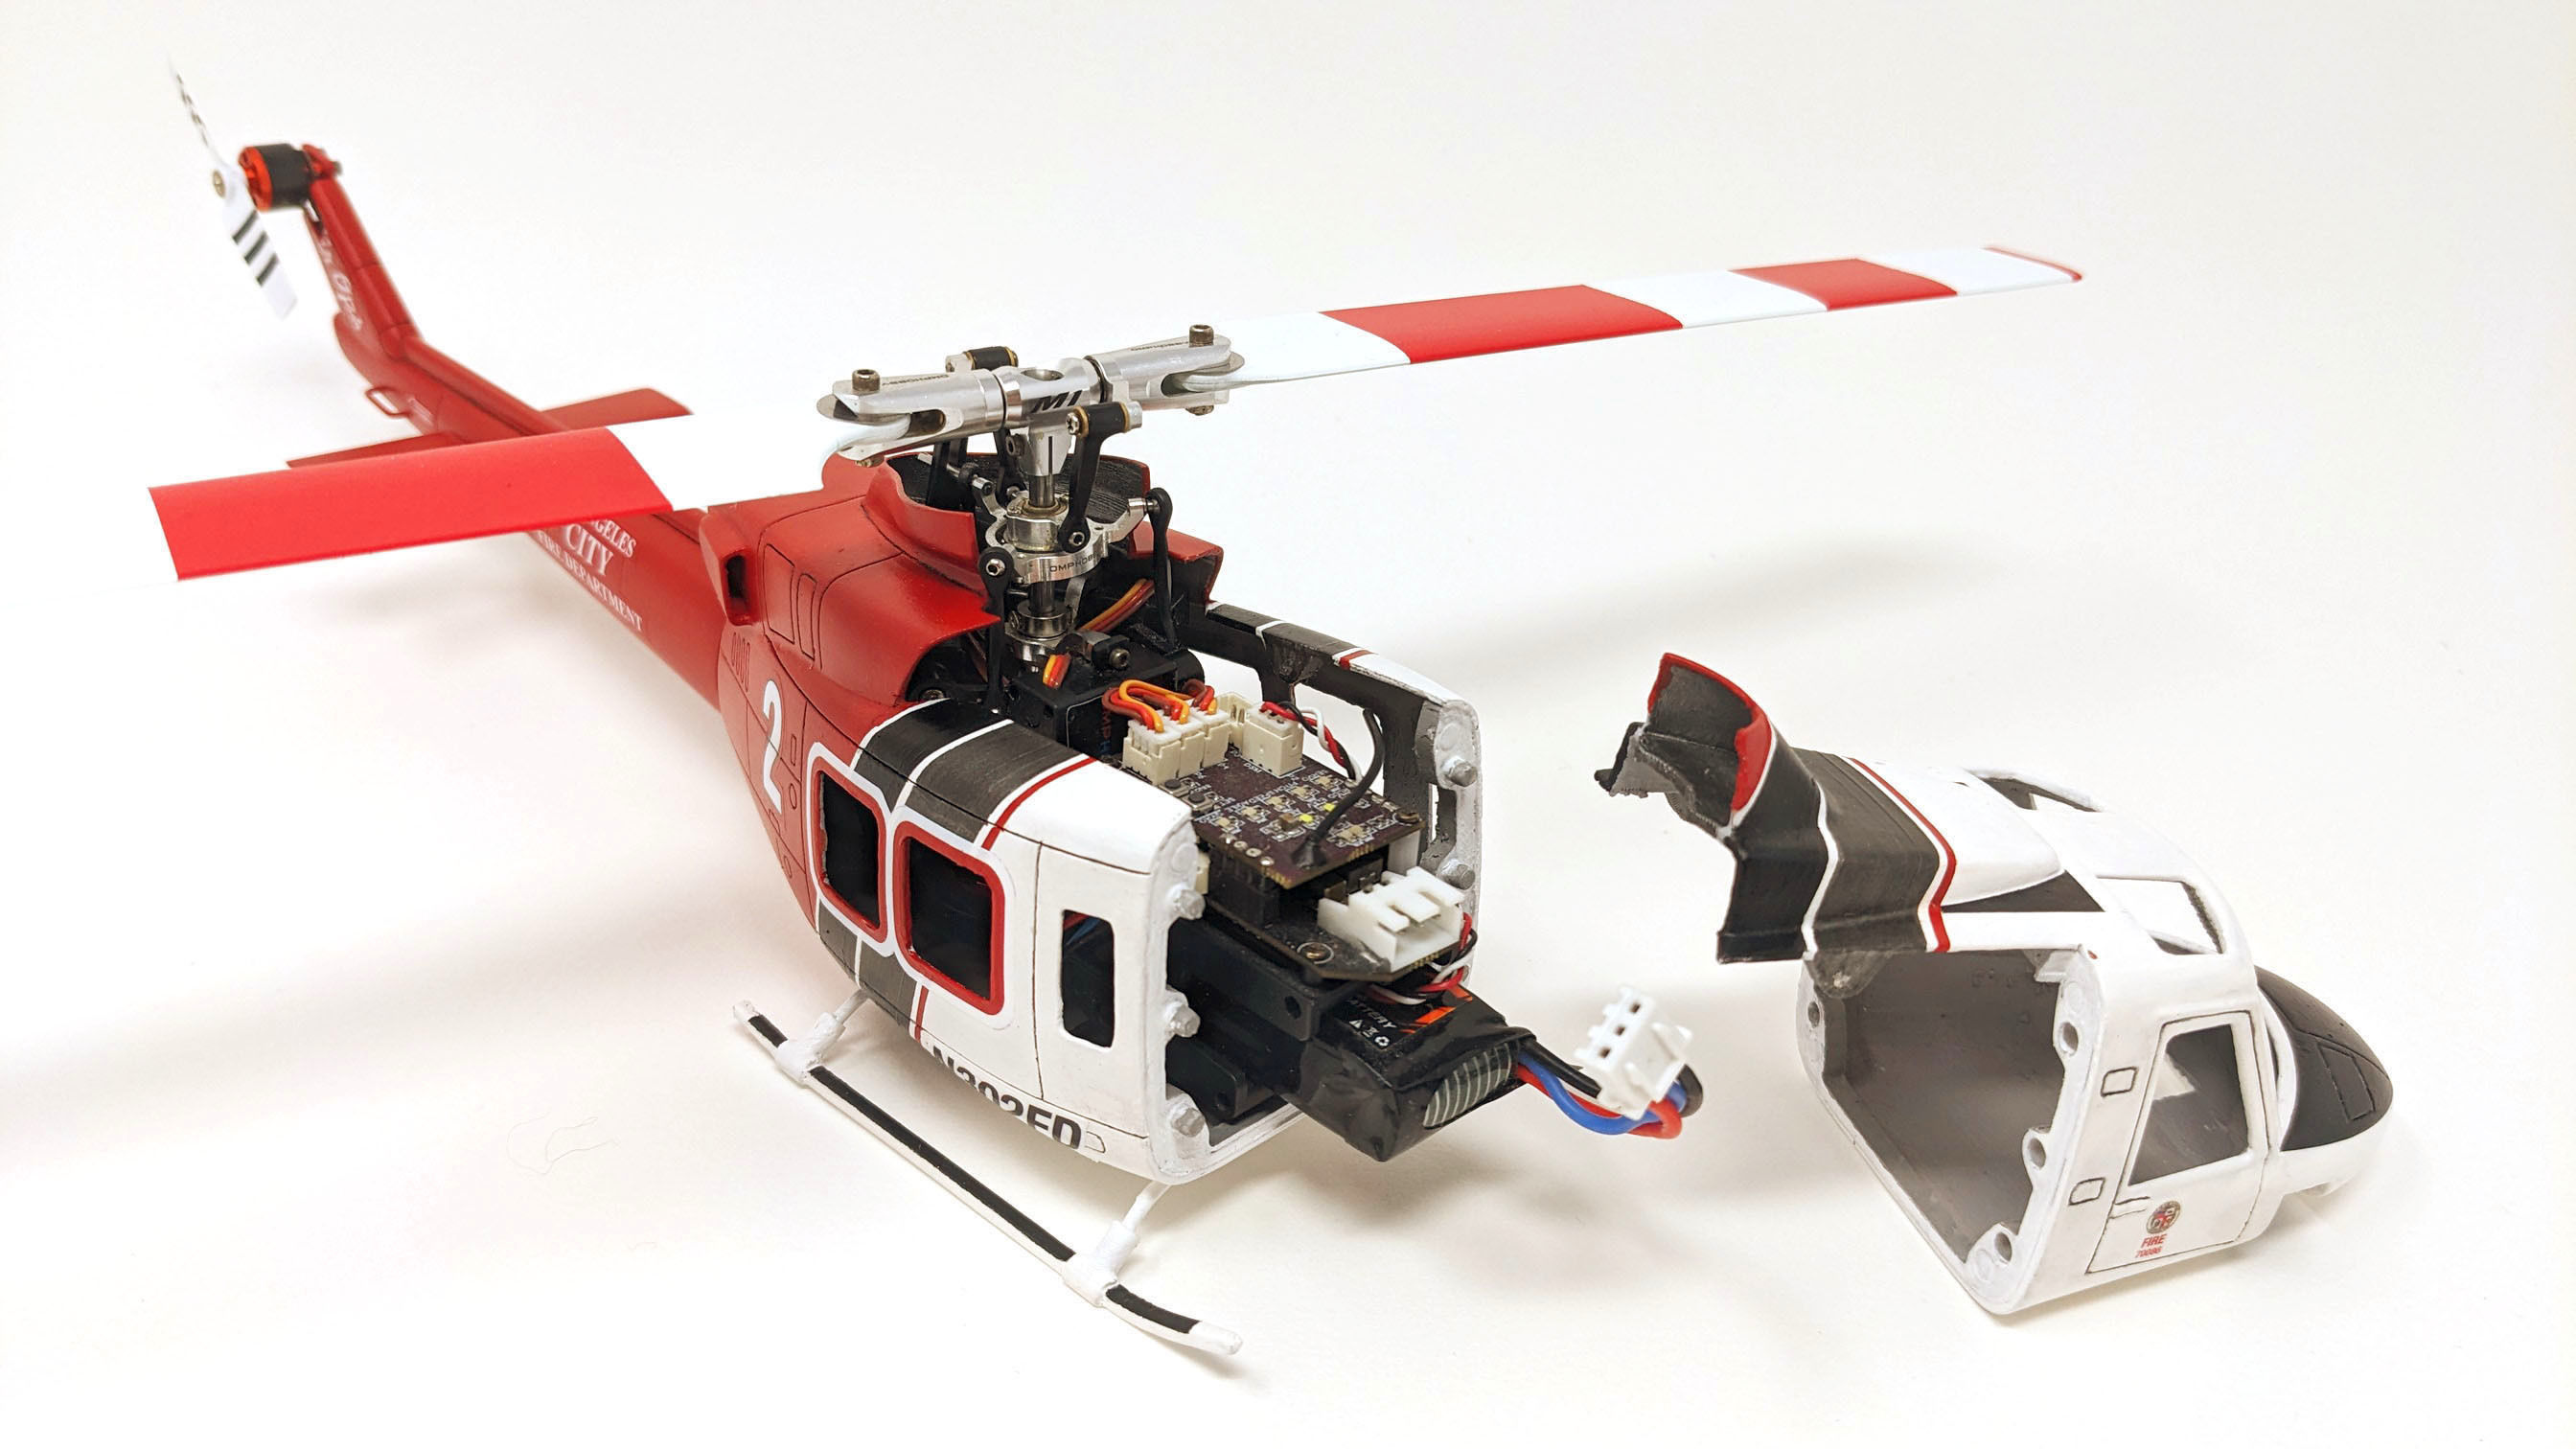
Additionally, the fuselage design incorporates six magnetic points, using 12 neodymium magnets (3mm diameter x 3mm long) to connect the front and middle sections. This design facilitates easy access for changing the battery.


