G
ghopkins238
file downloaded but will not load in printer


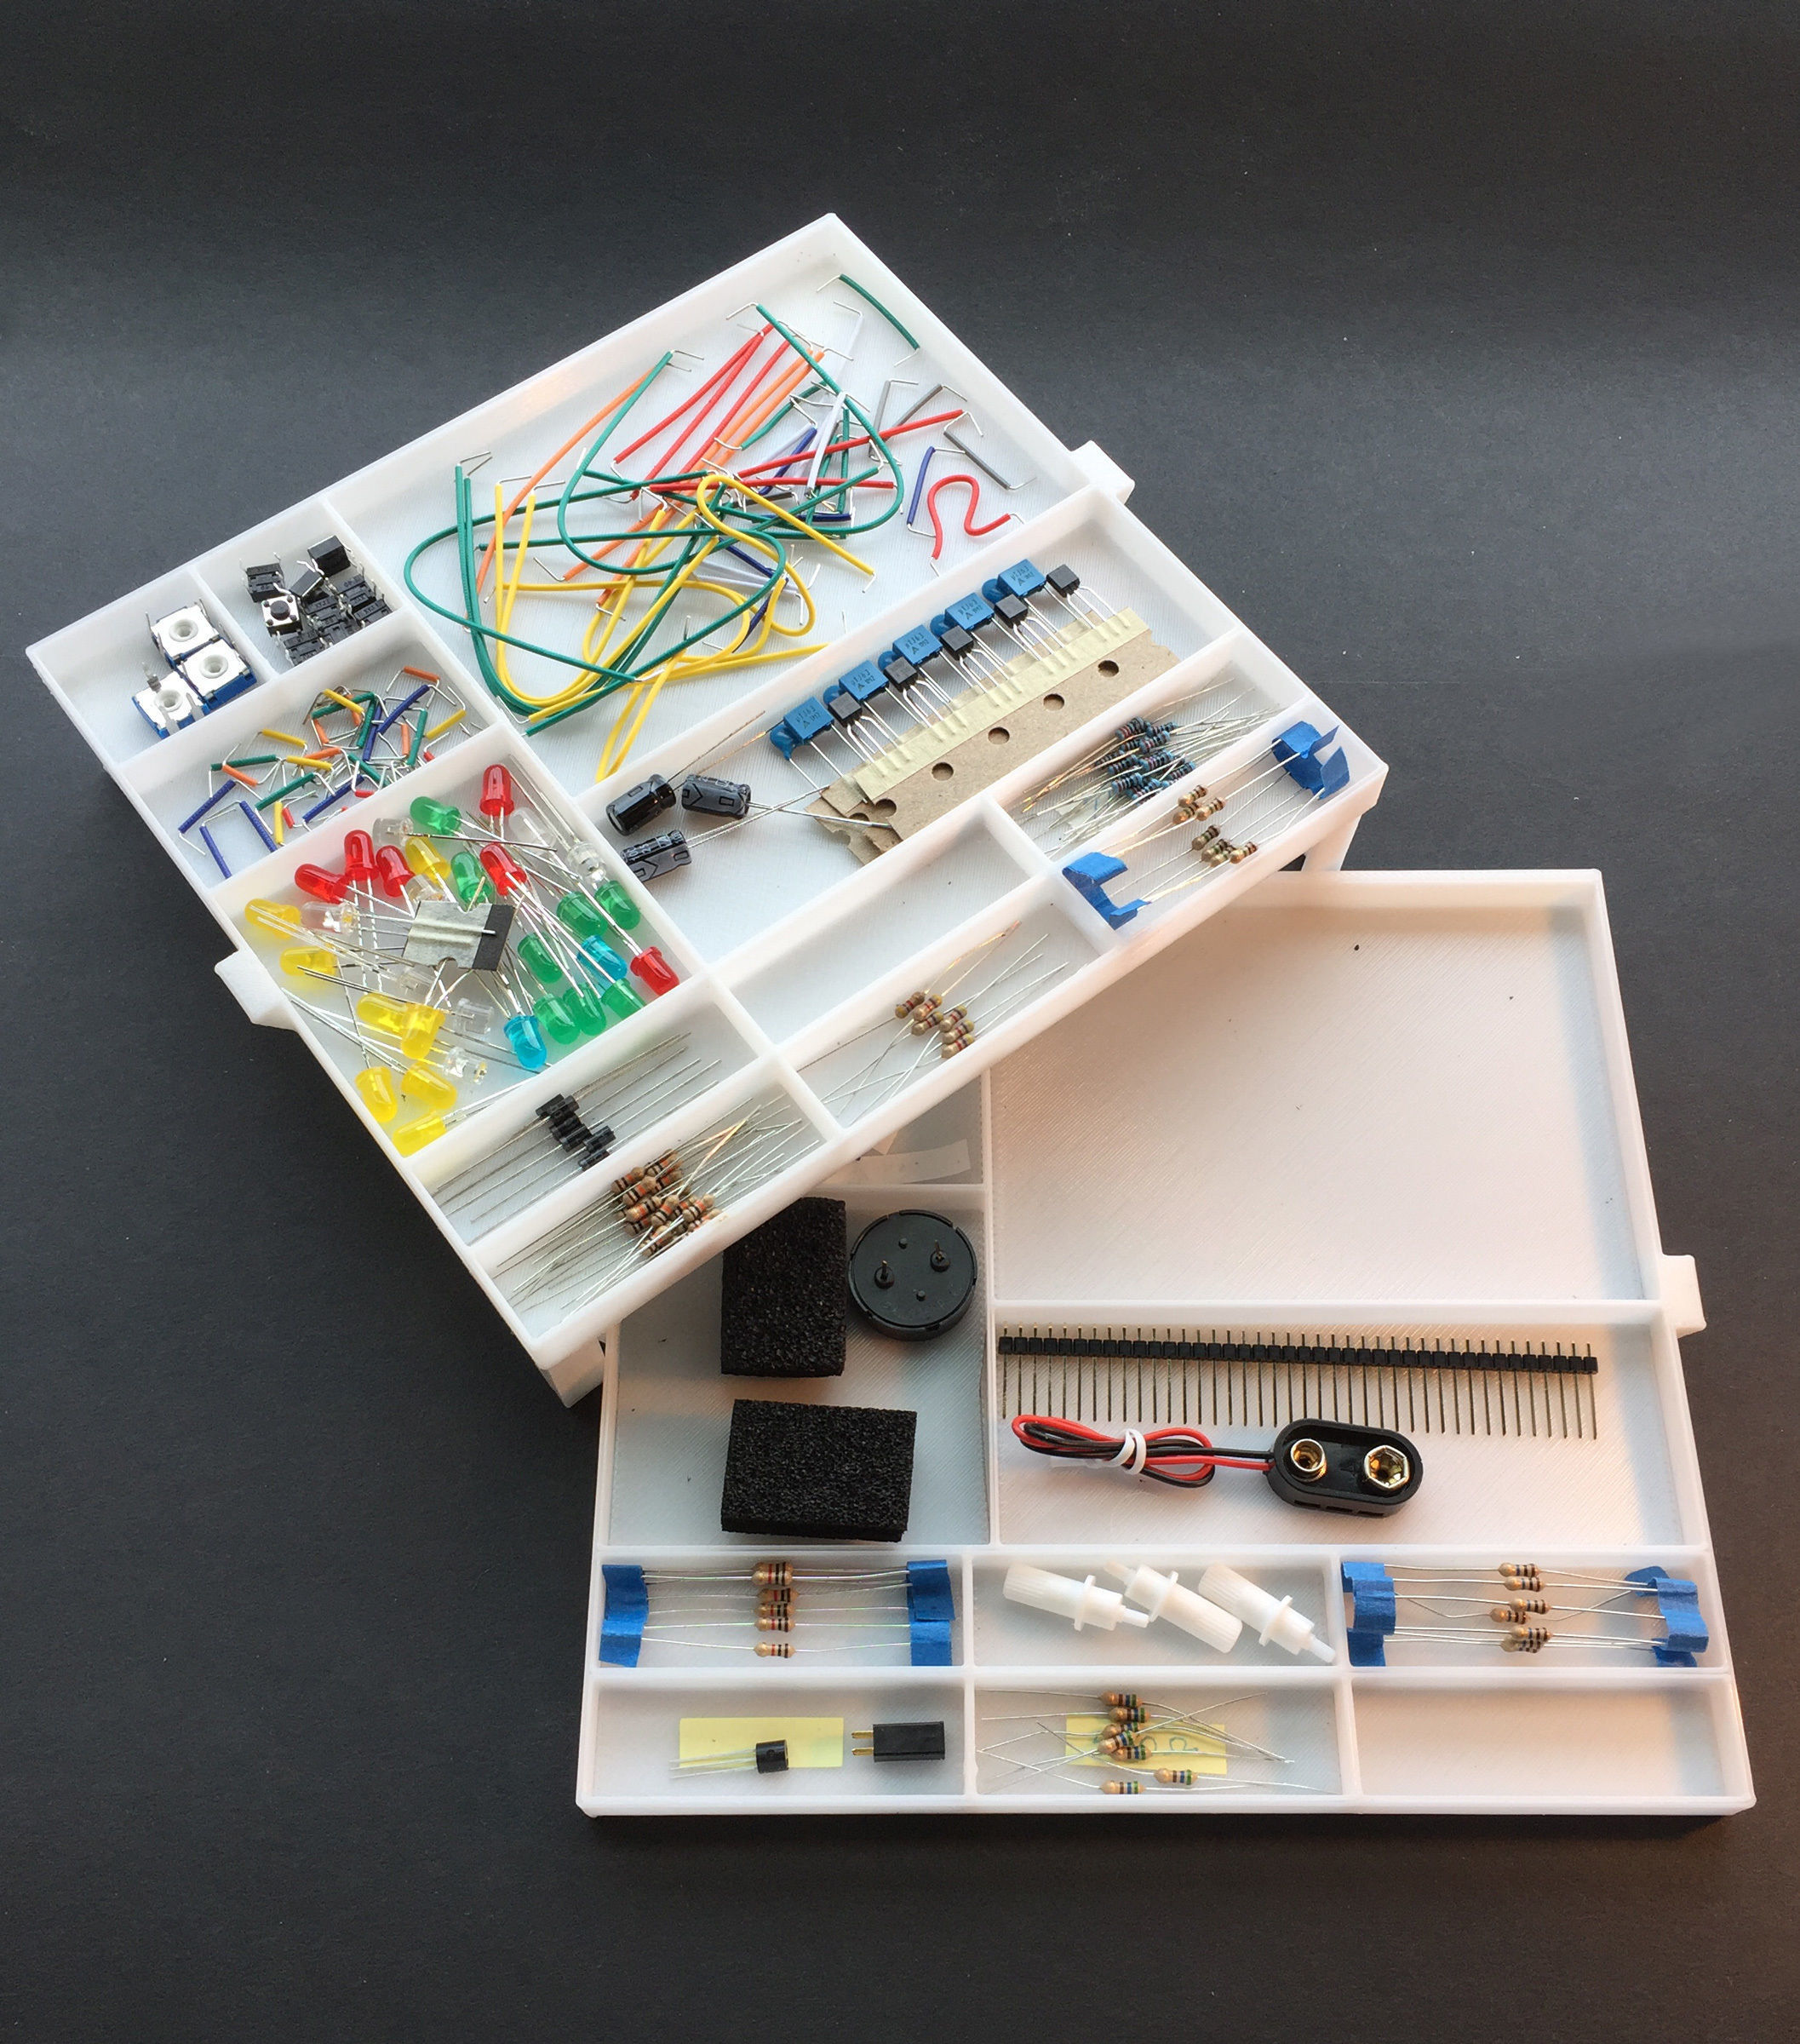
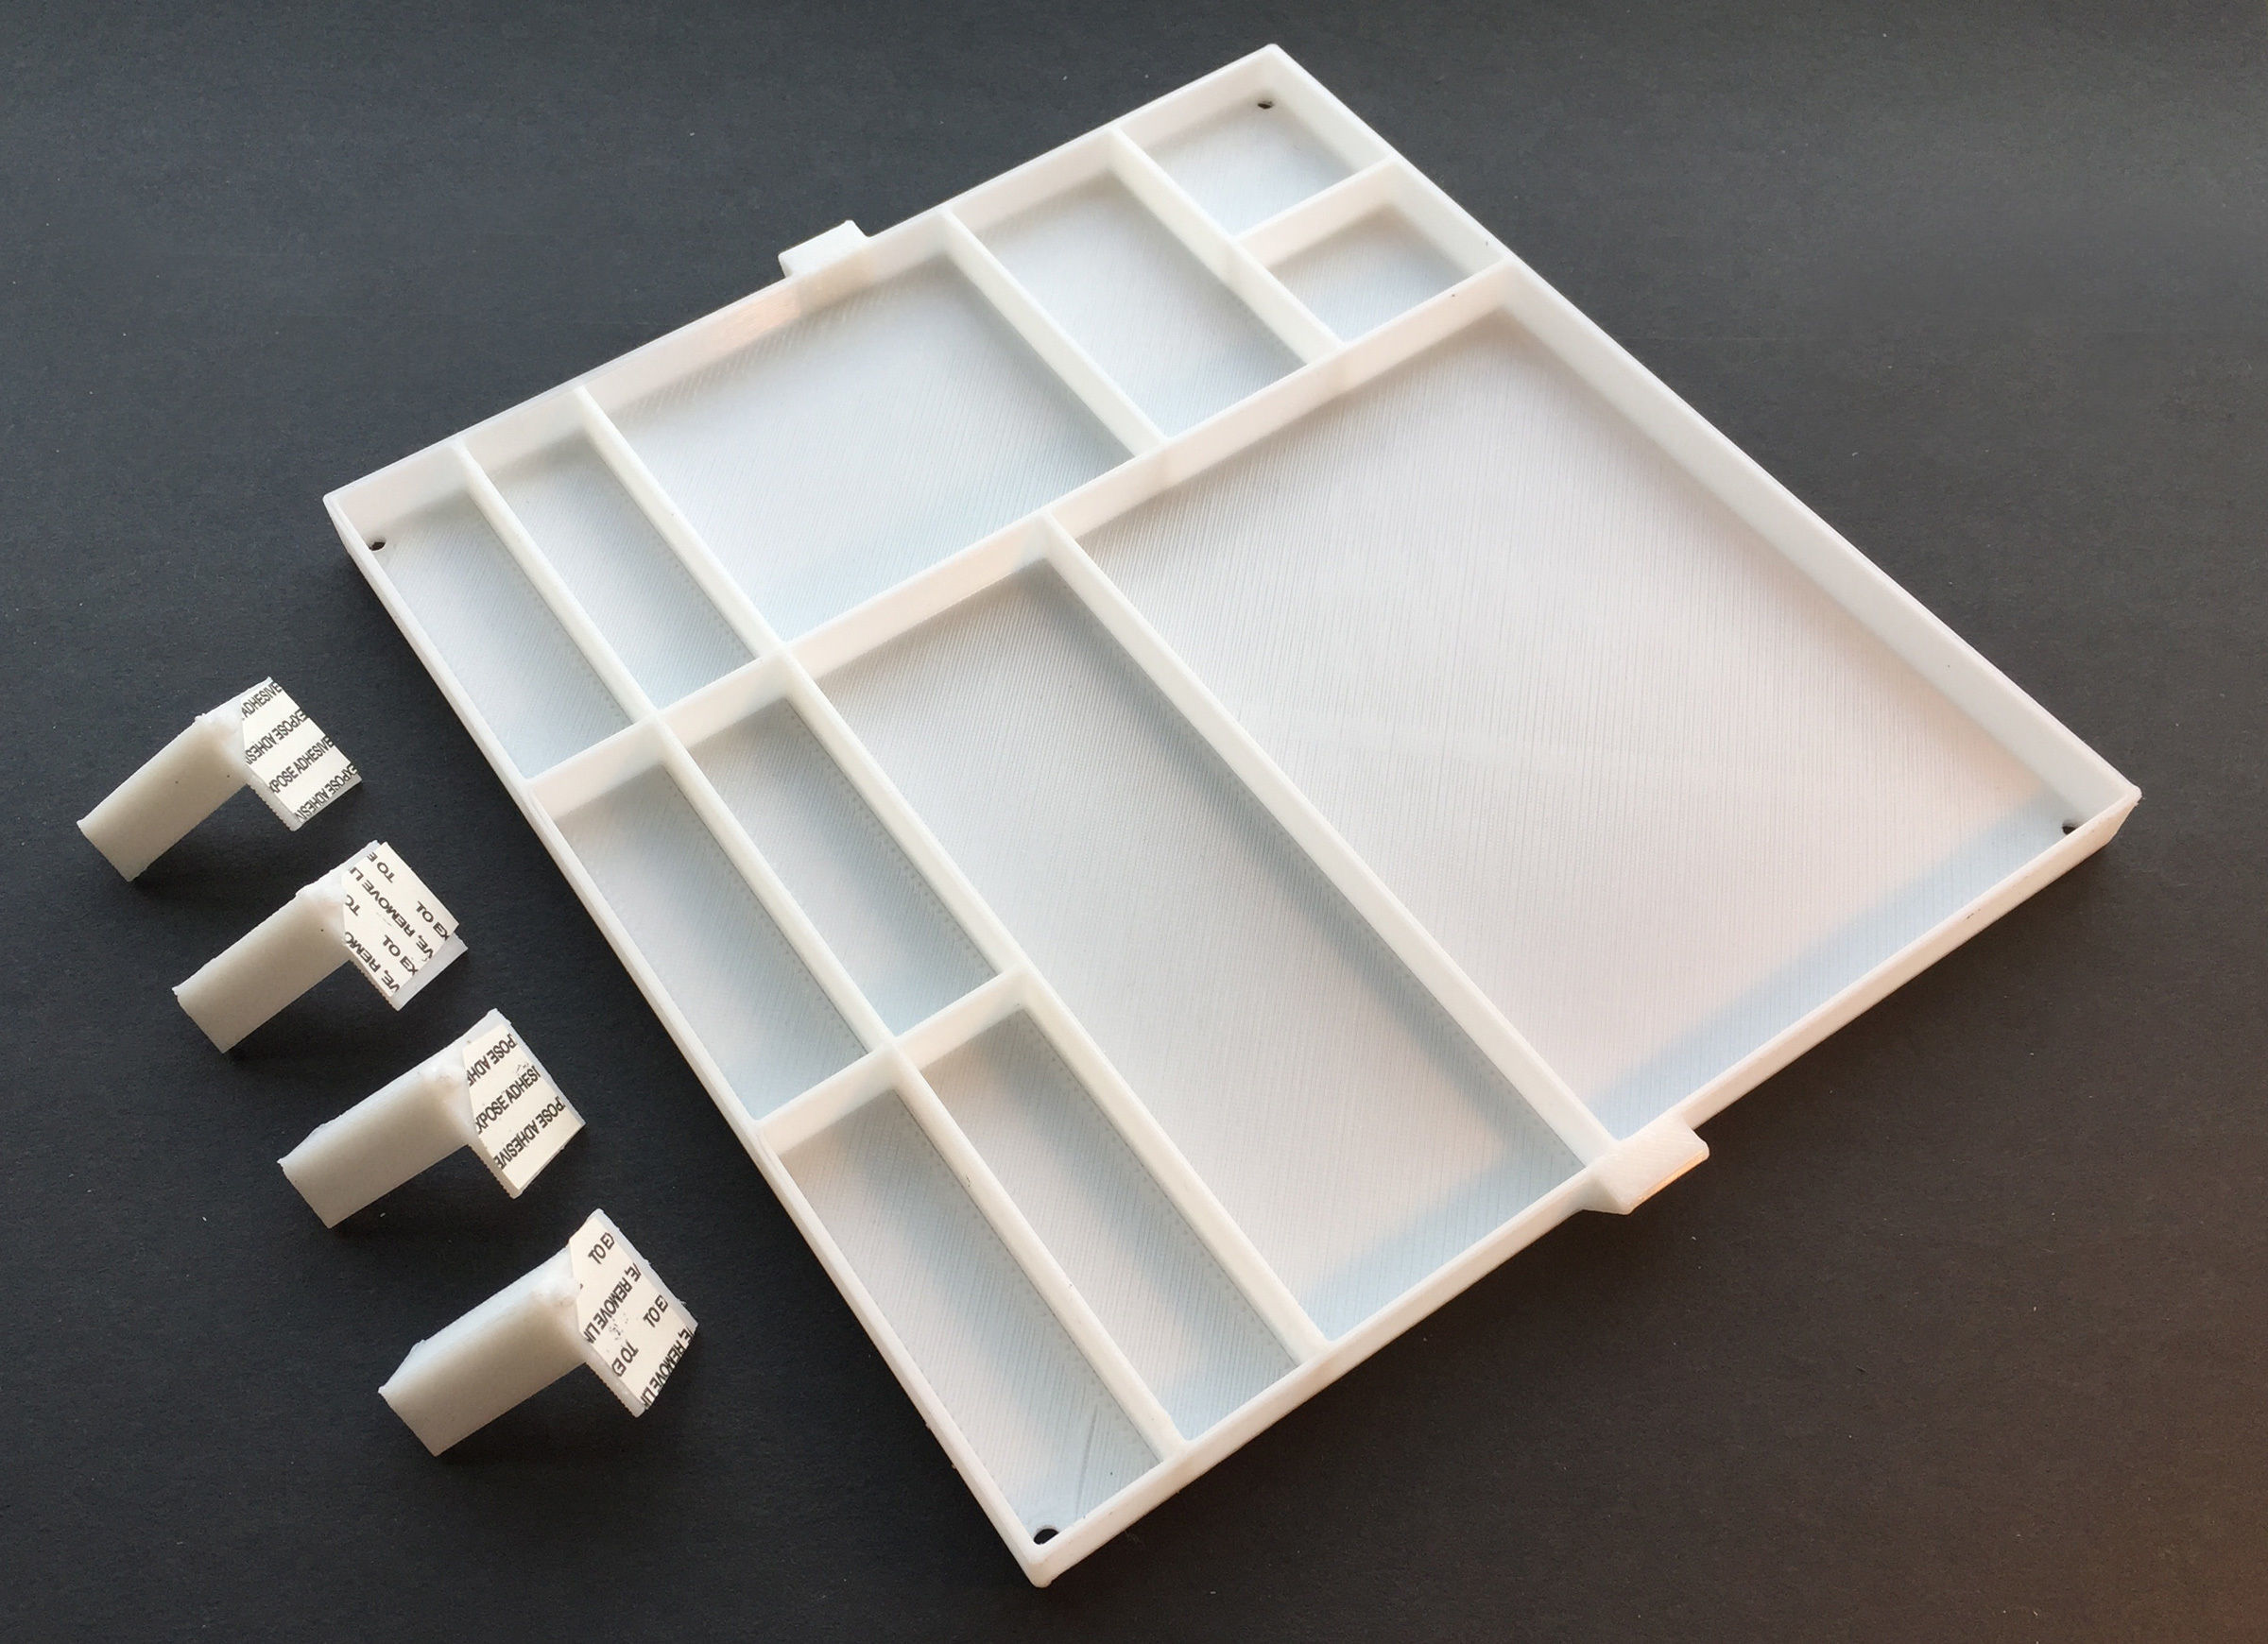


I’ve started learning to program Arduino, so I can incorporate active features into prototypes for my clients. Within the first few lessons in the basic introduction kit though, I found that effectively managing the many small electronics parts was immediately a high priority, so I designed this tray system for my workbench.
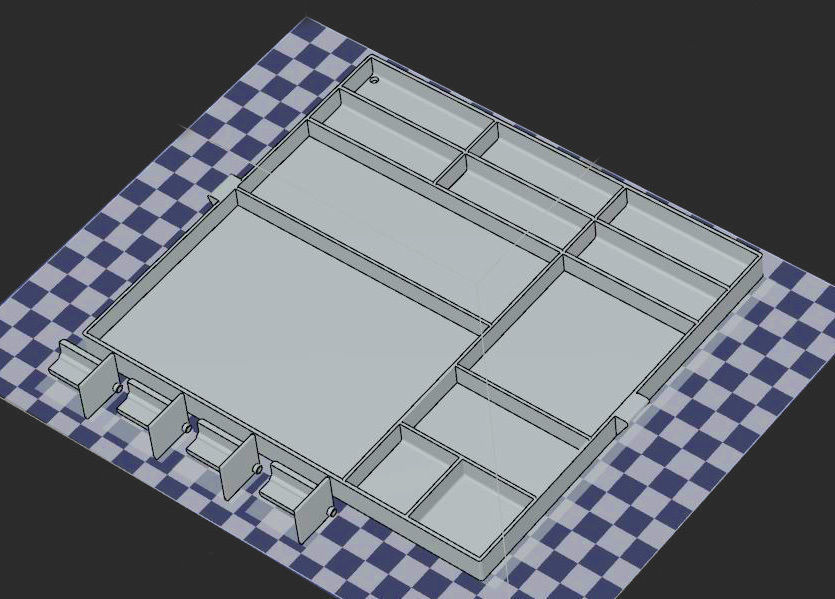
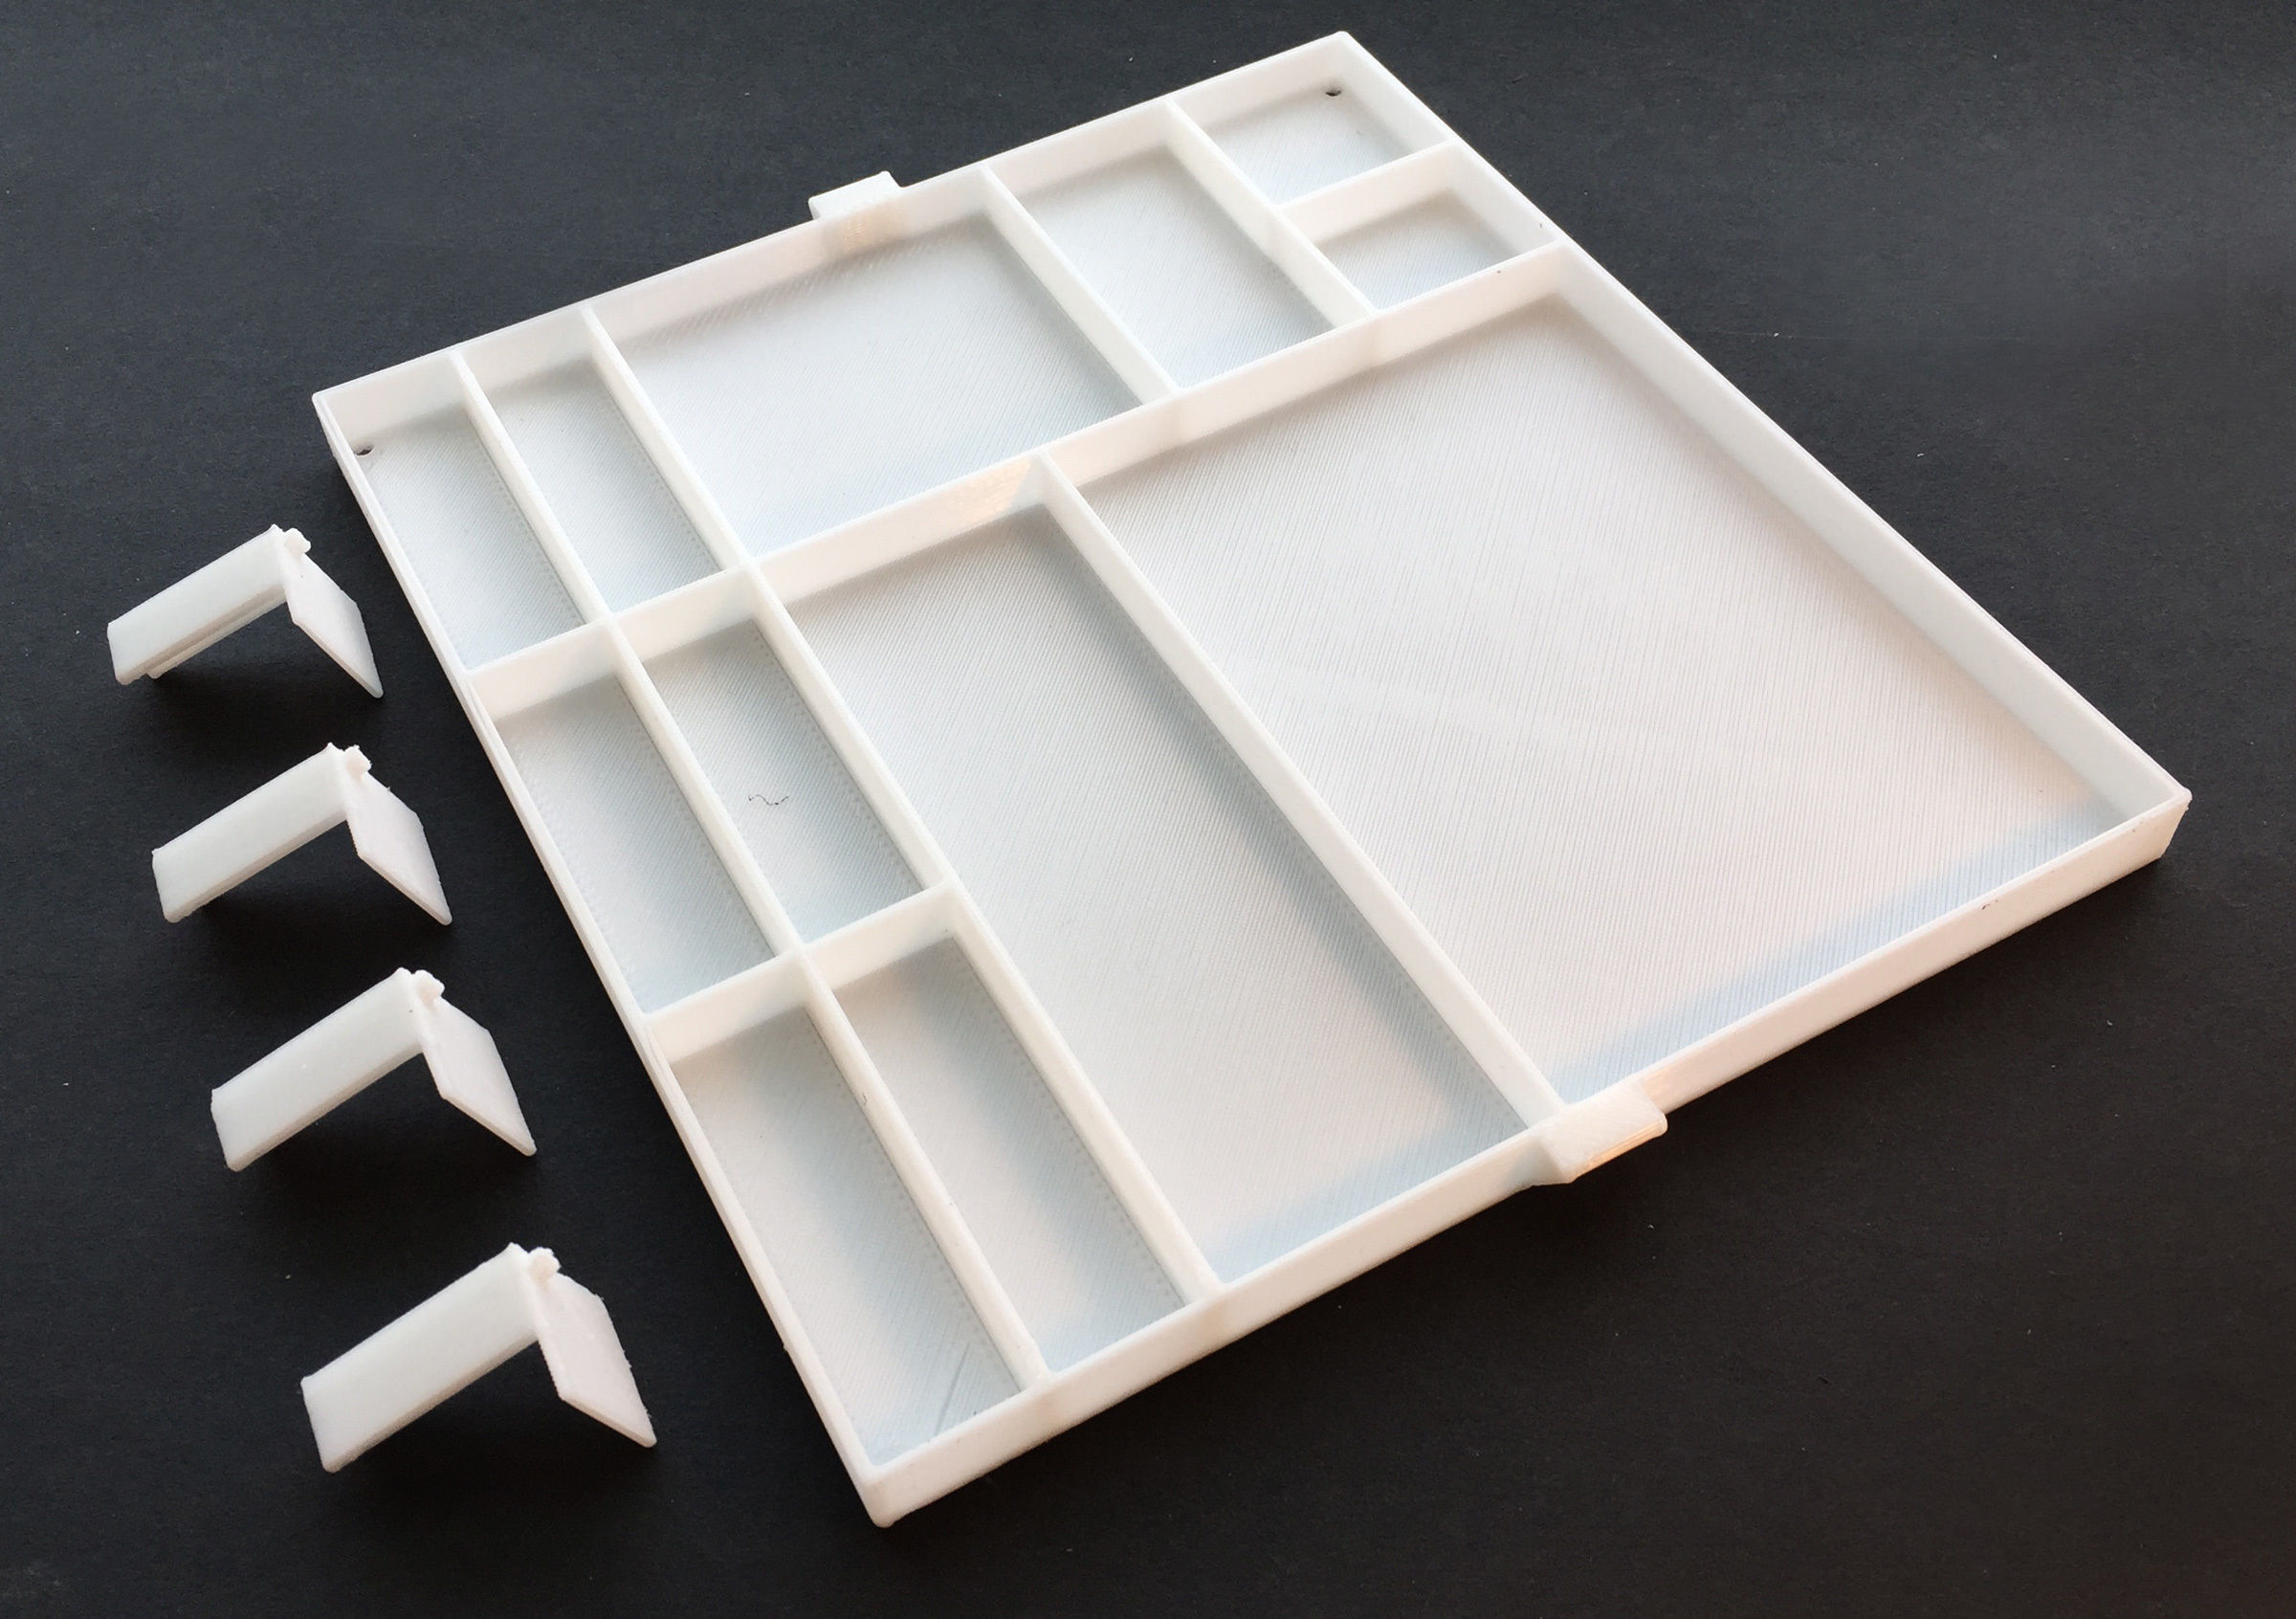
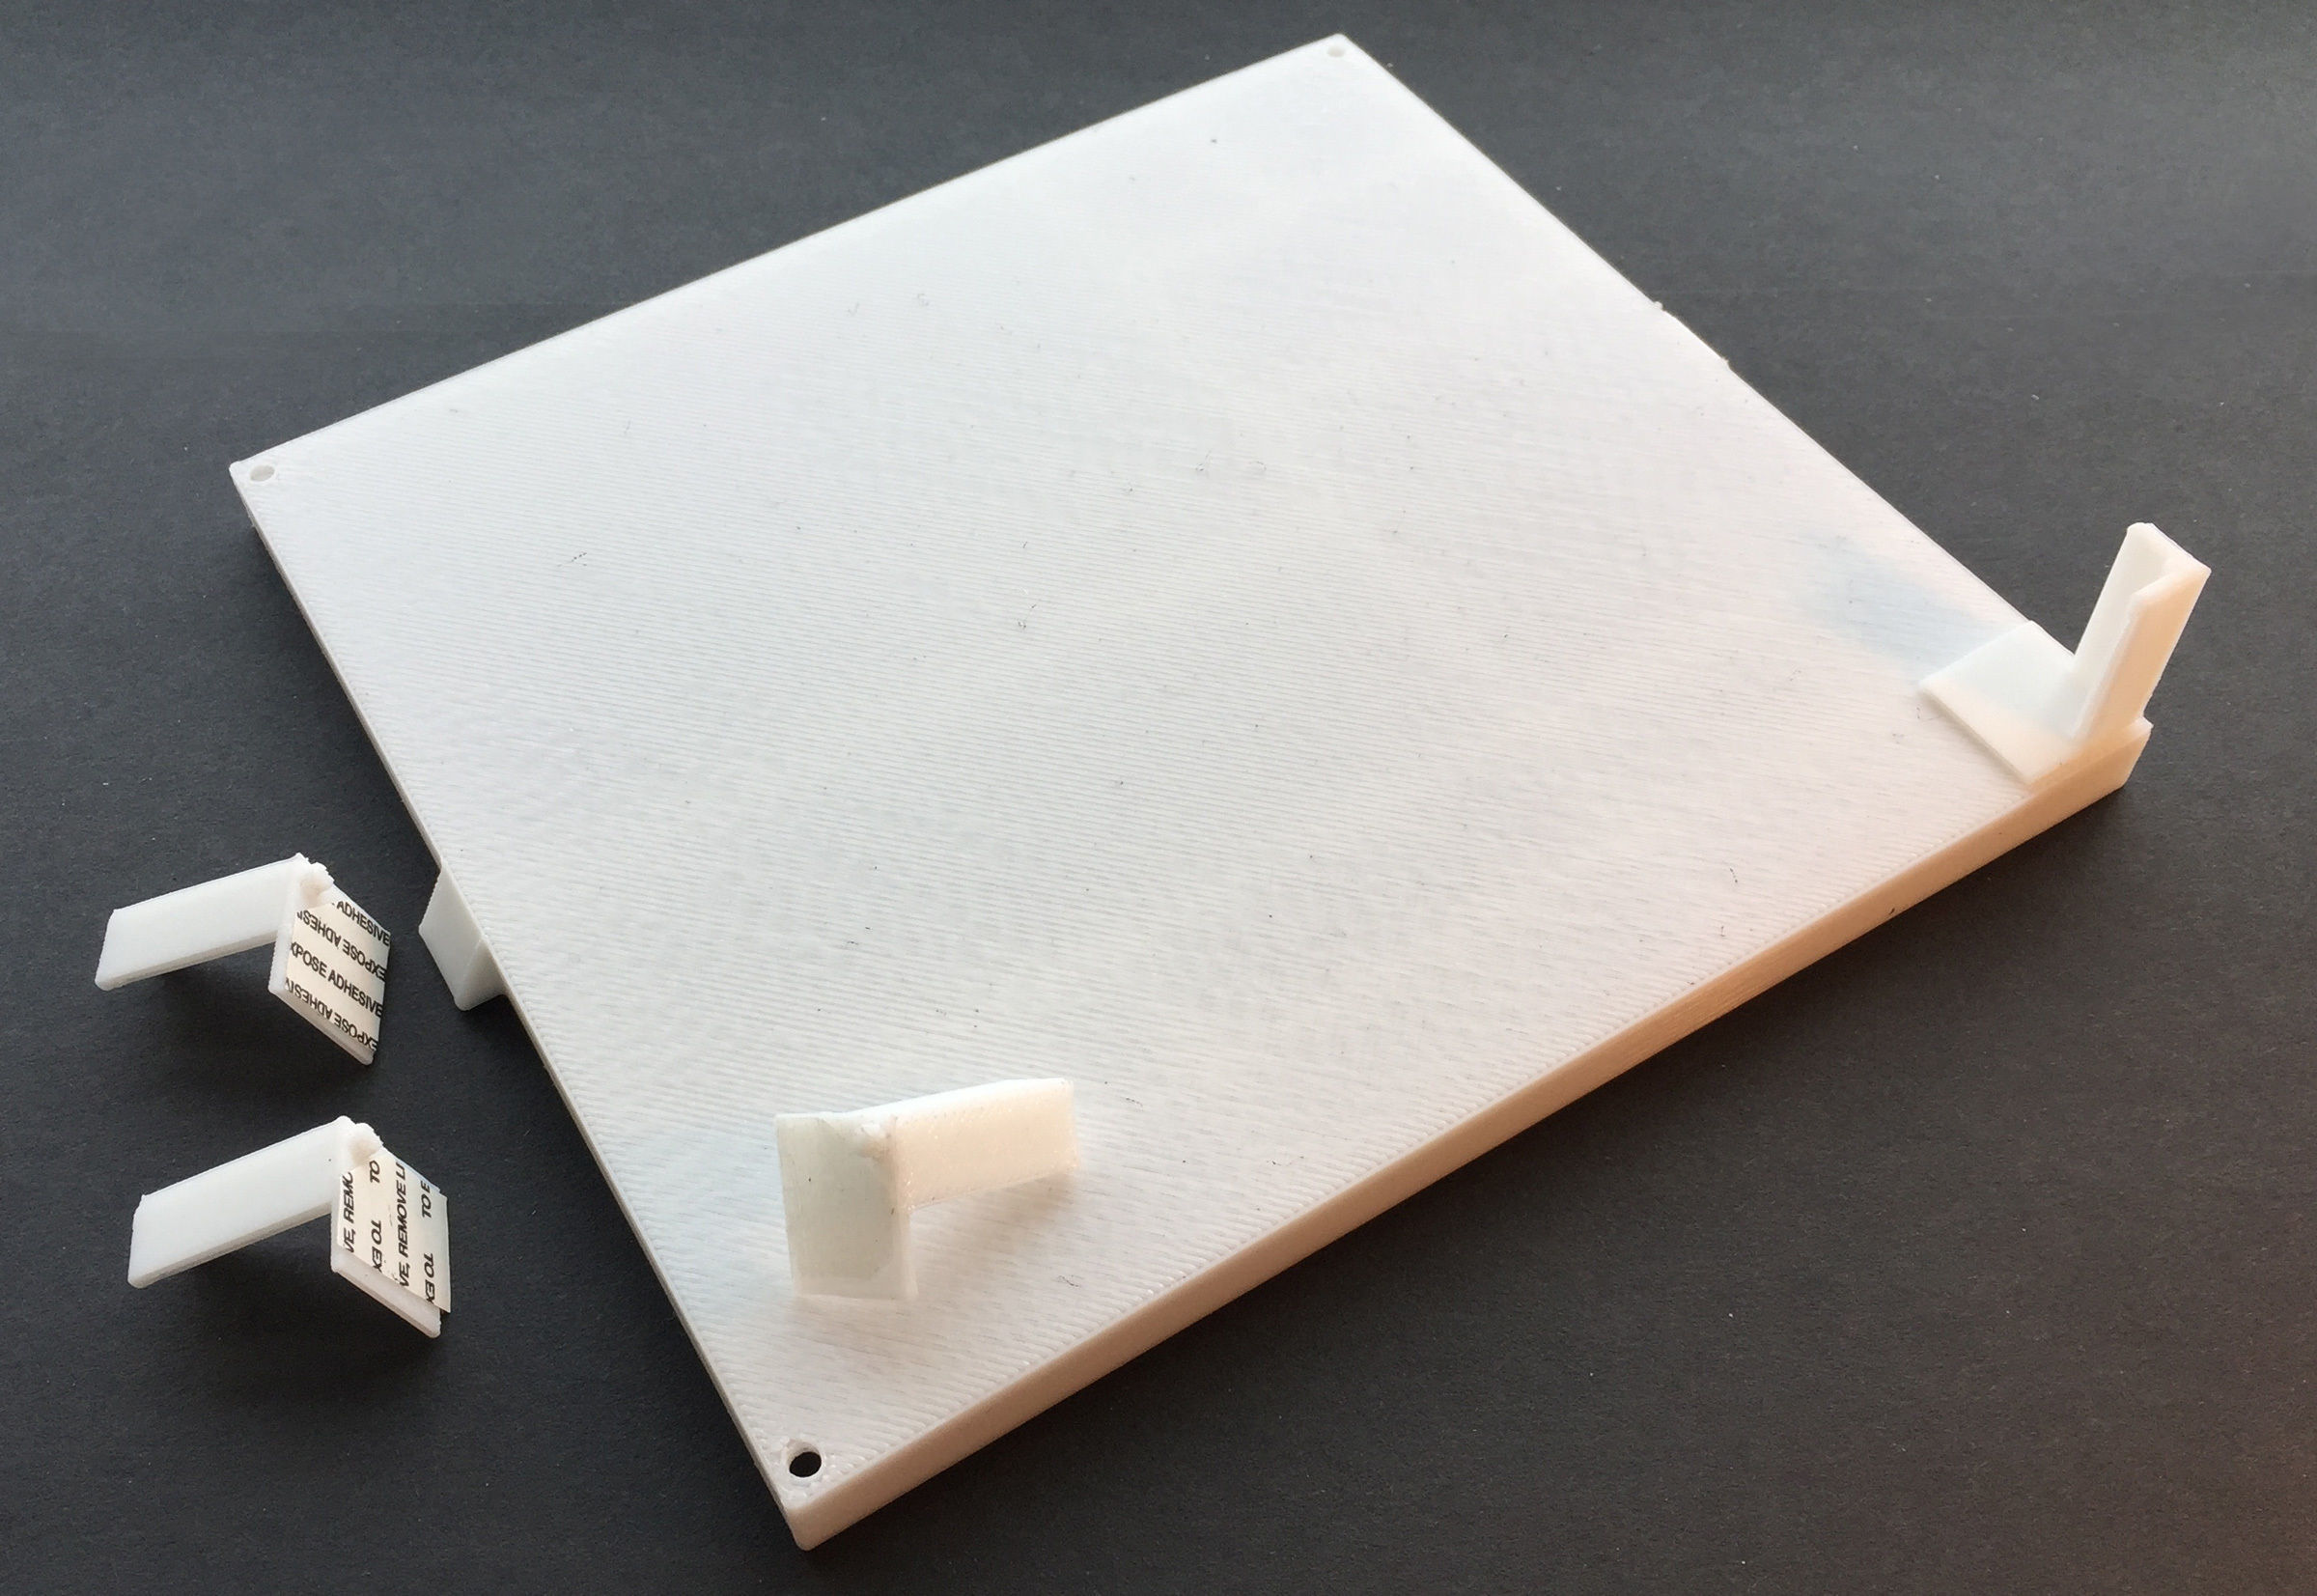
For easy printing, the tray and legs are separate, and assemble easily and securely with double-sided tape; the pin/hole connection locks each leg in place once pressed into position.
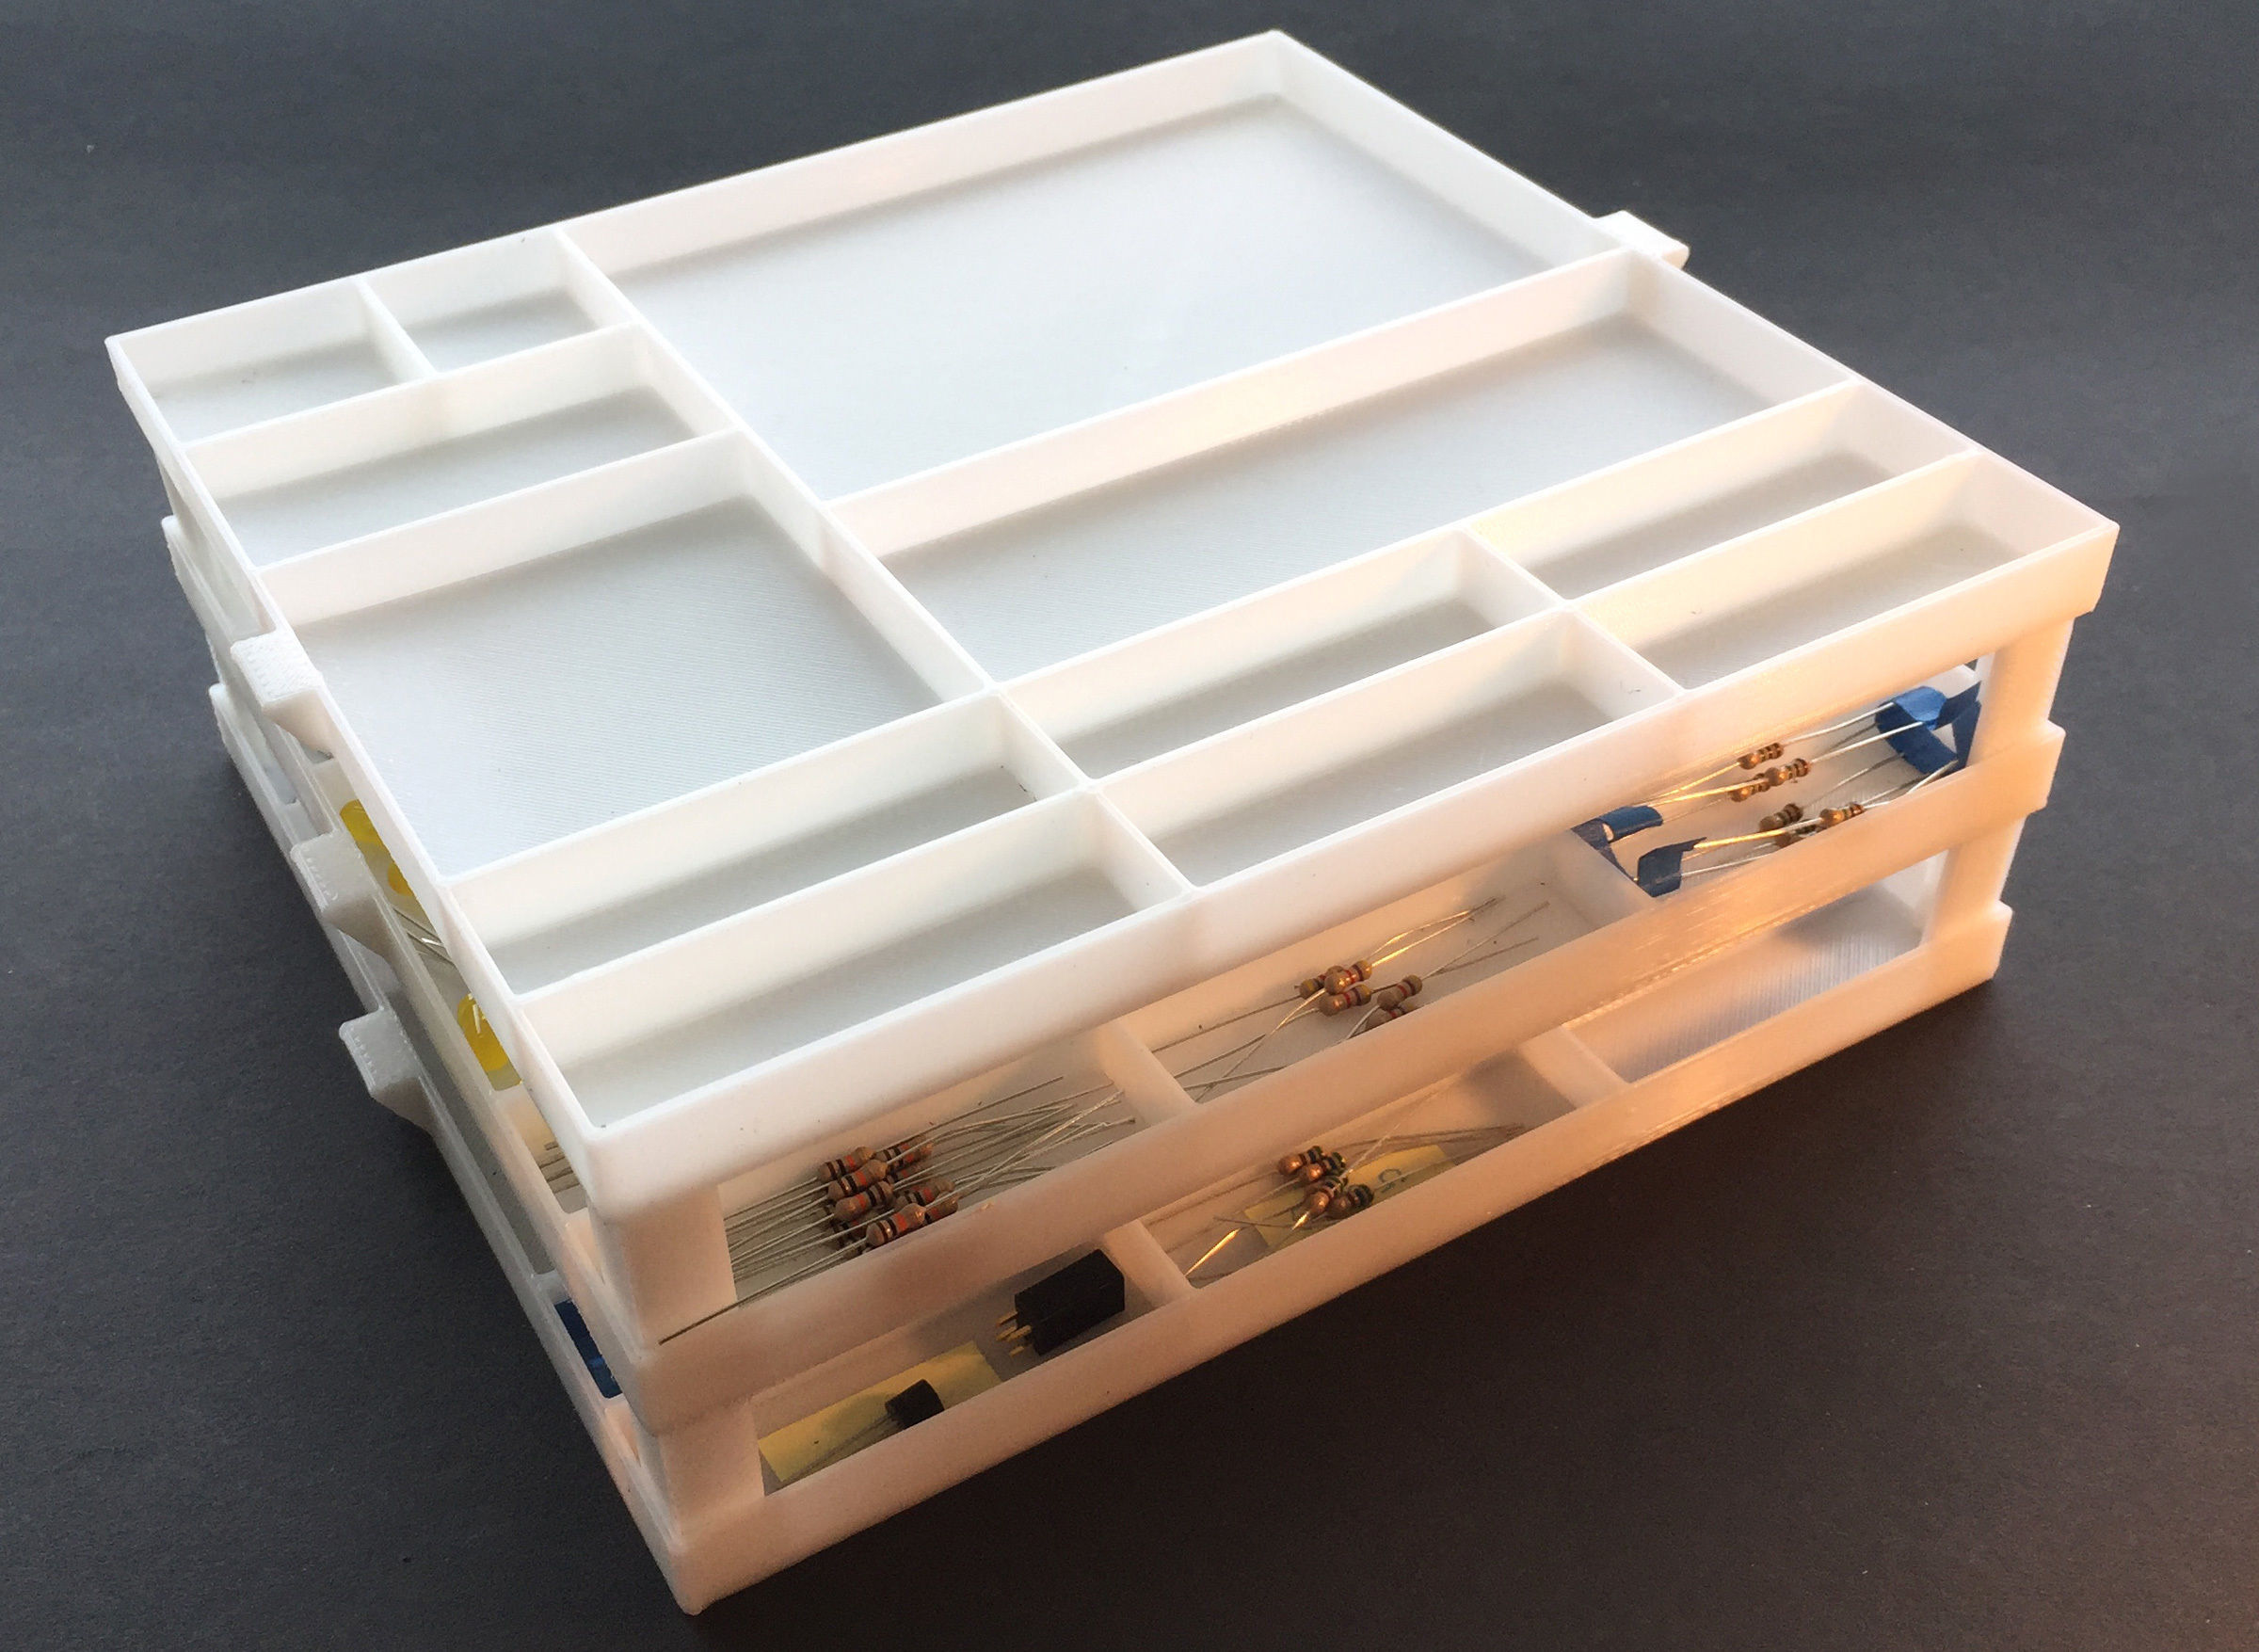
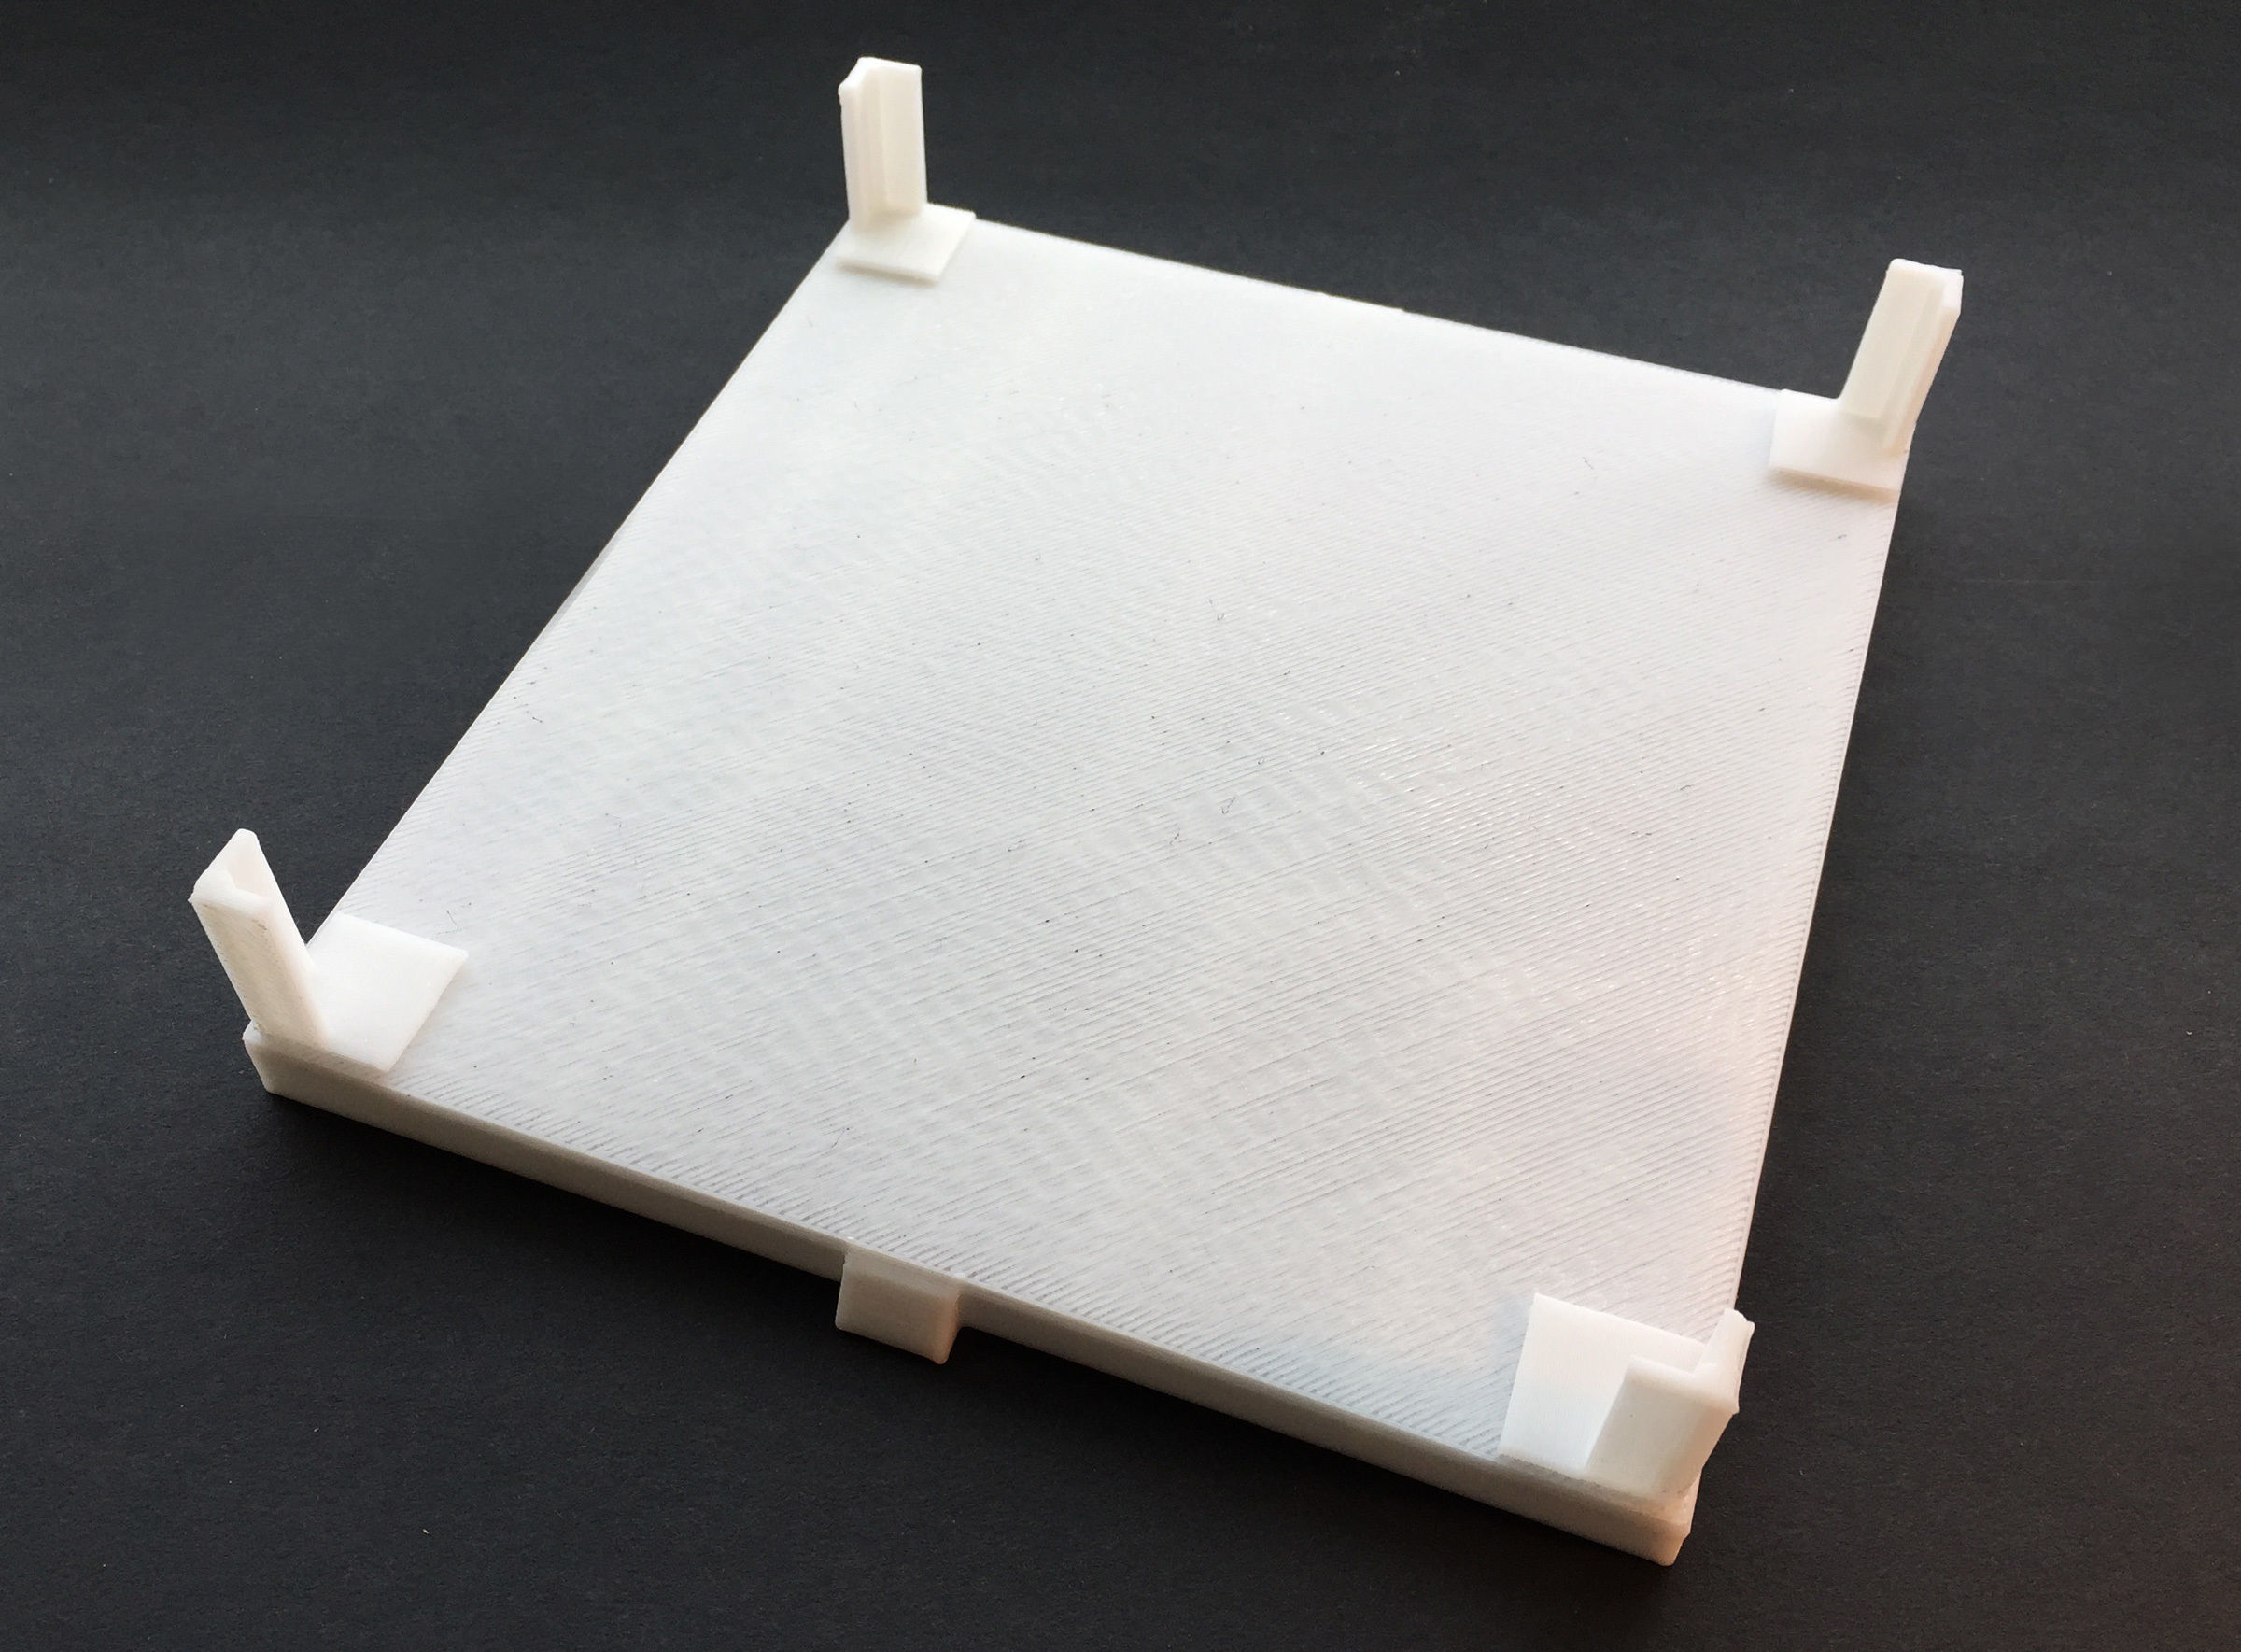
Once assembled, the tray with legs fits into the tray below, however, they don’t lock or snap into place. This was deliberate, so as to avoid any potential jangling effect when snapping in or out of position, which could potentially knock components out of the tray; keep in mind, however, that the stacked trays are NOT locked together. The small handle on the sides is for easier handling, and note that each individual tray being raised on four legs means it can easily straddle other stuff laying on the bench at the moment.
Overall size of tray is 7⅛” (7½” at the handles) x 6½” x ⅜”H; legs are 1” long.
These examples are printed in Tiertime White PLA, default Up PLA settings, at 0.35mm layers, 20% infill; a set consisting of the tray and four legs, printed in about 5 hours on an UpBox+.


