
Children and pets protection for 3 USB cables 3D print model
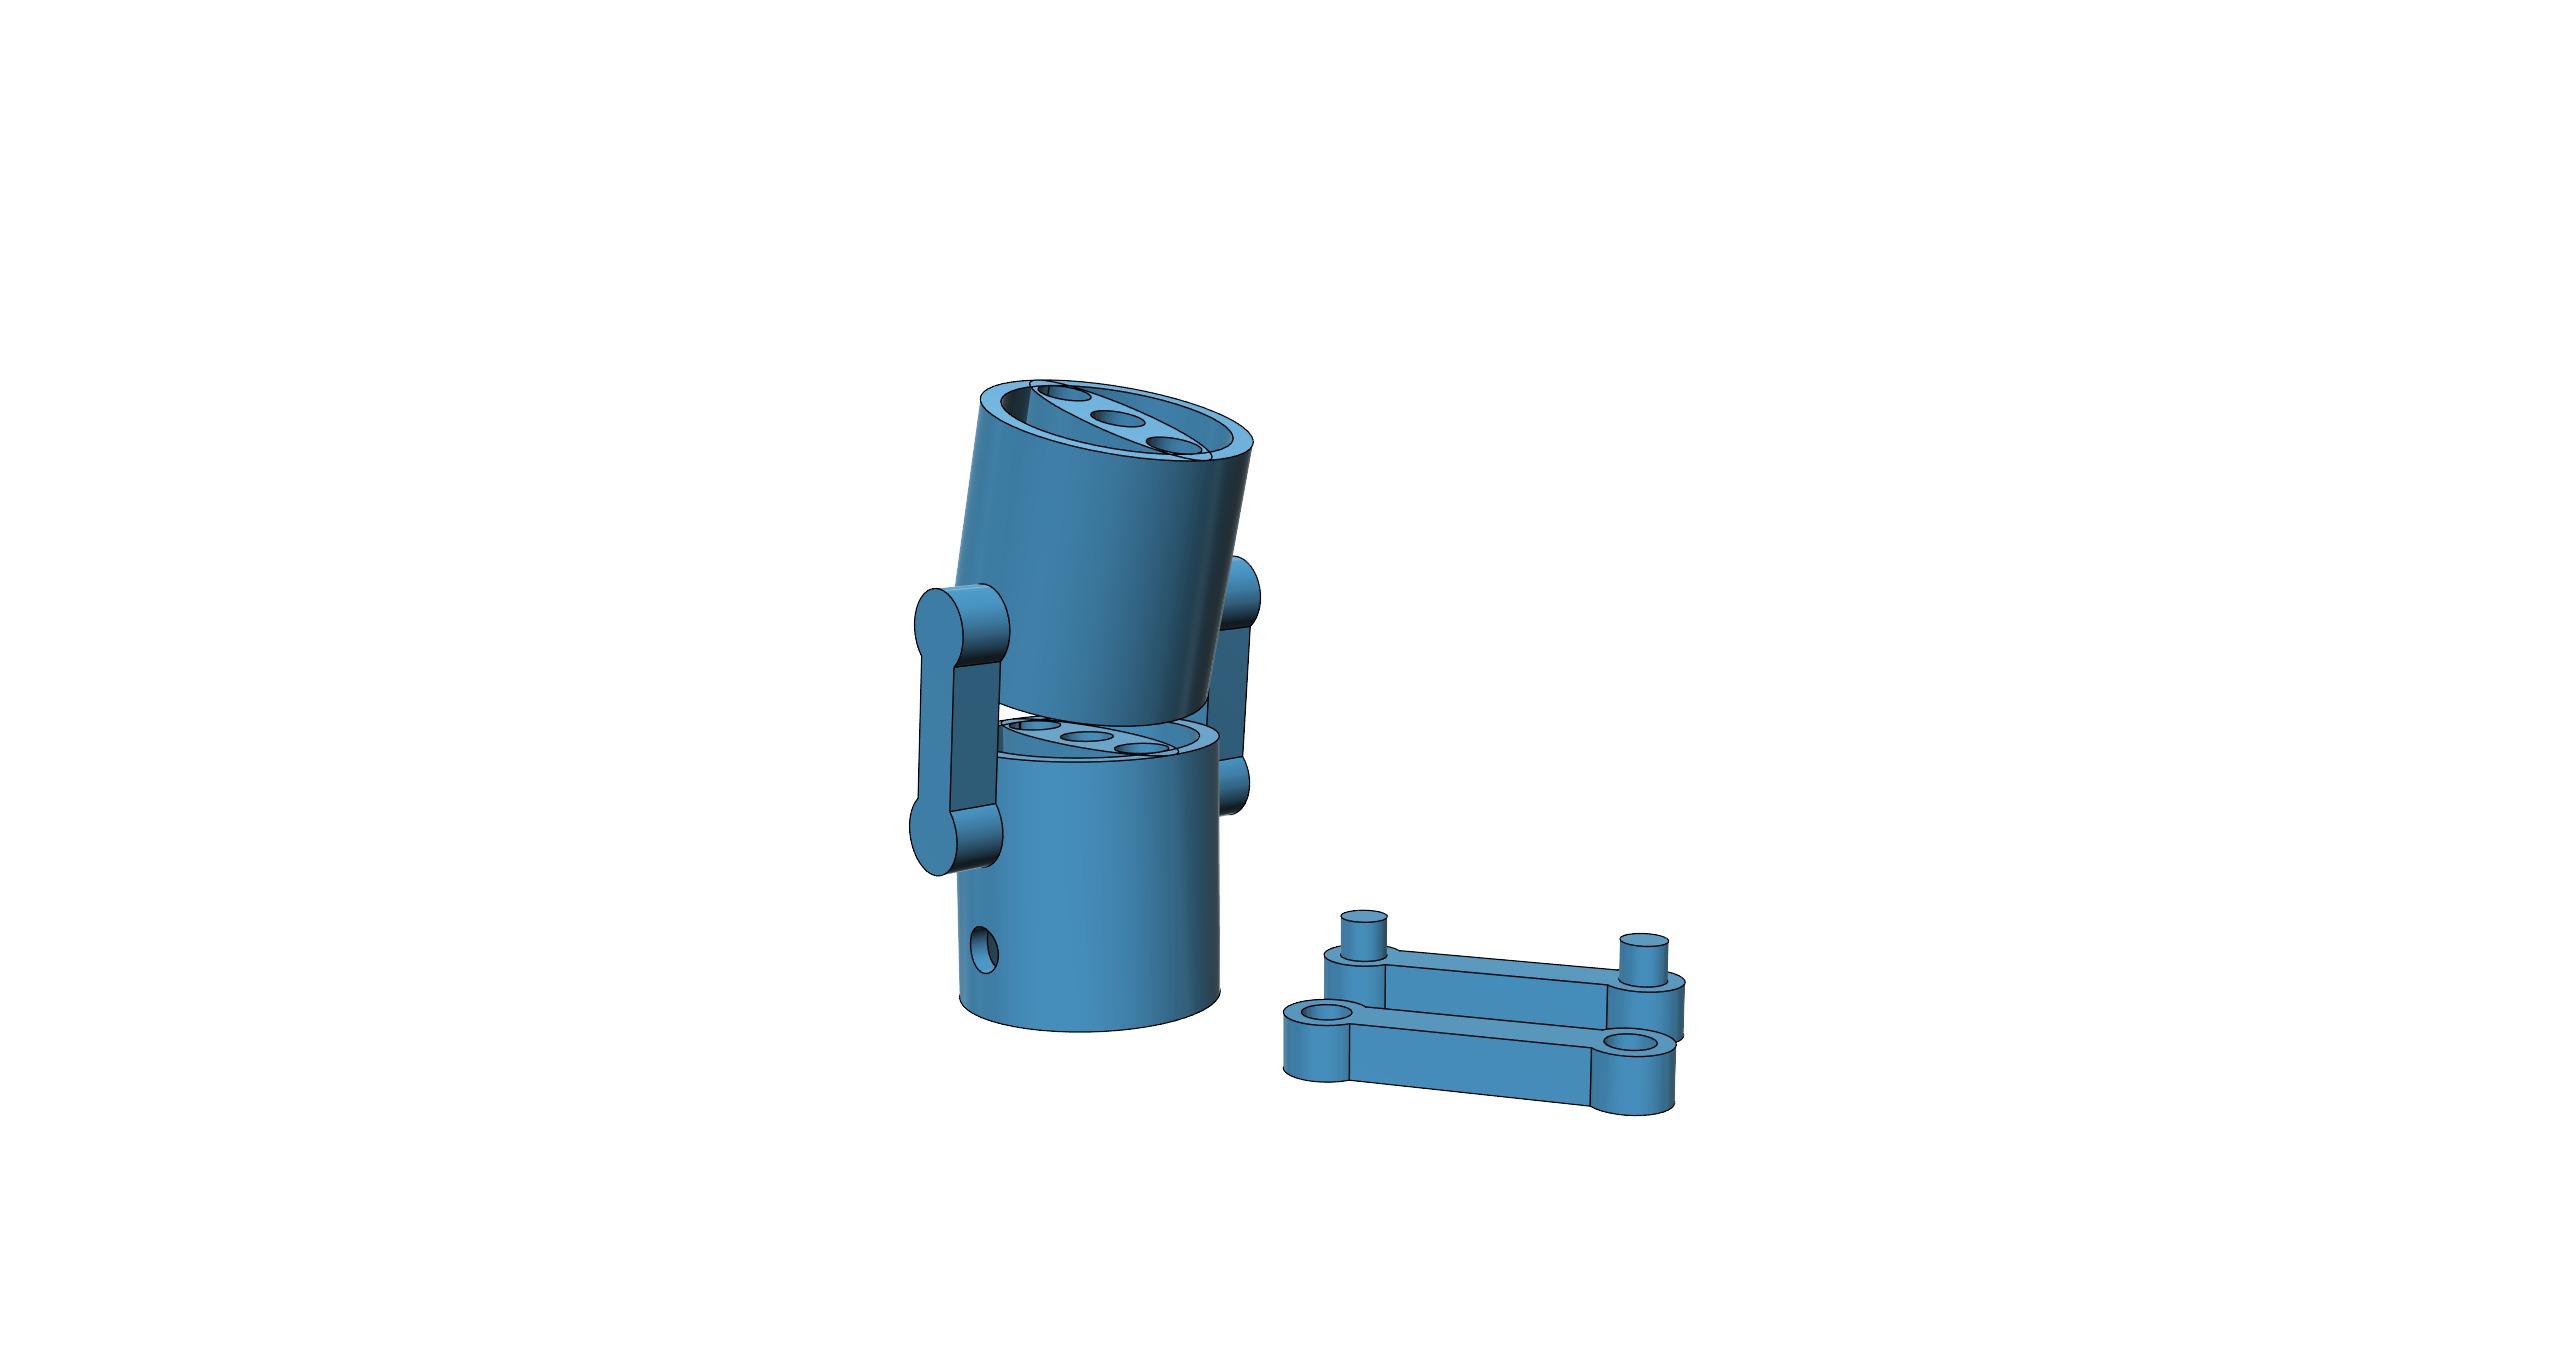
Hi to all,I recently adopted 2 kittens and, during their teething period they nibbled and destroyed several wires/cables, so I came up with an idea to protect my cables and keep my equipment/small appliances running as usual. I had quite a bit of USB cables chewed, so I am publishing my idea in the hopes that it can help you protect things from both curious children and pets.It's a way to shield cables from external attacks. It consists of three files and I think it's a pretty solution to this problem.With this model you can link as many items you want. It is flexible even if printed in PLA+, you could try to print it with TPU if you so wish but I do not know what the result will be. If it's going to be even more flexible, please, let me know!
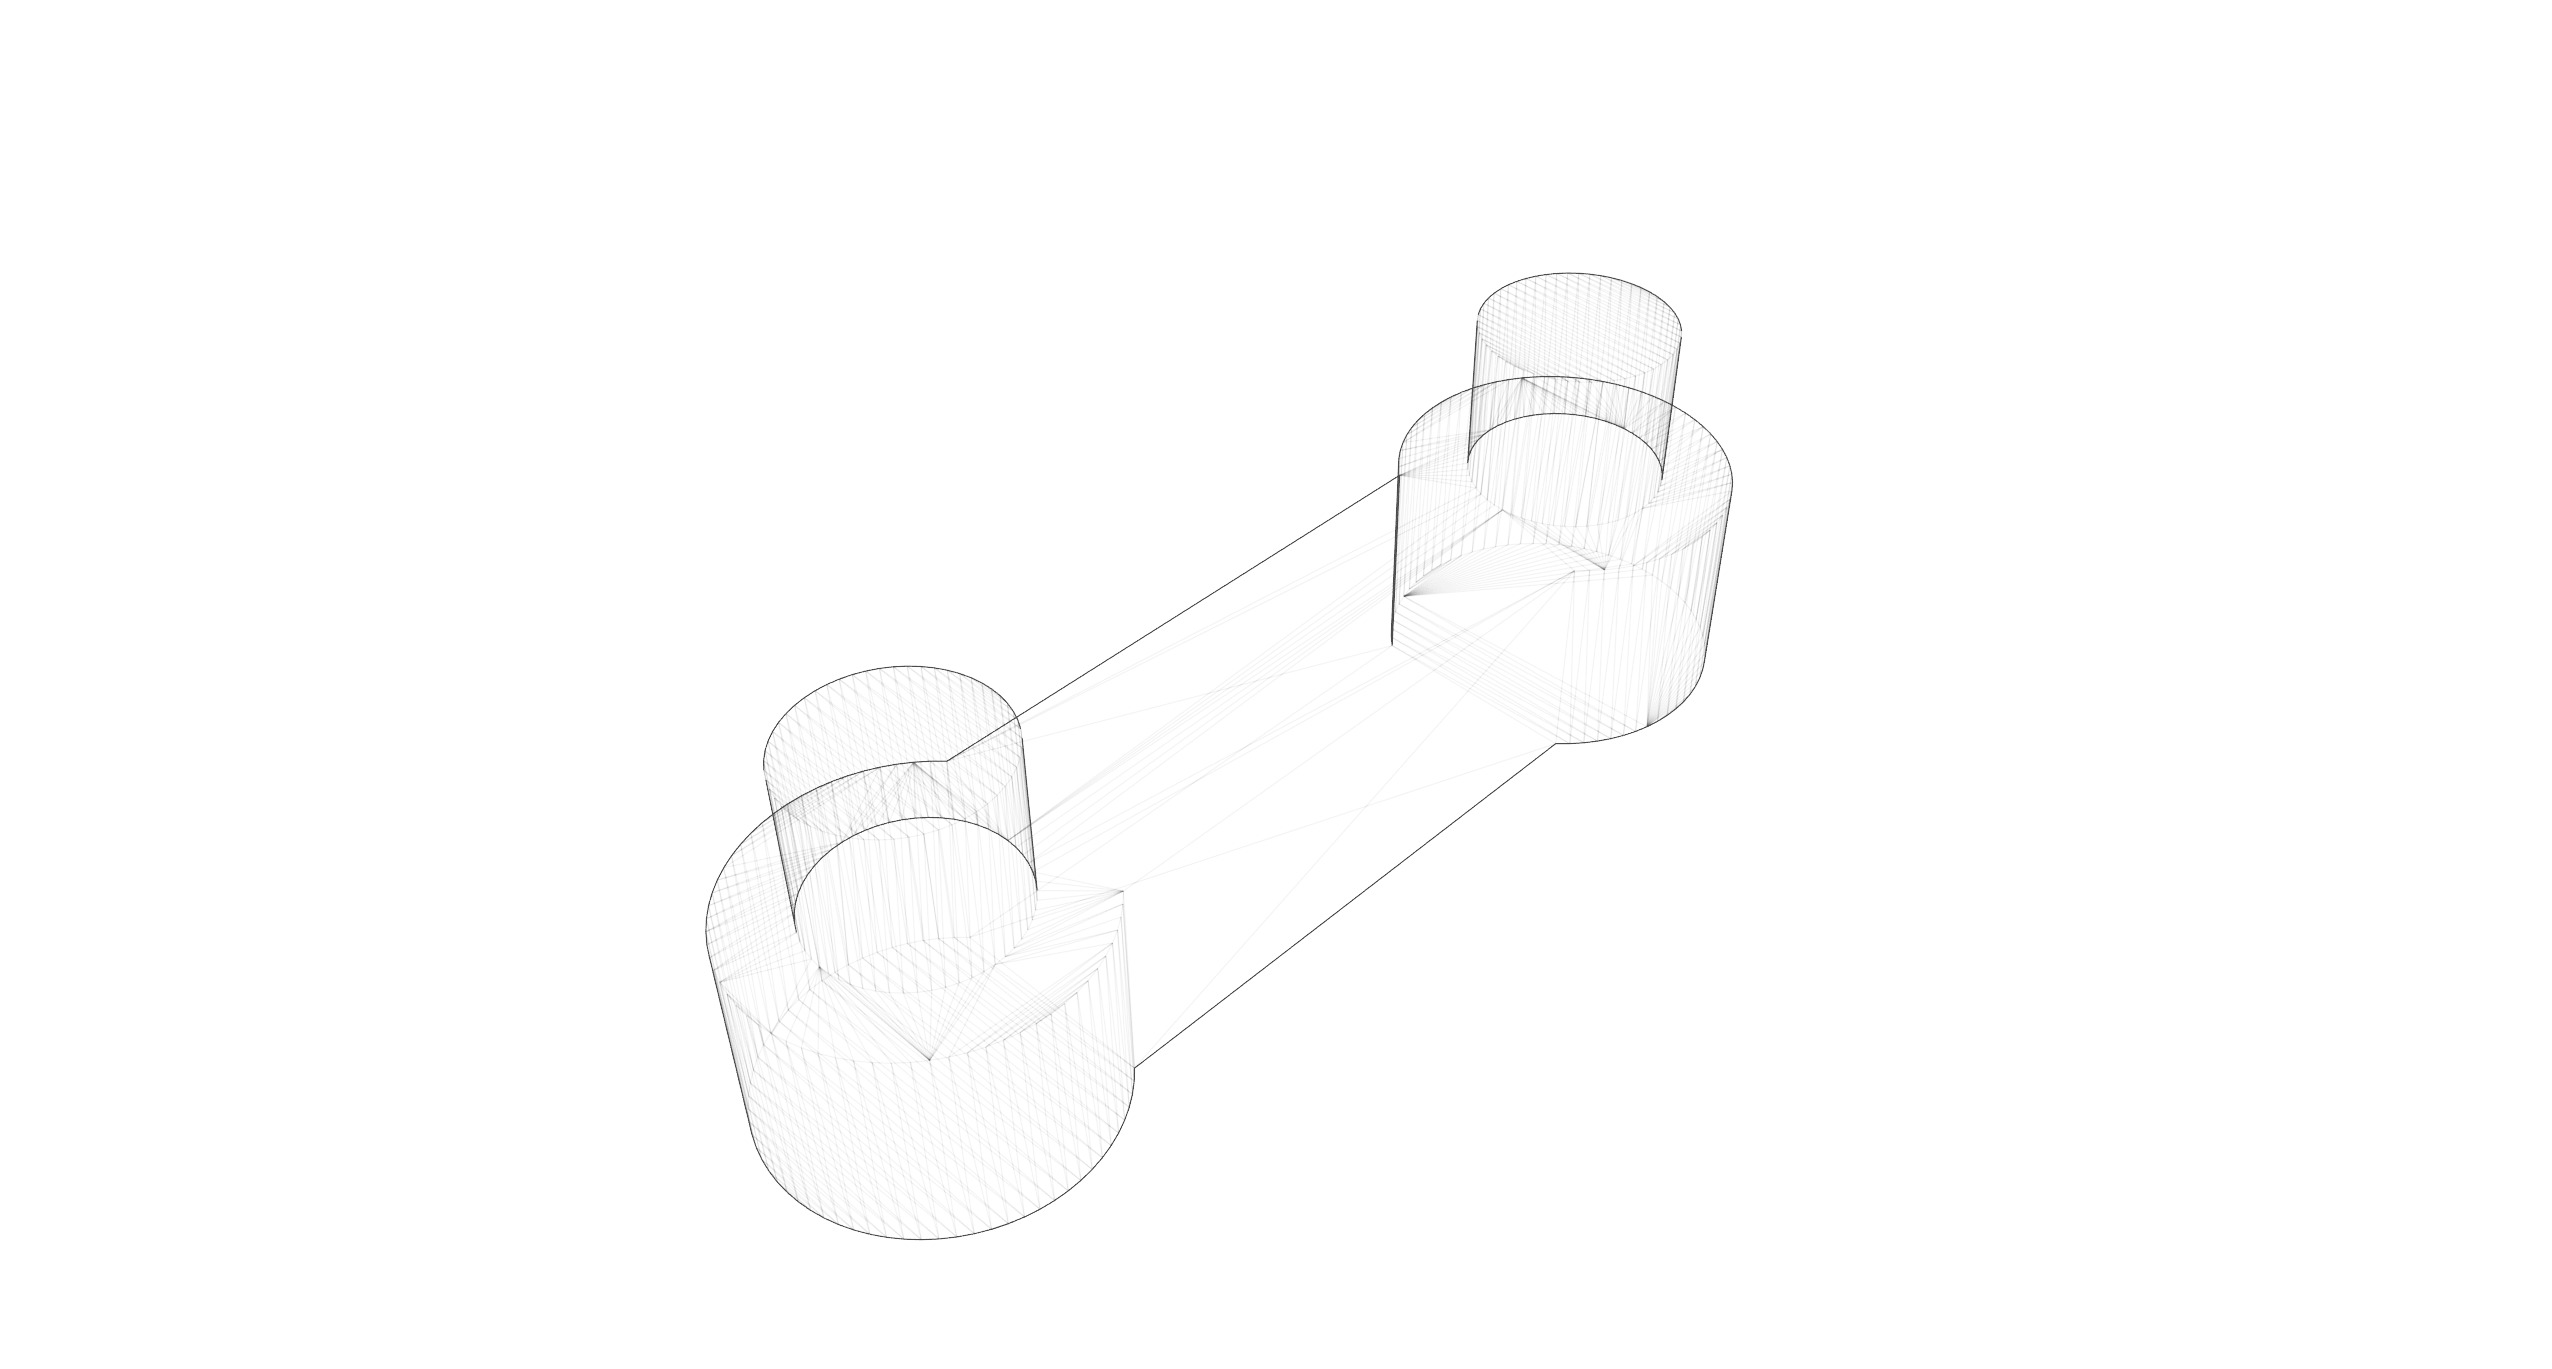
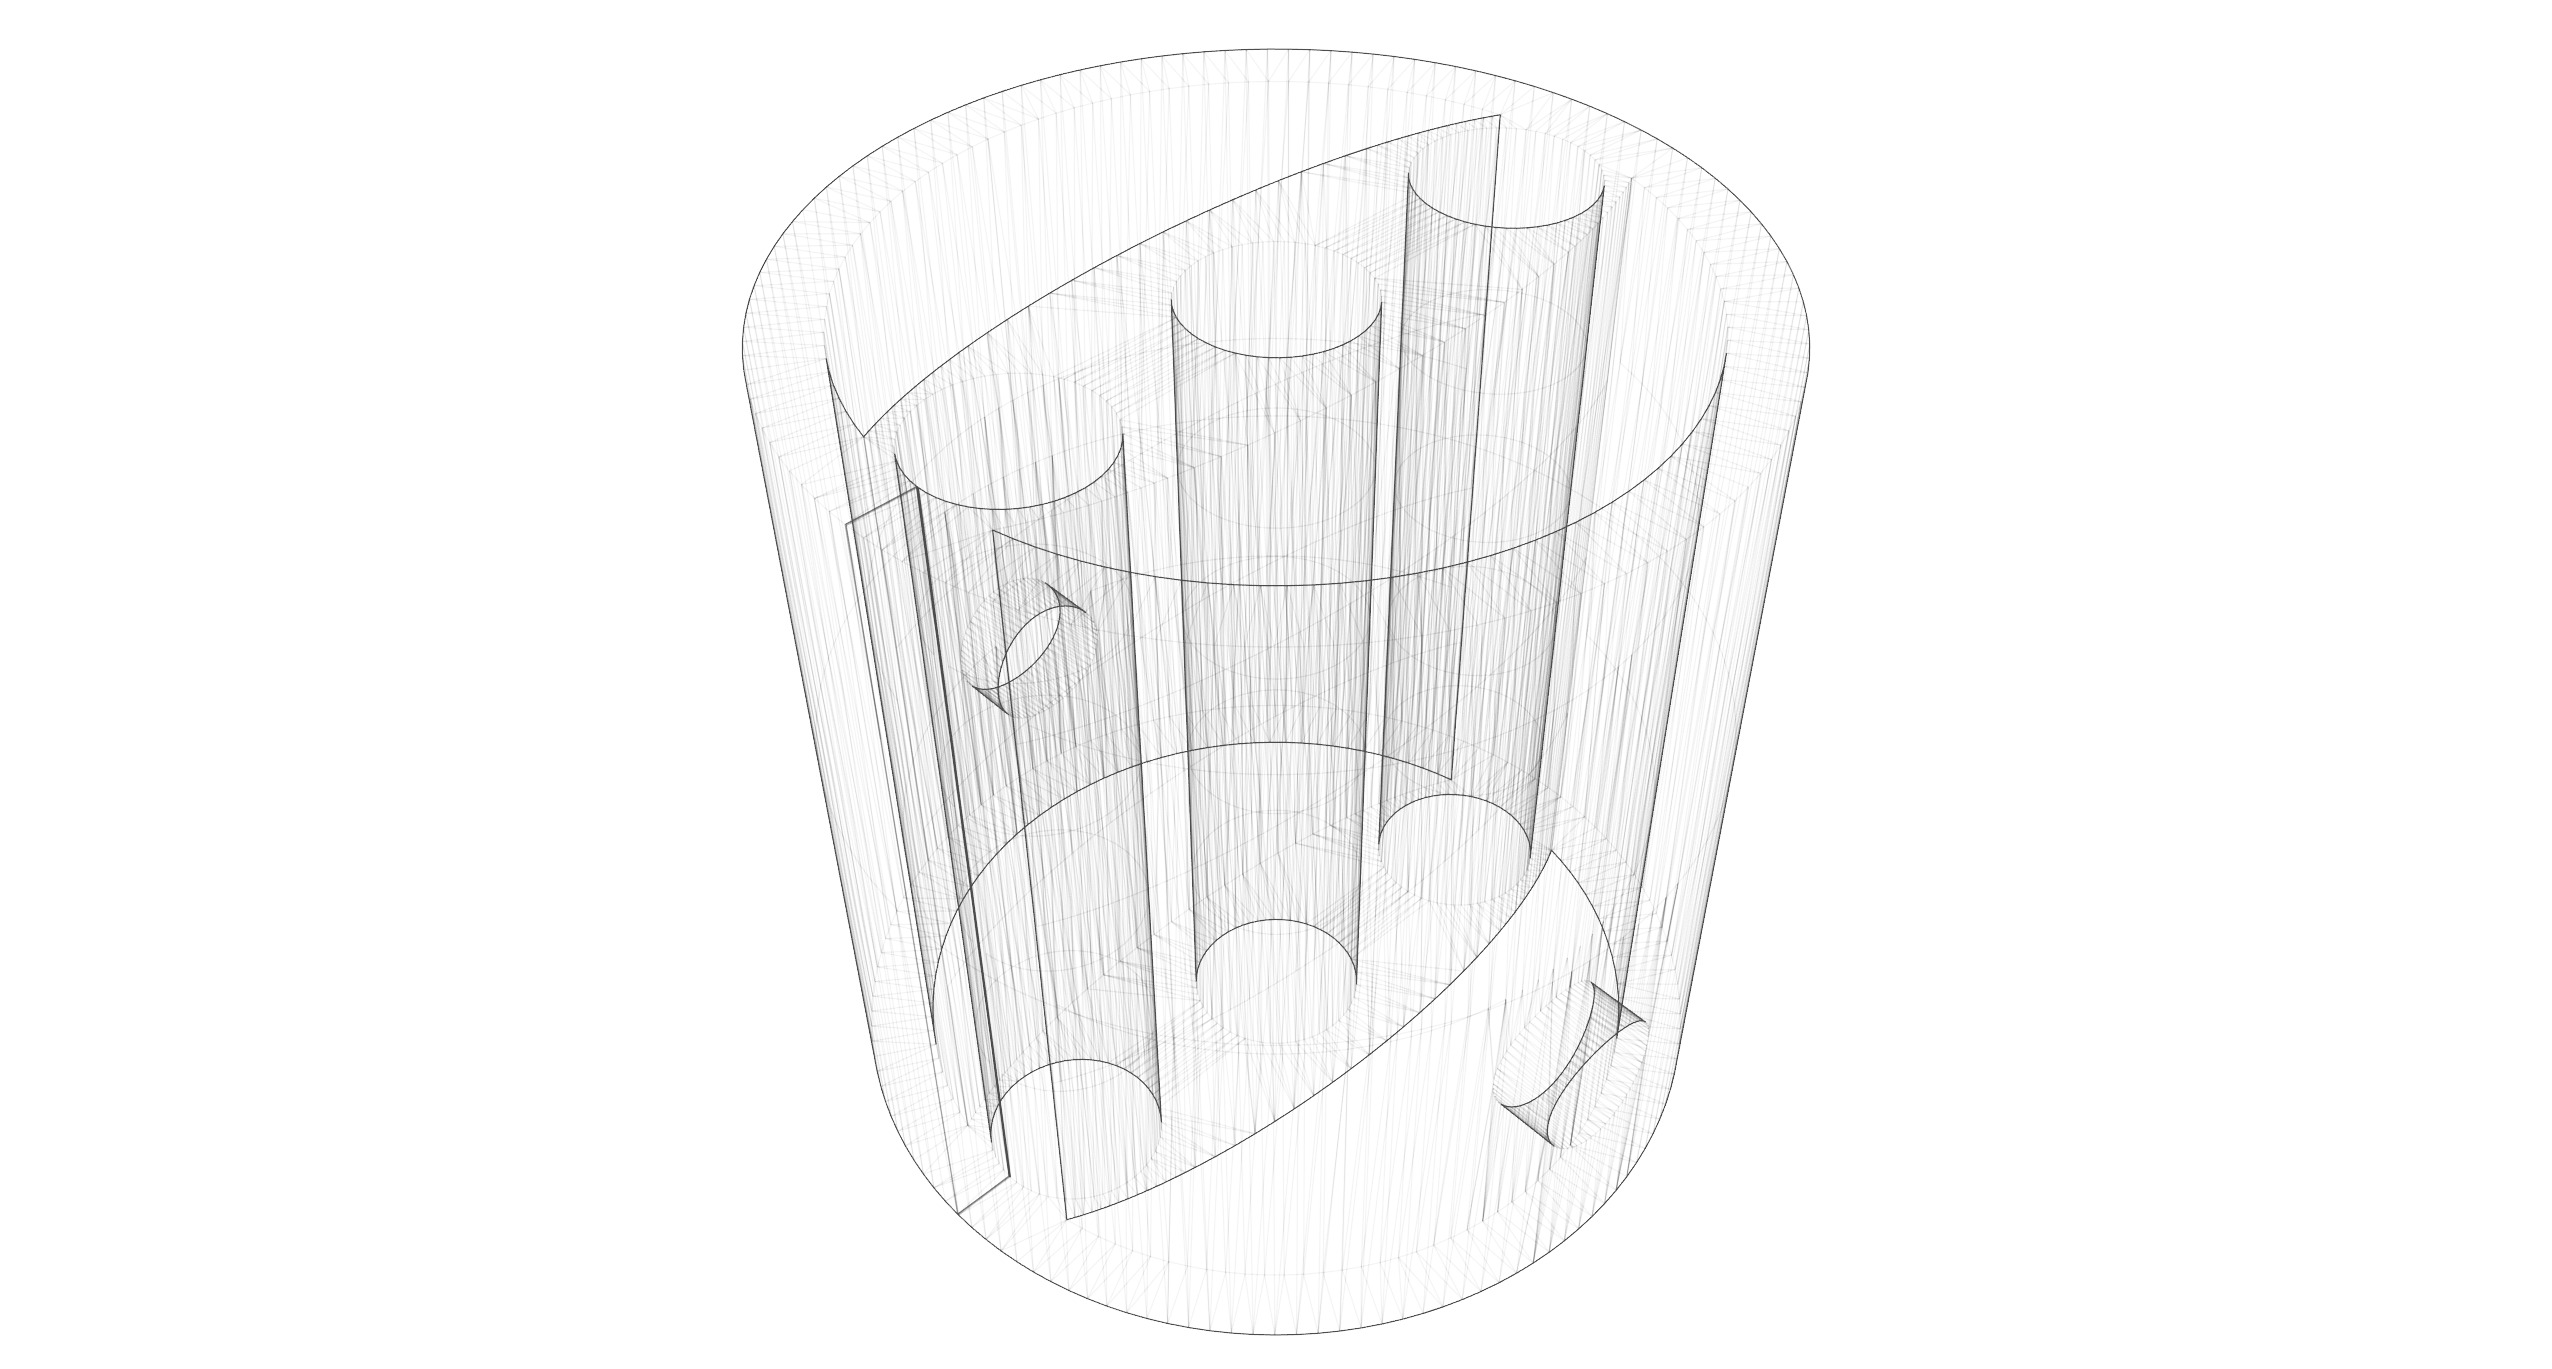
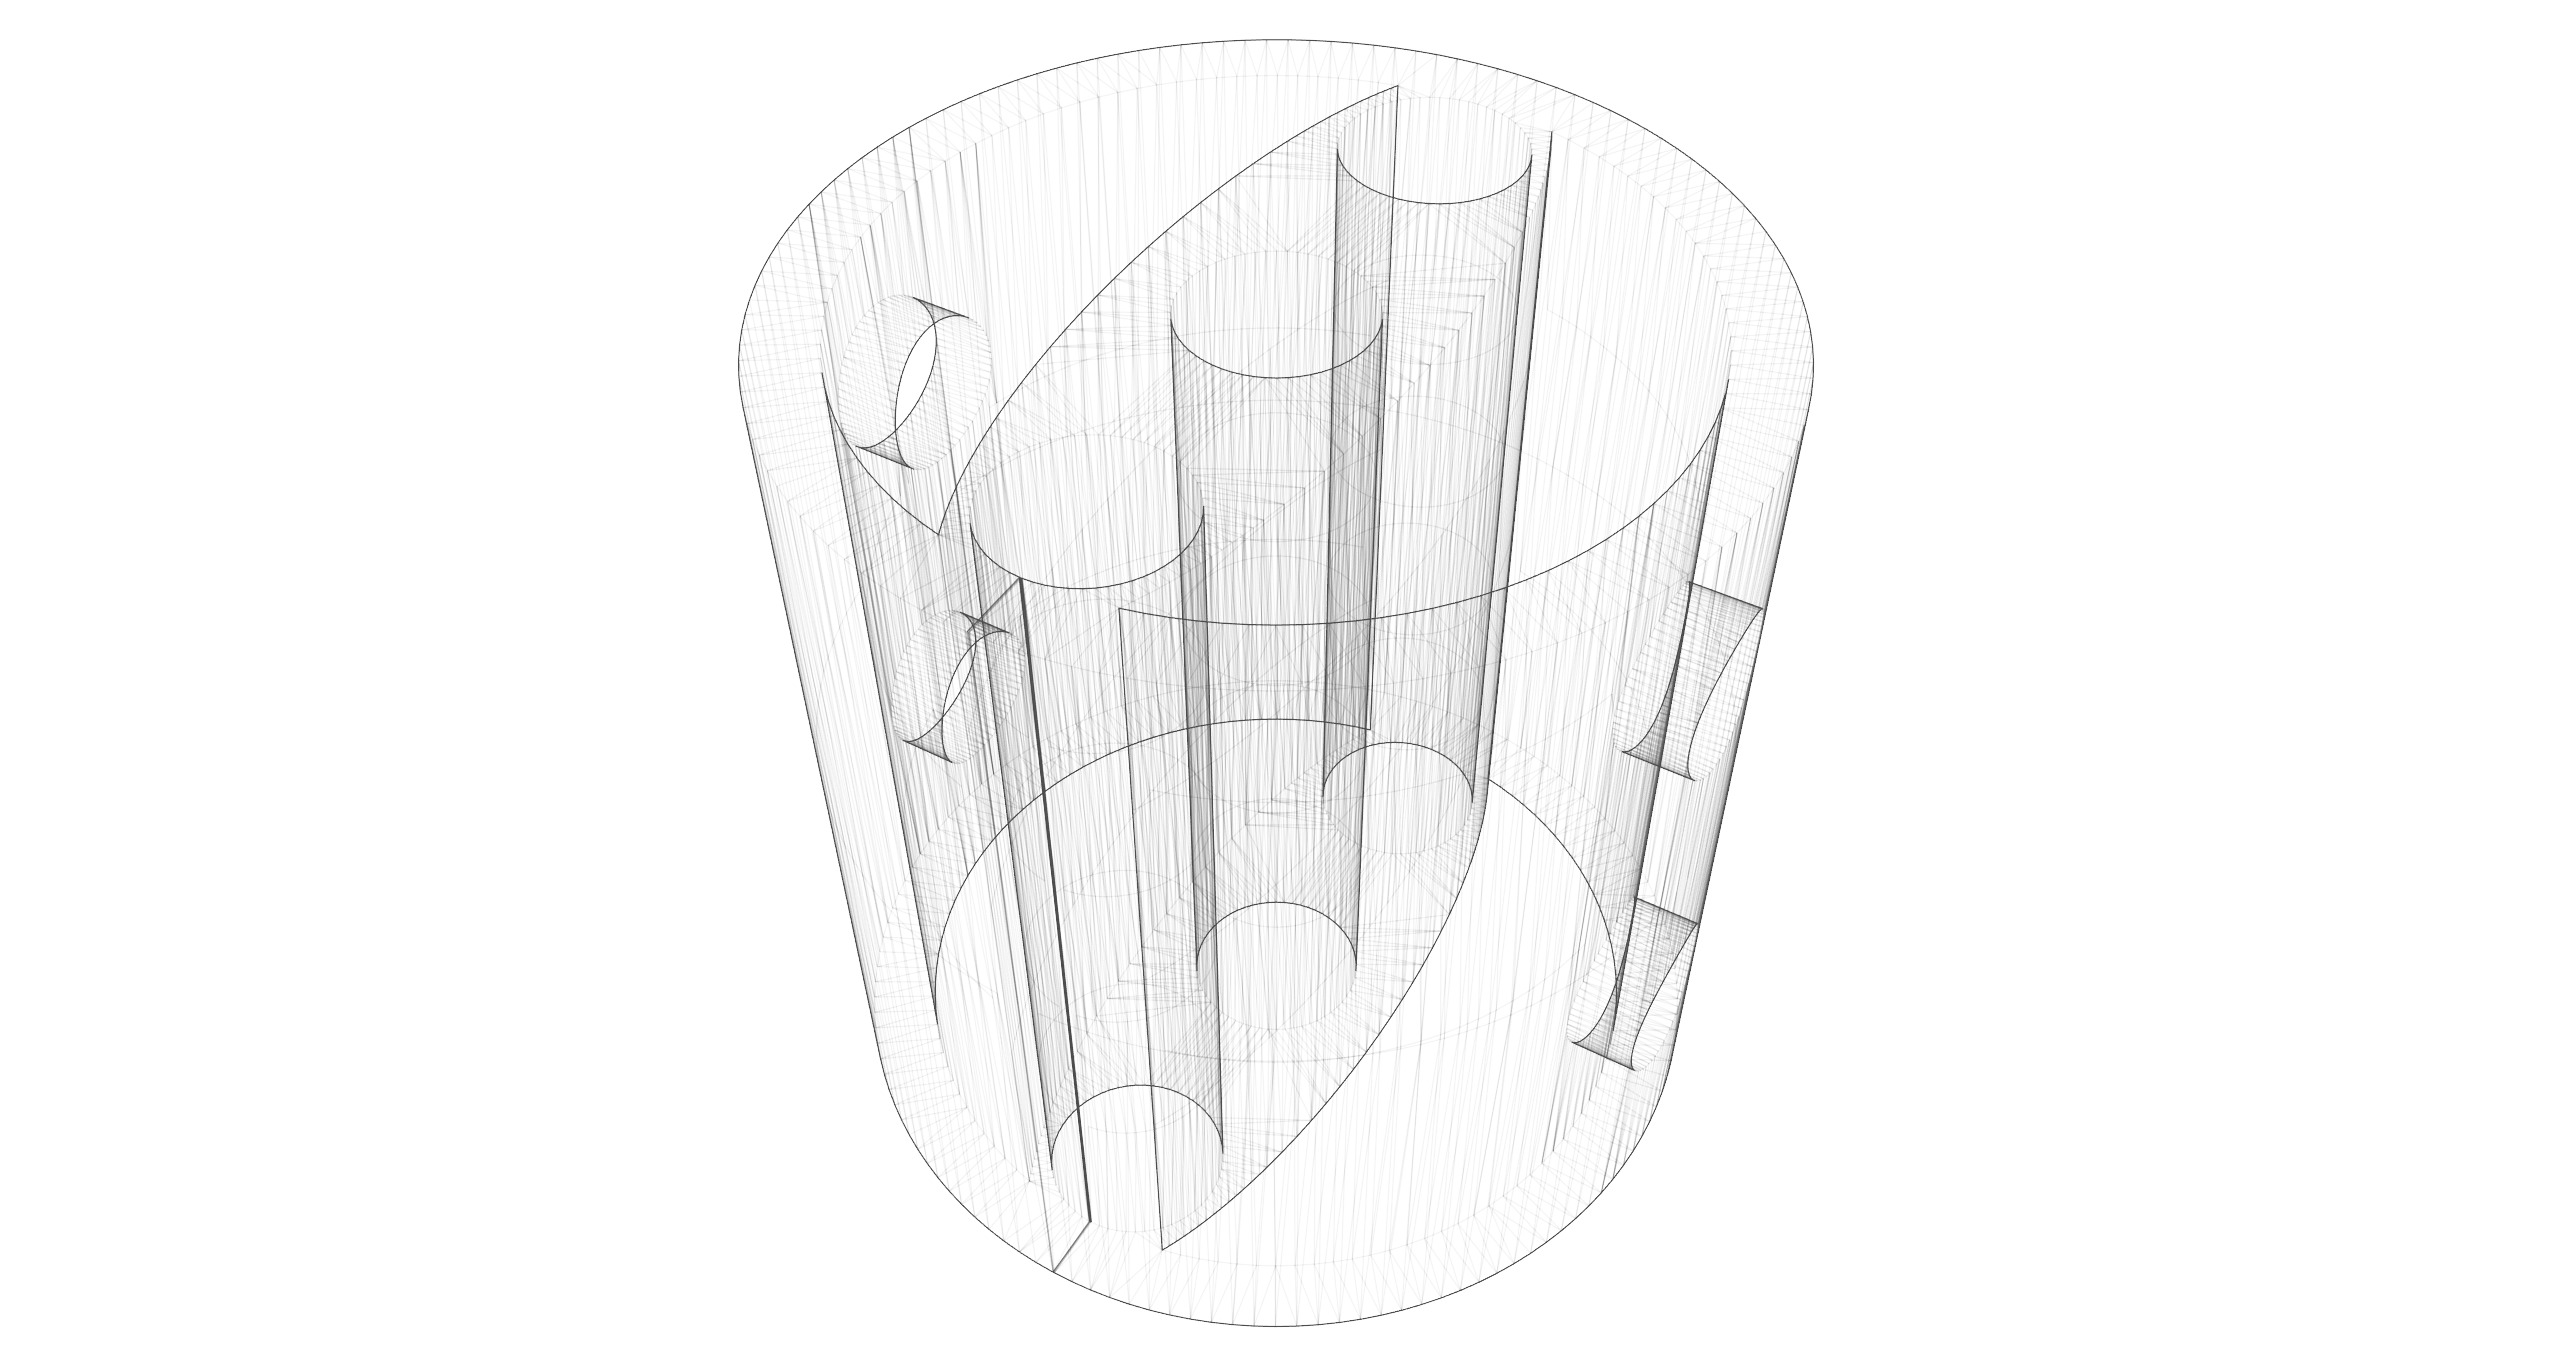
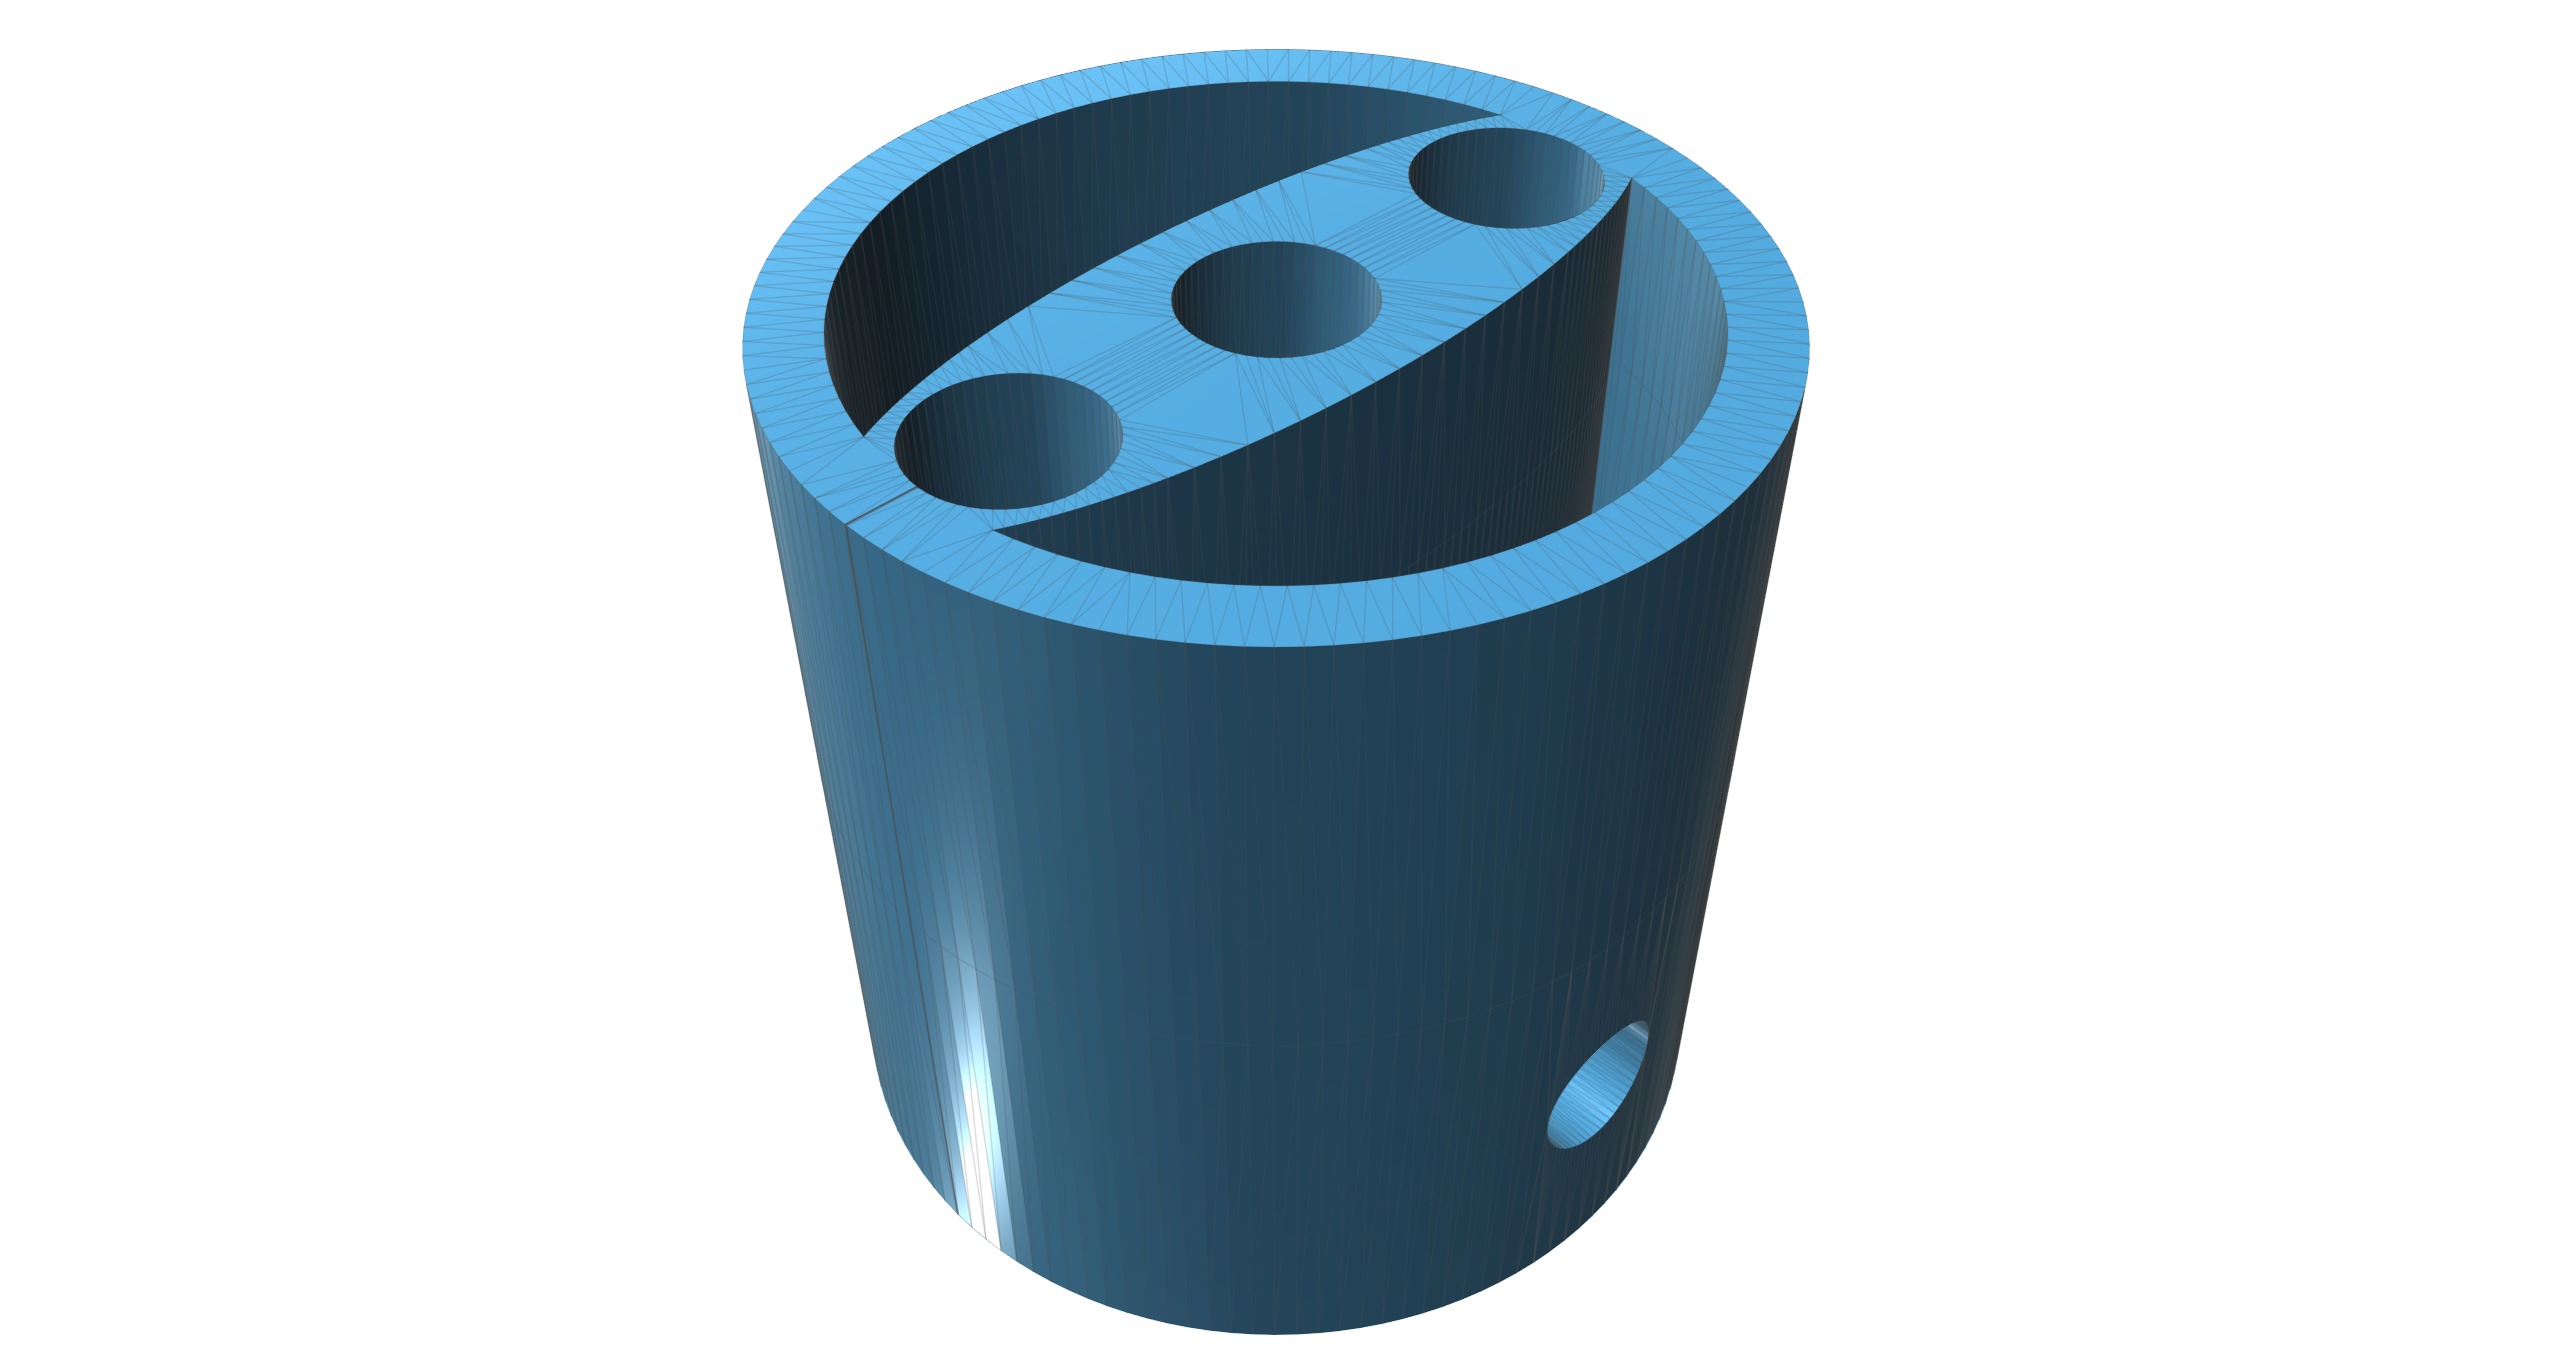
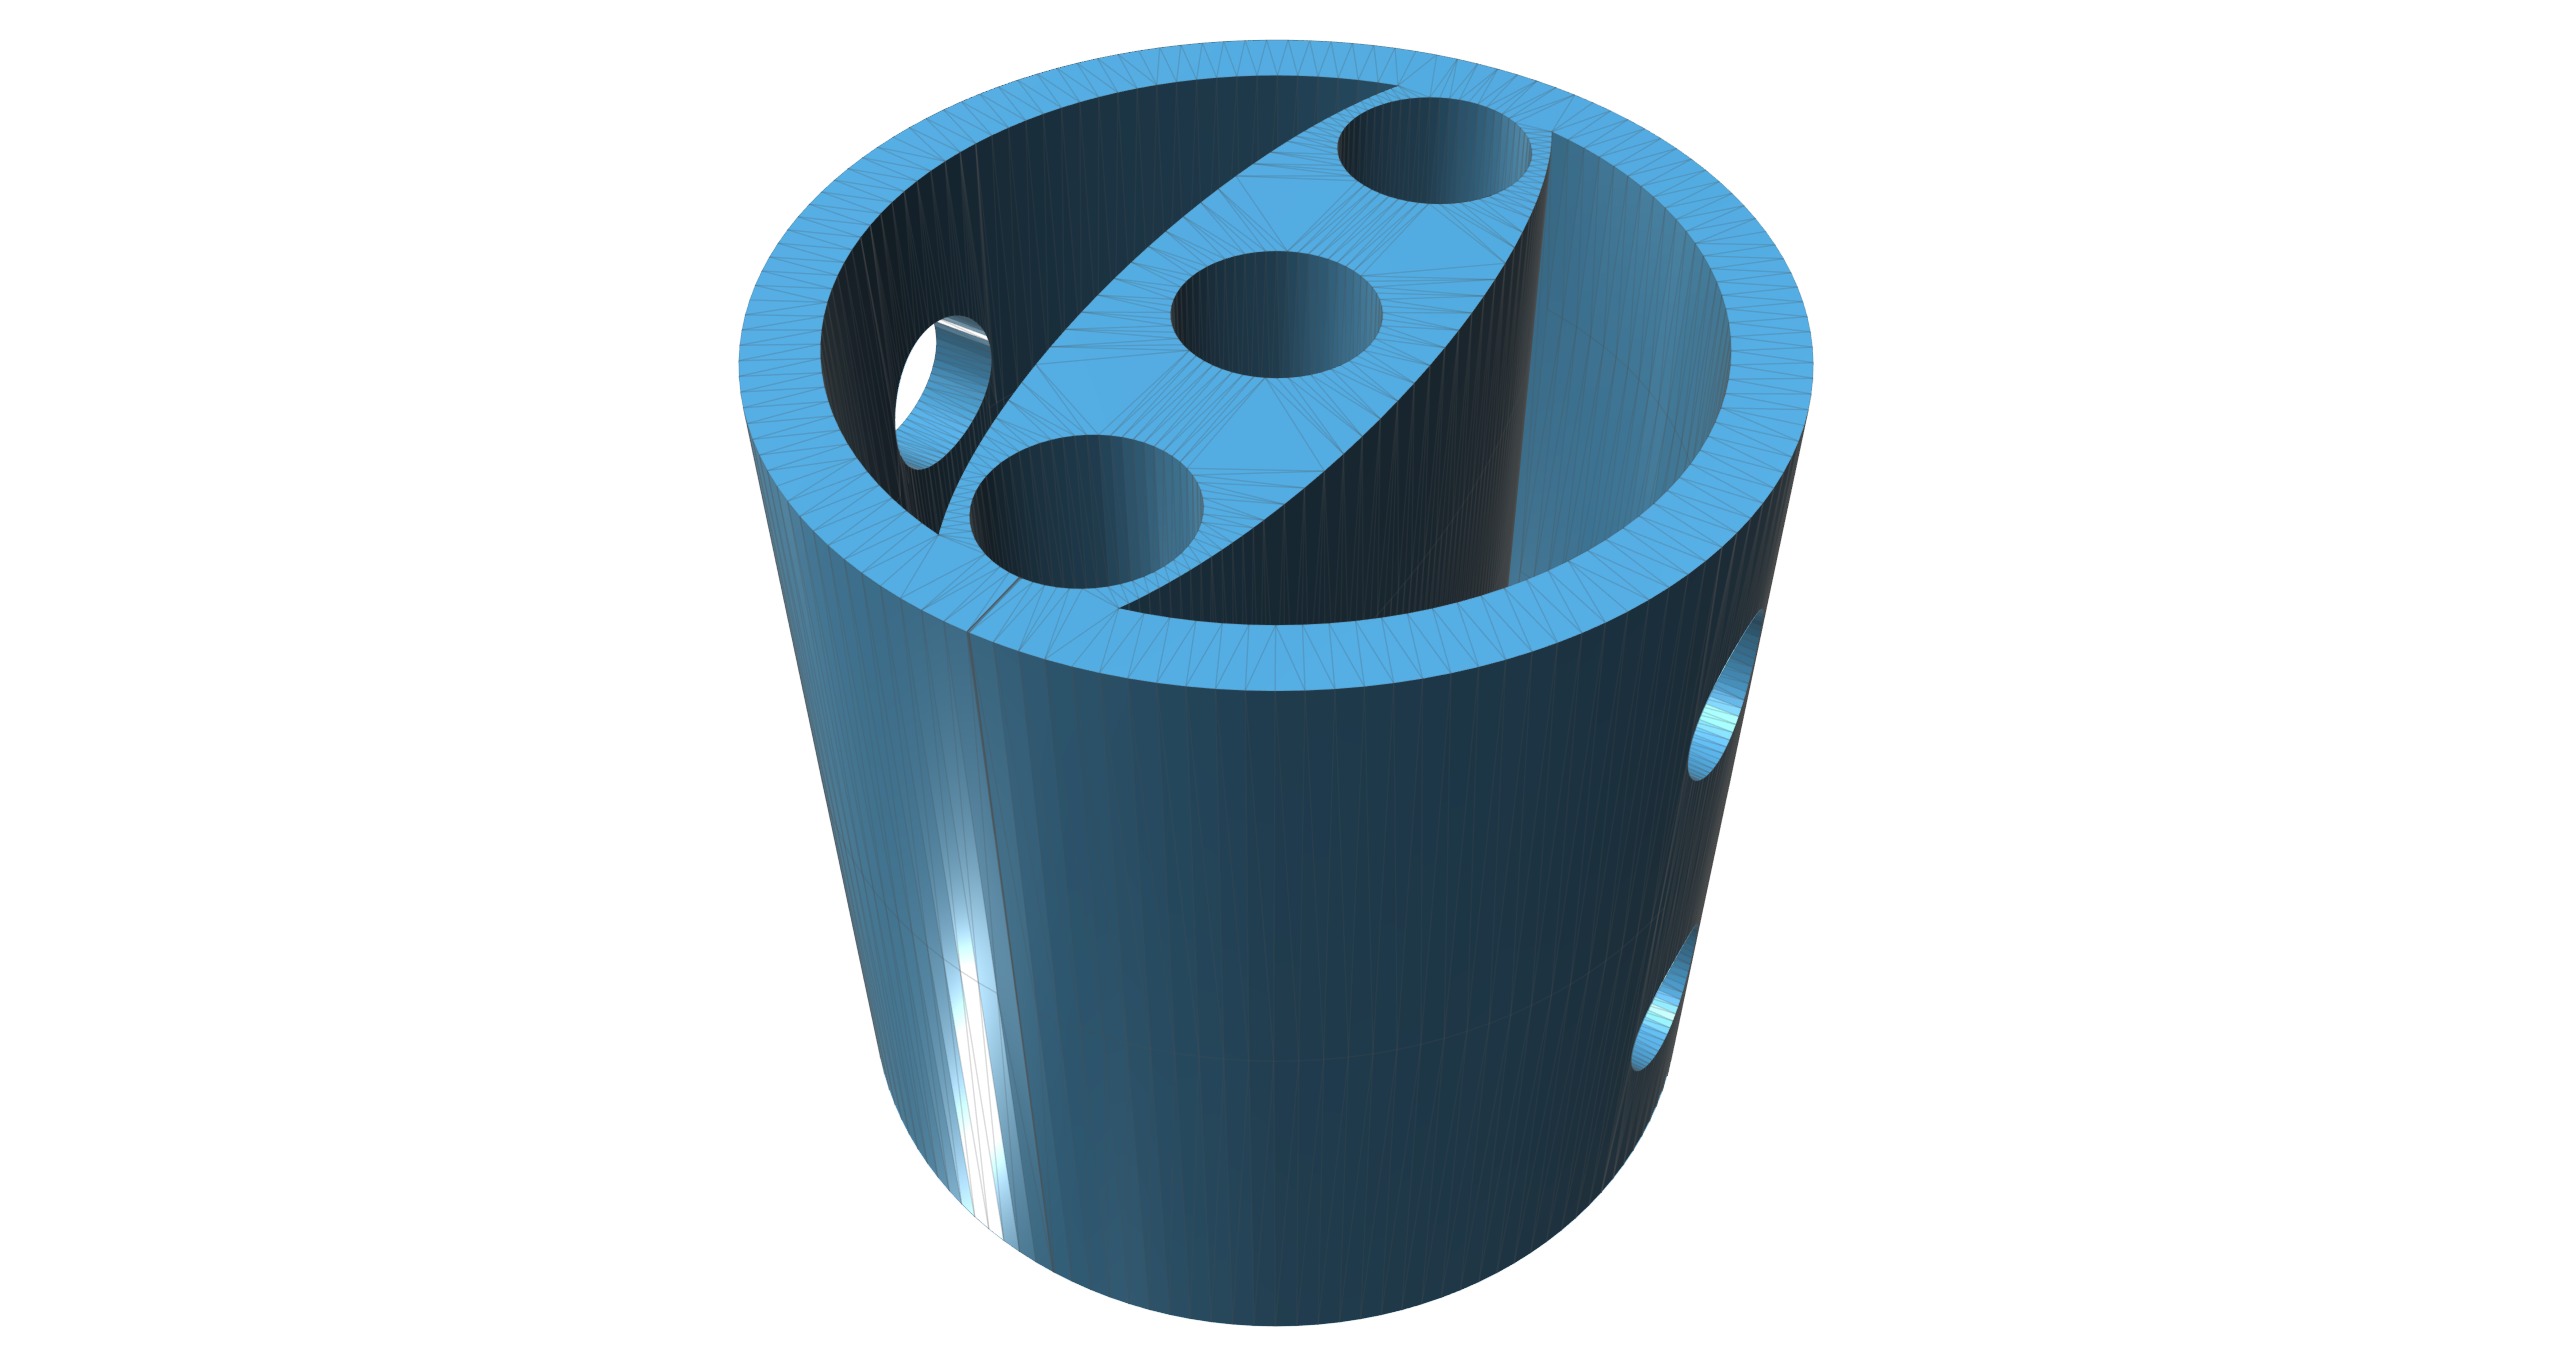
The Solid shield for 3 USB wires (double hole) file prints in about 25 minutes and require 4grams and a total of 1.21meters of filament. The Solid shield for 3 USB wires (one hole) file prints in about 25 minutes and require 4grams and a total of 1.21meters of filament. The Solid shield for 3 USB wires (link) file prints in about 4 minutes and requires 1gram and 0.17meters of filament.I printed mine on a Snapmaker2 F350 with a 0.2nozzle, 5% infill, a 5 lines brim with a distance from the model of 1millimeter and no supports for any of the files.
I printed mine in PLA+ and it came out very nicely and somewhat flexible. If you want to experiment and have it, possibly more flexible, you might want to try printing with TPU. If it comes even more flexible, Please let me know!I printed the Solid shield for 3 USB wires (double hole) and the "Solid shield for 3 USB wires (onehole) models with no supports with an infill of 5%, brim of 5 lines and 1 millimeter of distance.I printed the Solid shield for 3 USB wires (link) with the same specifications but separately fron the other two.
You can print it in TPU and probably make it even more flexible, if you succeed please let me know!
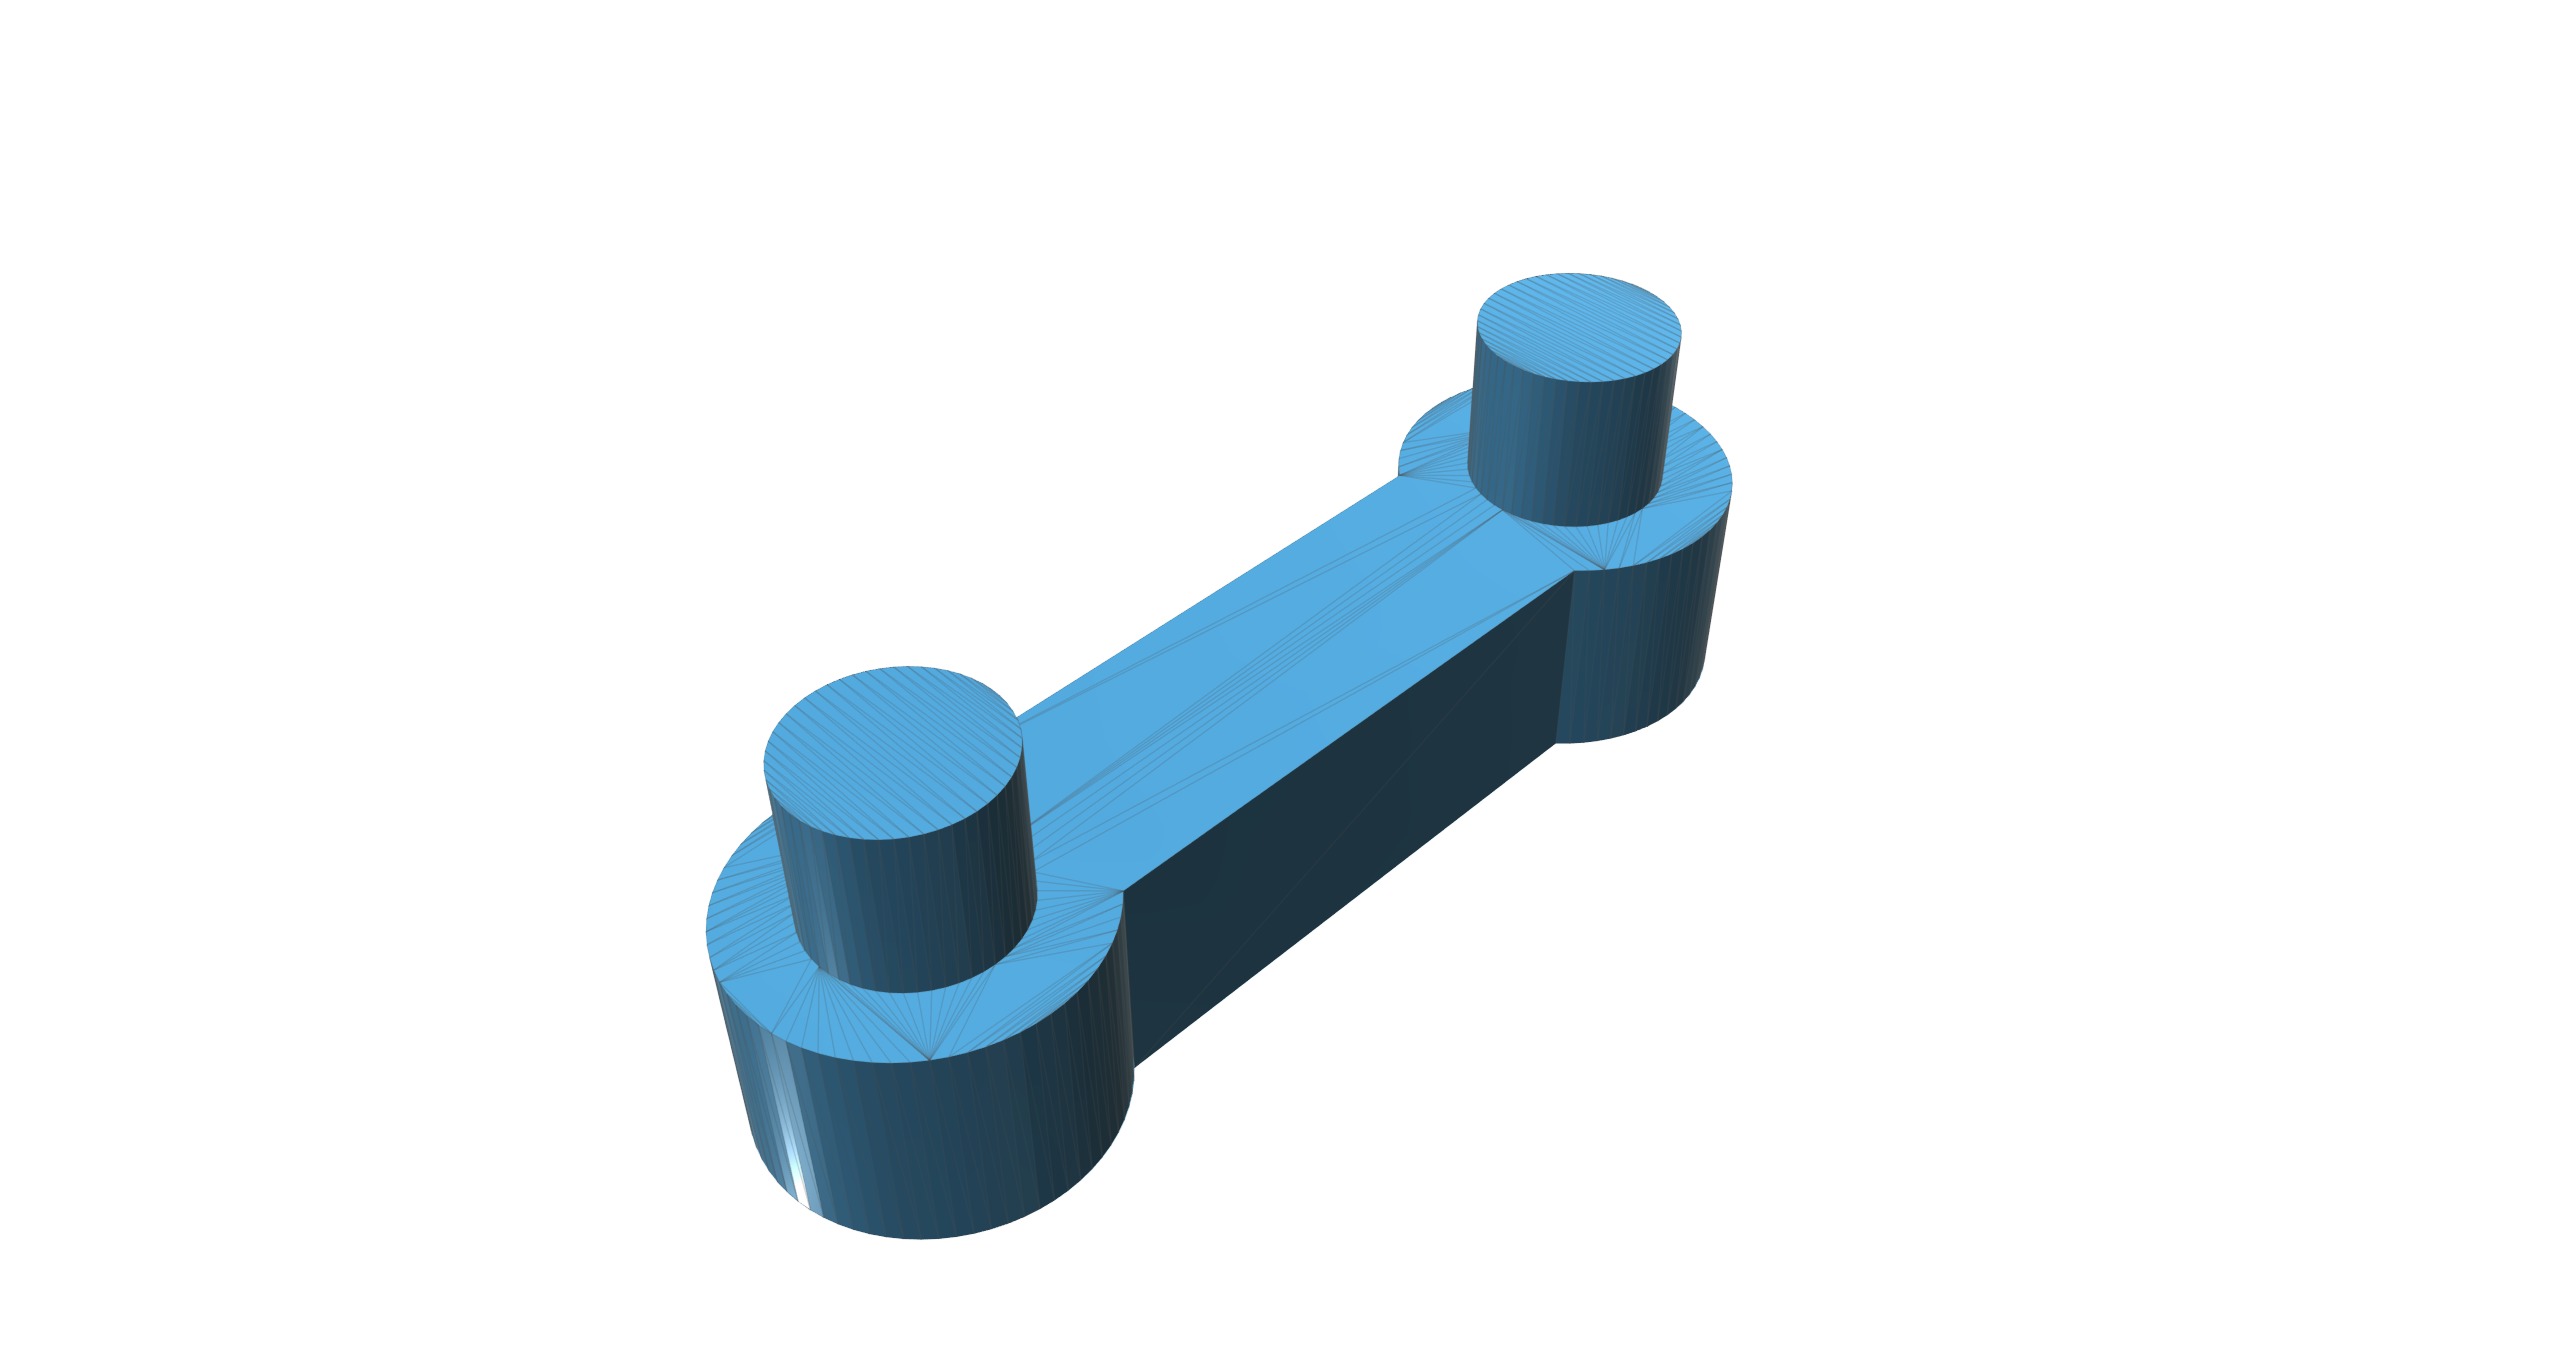
Assembly: I made the pivot points of the links a little longer so that you can heat them using a small welder and flatten them from the inside a little bit and avoid attaching them to the cylinder. The goal is to make the pivot points wider than the rest of the cylinder inside the hole of the main cylinder.To make things easier, heat one pivot point at a time before linking it to a second big cylinder.
Similar Models

Users who bought this item also bought...
