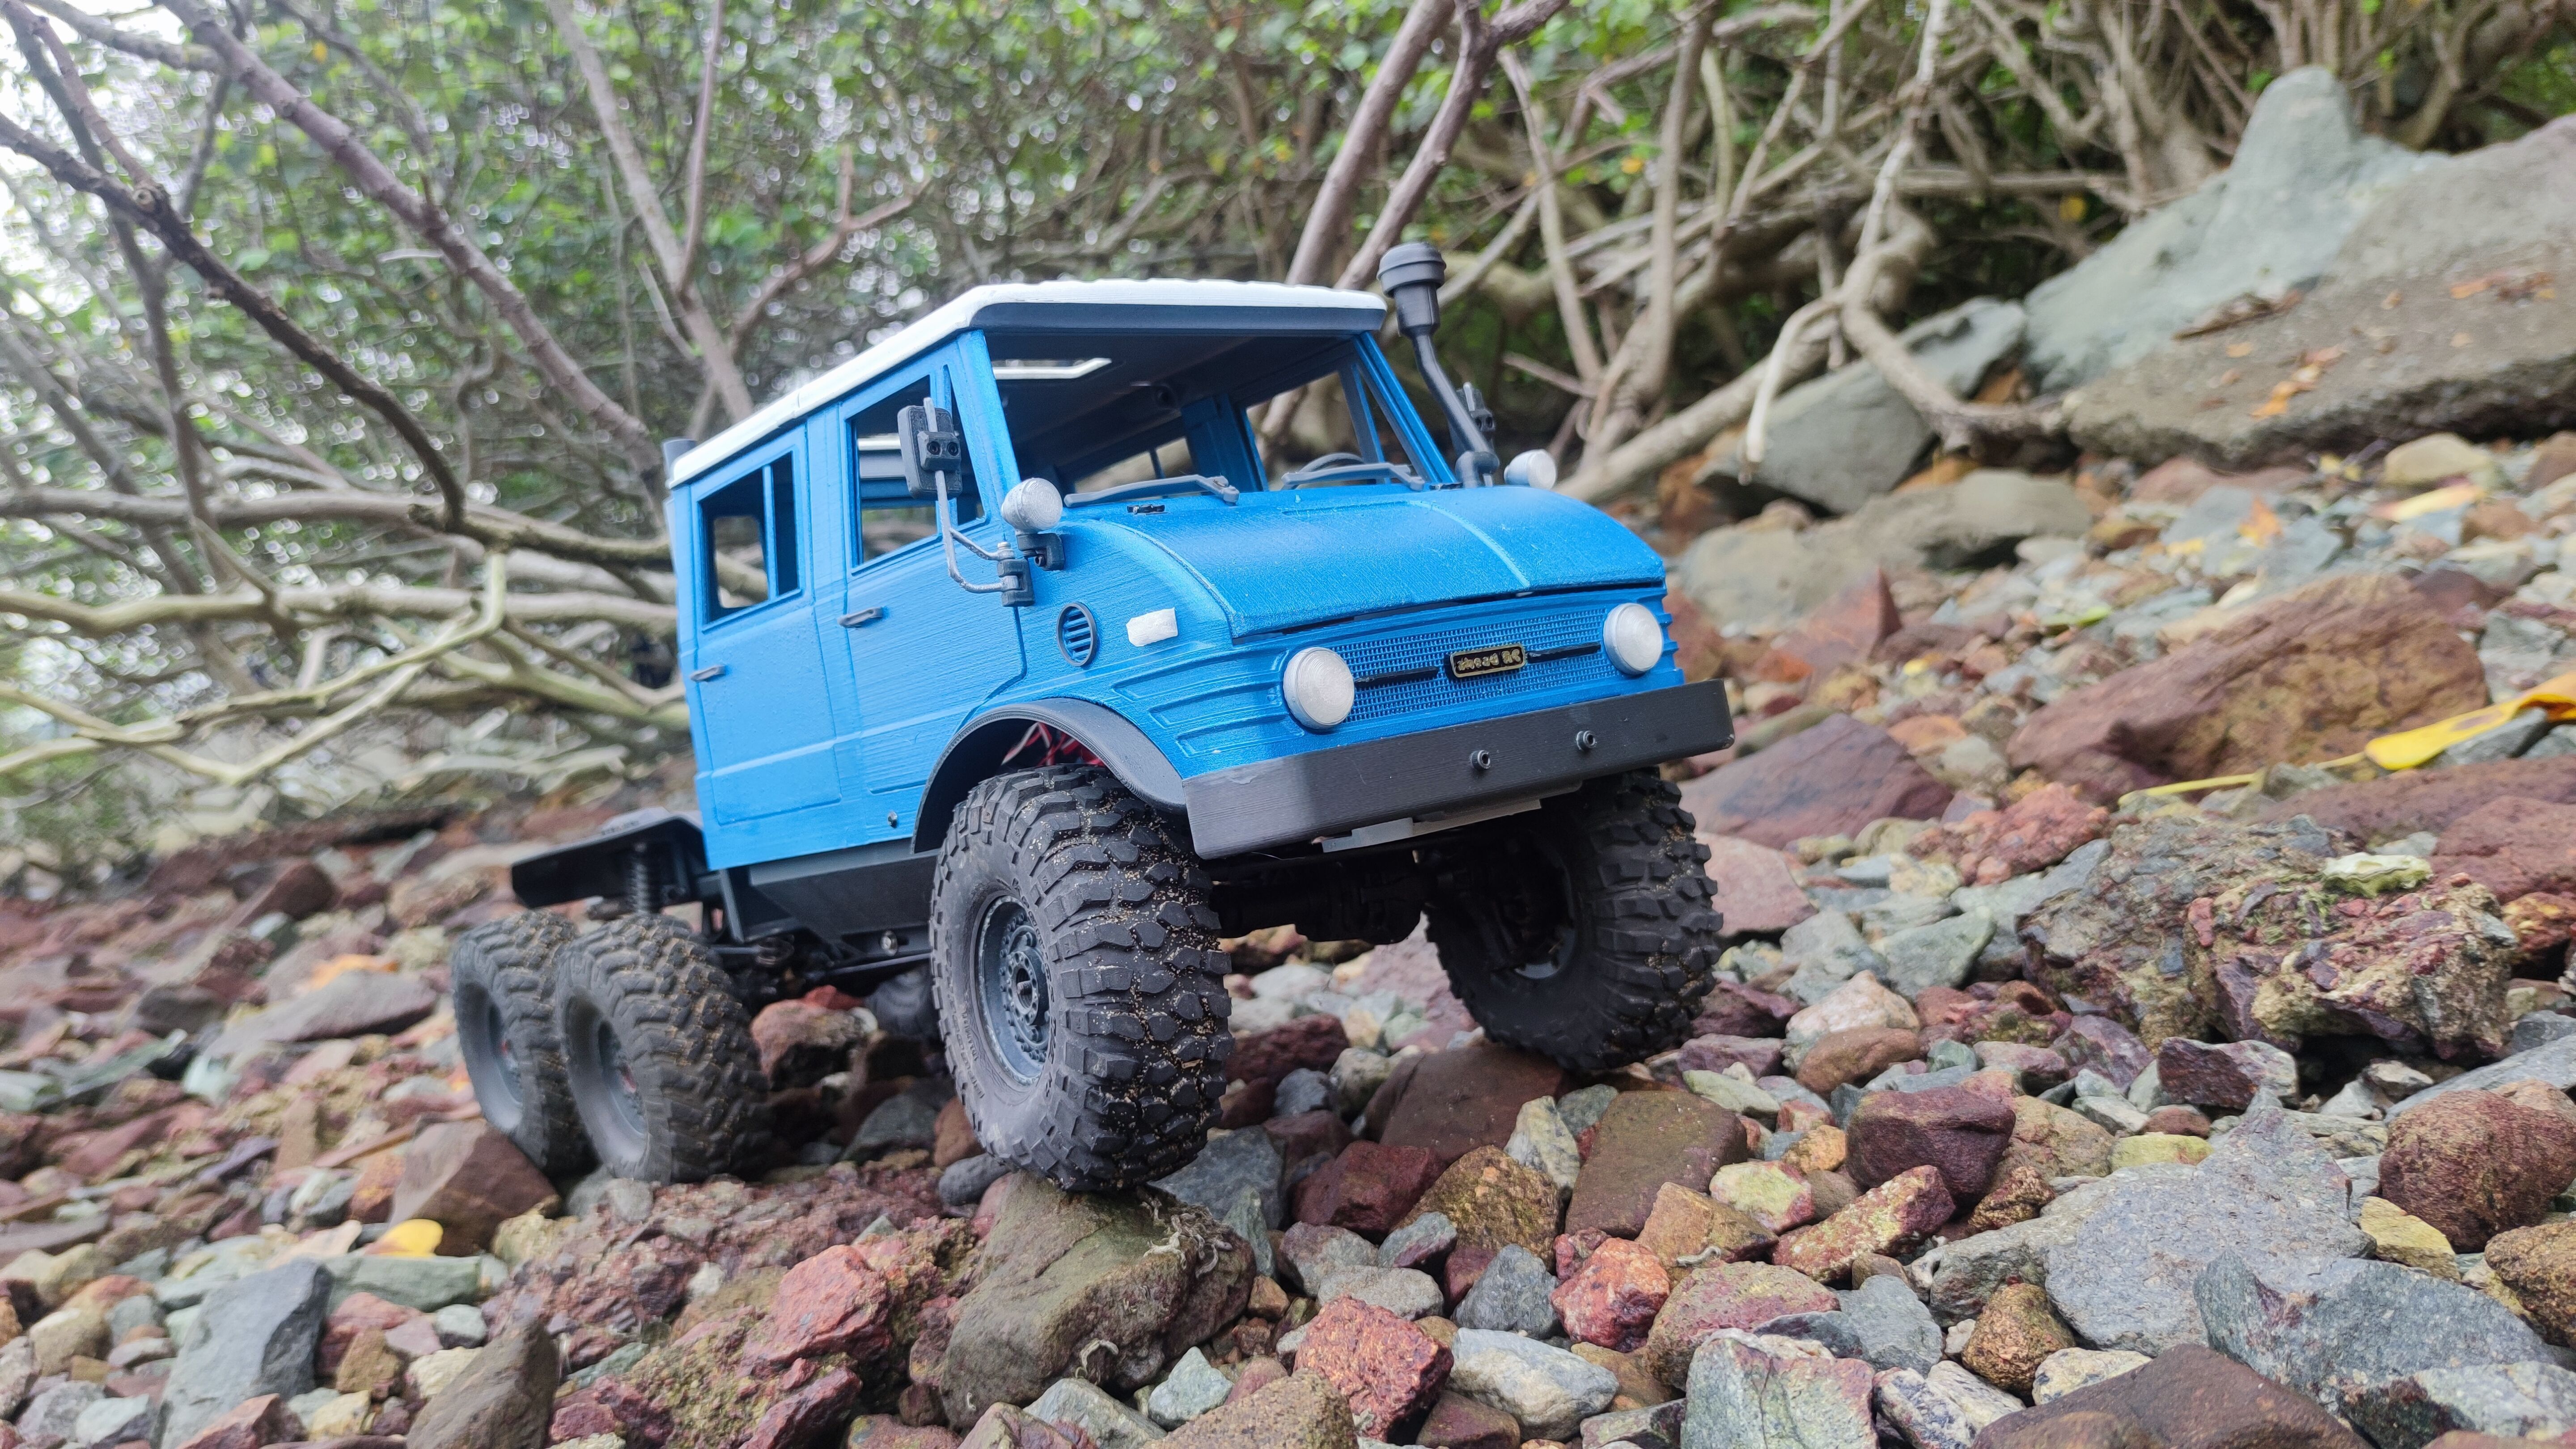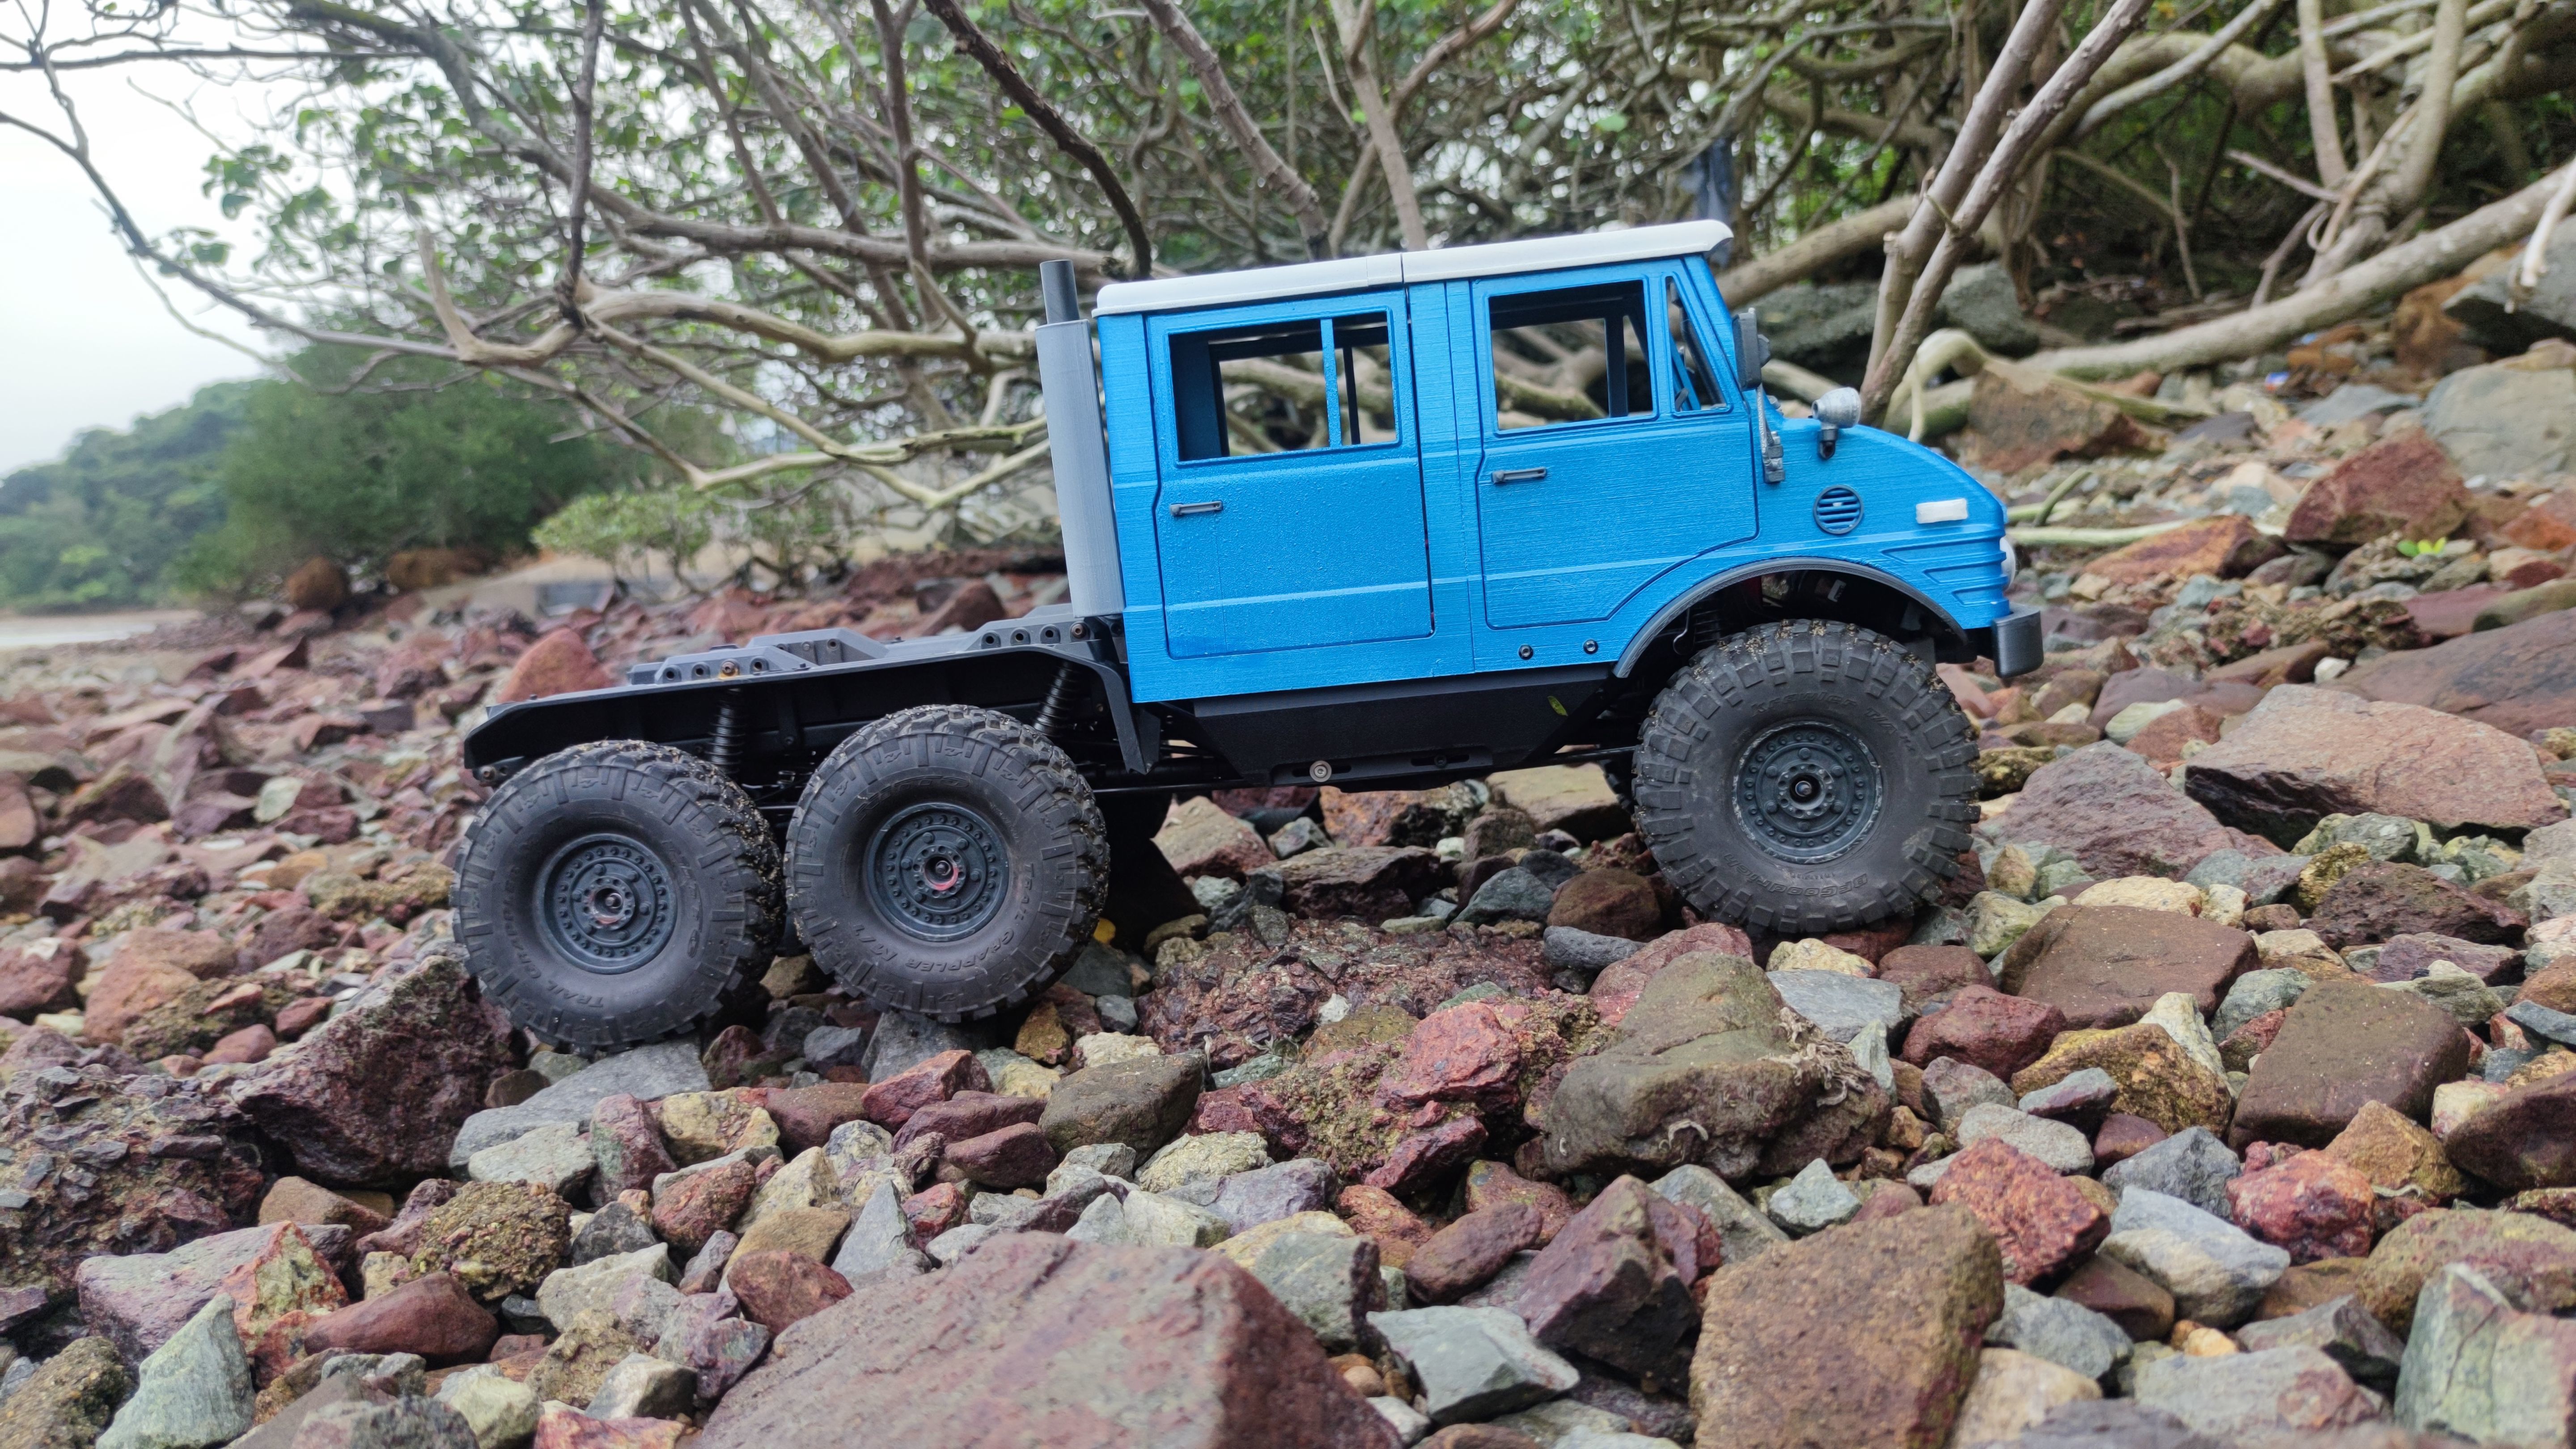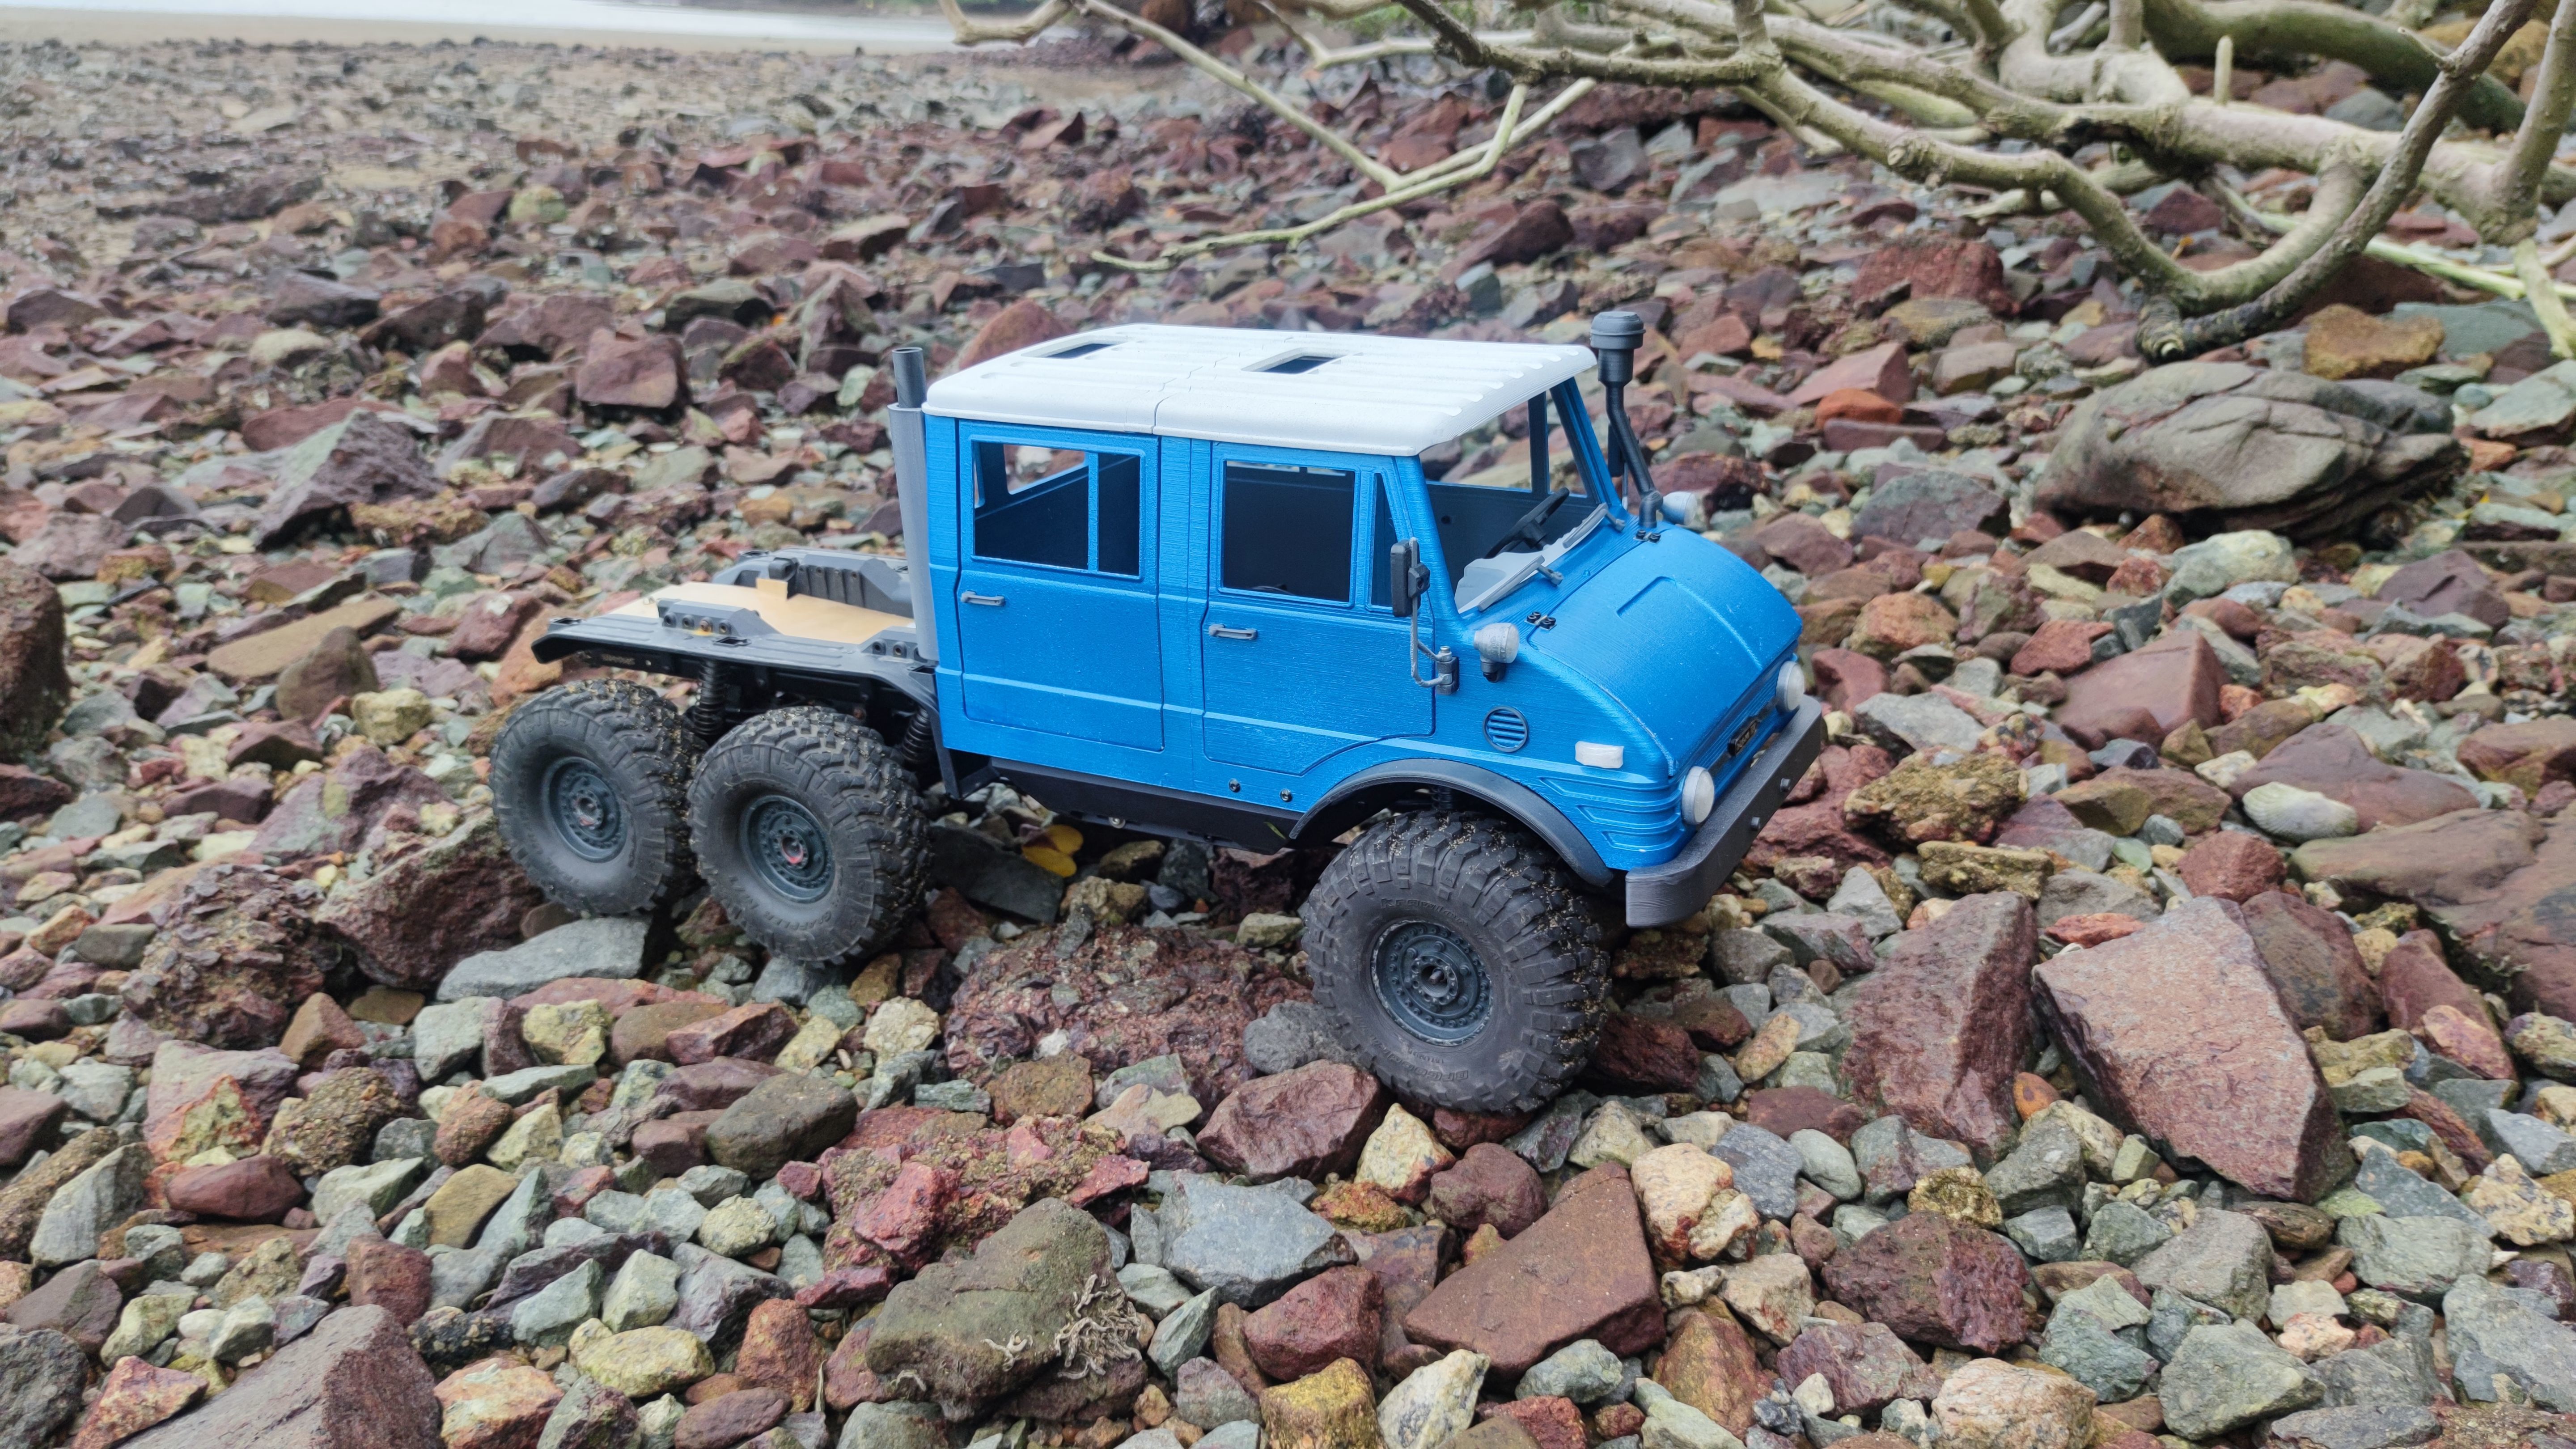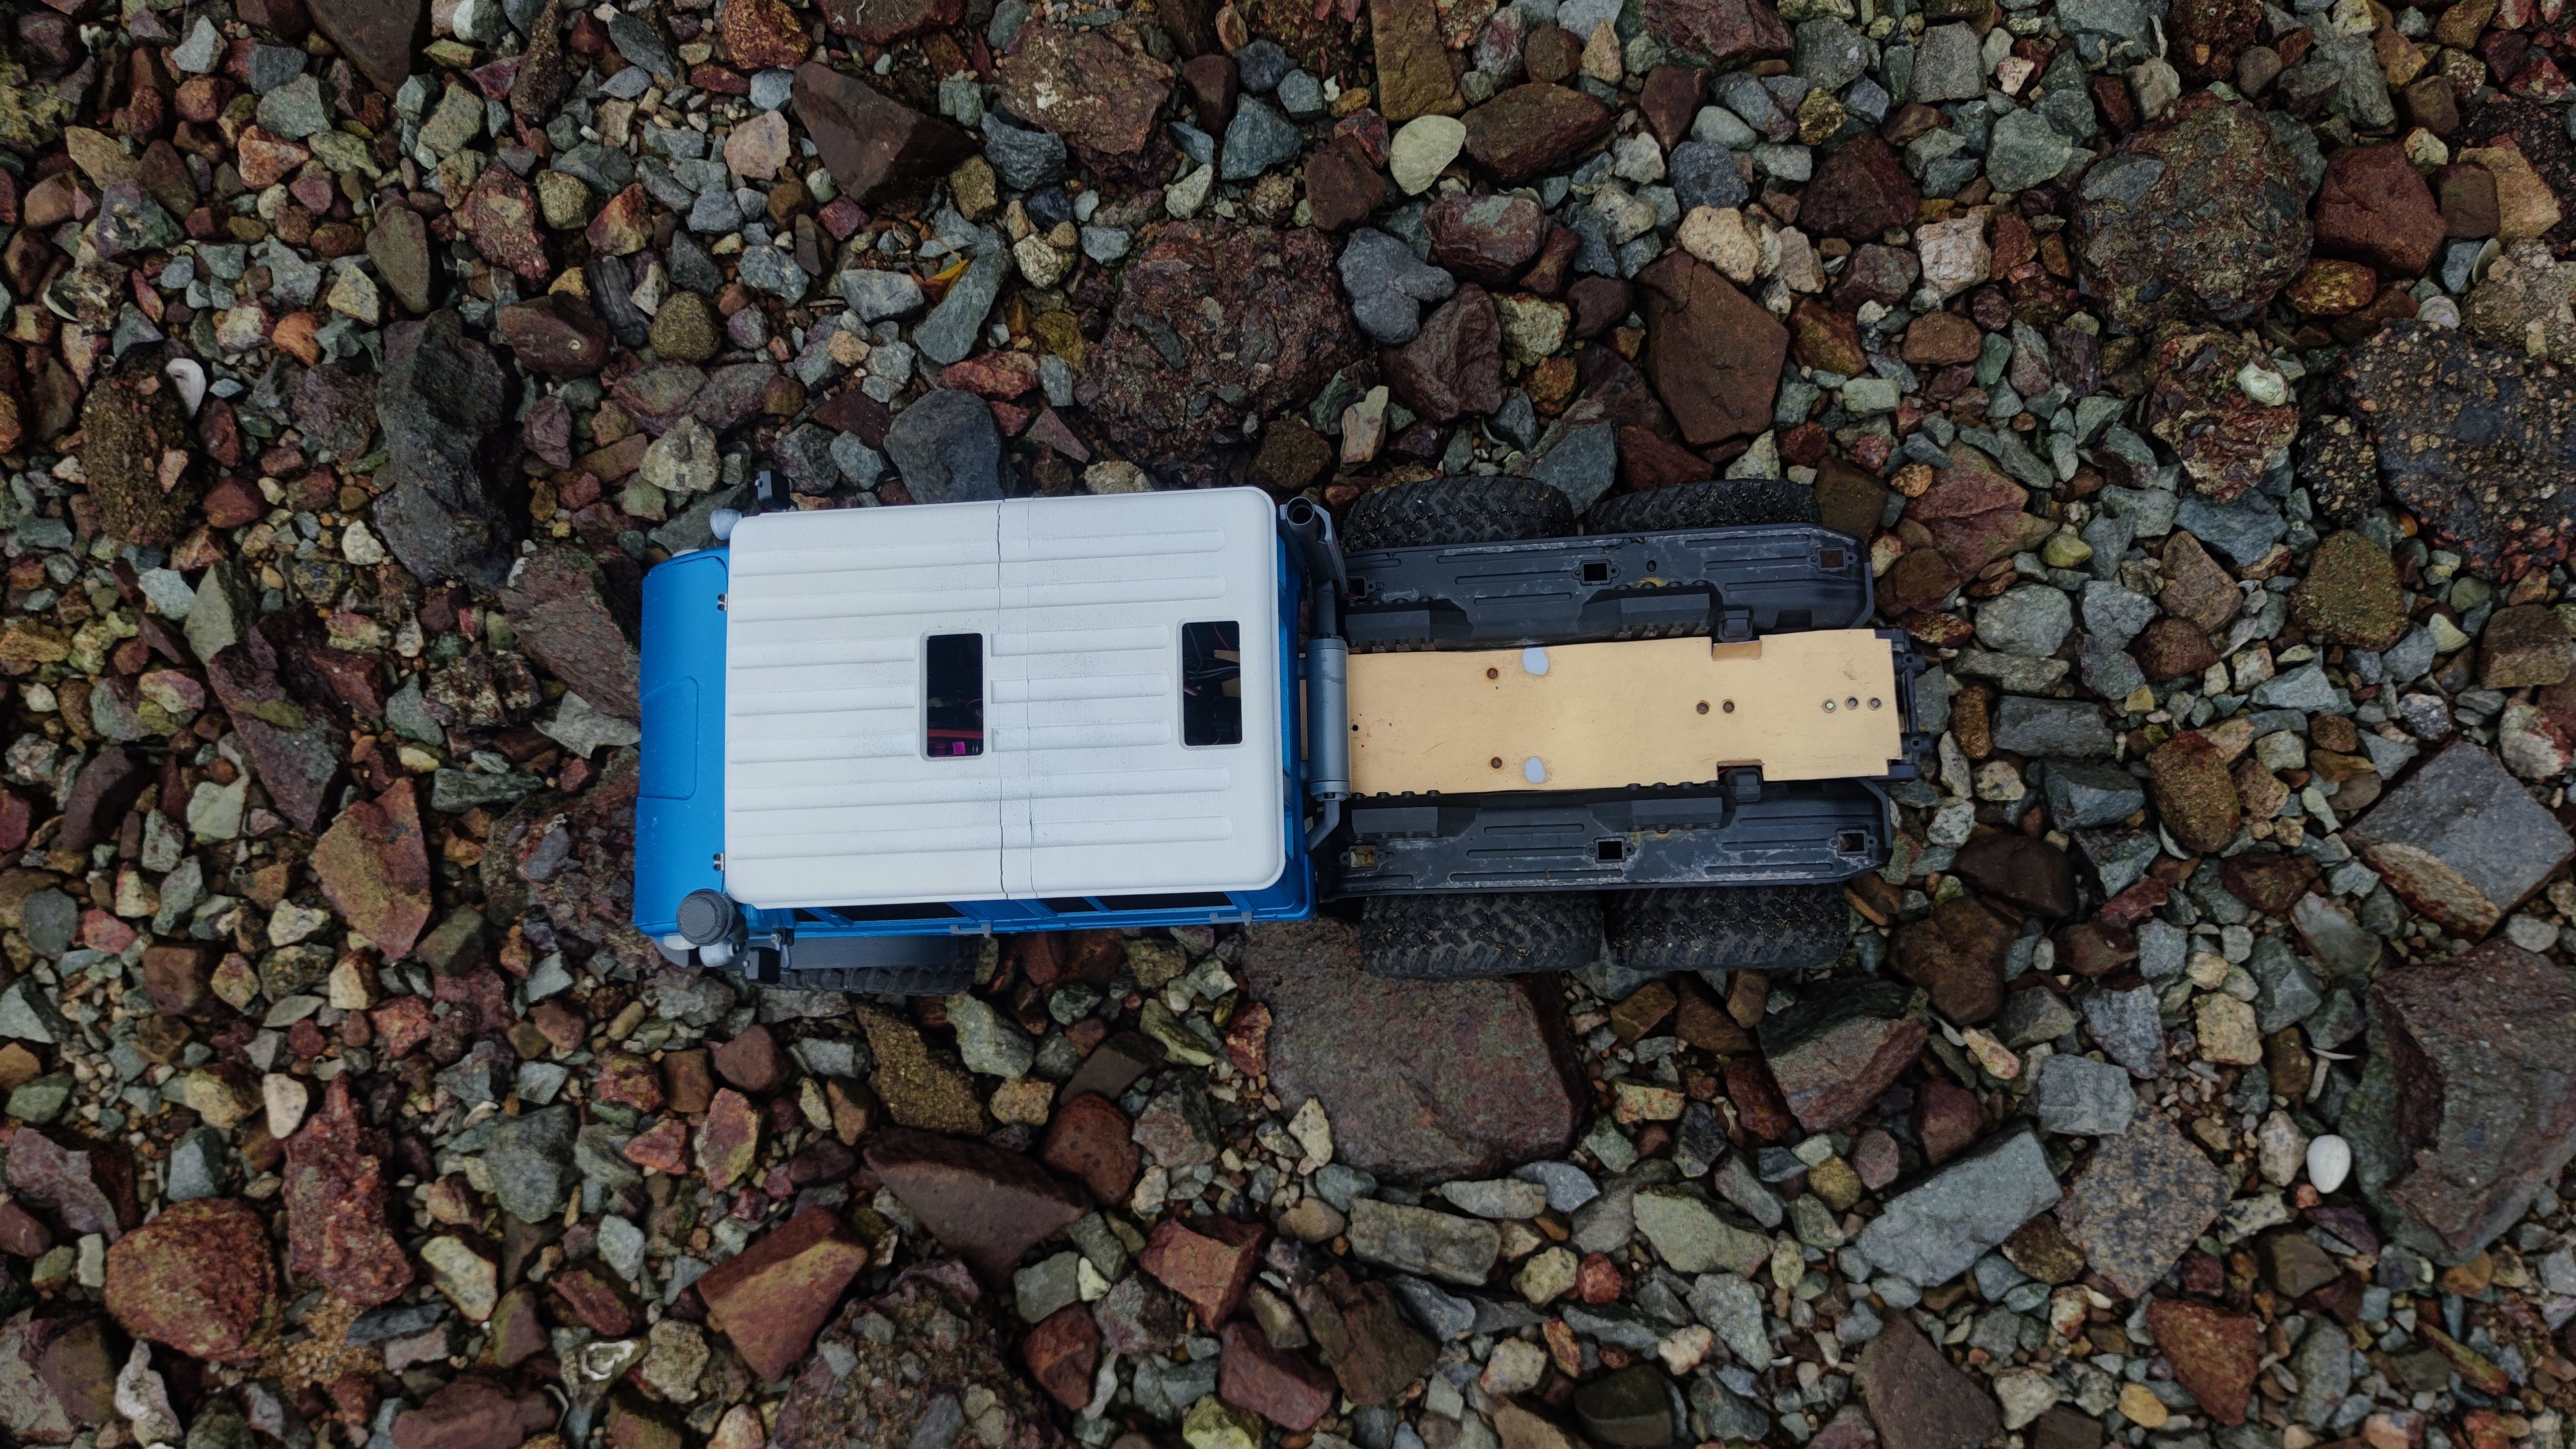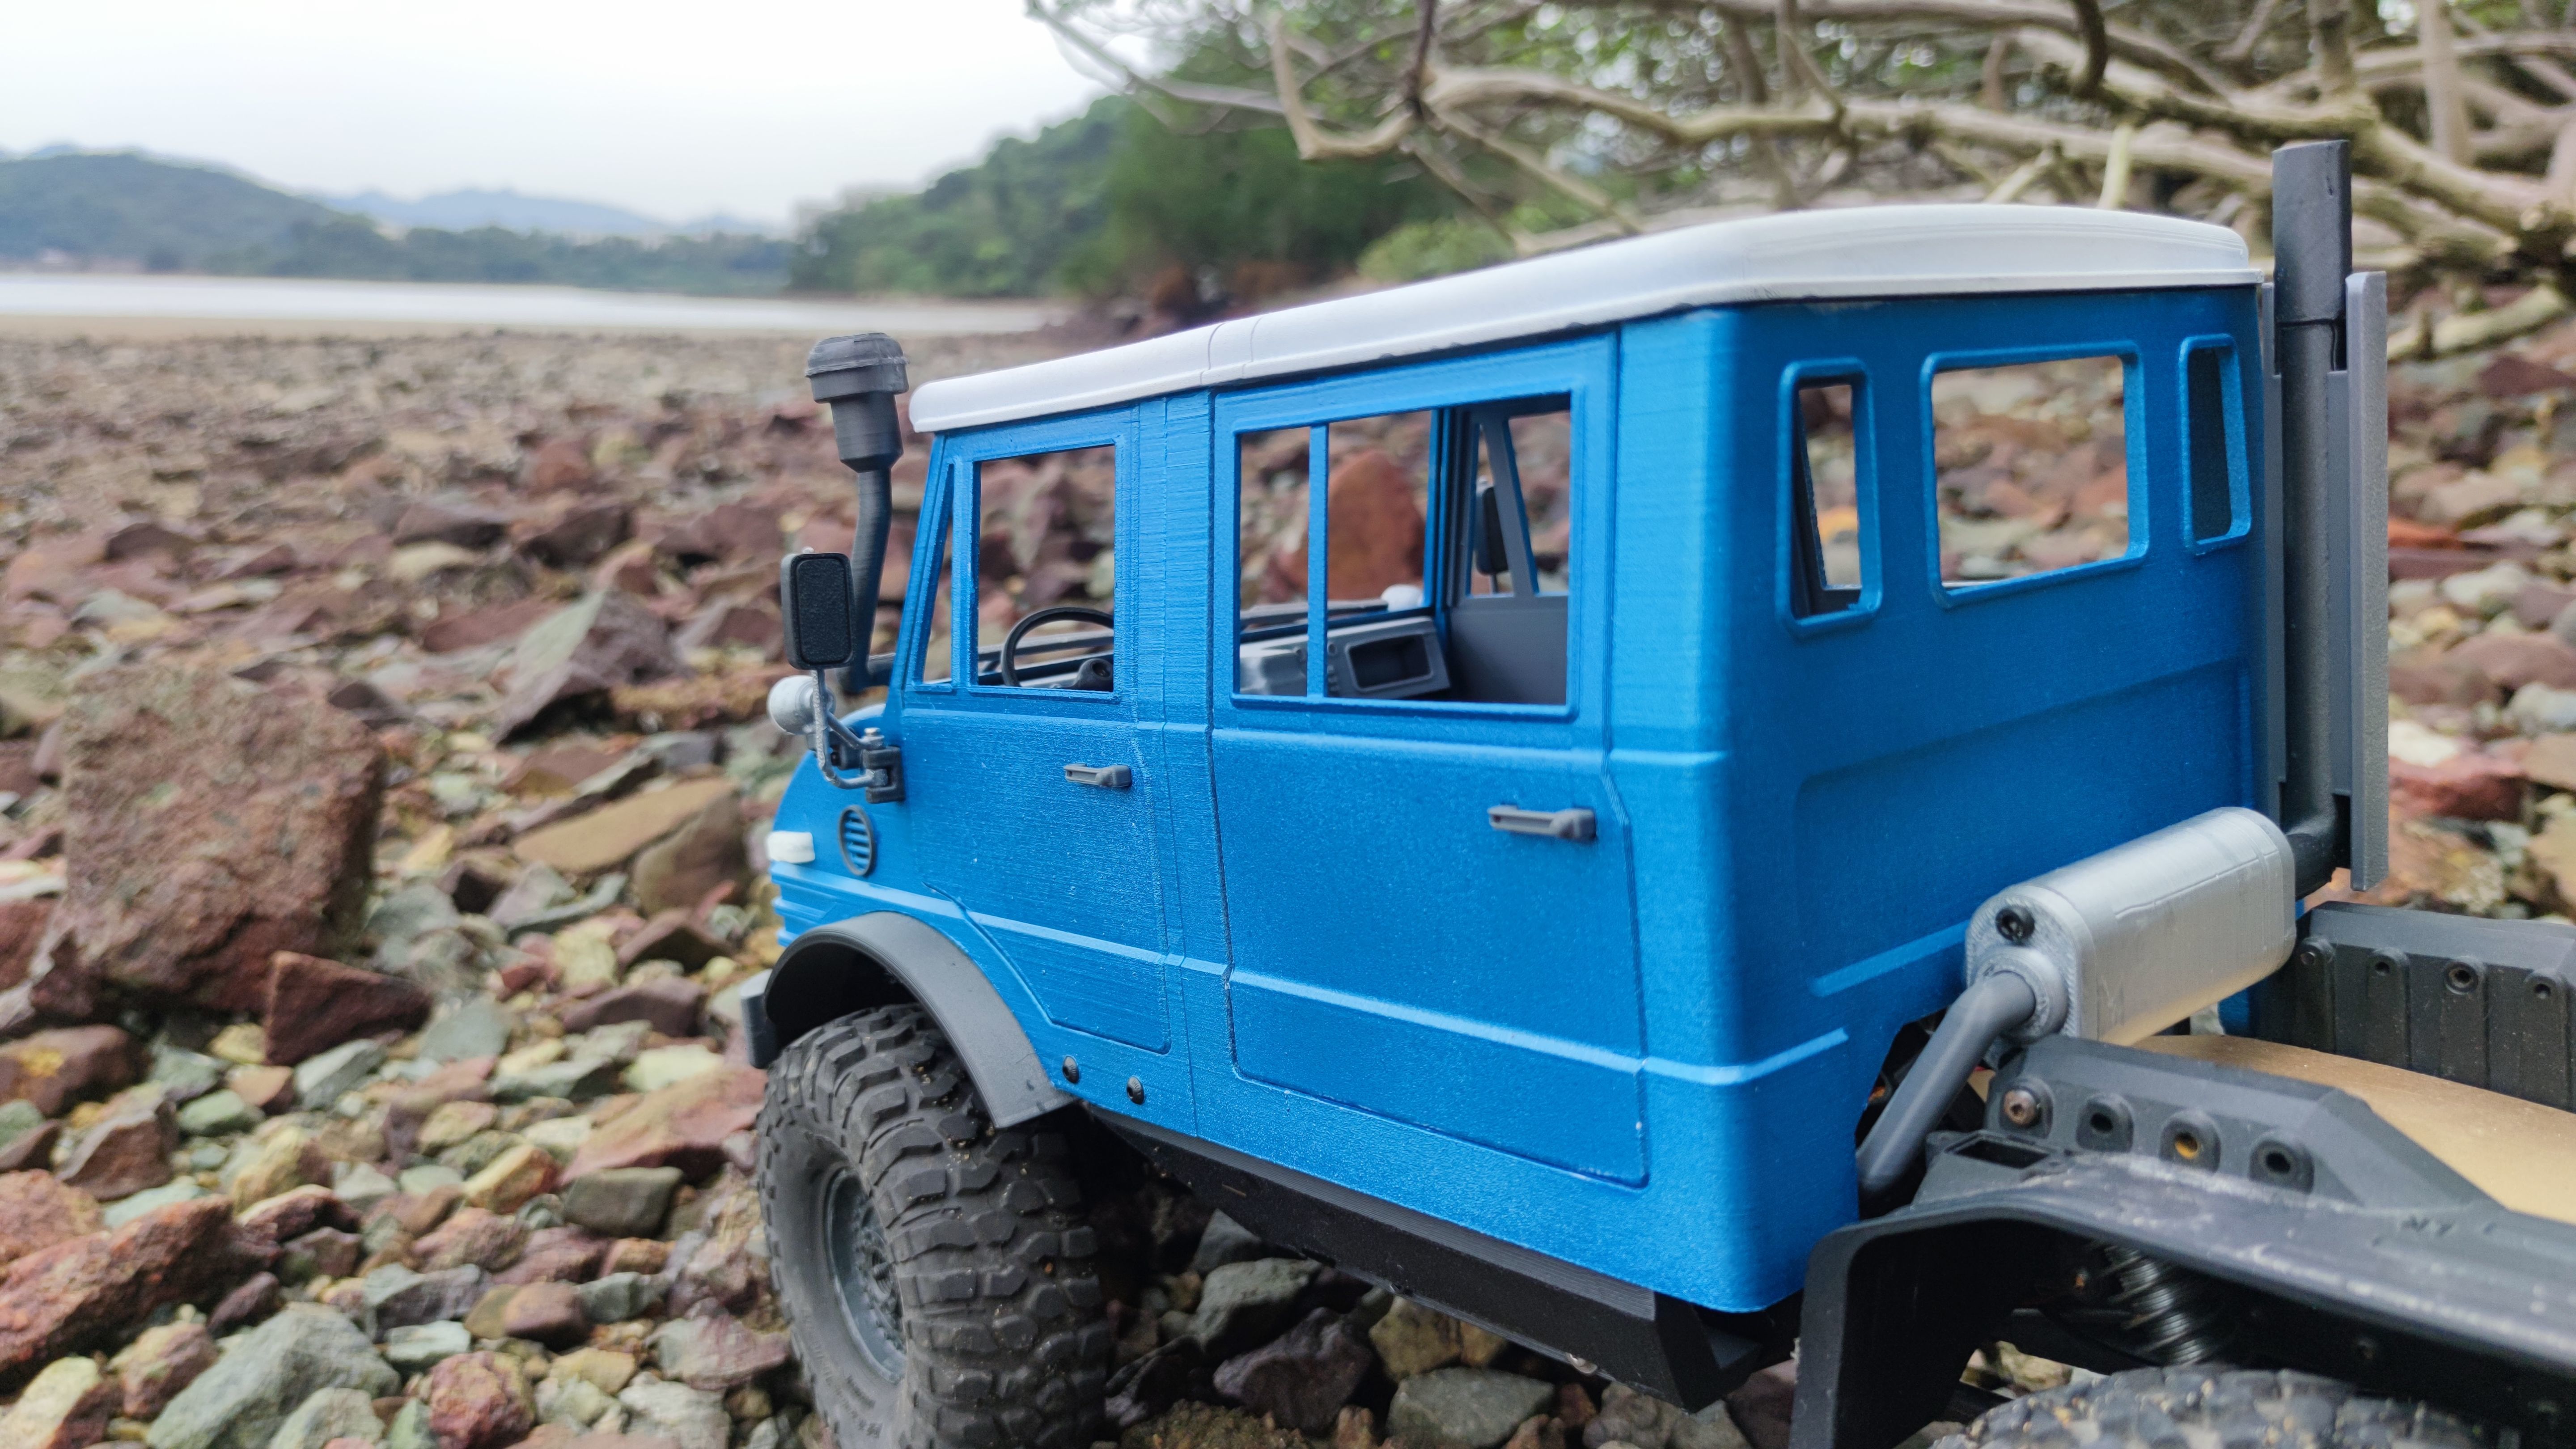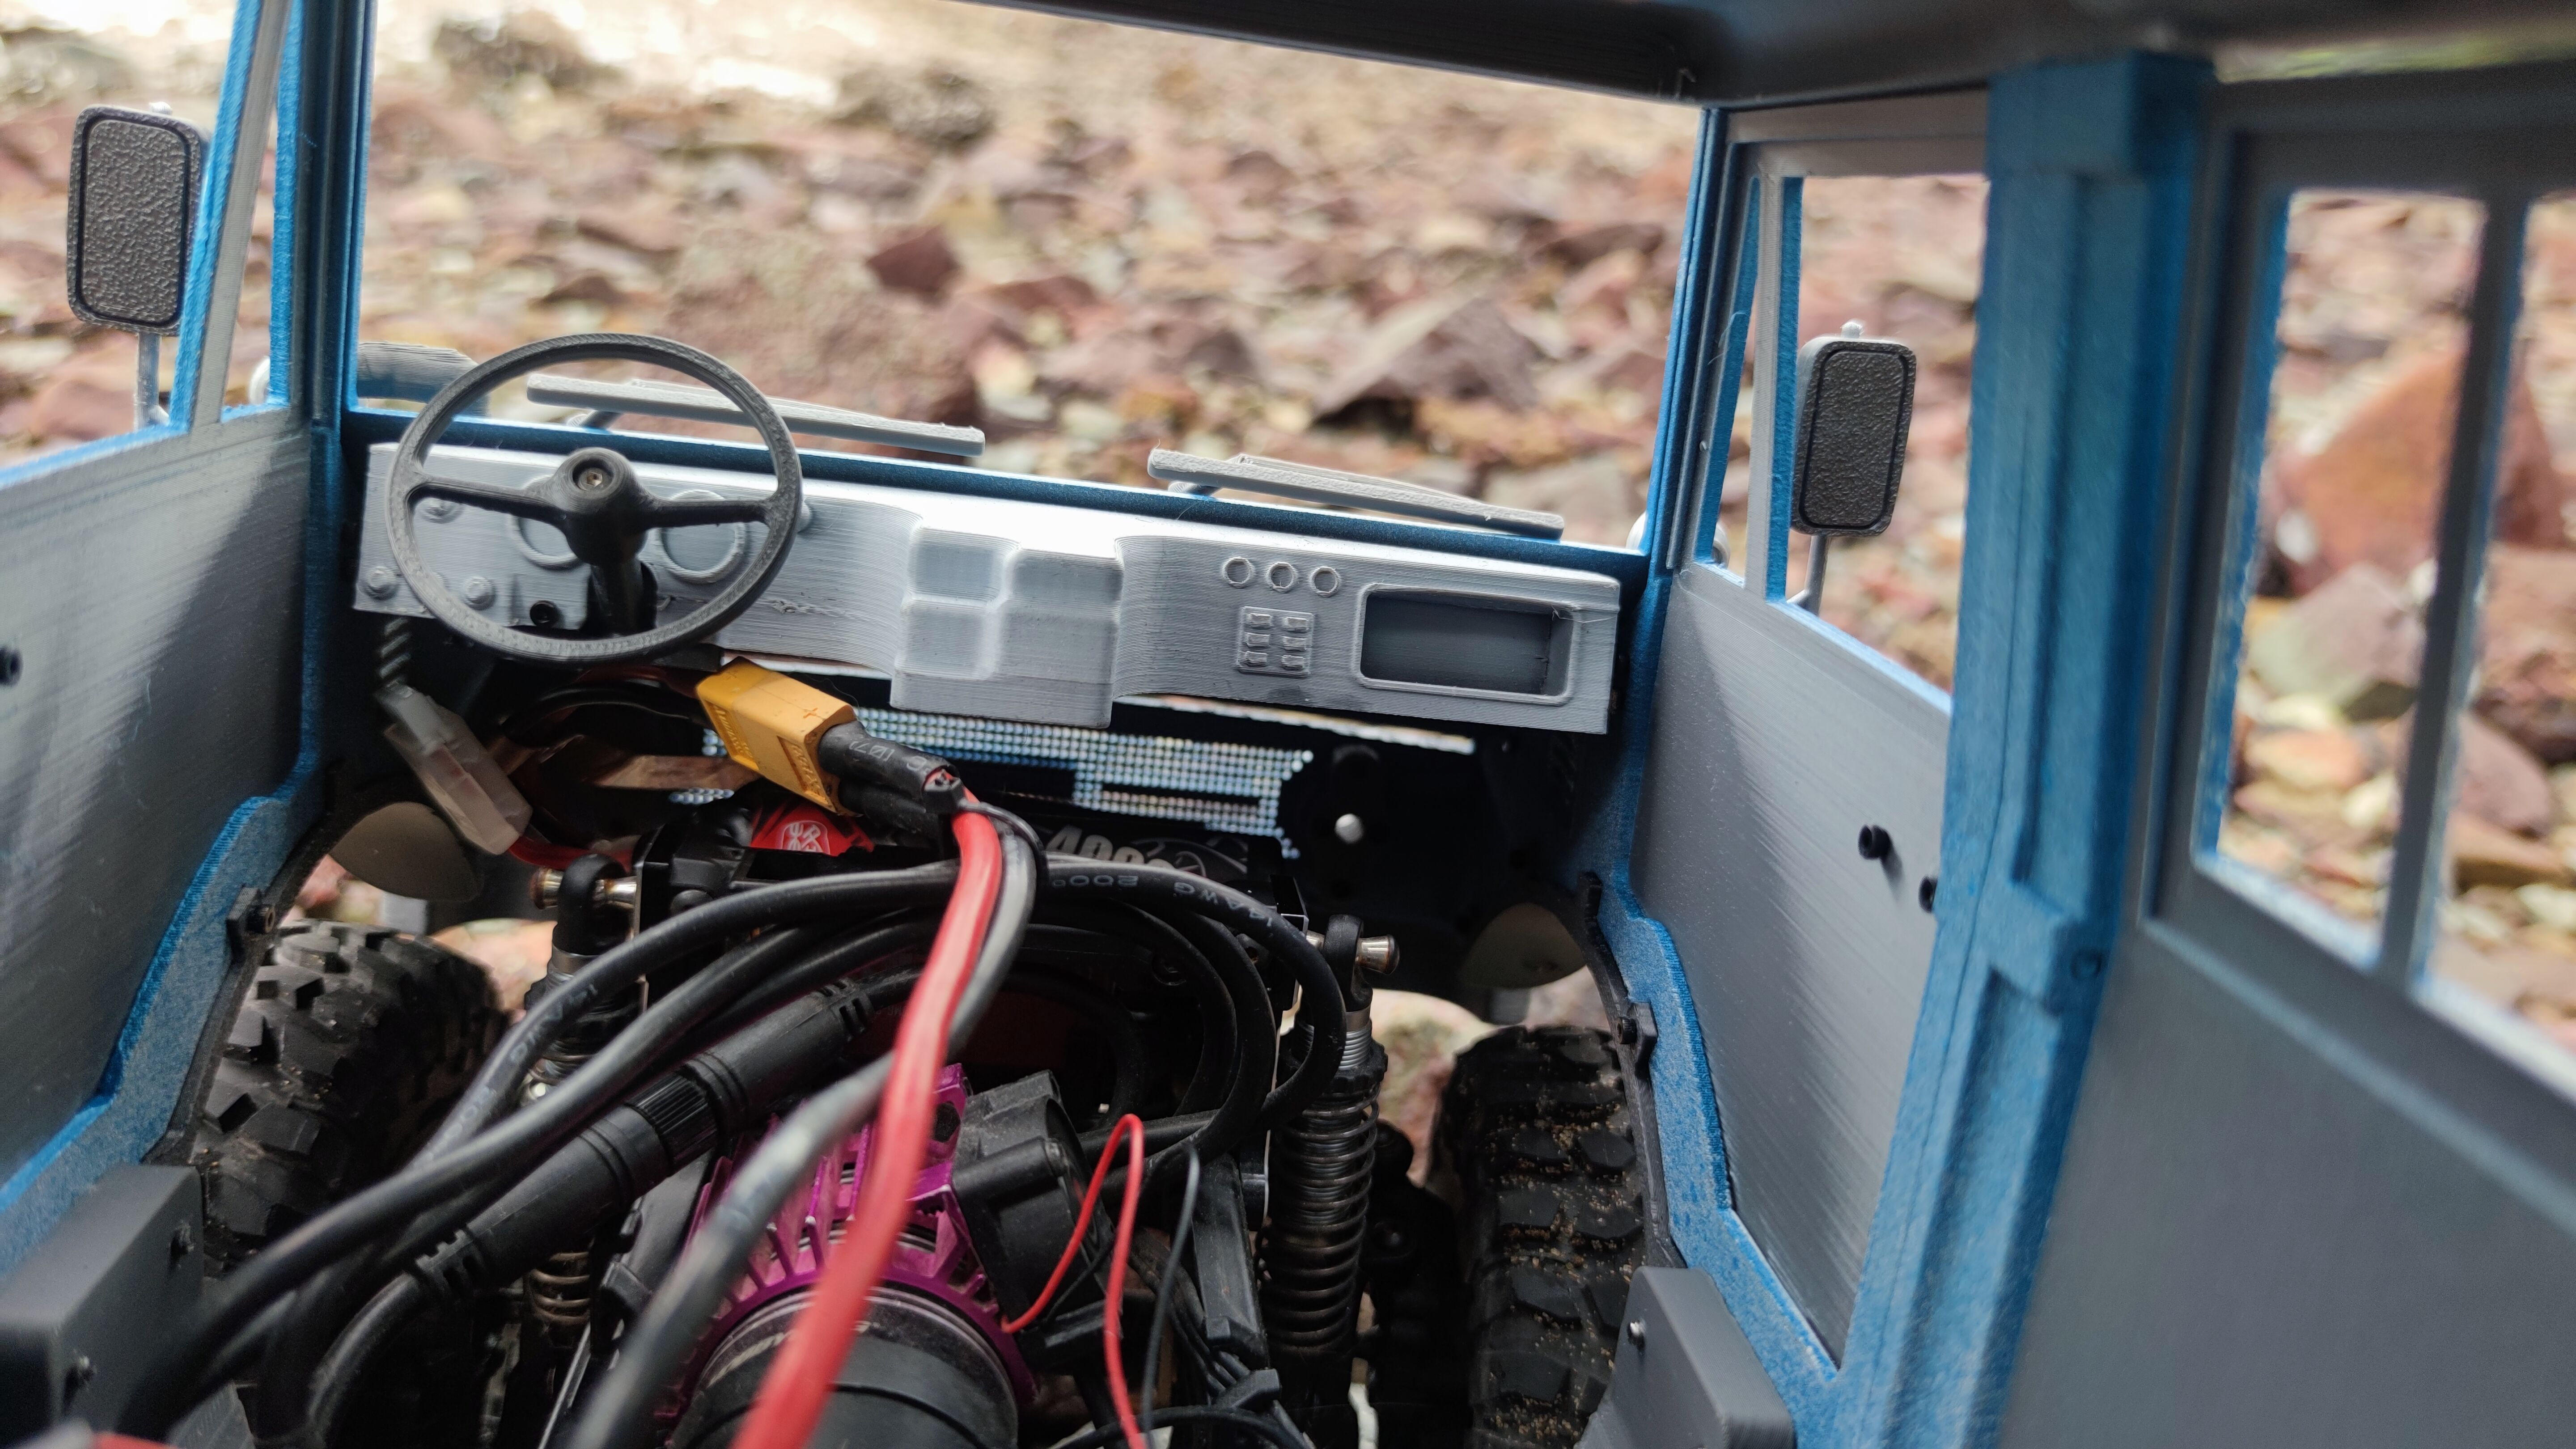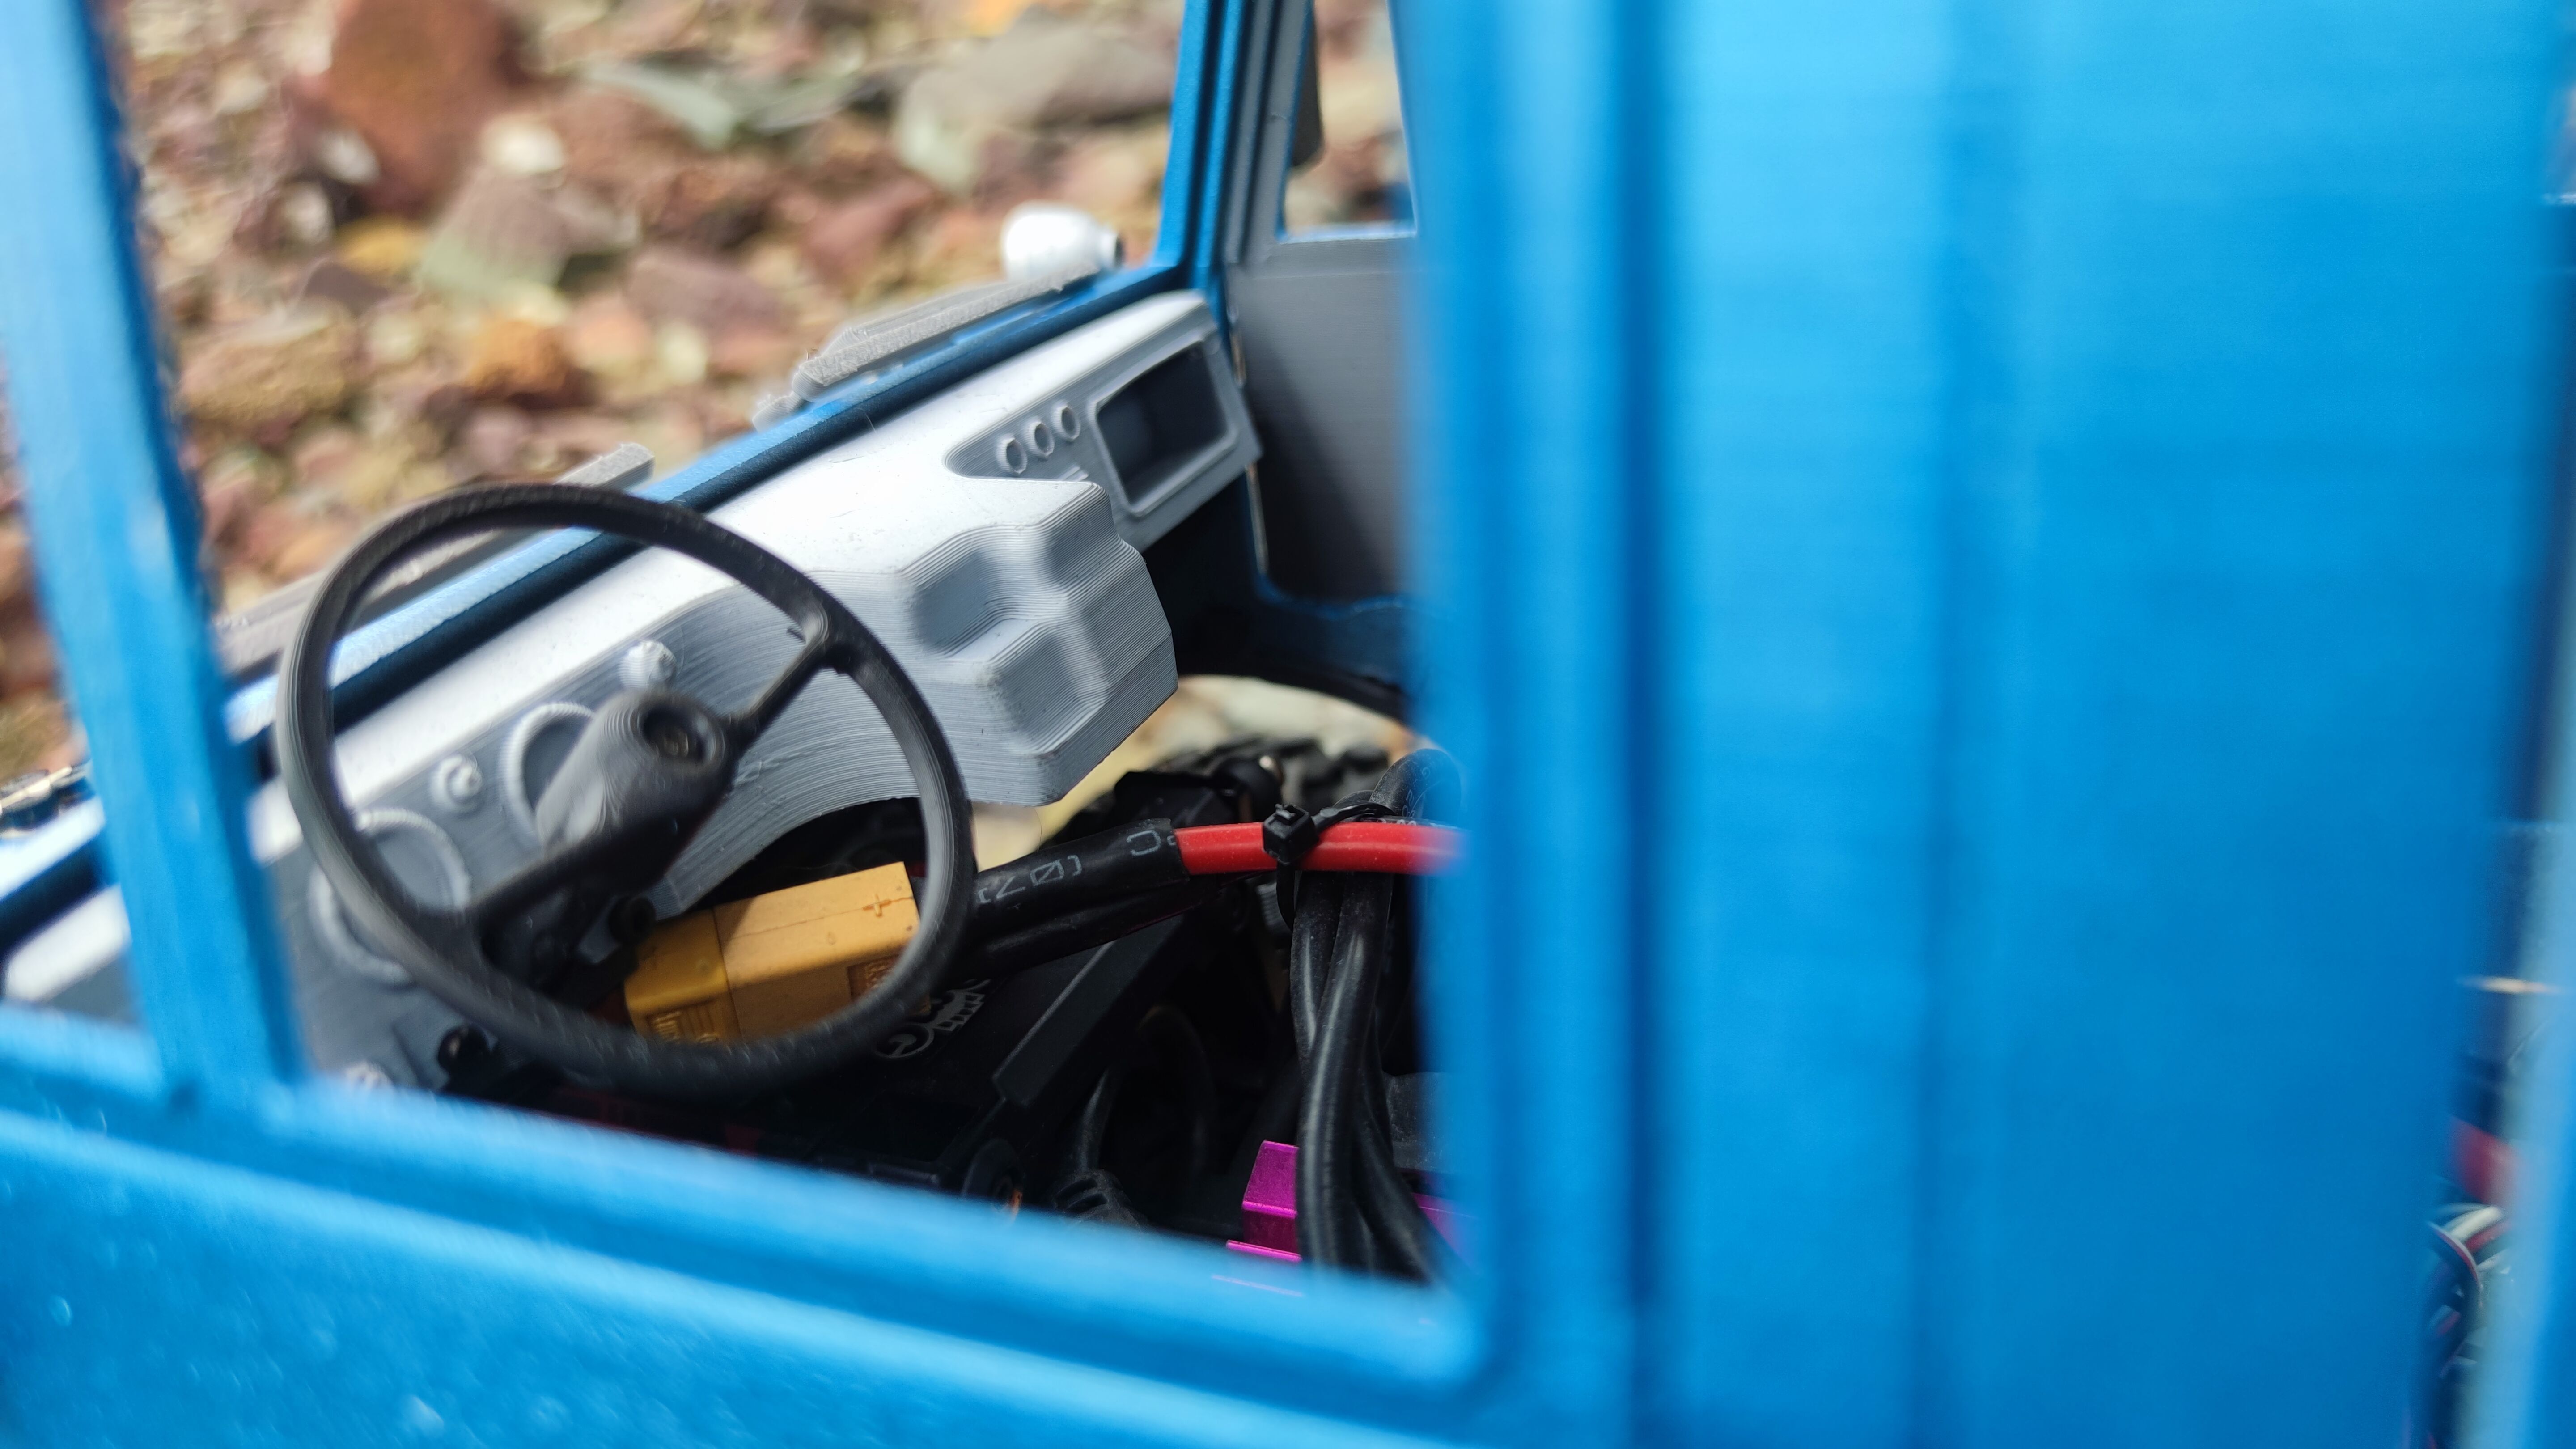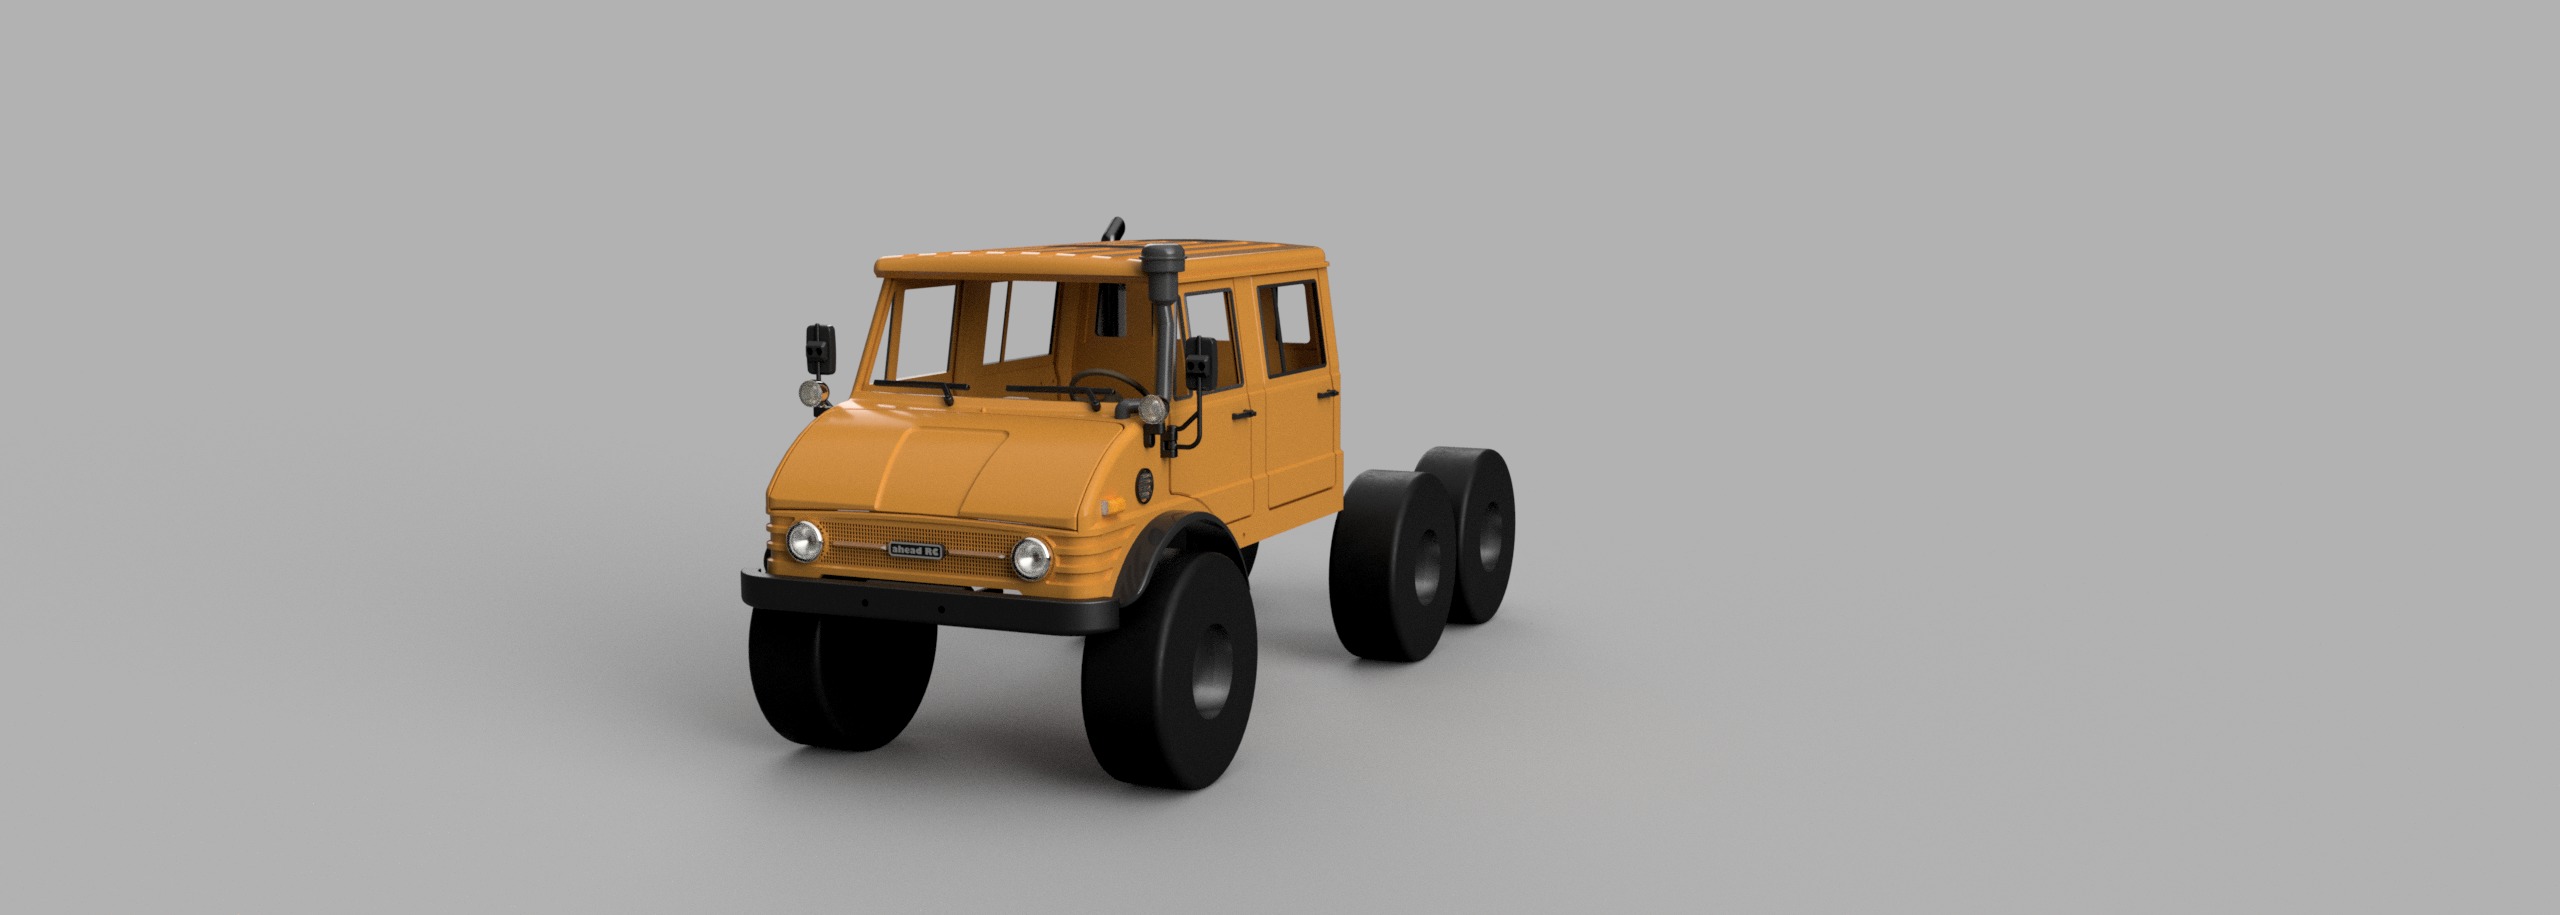
Crawler Bog 406 Crew Cab - 1-10 RC body 3D print model
PLEASE make sure your 3D printer is able to print a minimum size of 200x190x152mm. before purchasing.
Bog 406 flatbed is sold separately
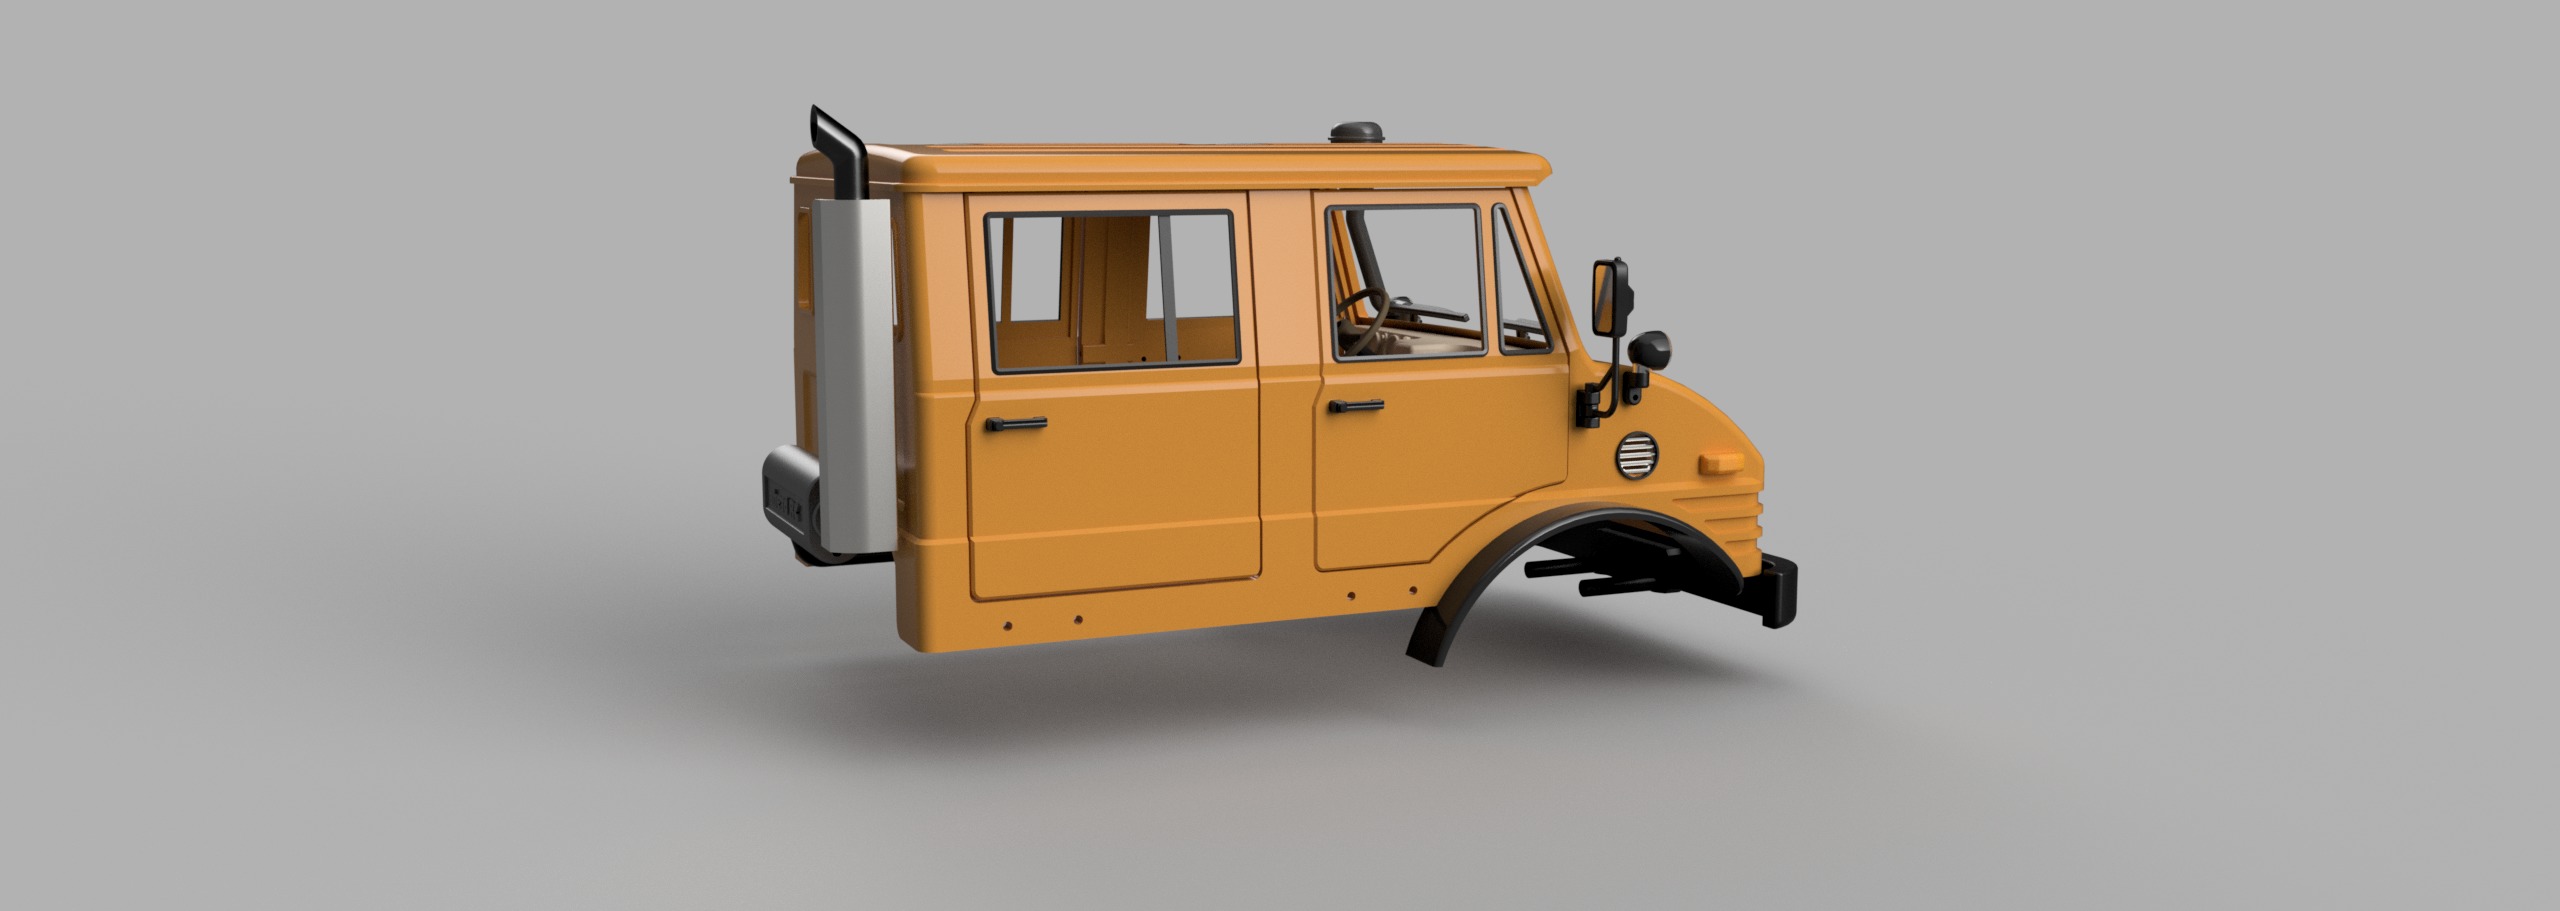
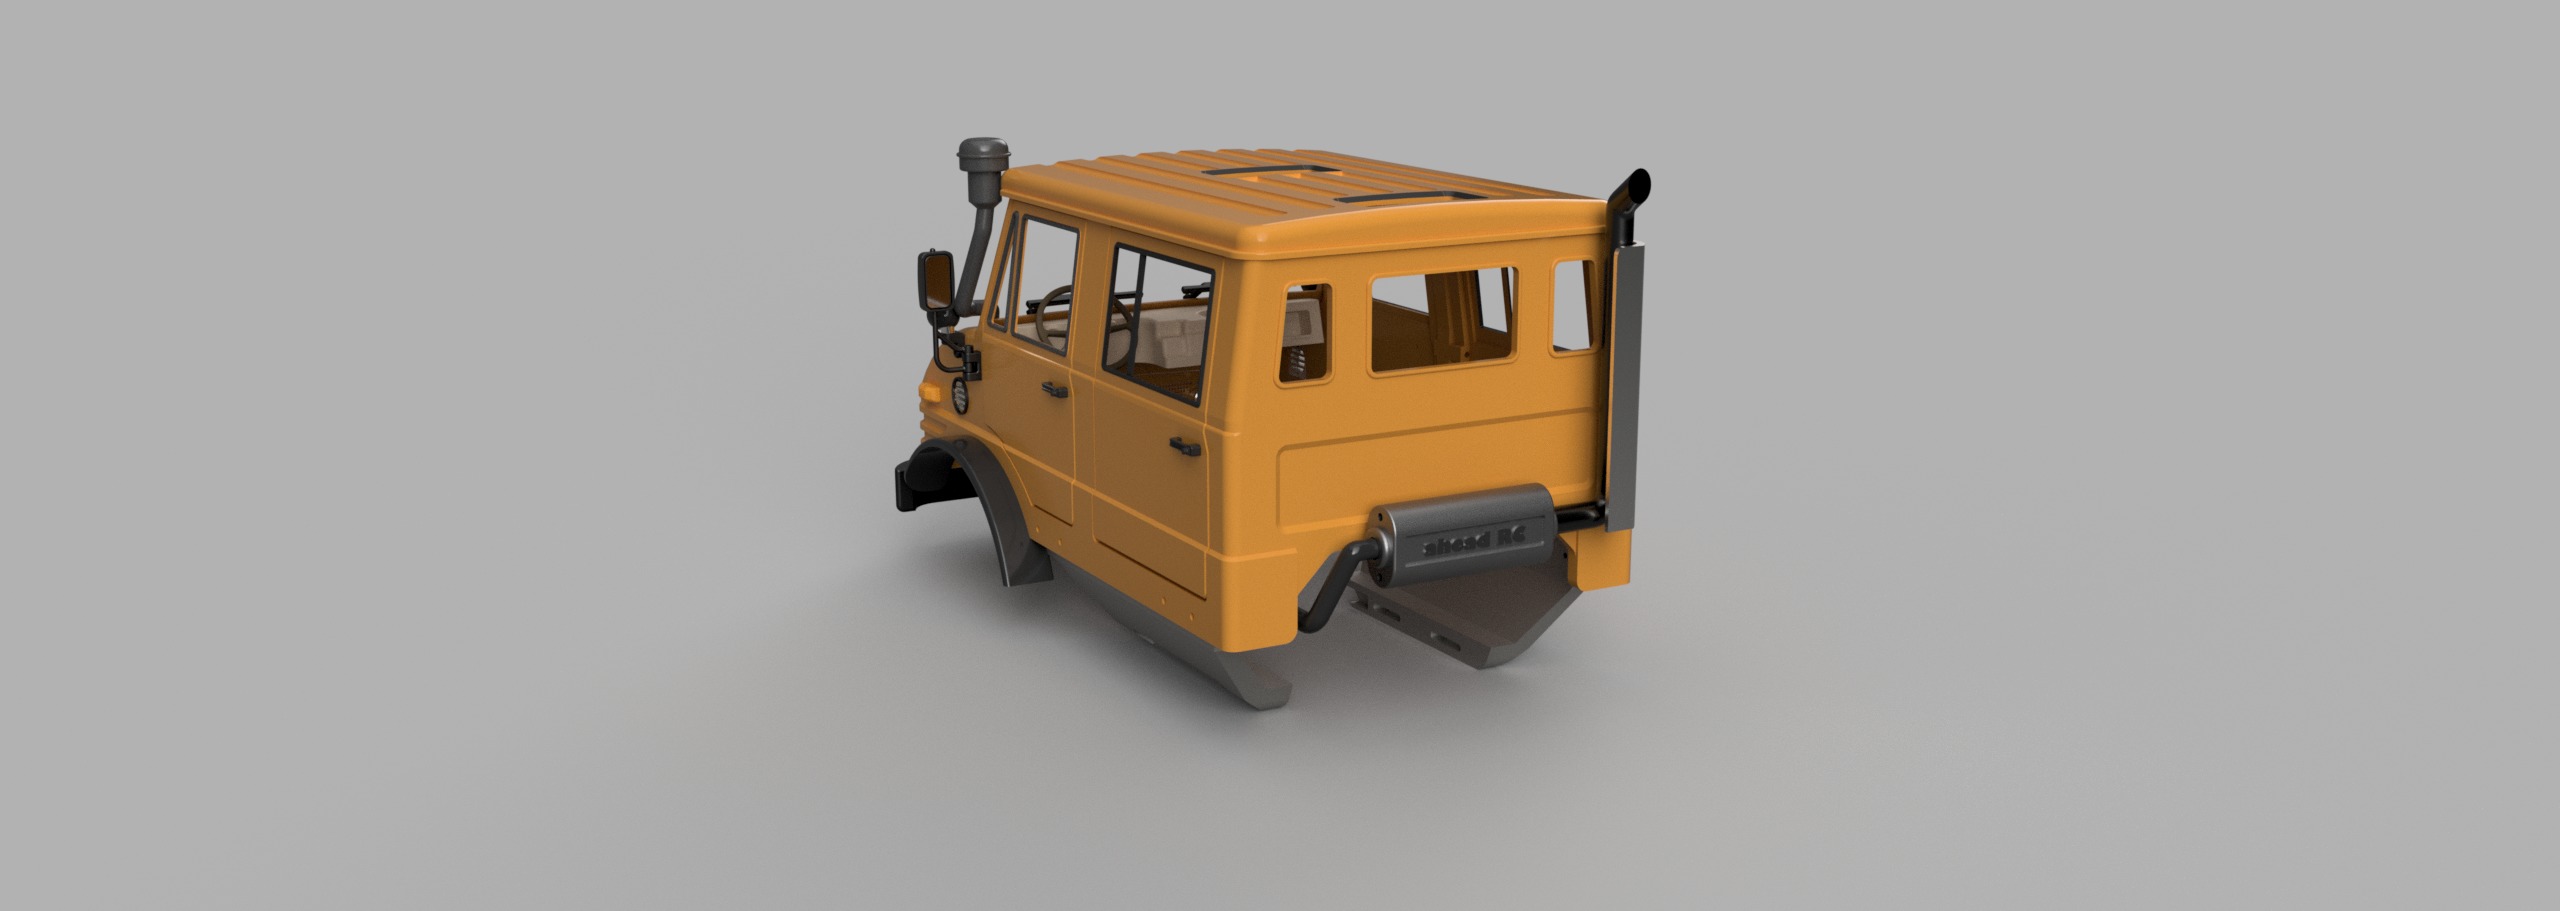
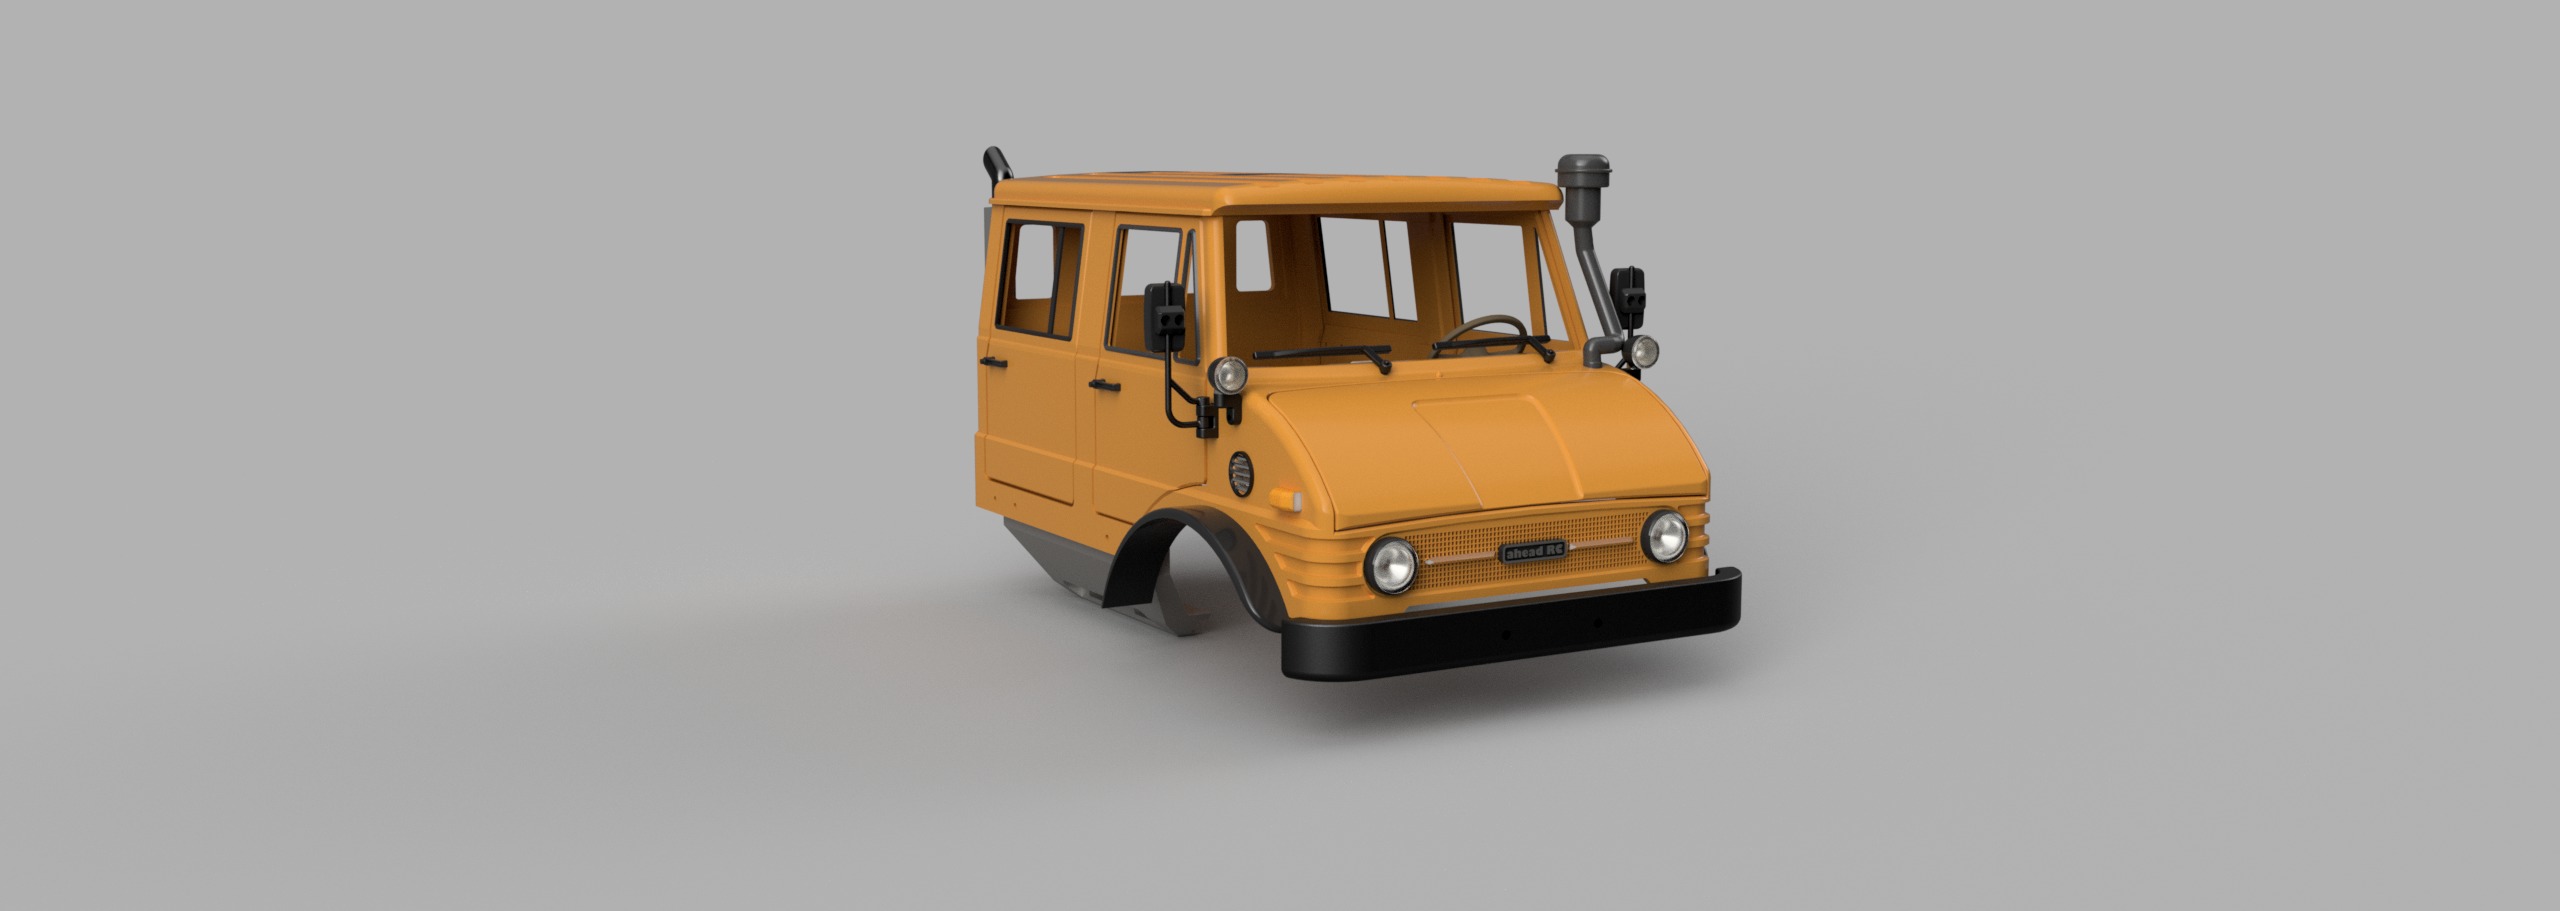
Crew cabs have a certain appeal to them. Whether it gives you that burly look, or a more utilitarian function, the Bog 406 Crew Cab is sure to turn some heads.
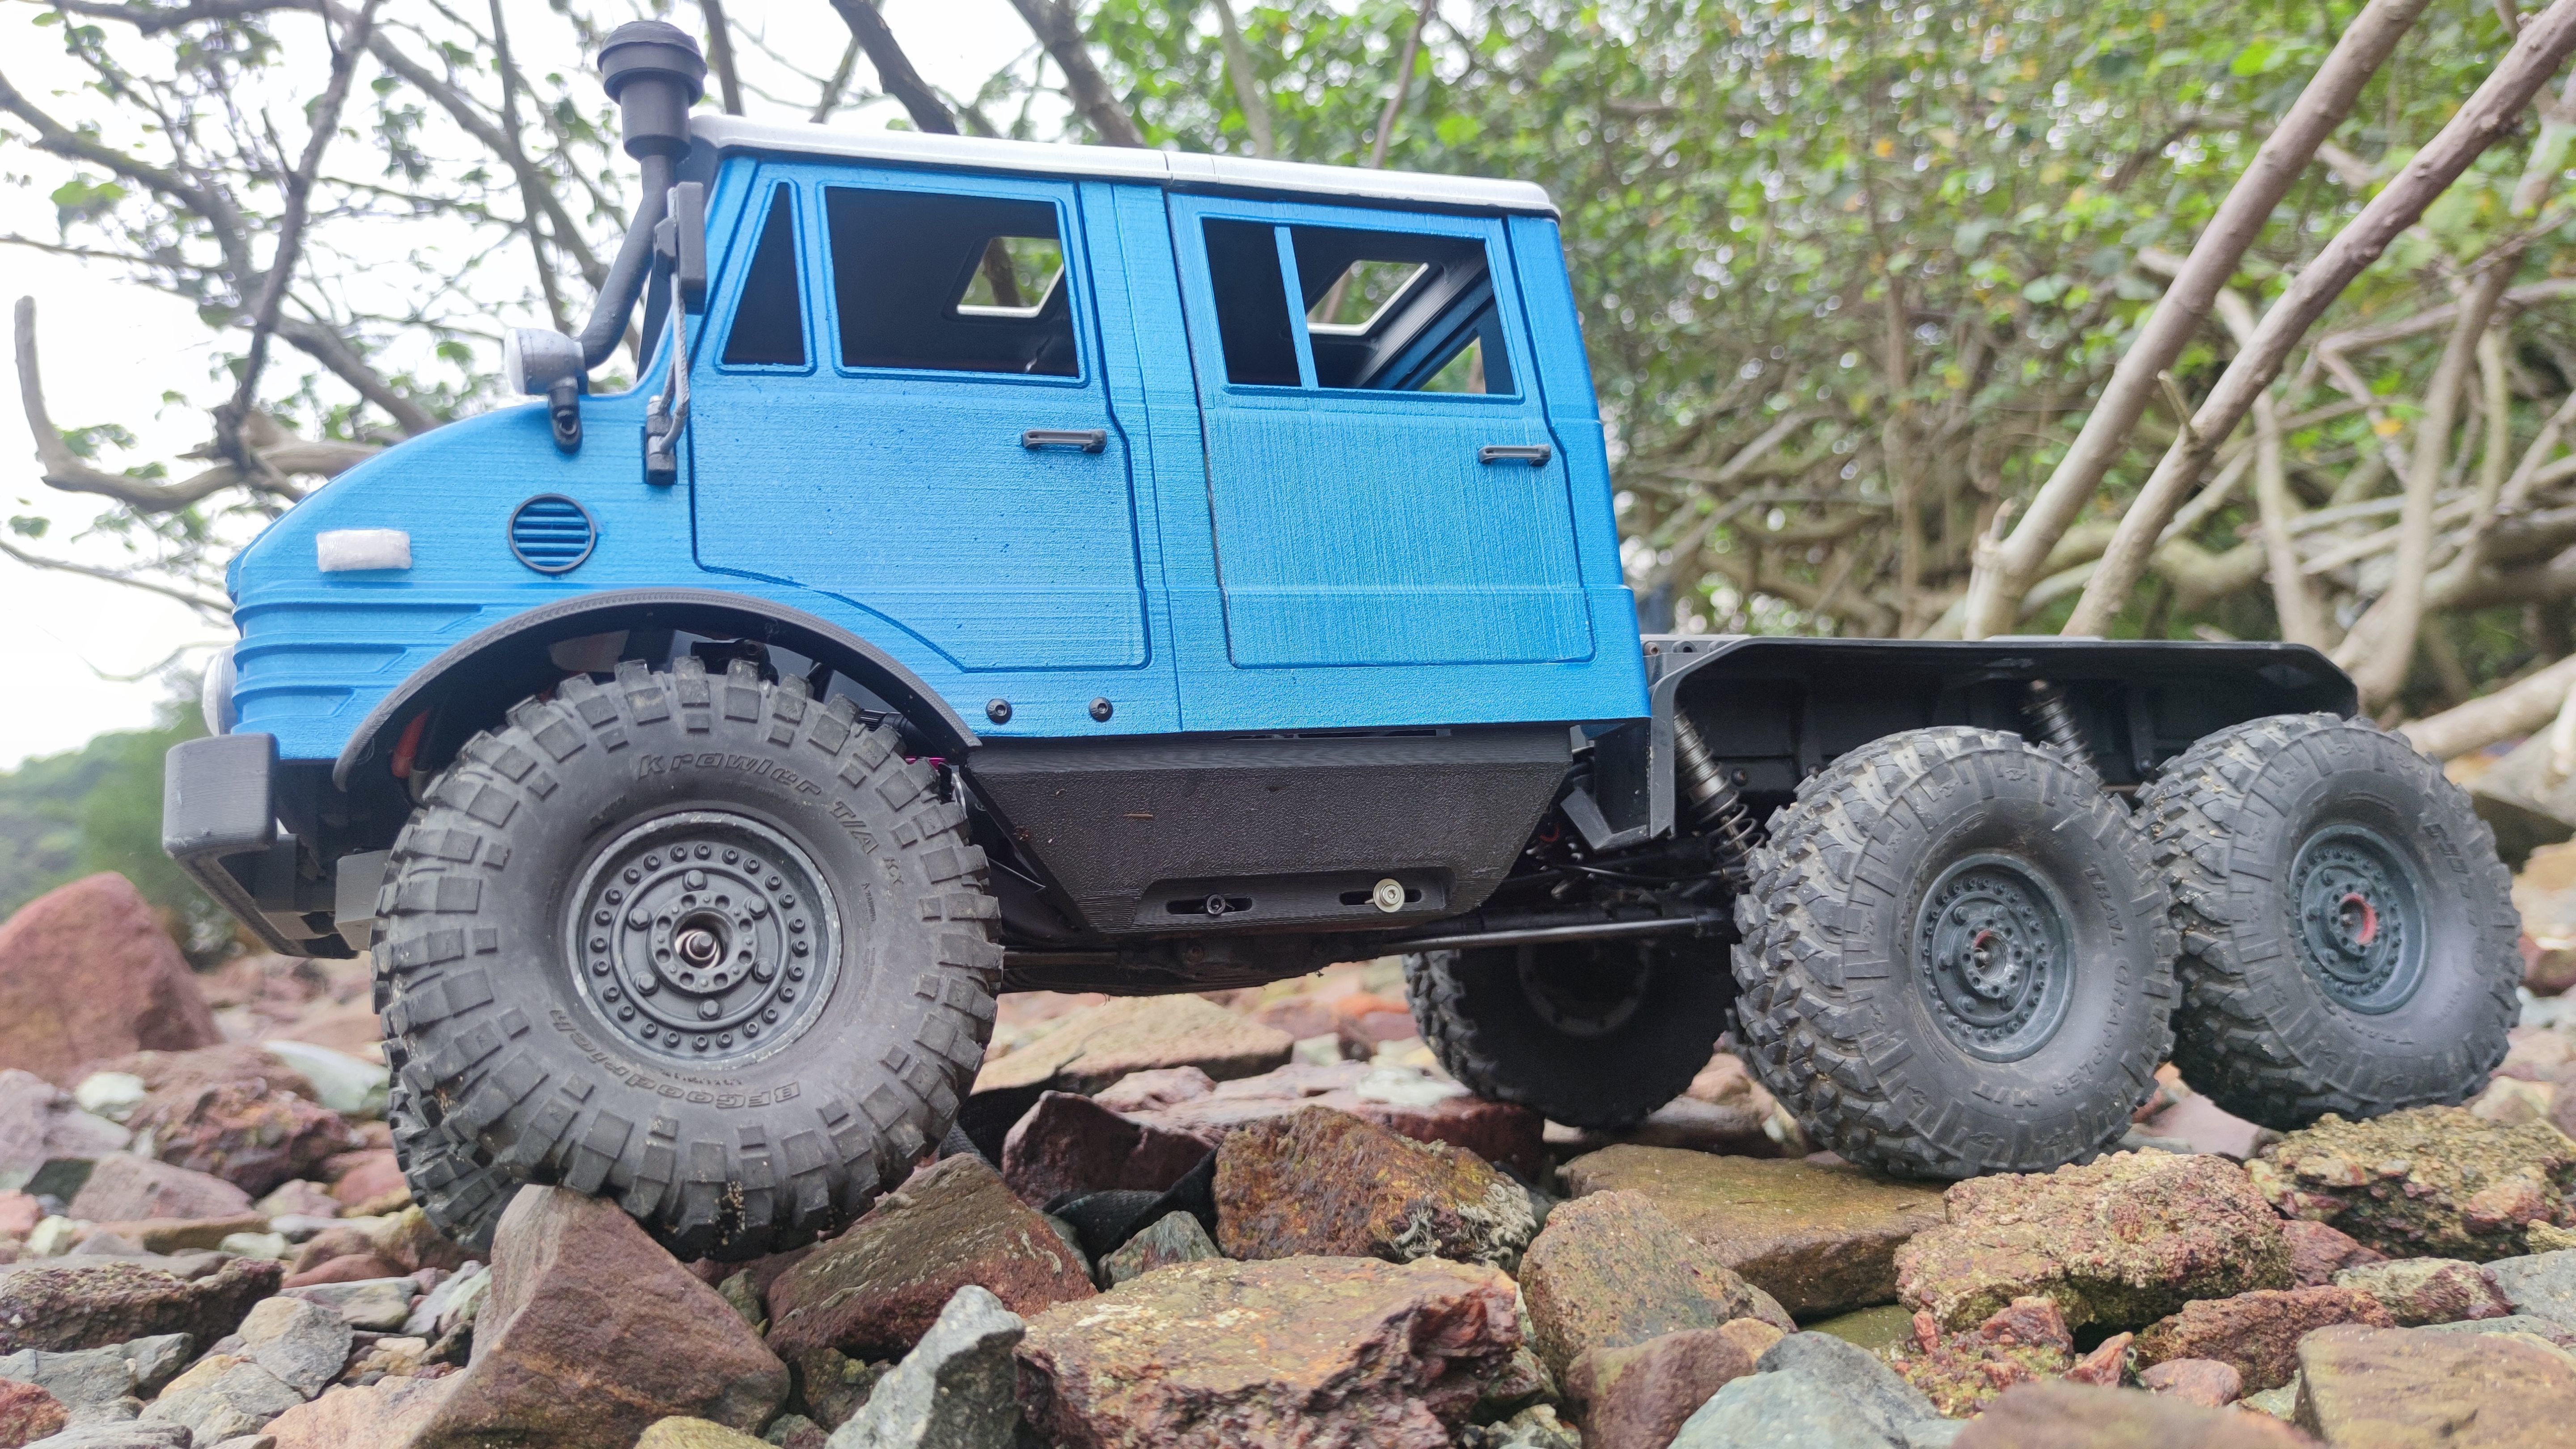
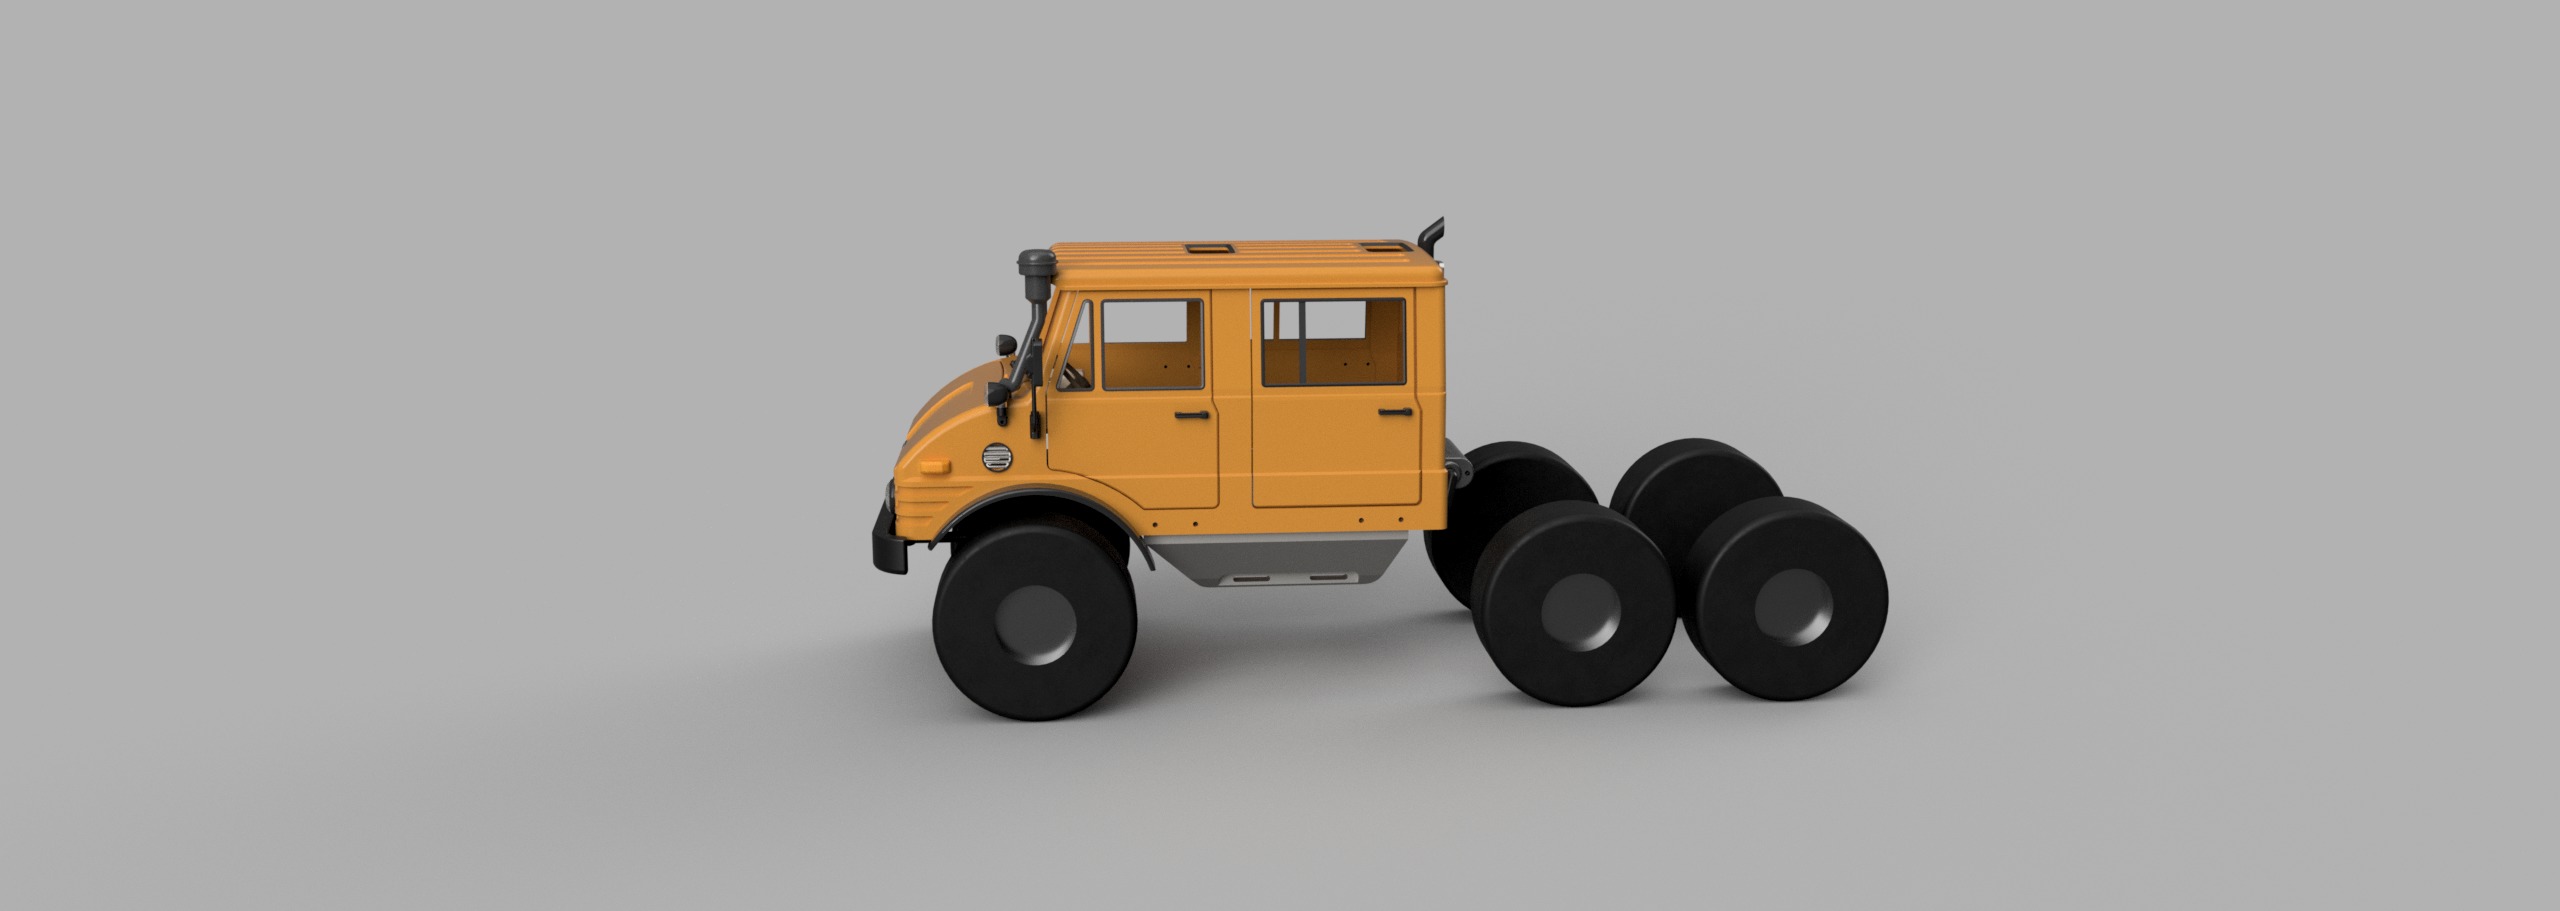
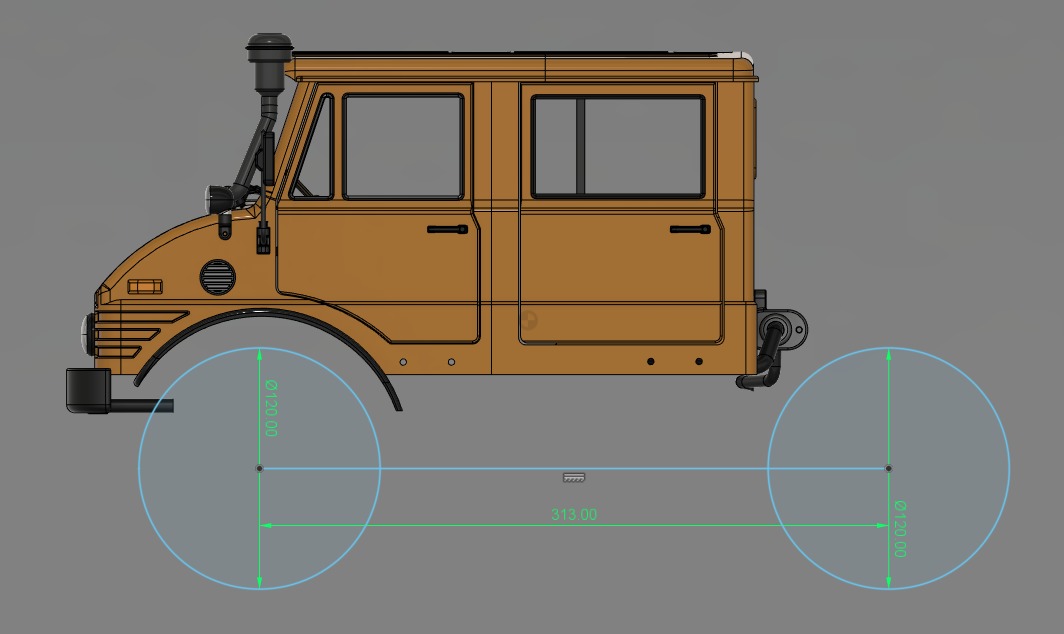
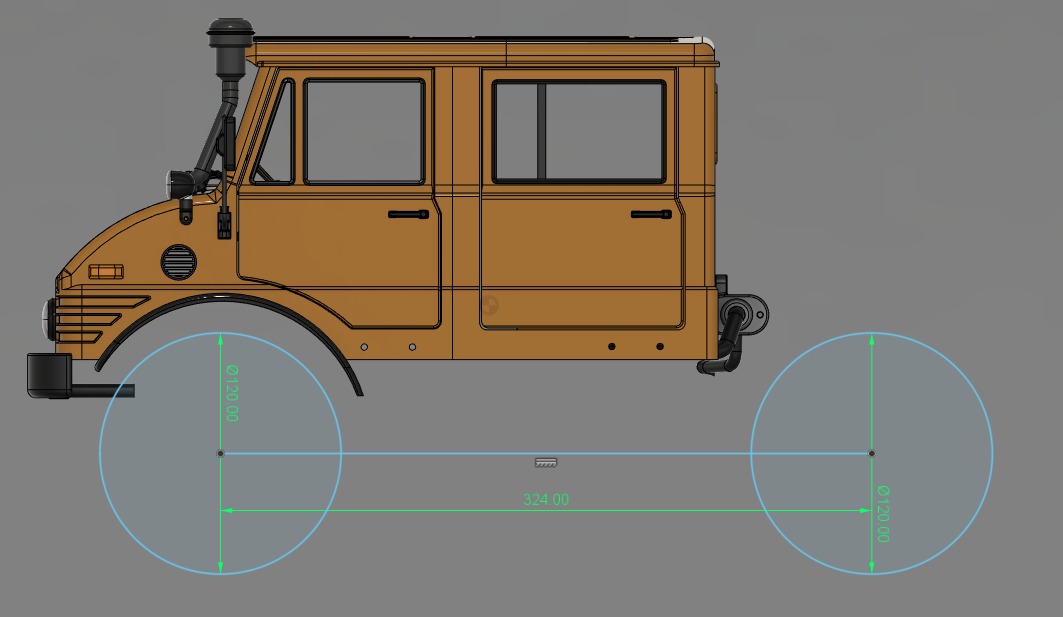
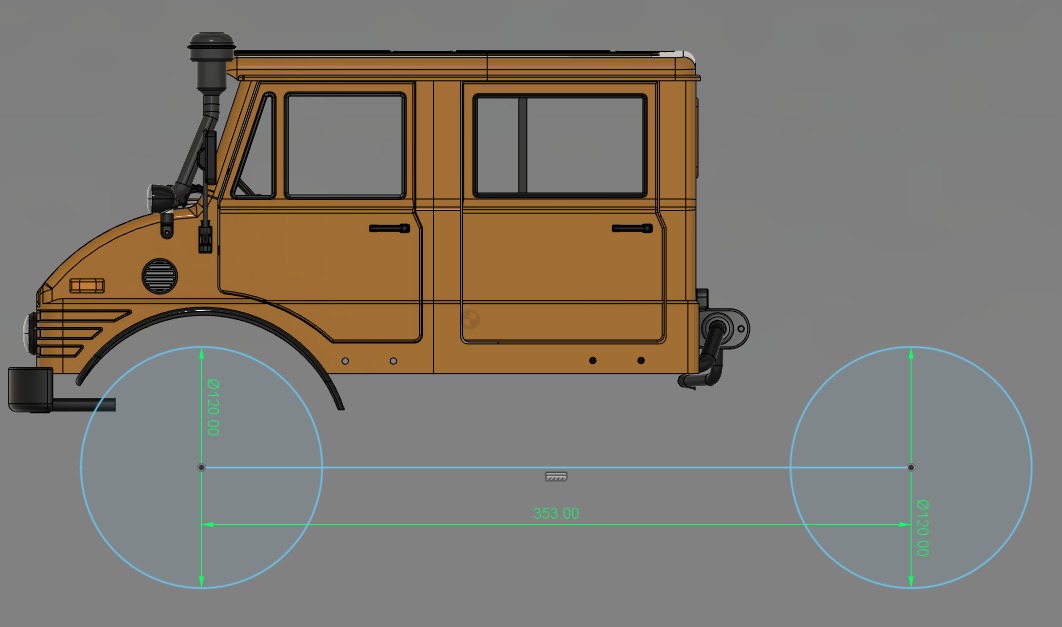
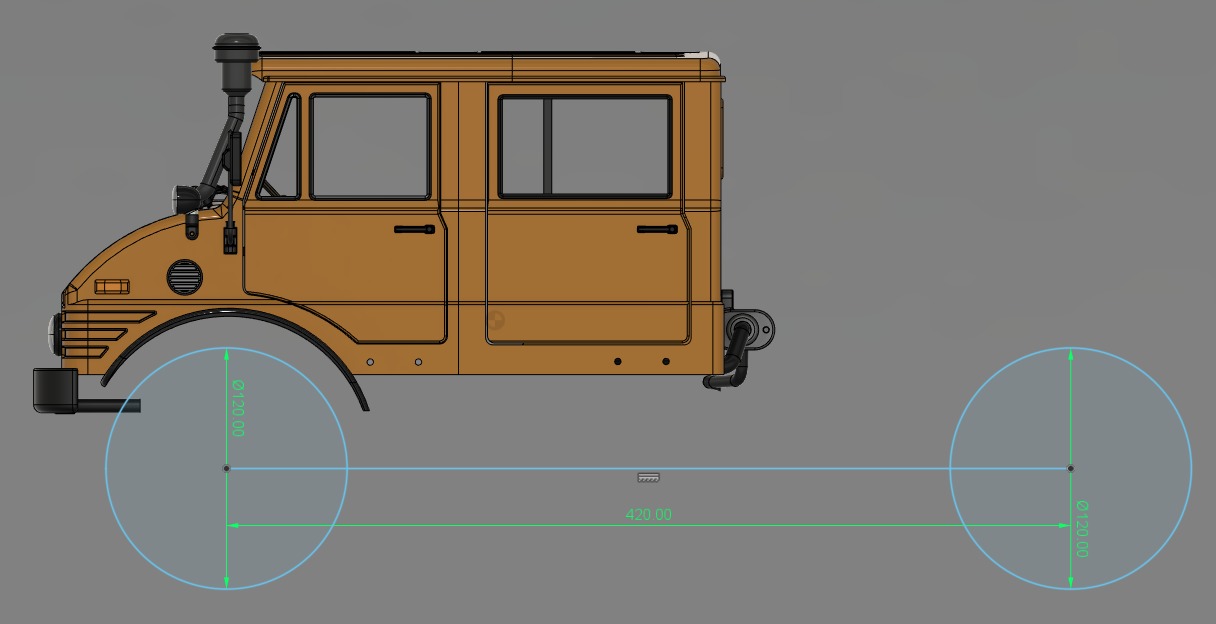
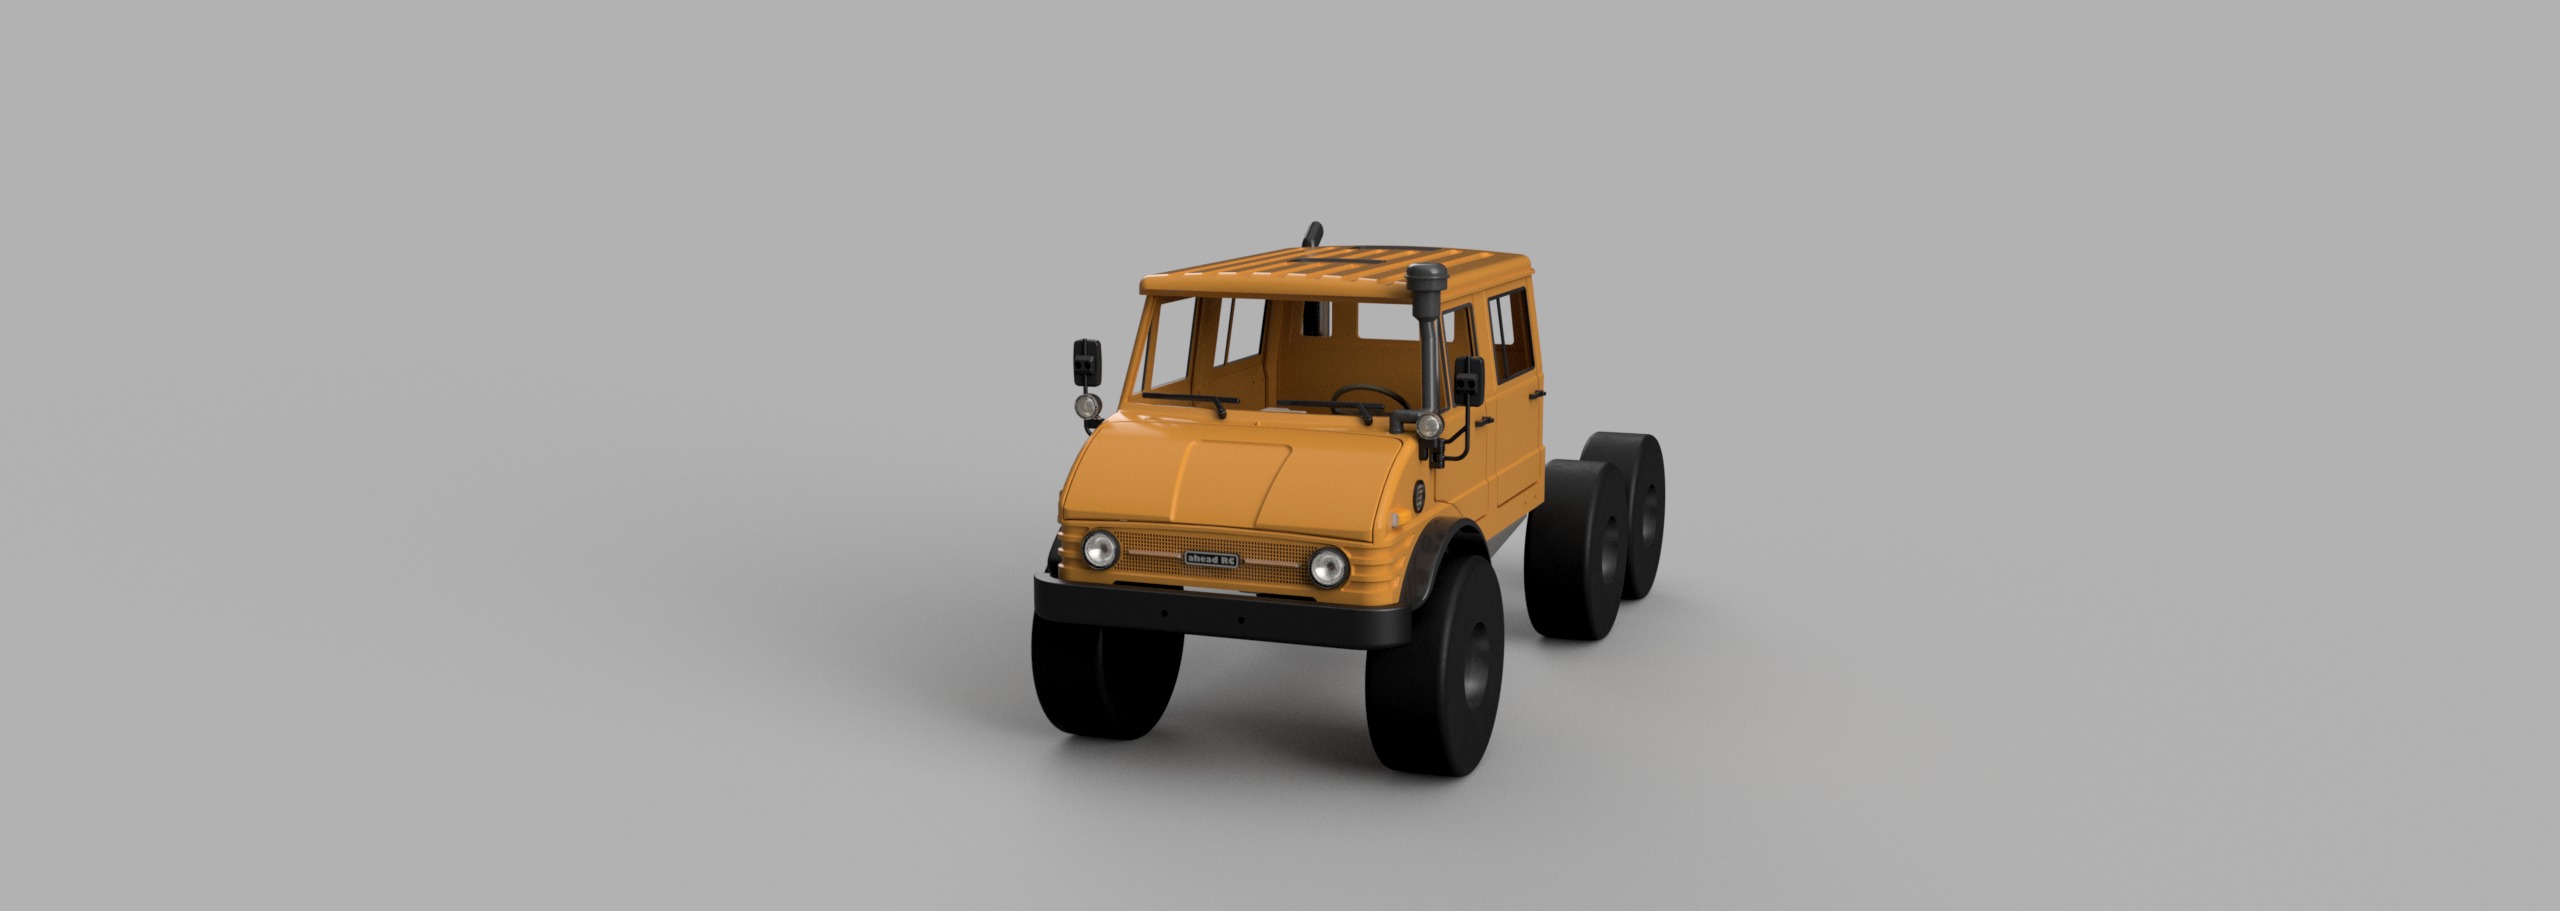
Maintaining realism and optimisation for 1/10 RC crawlers, the Crew Cab version is intended for wheelbases longer than 313mm (12.3in). This means 324mm (12.8in), 353mm (13.9in), 420mm, and TRX6’s 6x6 wheelbase will all fit and look realistic. Unless you are planning to build a 420mm wheelbase chassis, custom links will not be needed. This will make the build process a lot more simple! Scale diagrams are shown for mock-up wheelbase setups to help you decide your wheelbase length.
Similar to the Single Cab Bog 406, the ideal tyre diameter is 120mm, with tyre outer width to width at 240mm or above. This will give you the option to set up your rig for either a more aggressive stance, or a more traditional look.
Easy and hassle free mounts are provided for the SCX10 ii, SCX10 iii, VS4-10 Pro, TRX4, TRX6 chassis. This means you will not need to design or fabricate your own mounts!
Furthermore, these mounts have slot holes which allow for fore and aft adjustment to fine tune on body positioning and placement. The body mounts set the Bog 406 Crew Cab at a set height, giving you a killer looking stance at ride height. No more of that ultra lifted unrealistic looking monster truck-like stance with super high CG. Be sure to use portal axles for the most realistic look.
These “Rock Shield” body mounts also double up as rock sliders with their very beefy and slippery design. They will take the punishment on the trail.
The old flat roof design is now gone, replaced by the new rounded and more realistic version. We’ve also found a way to print this rounded roof without “staircase effect”. (tip: Print the split roof parts vertically)
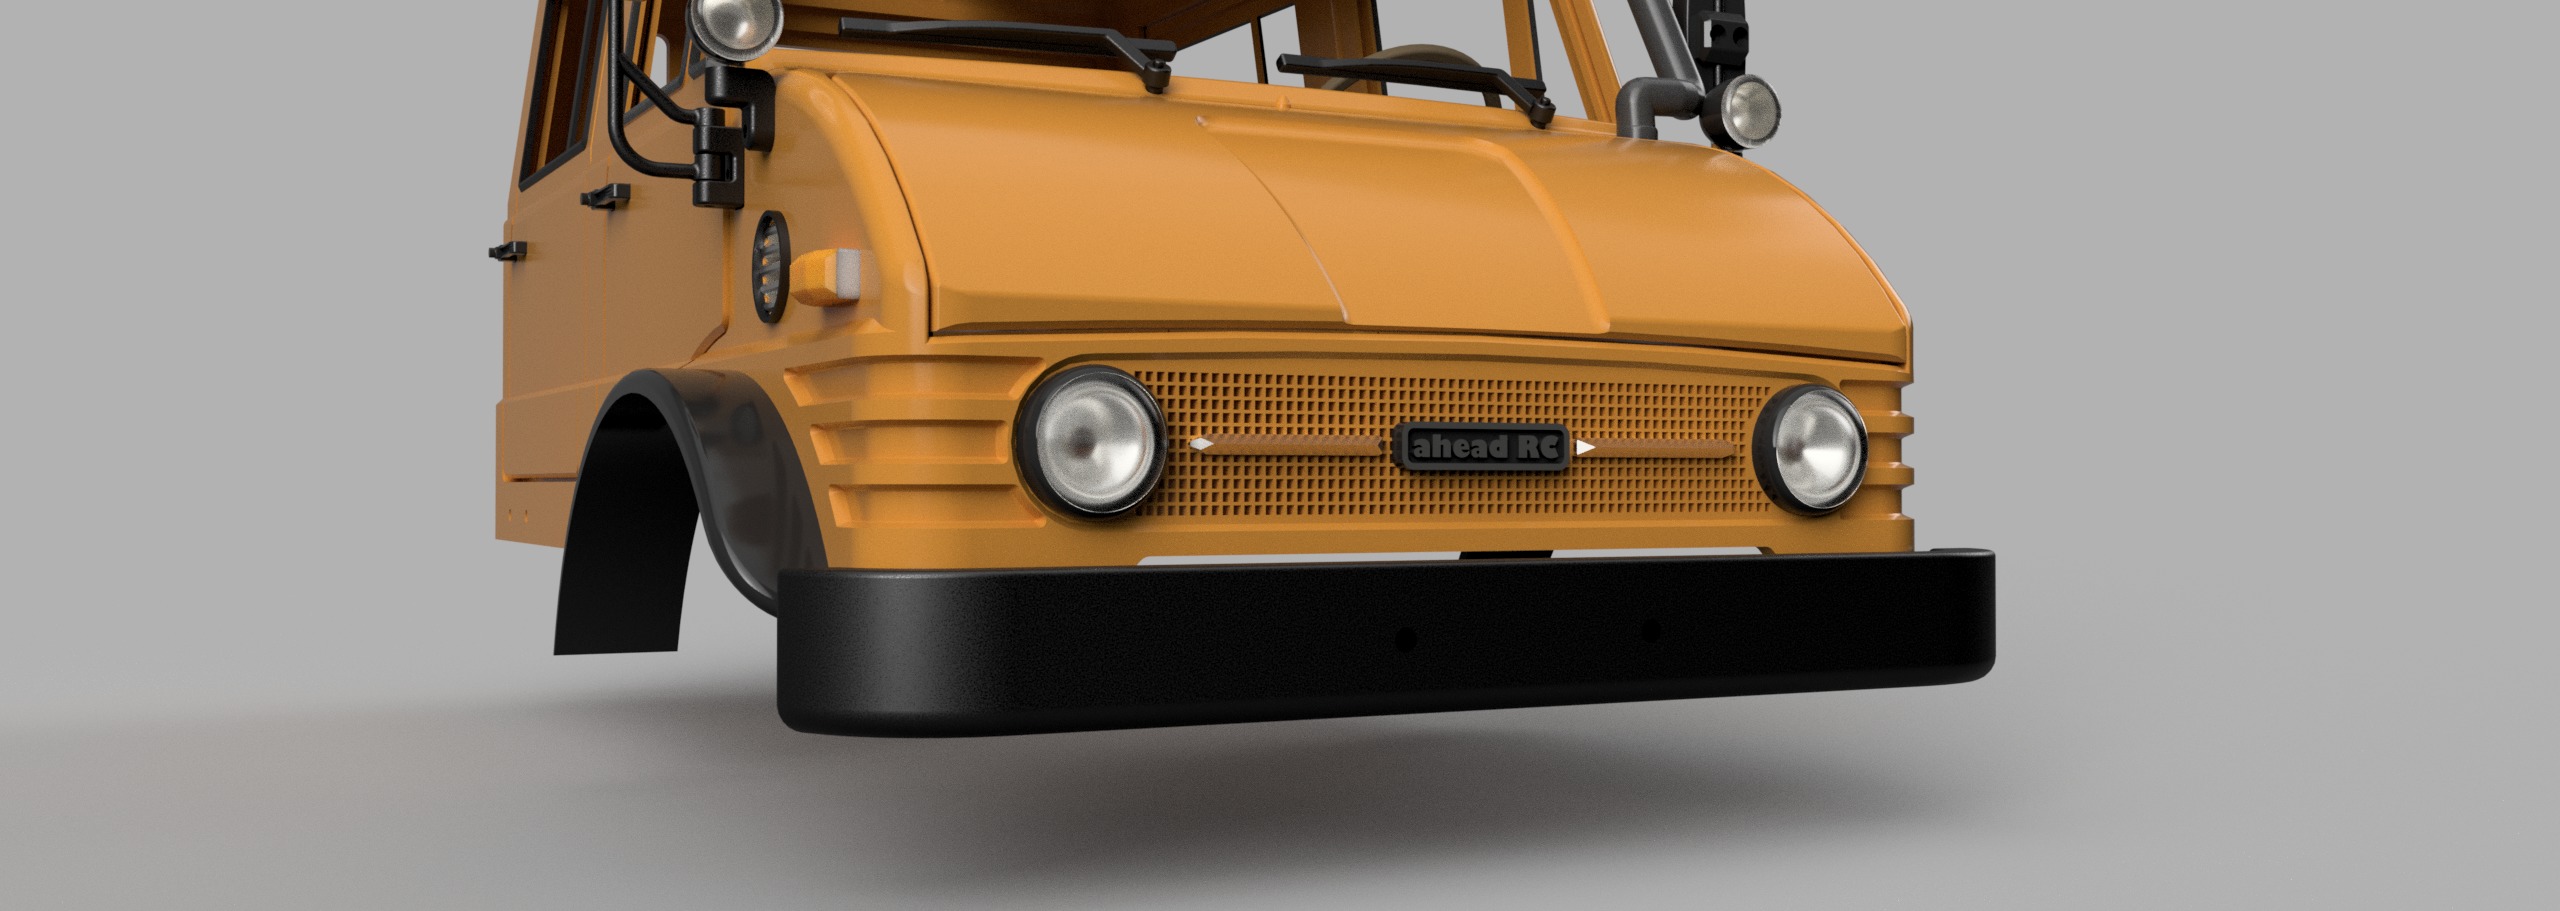
TRX6 and TRX 4 users will be pleased to know that an ahead RC bumper mount is included, so there is no need to go out and buy one.
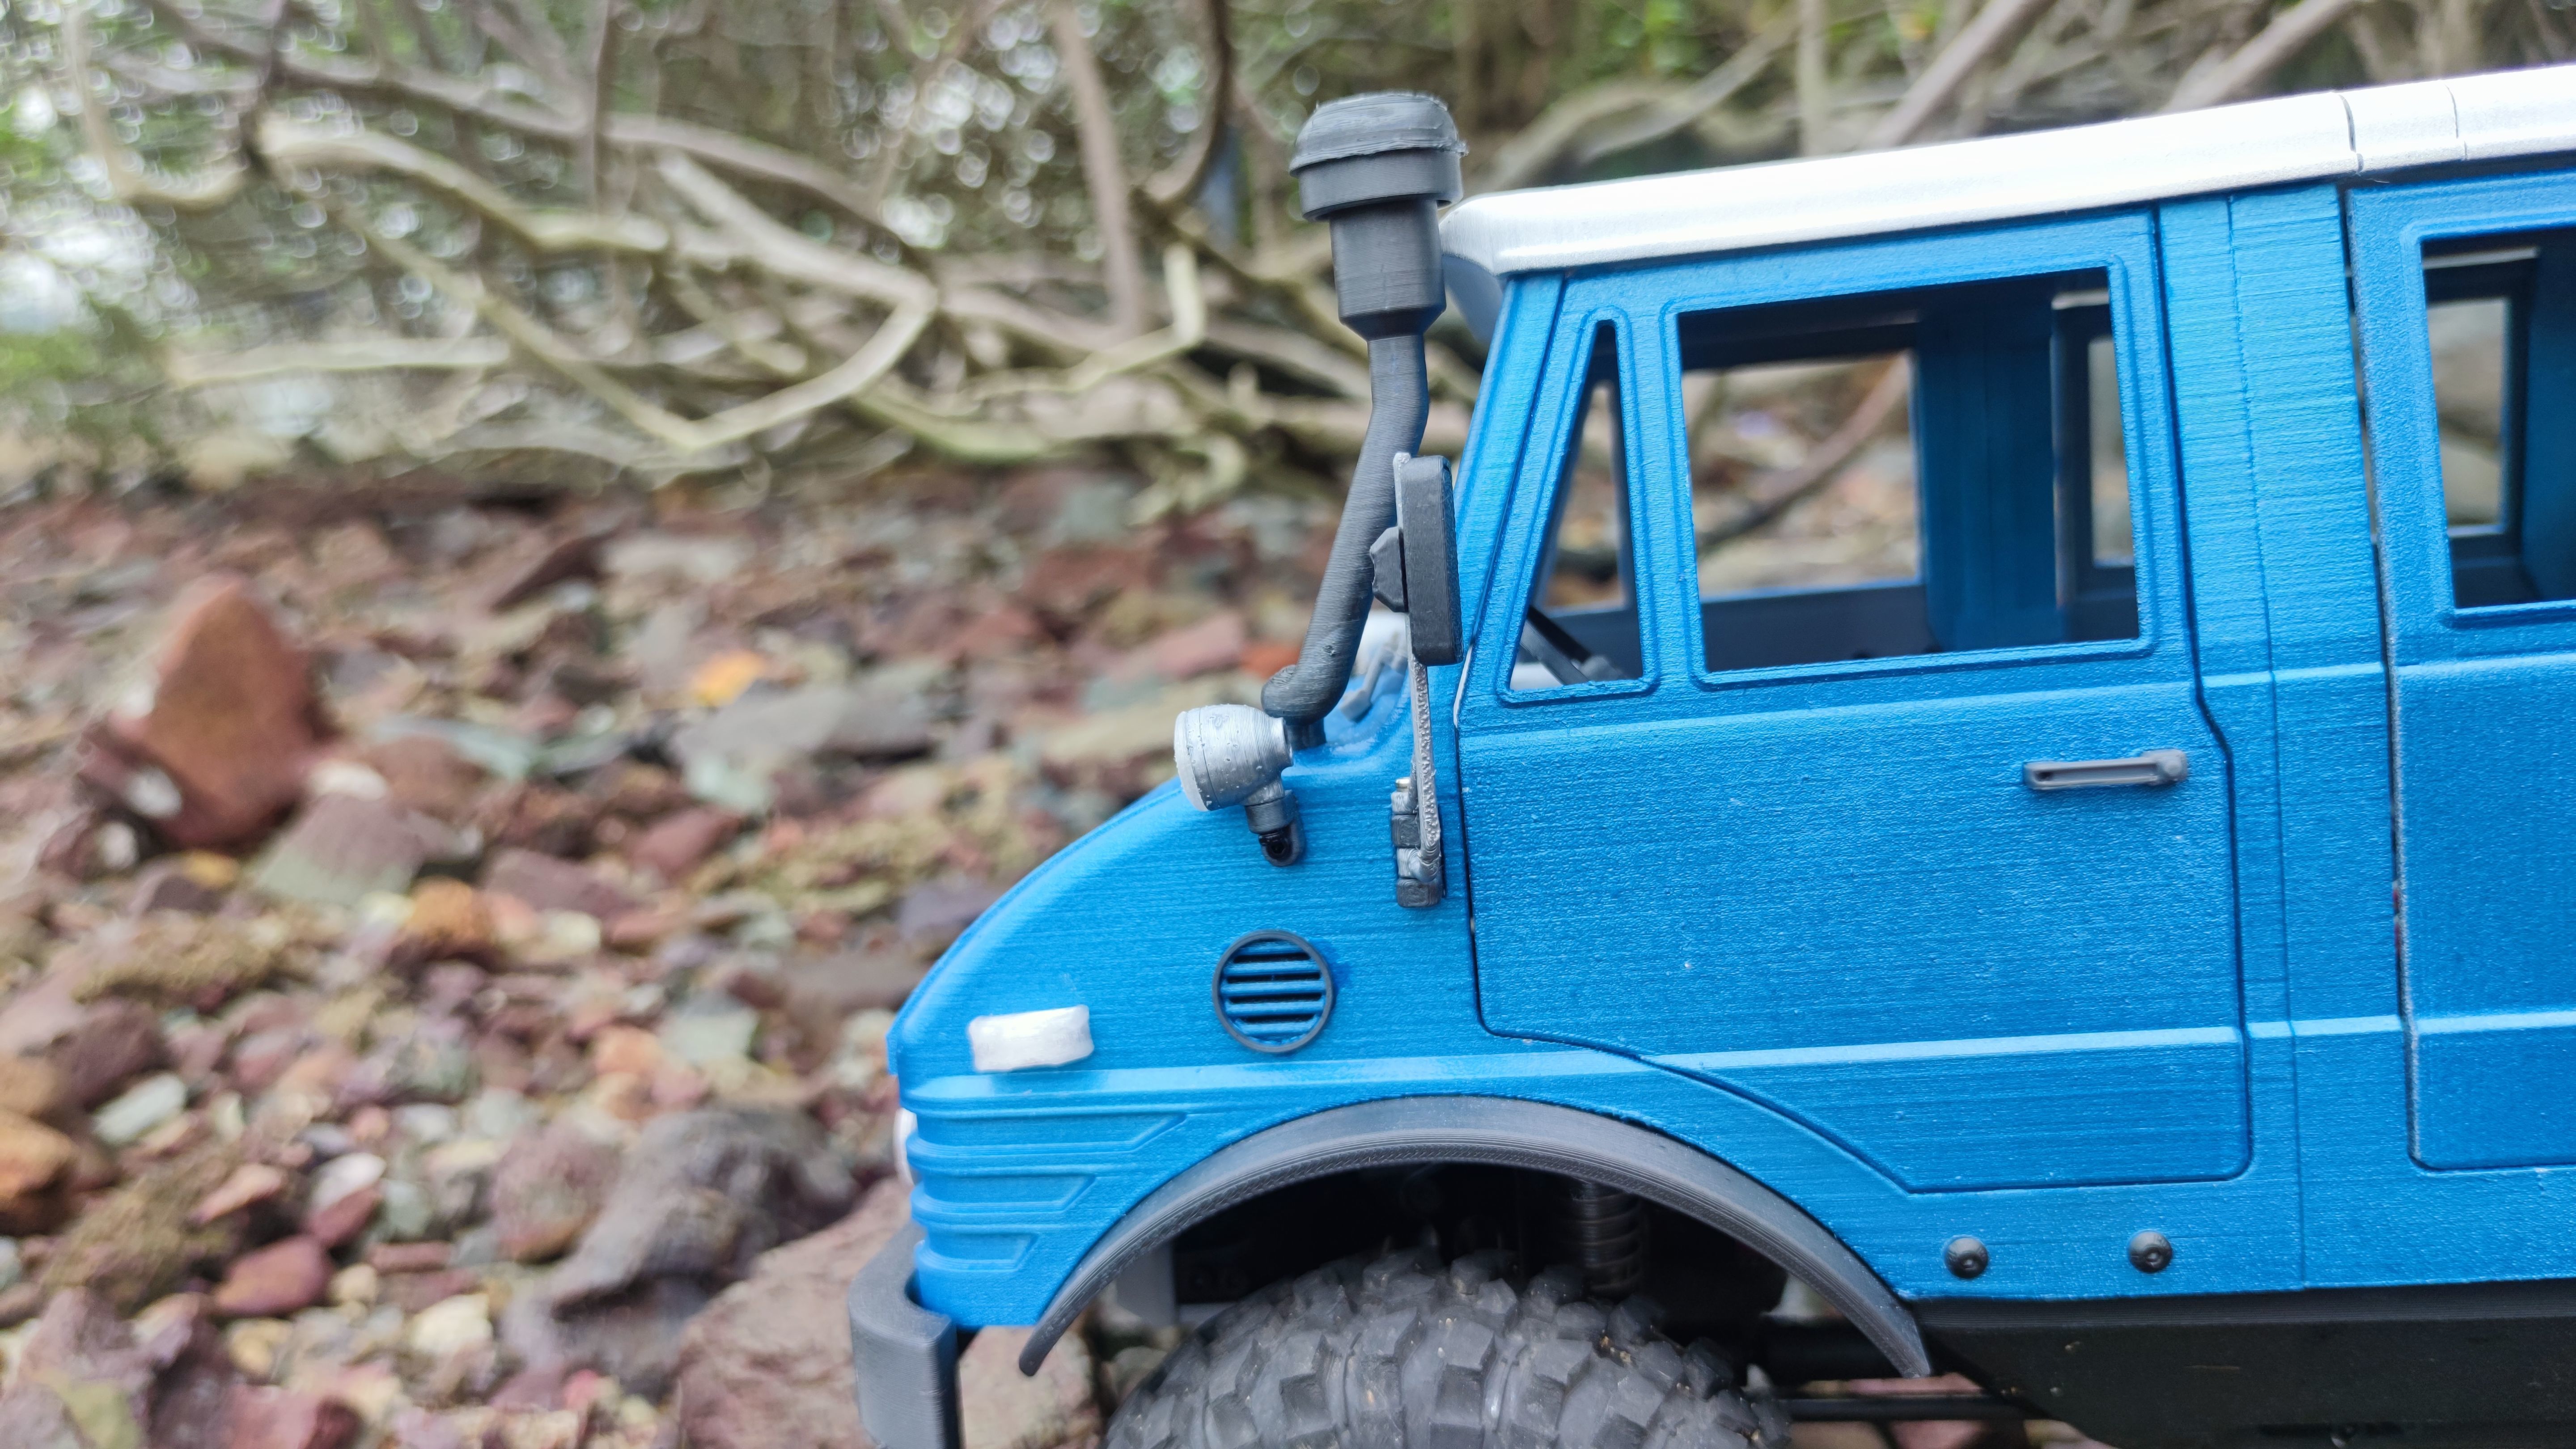
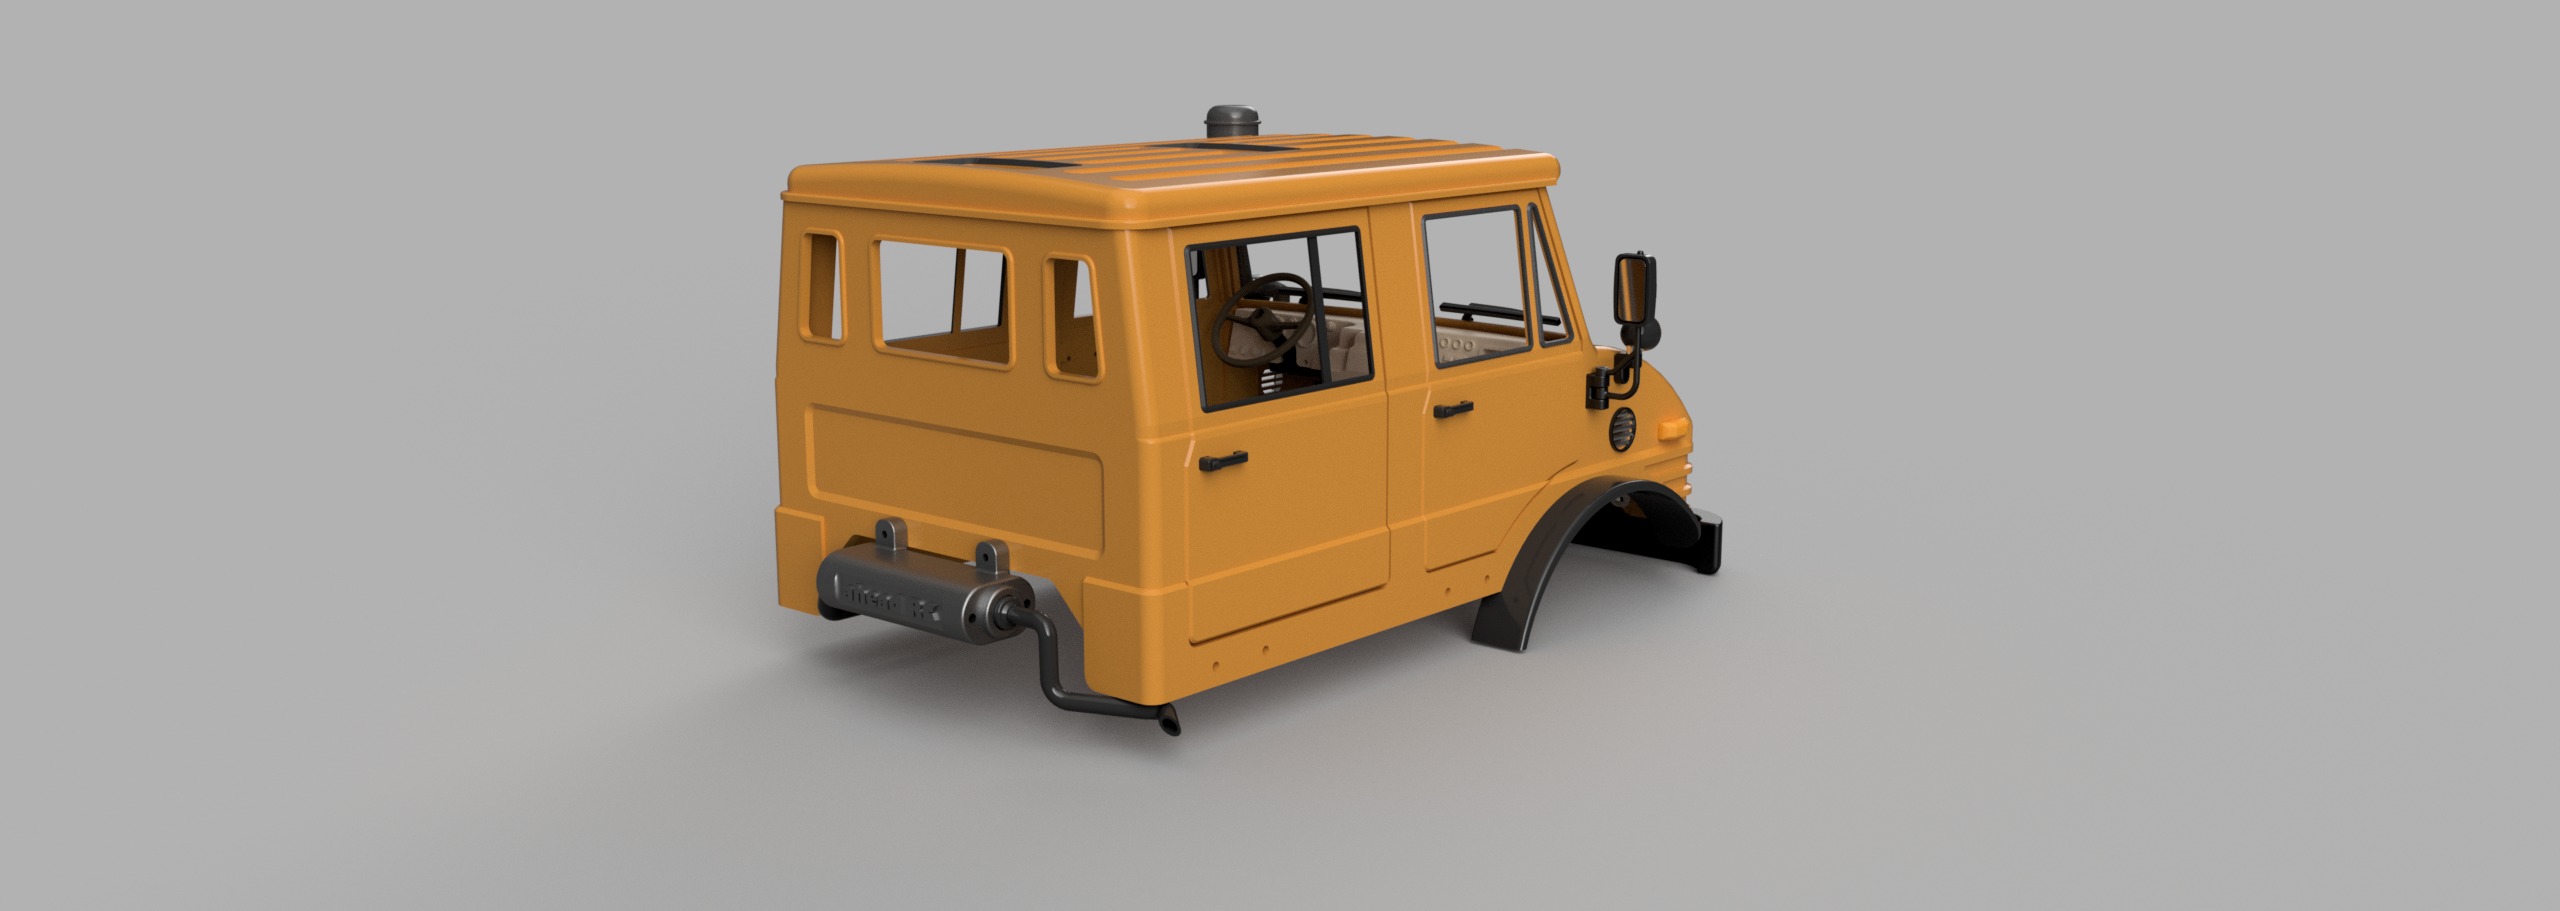
The details included on this truck are quite extensive which makes it really photogenic as well!
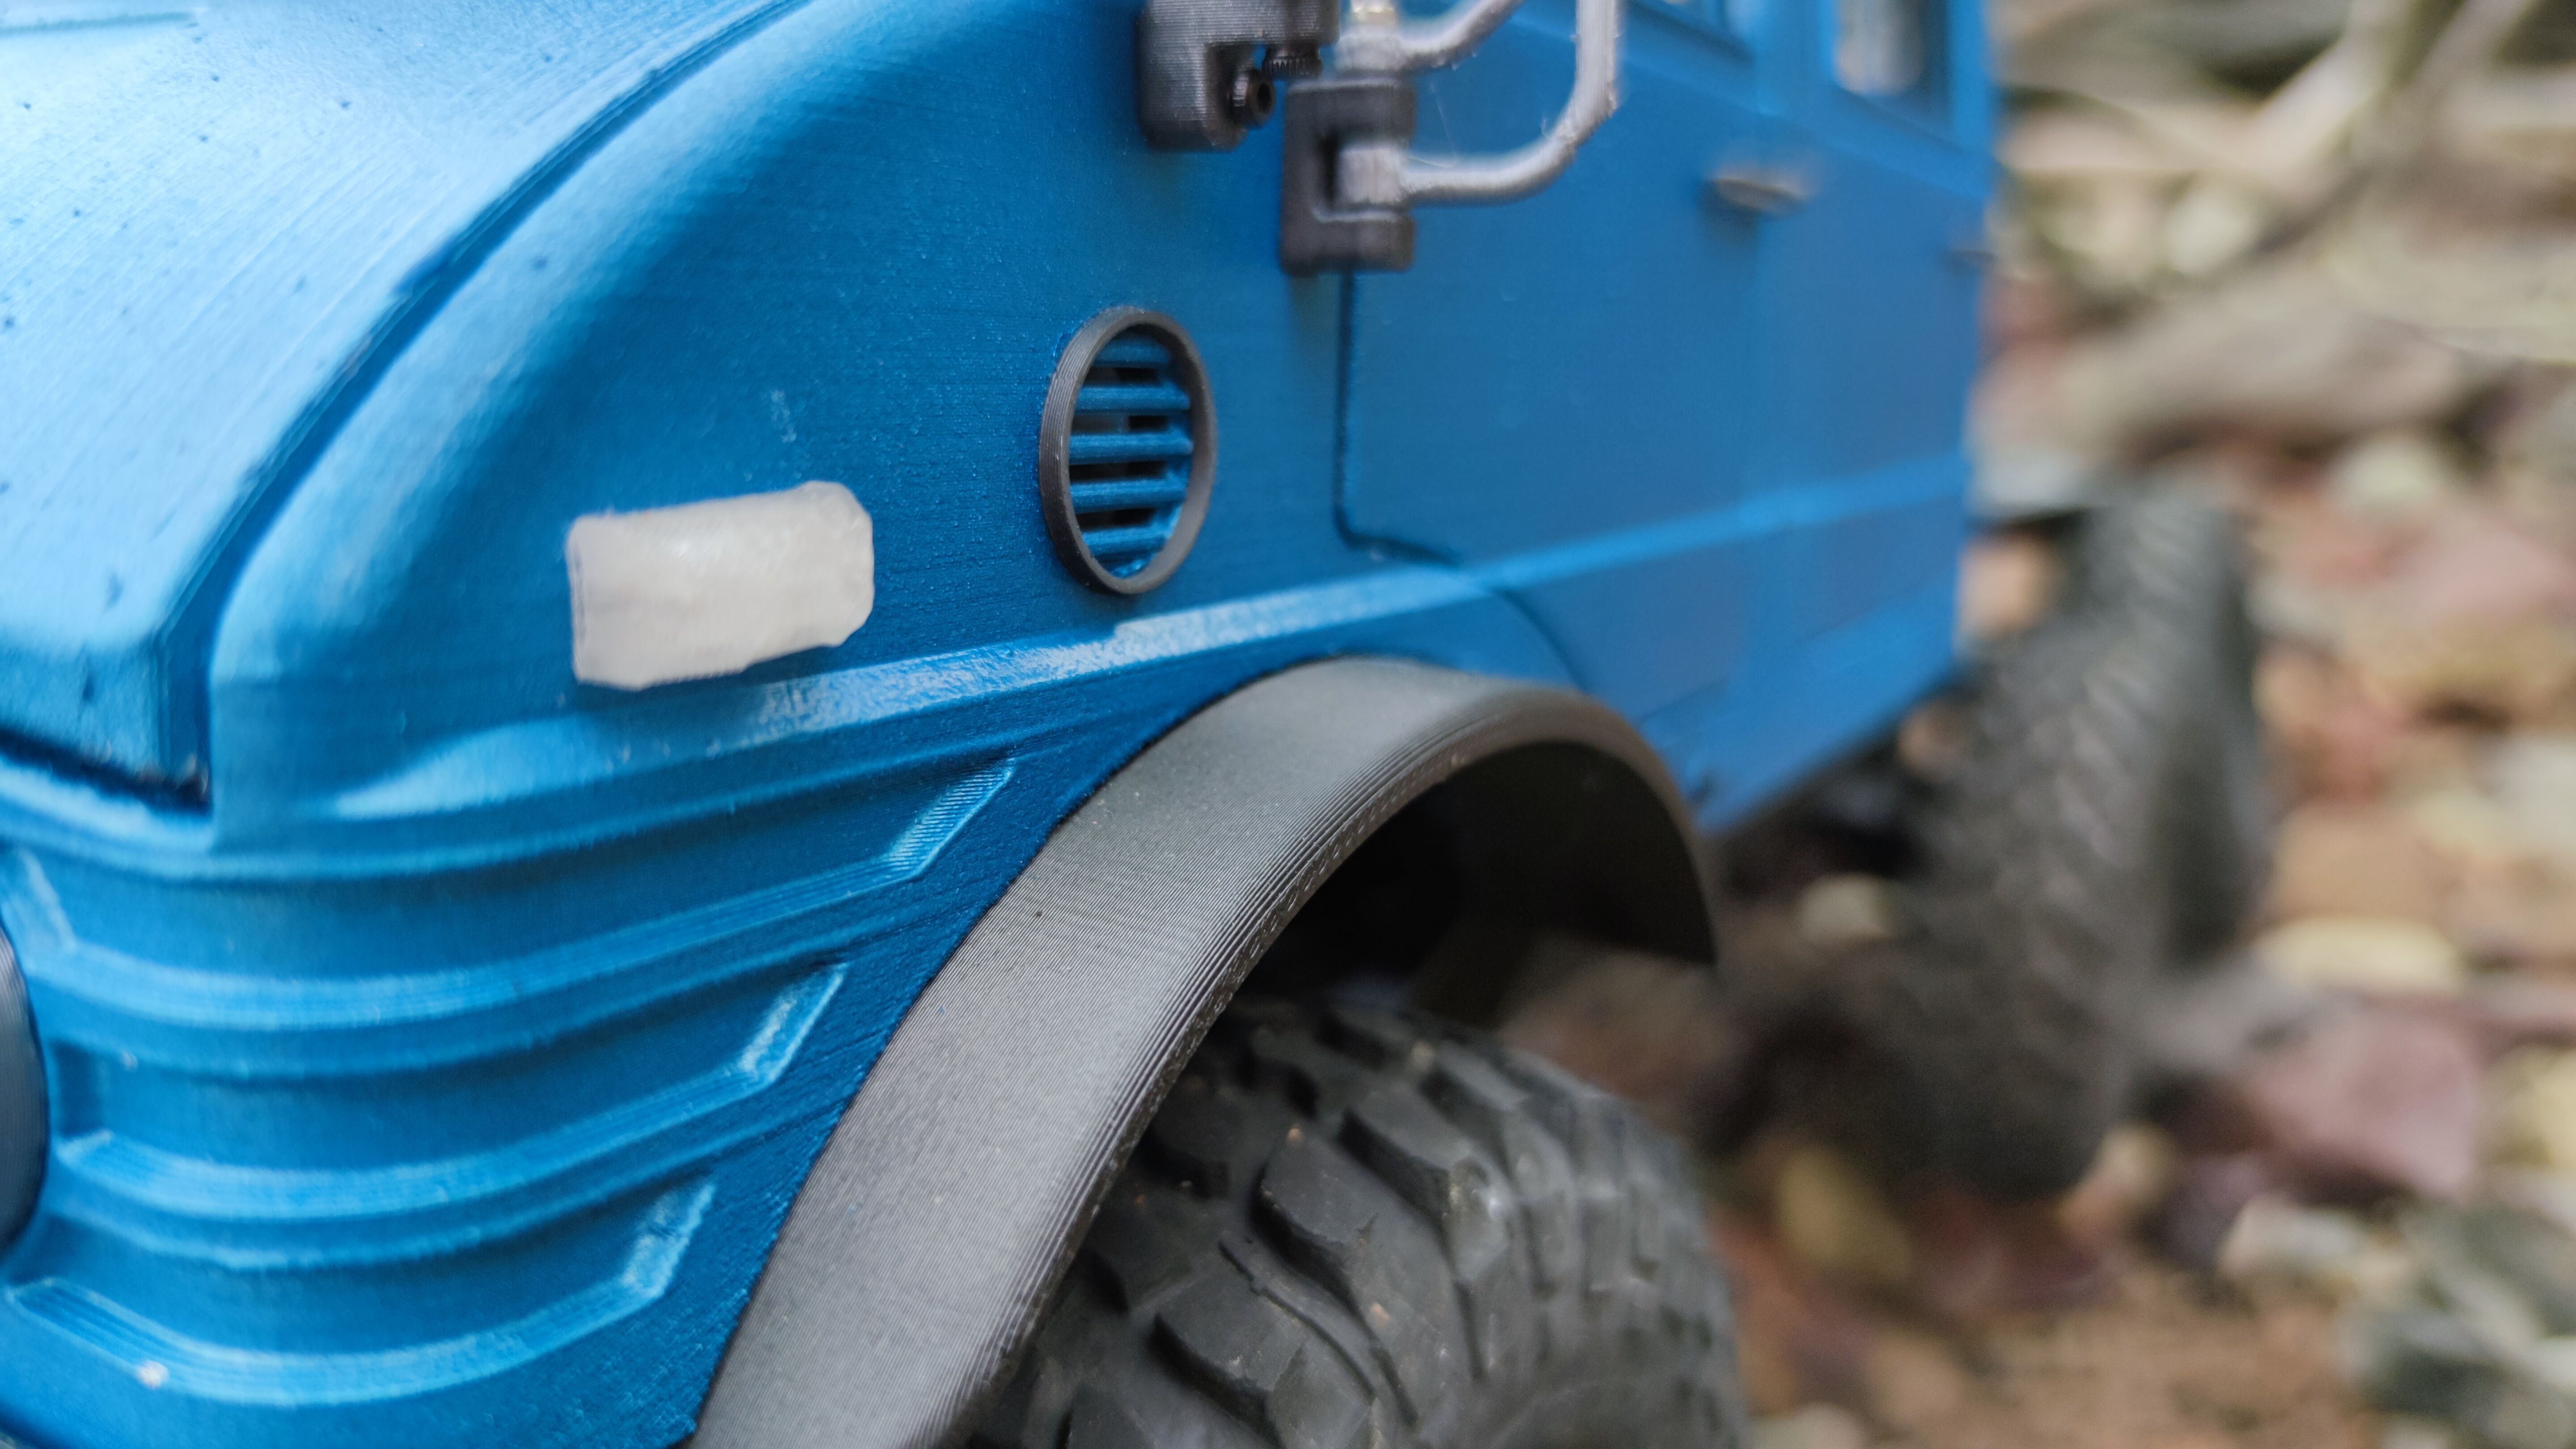
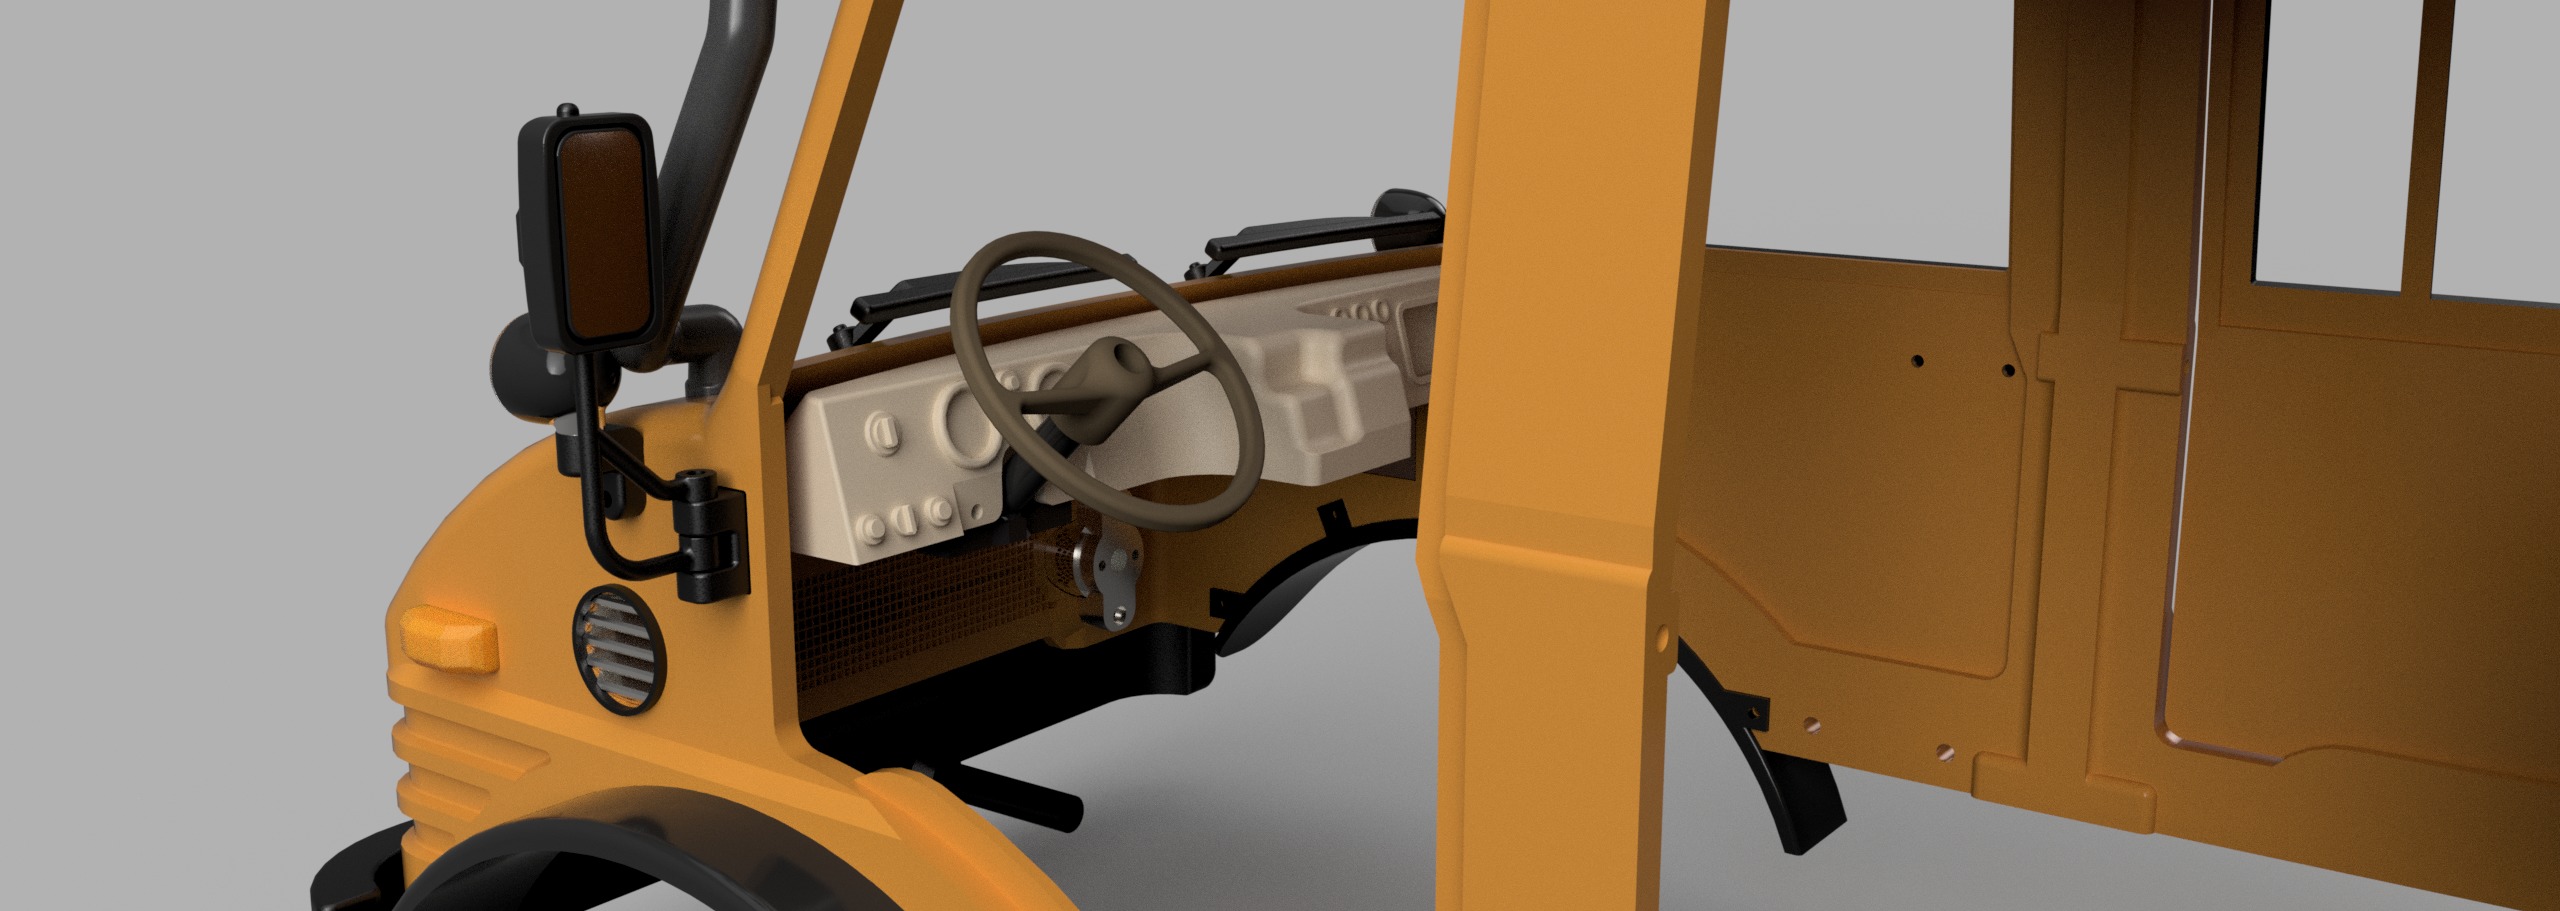
- Side vents and side vent guards as part of that iconic look
- Snorkel for wading into deep boggy marshes
- Adjustable mirrors so they can swivel as well as slide up and down to prevent break on impact
- Wipers
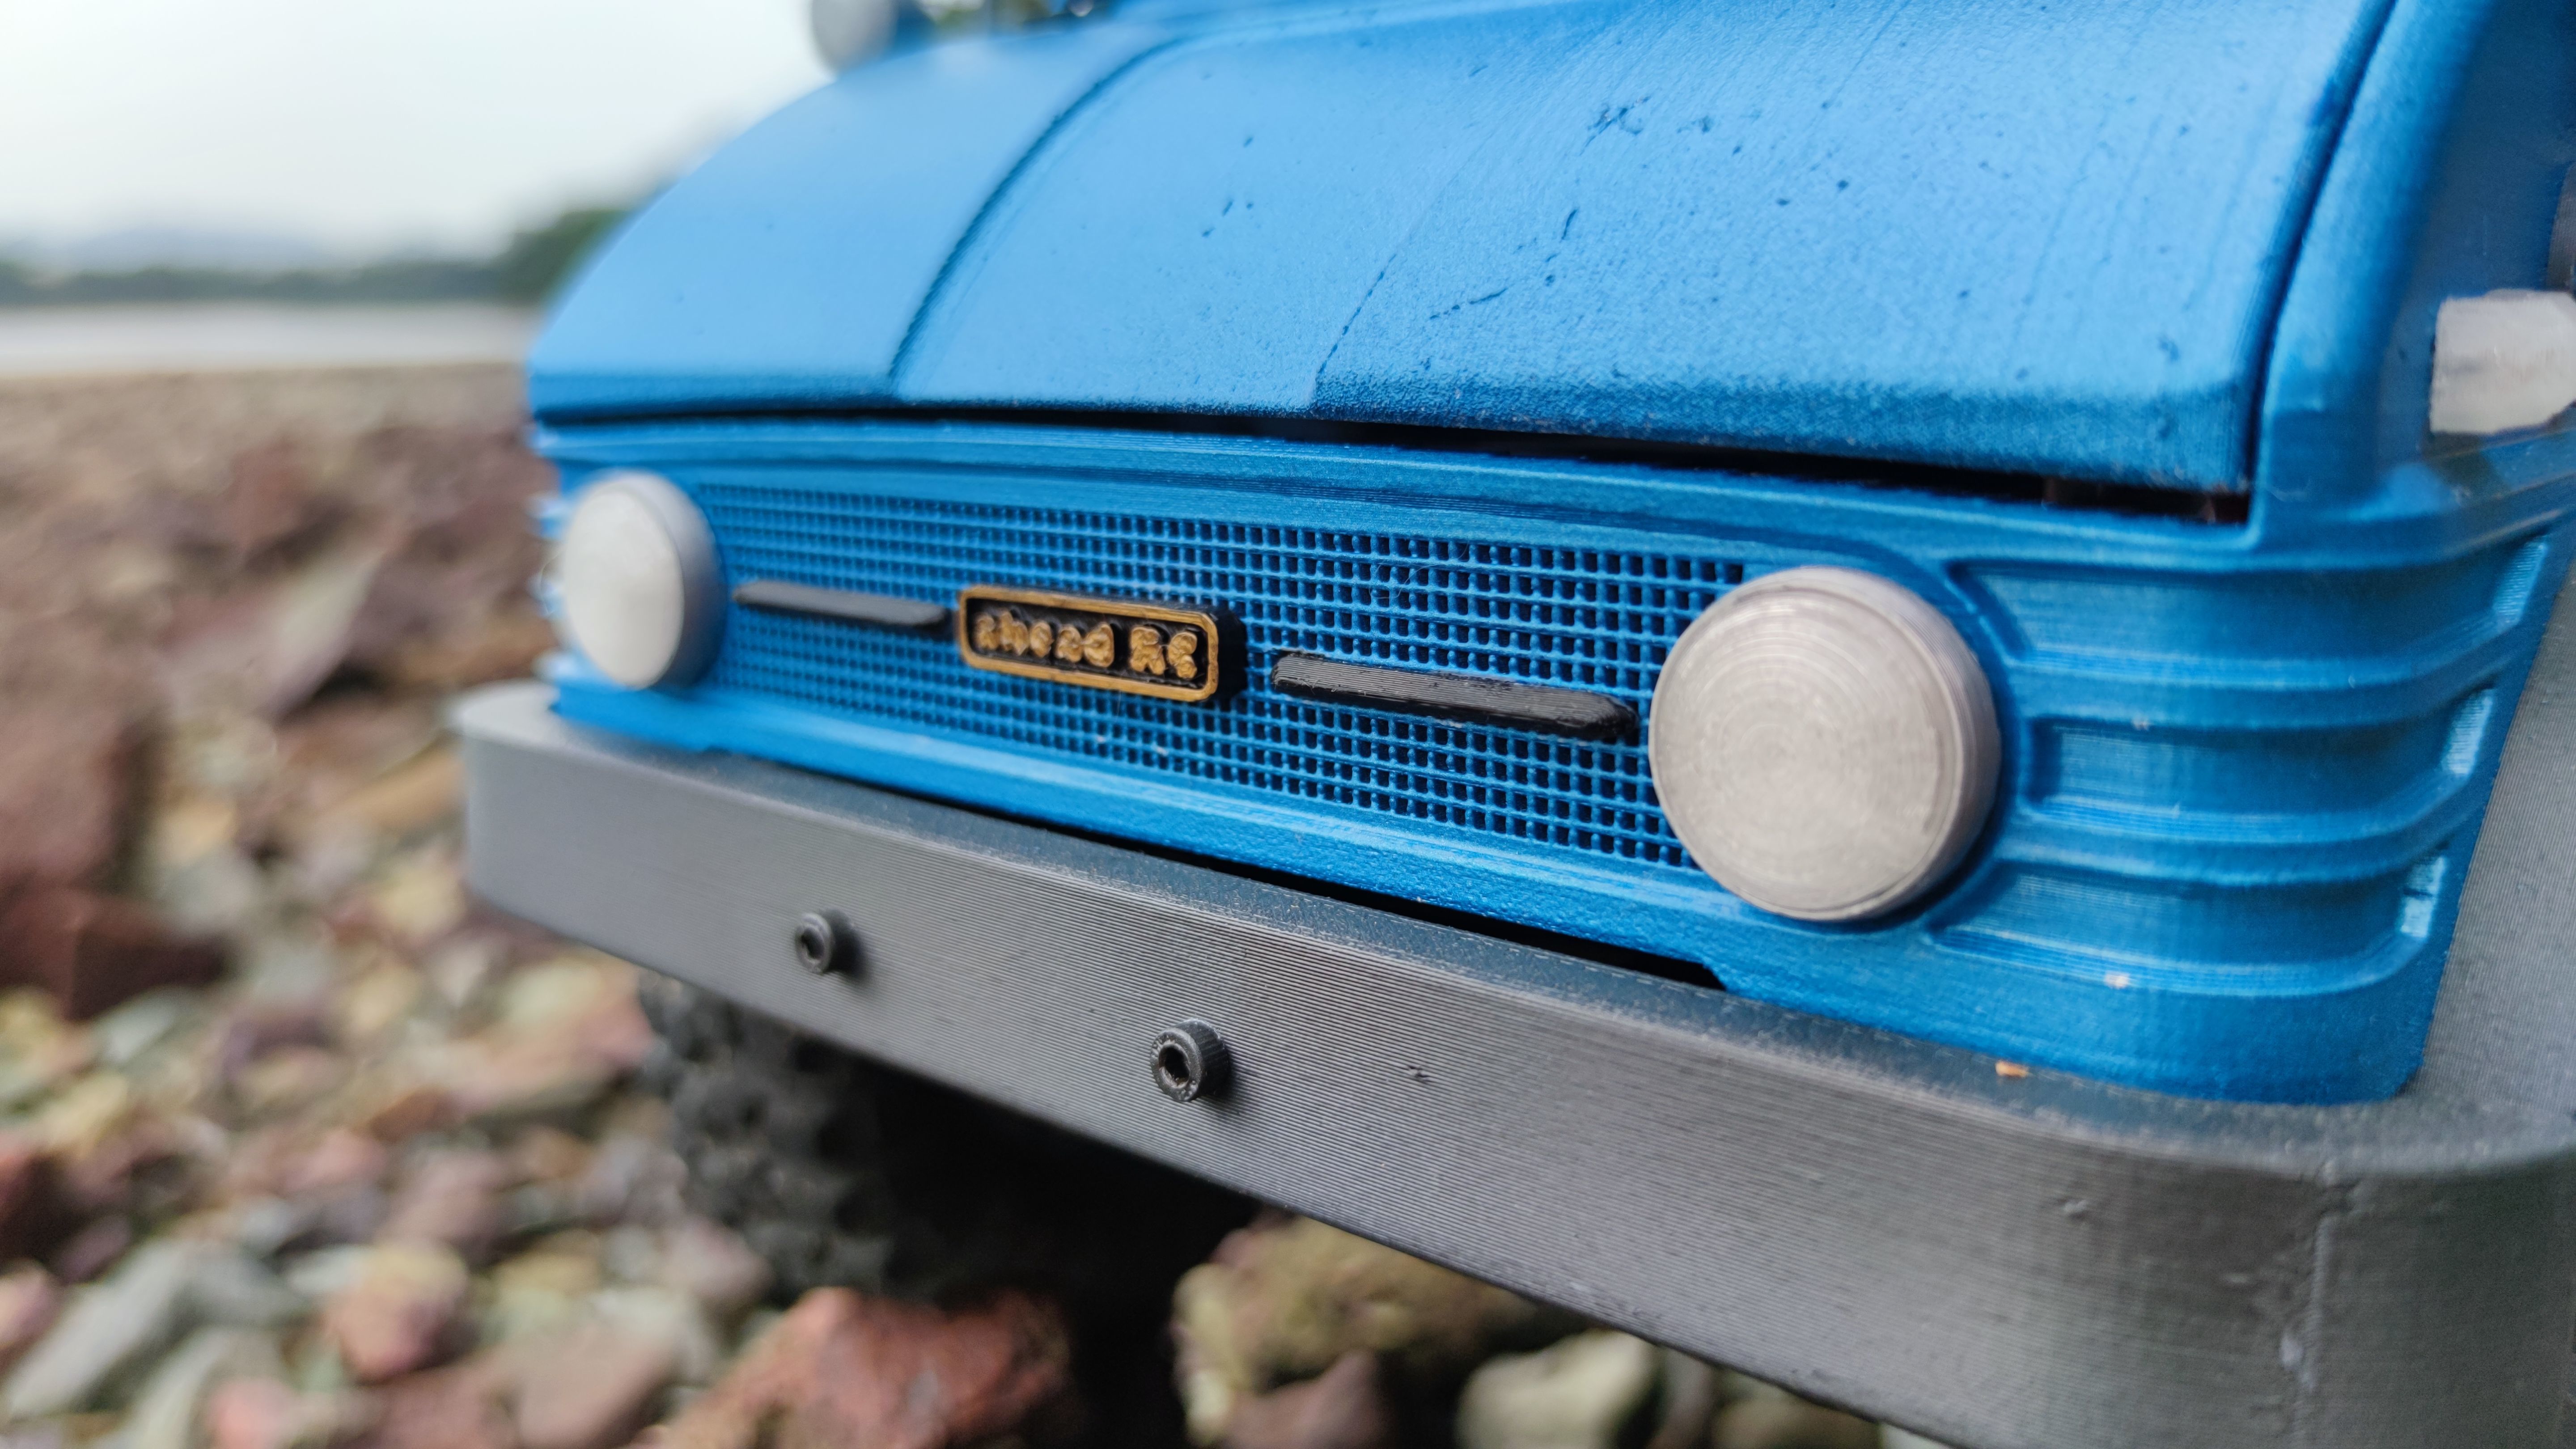
- Grille ornaments
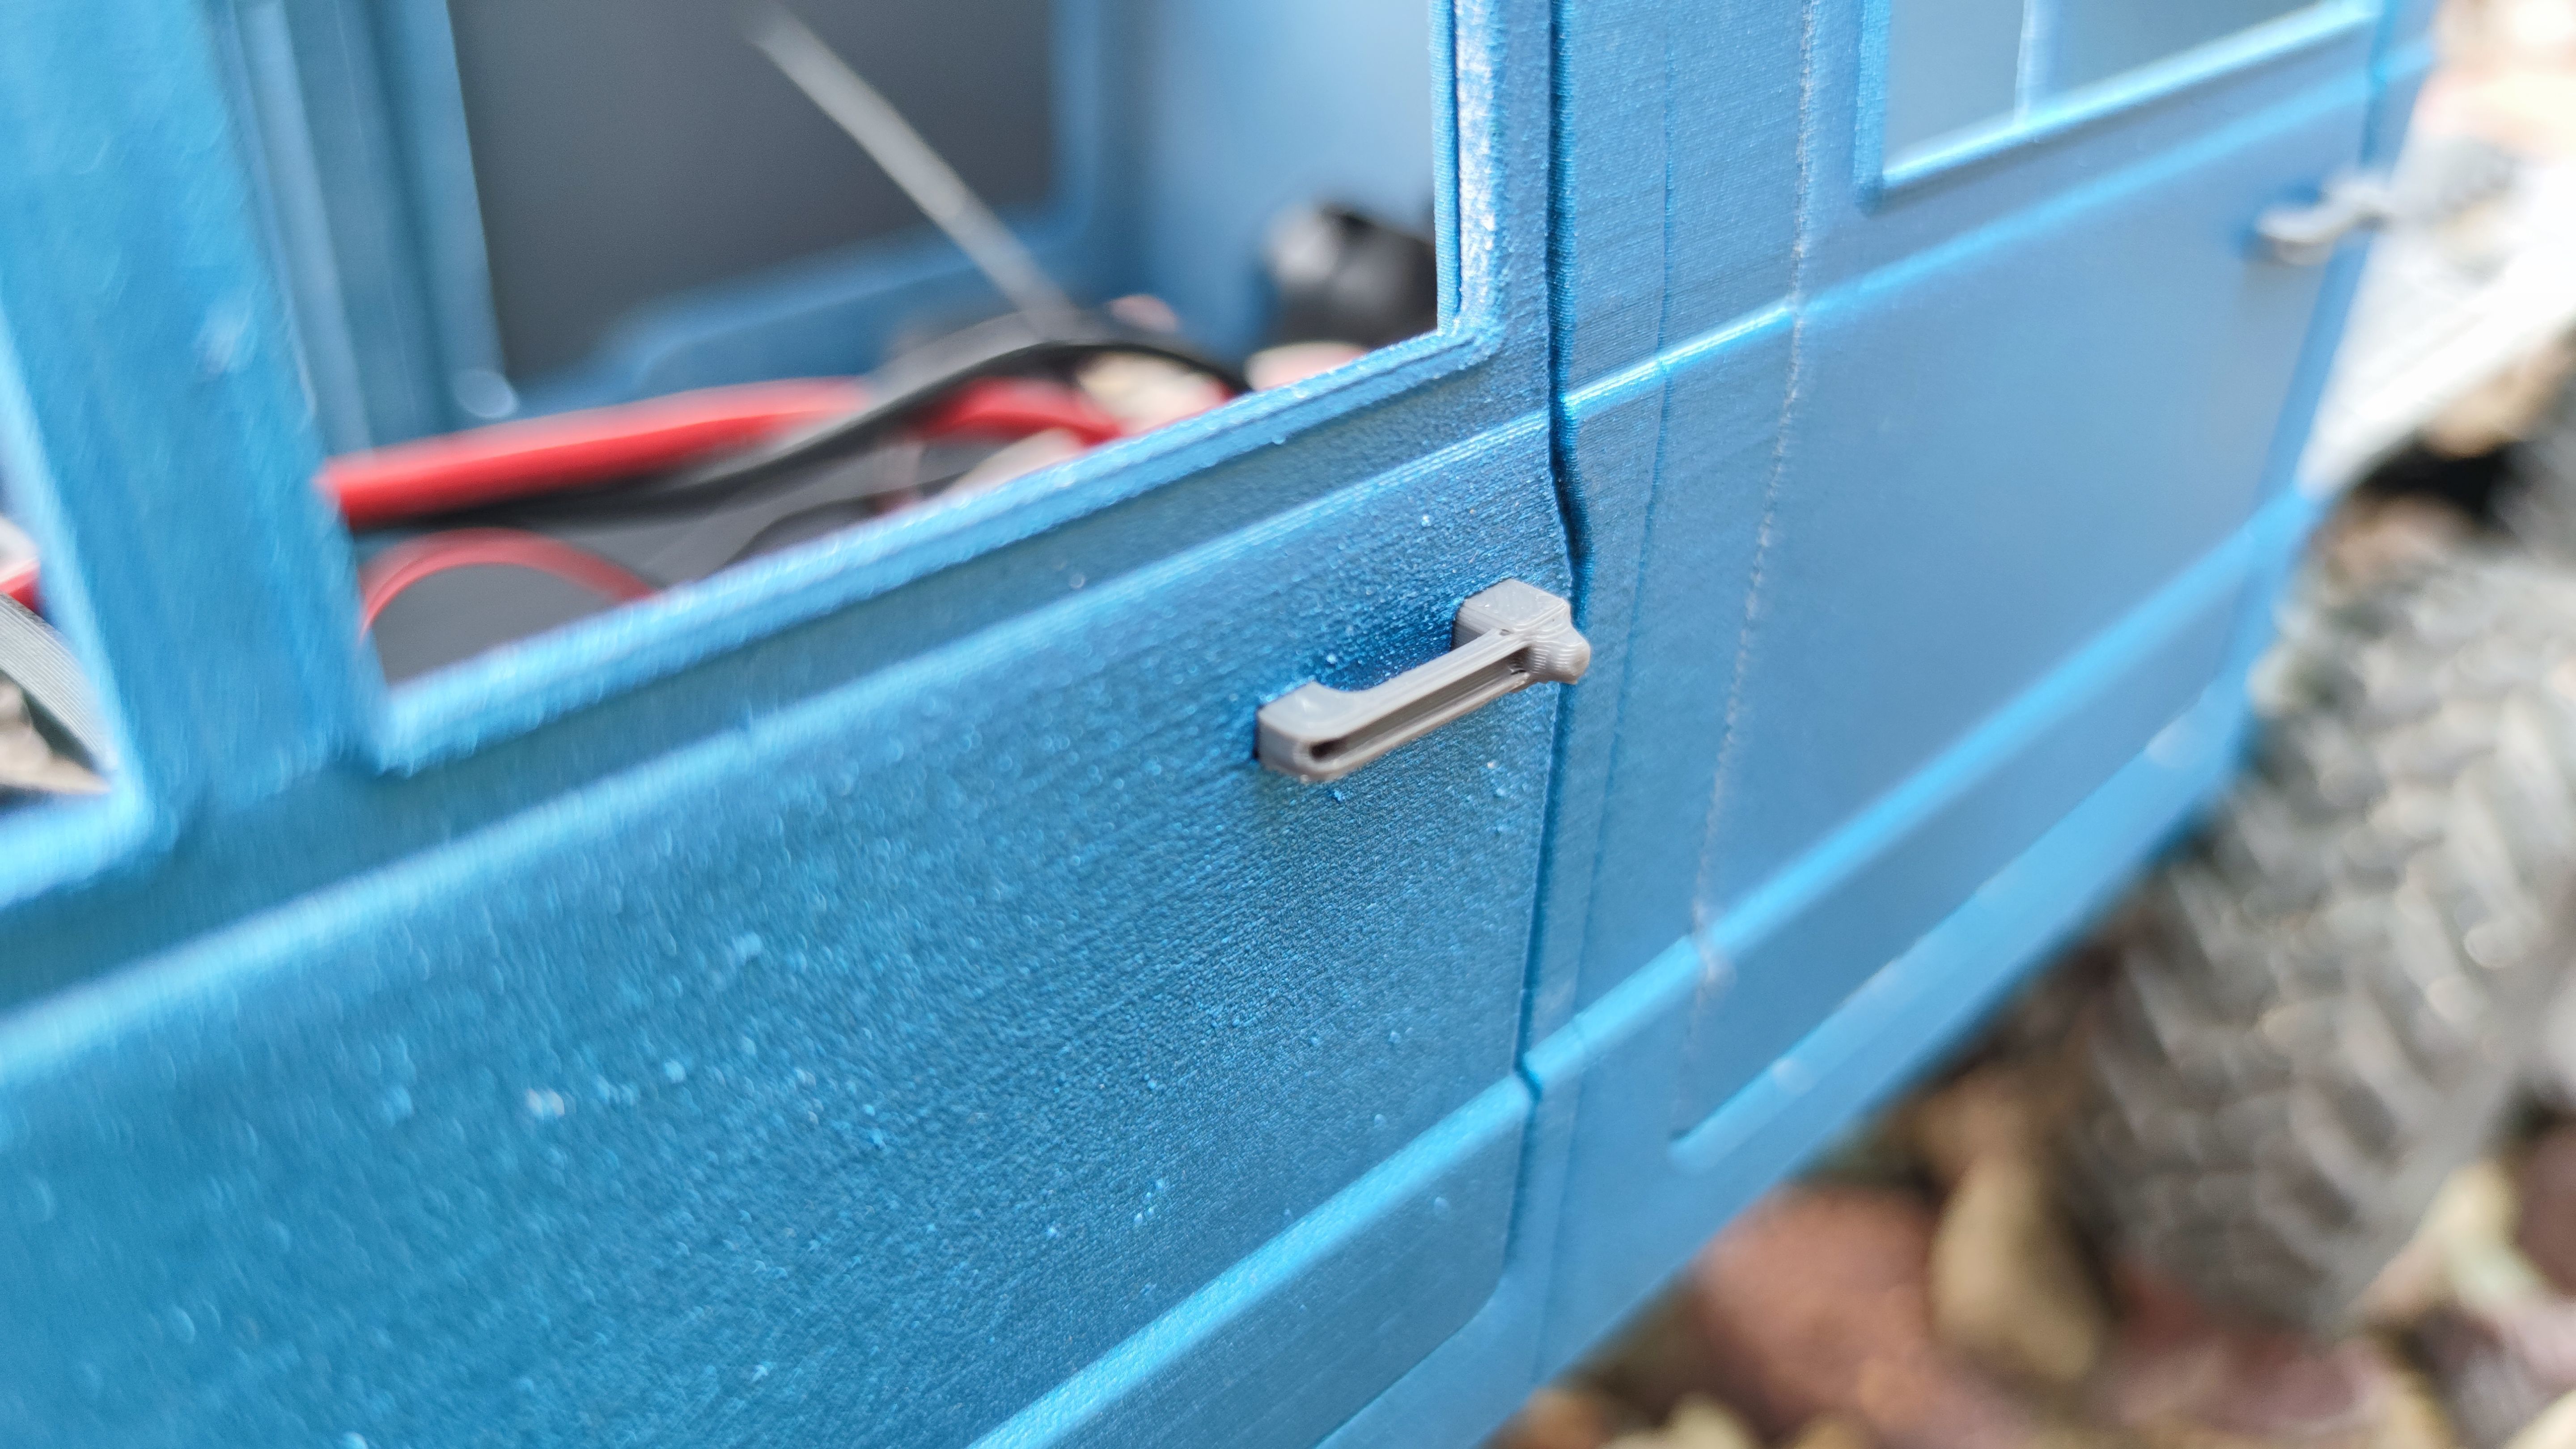
- Door handles
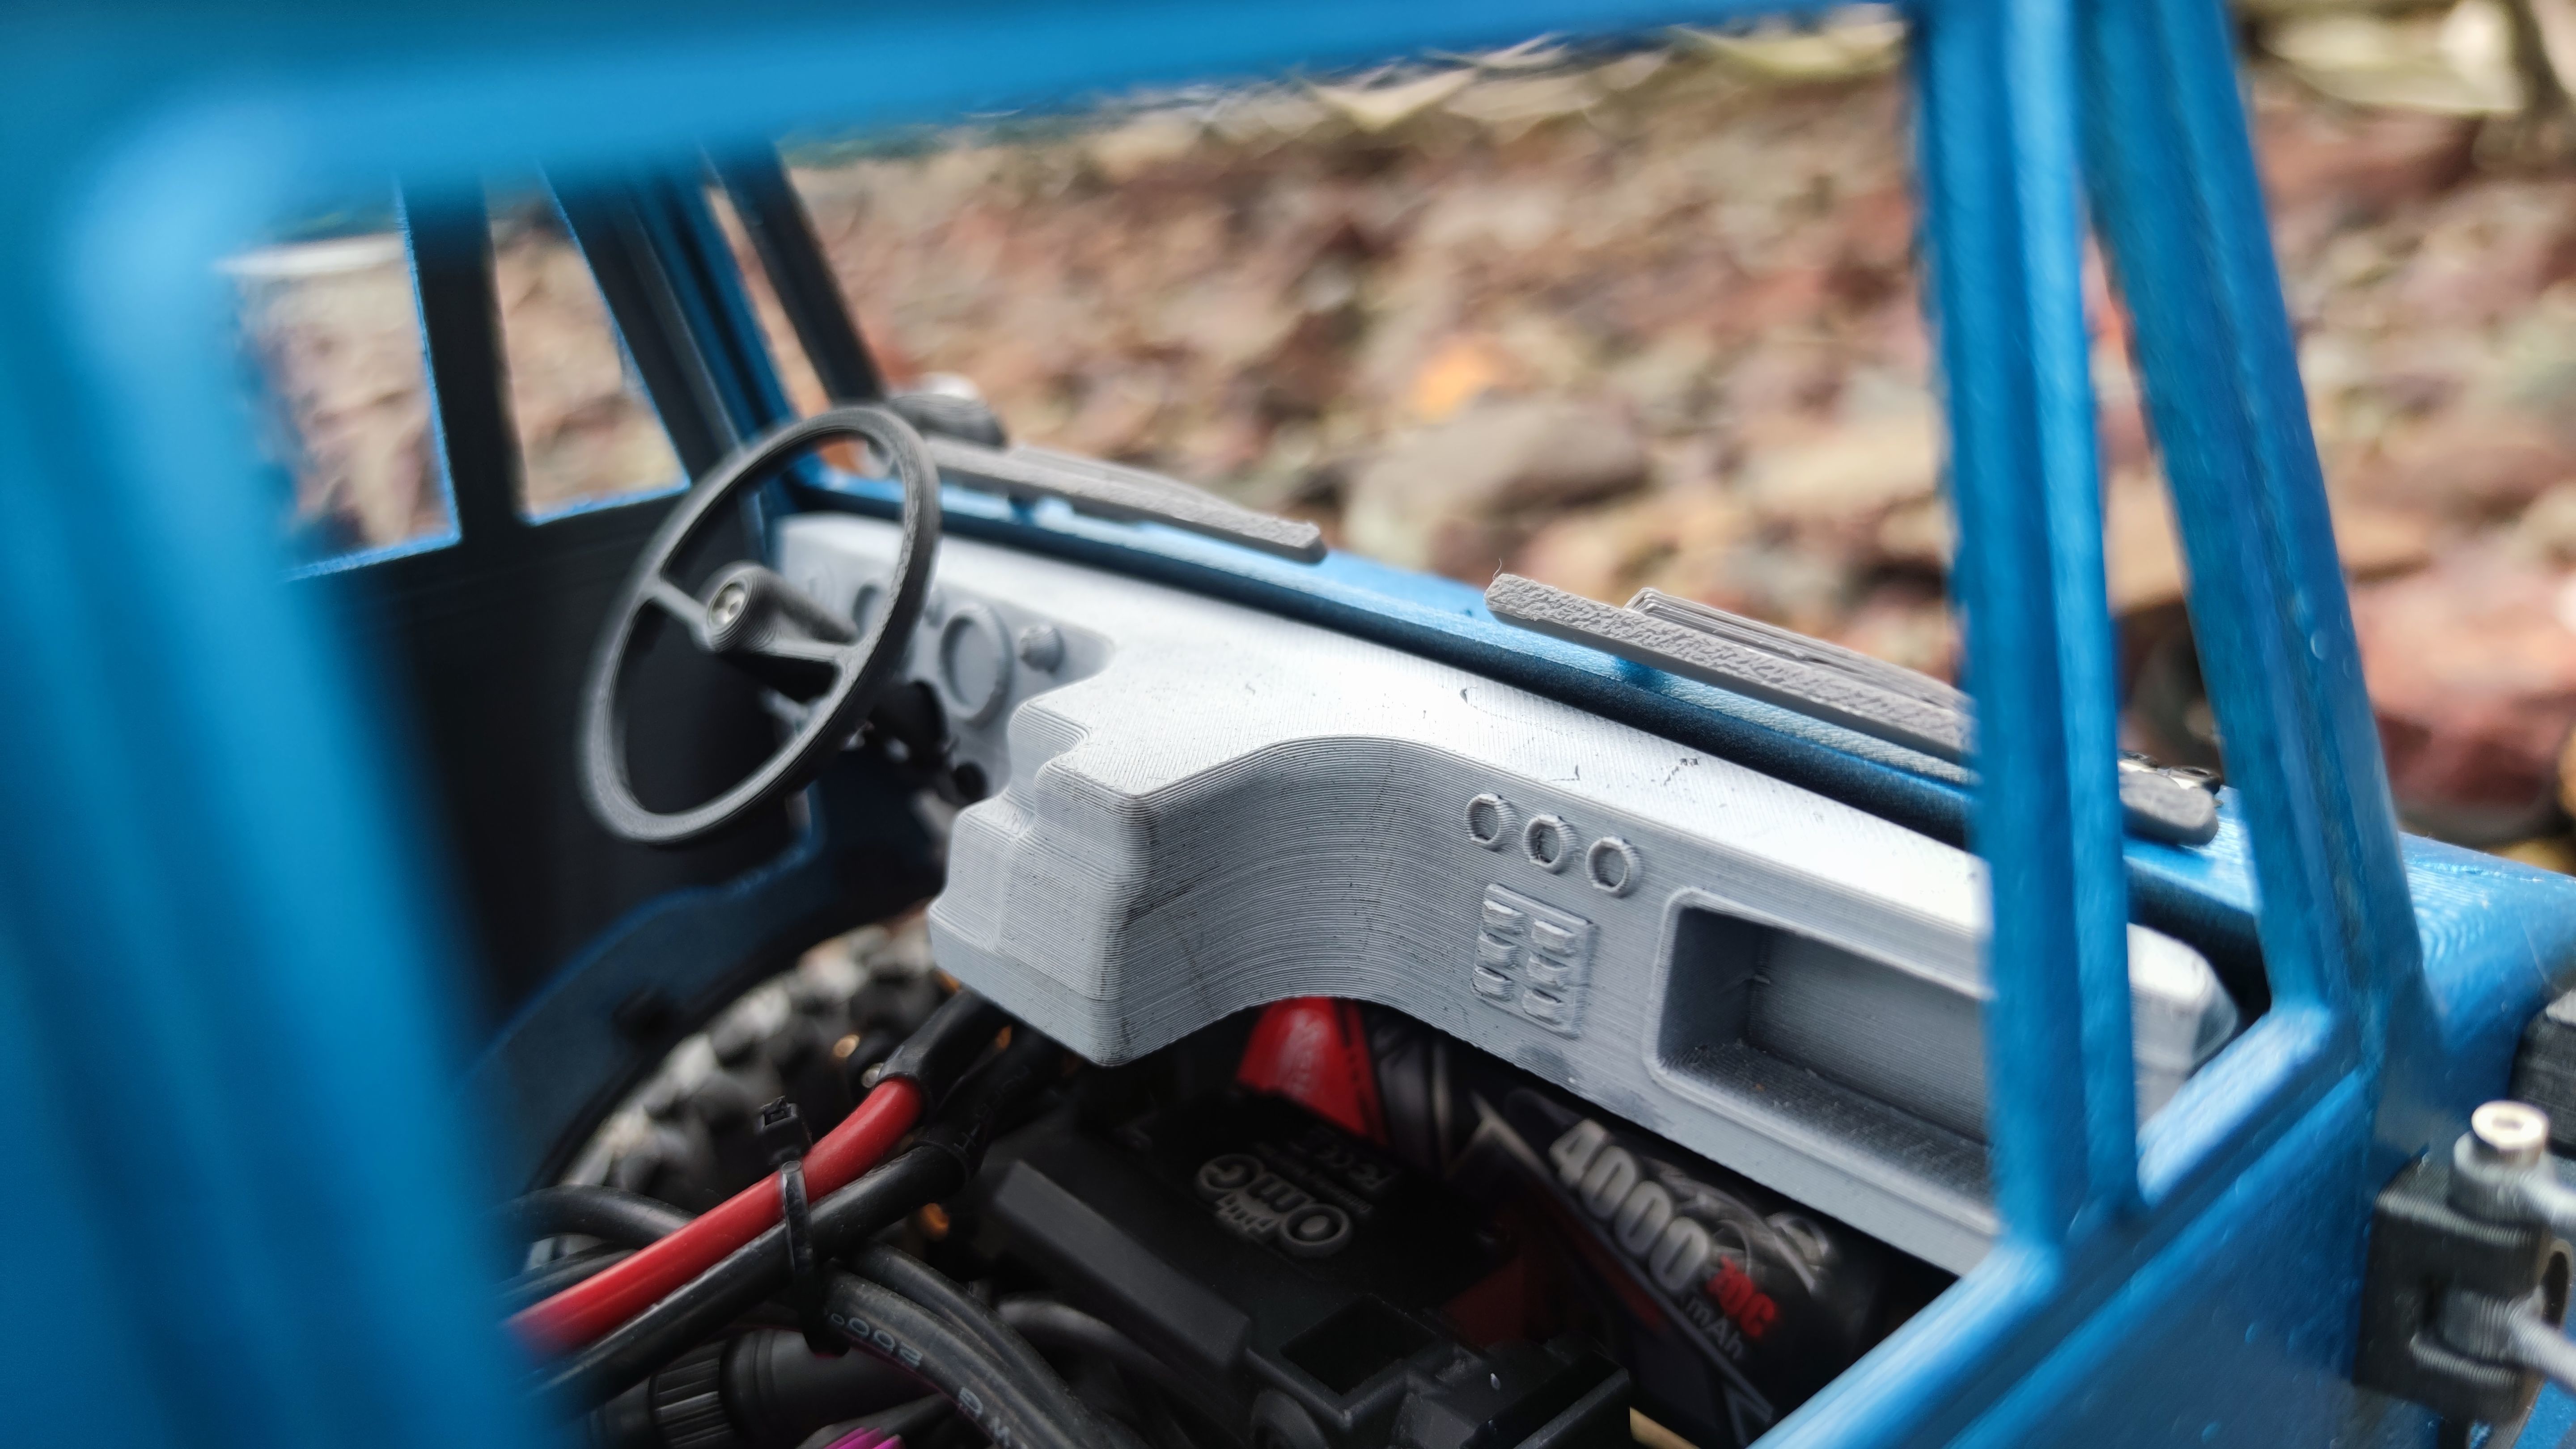
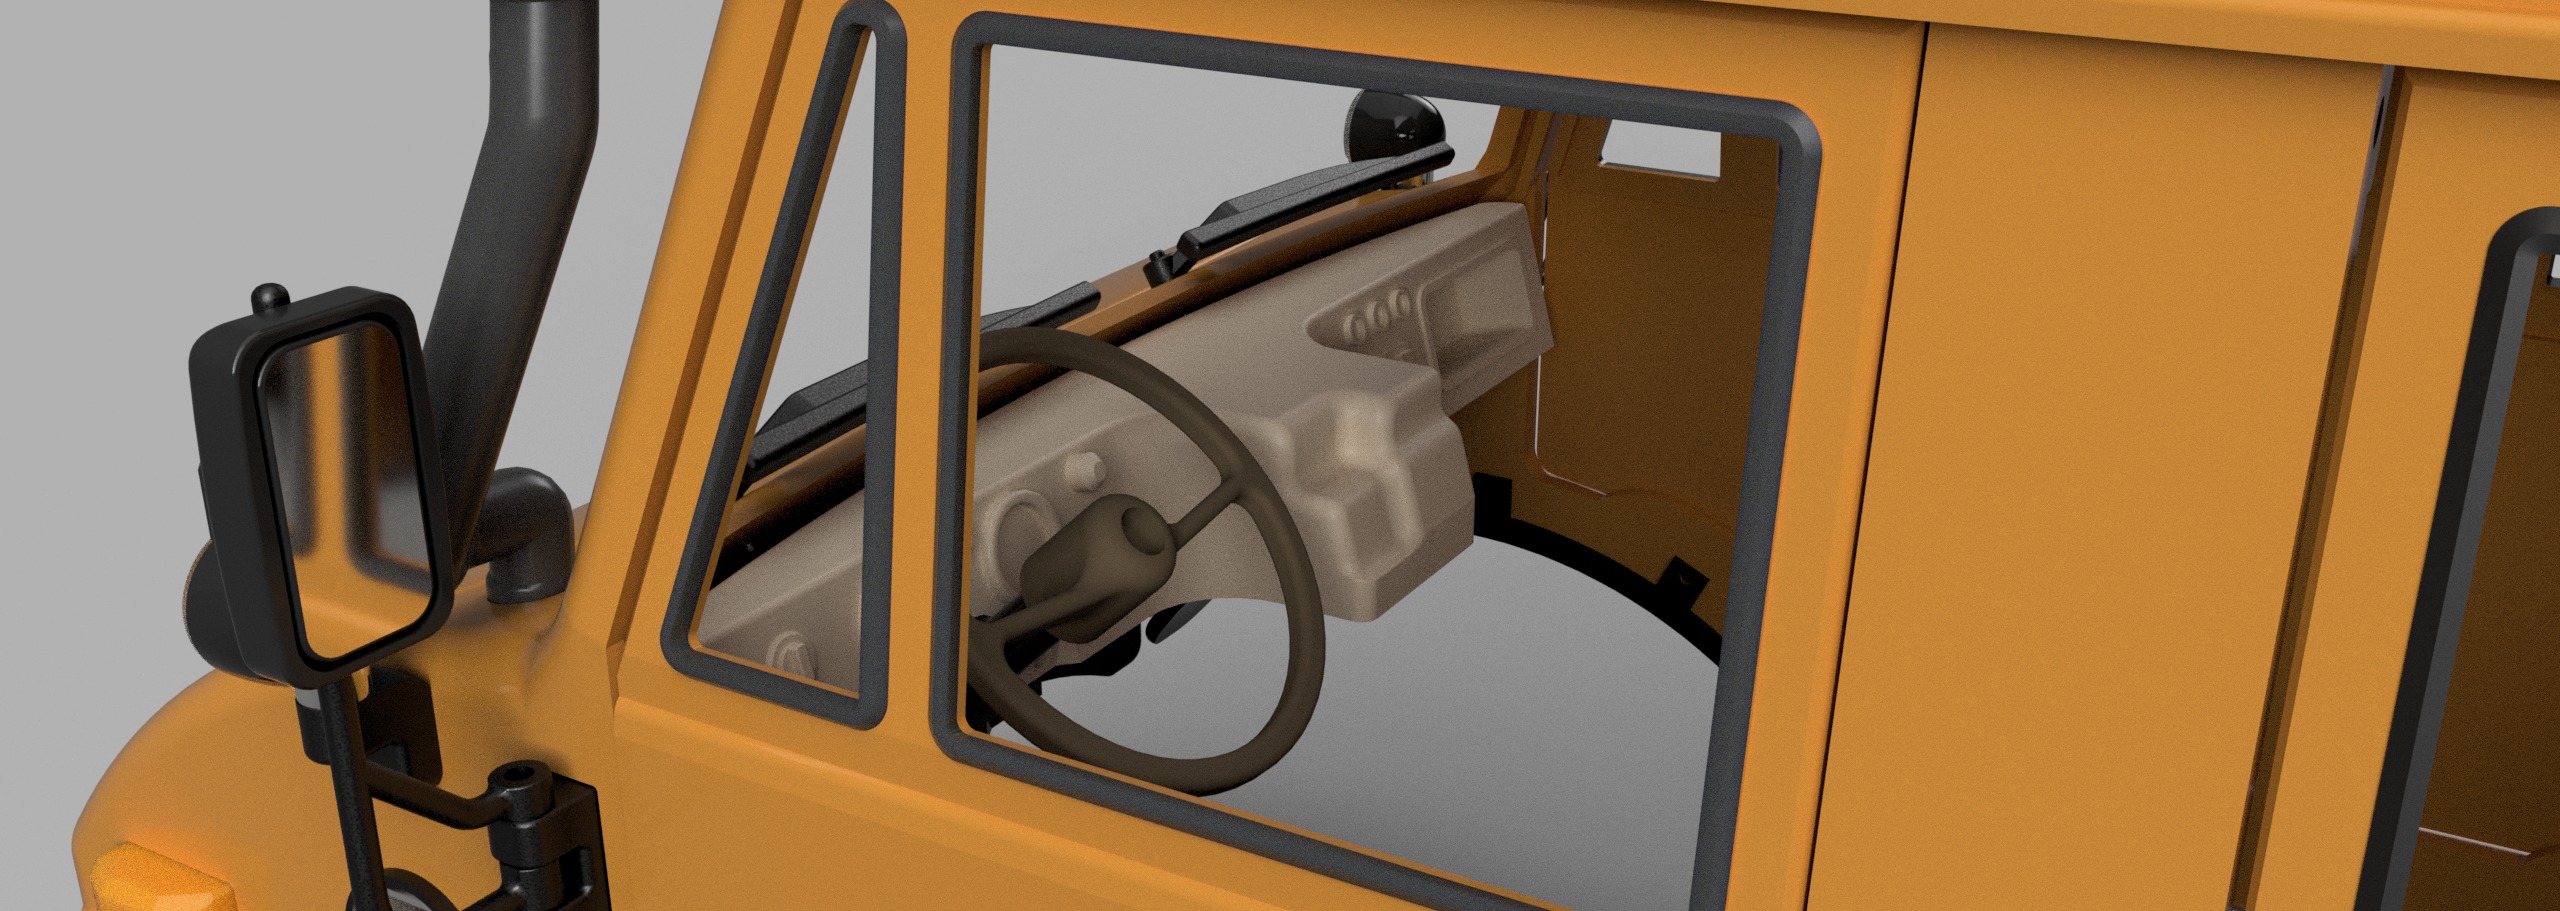
- Interior dashboard
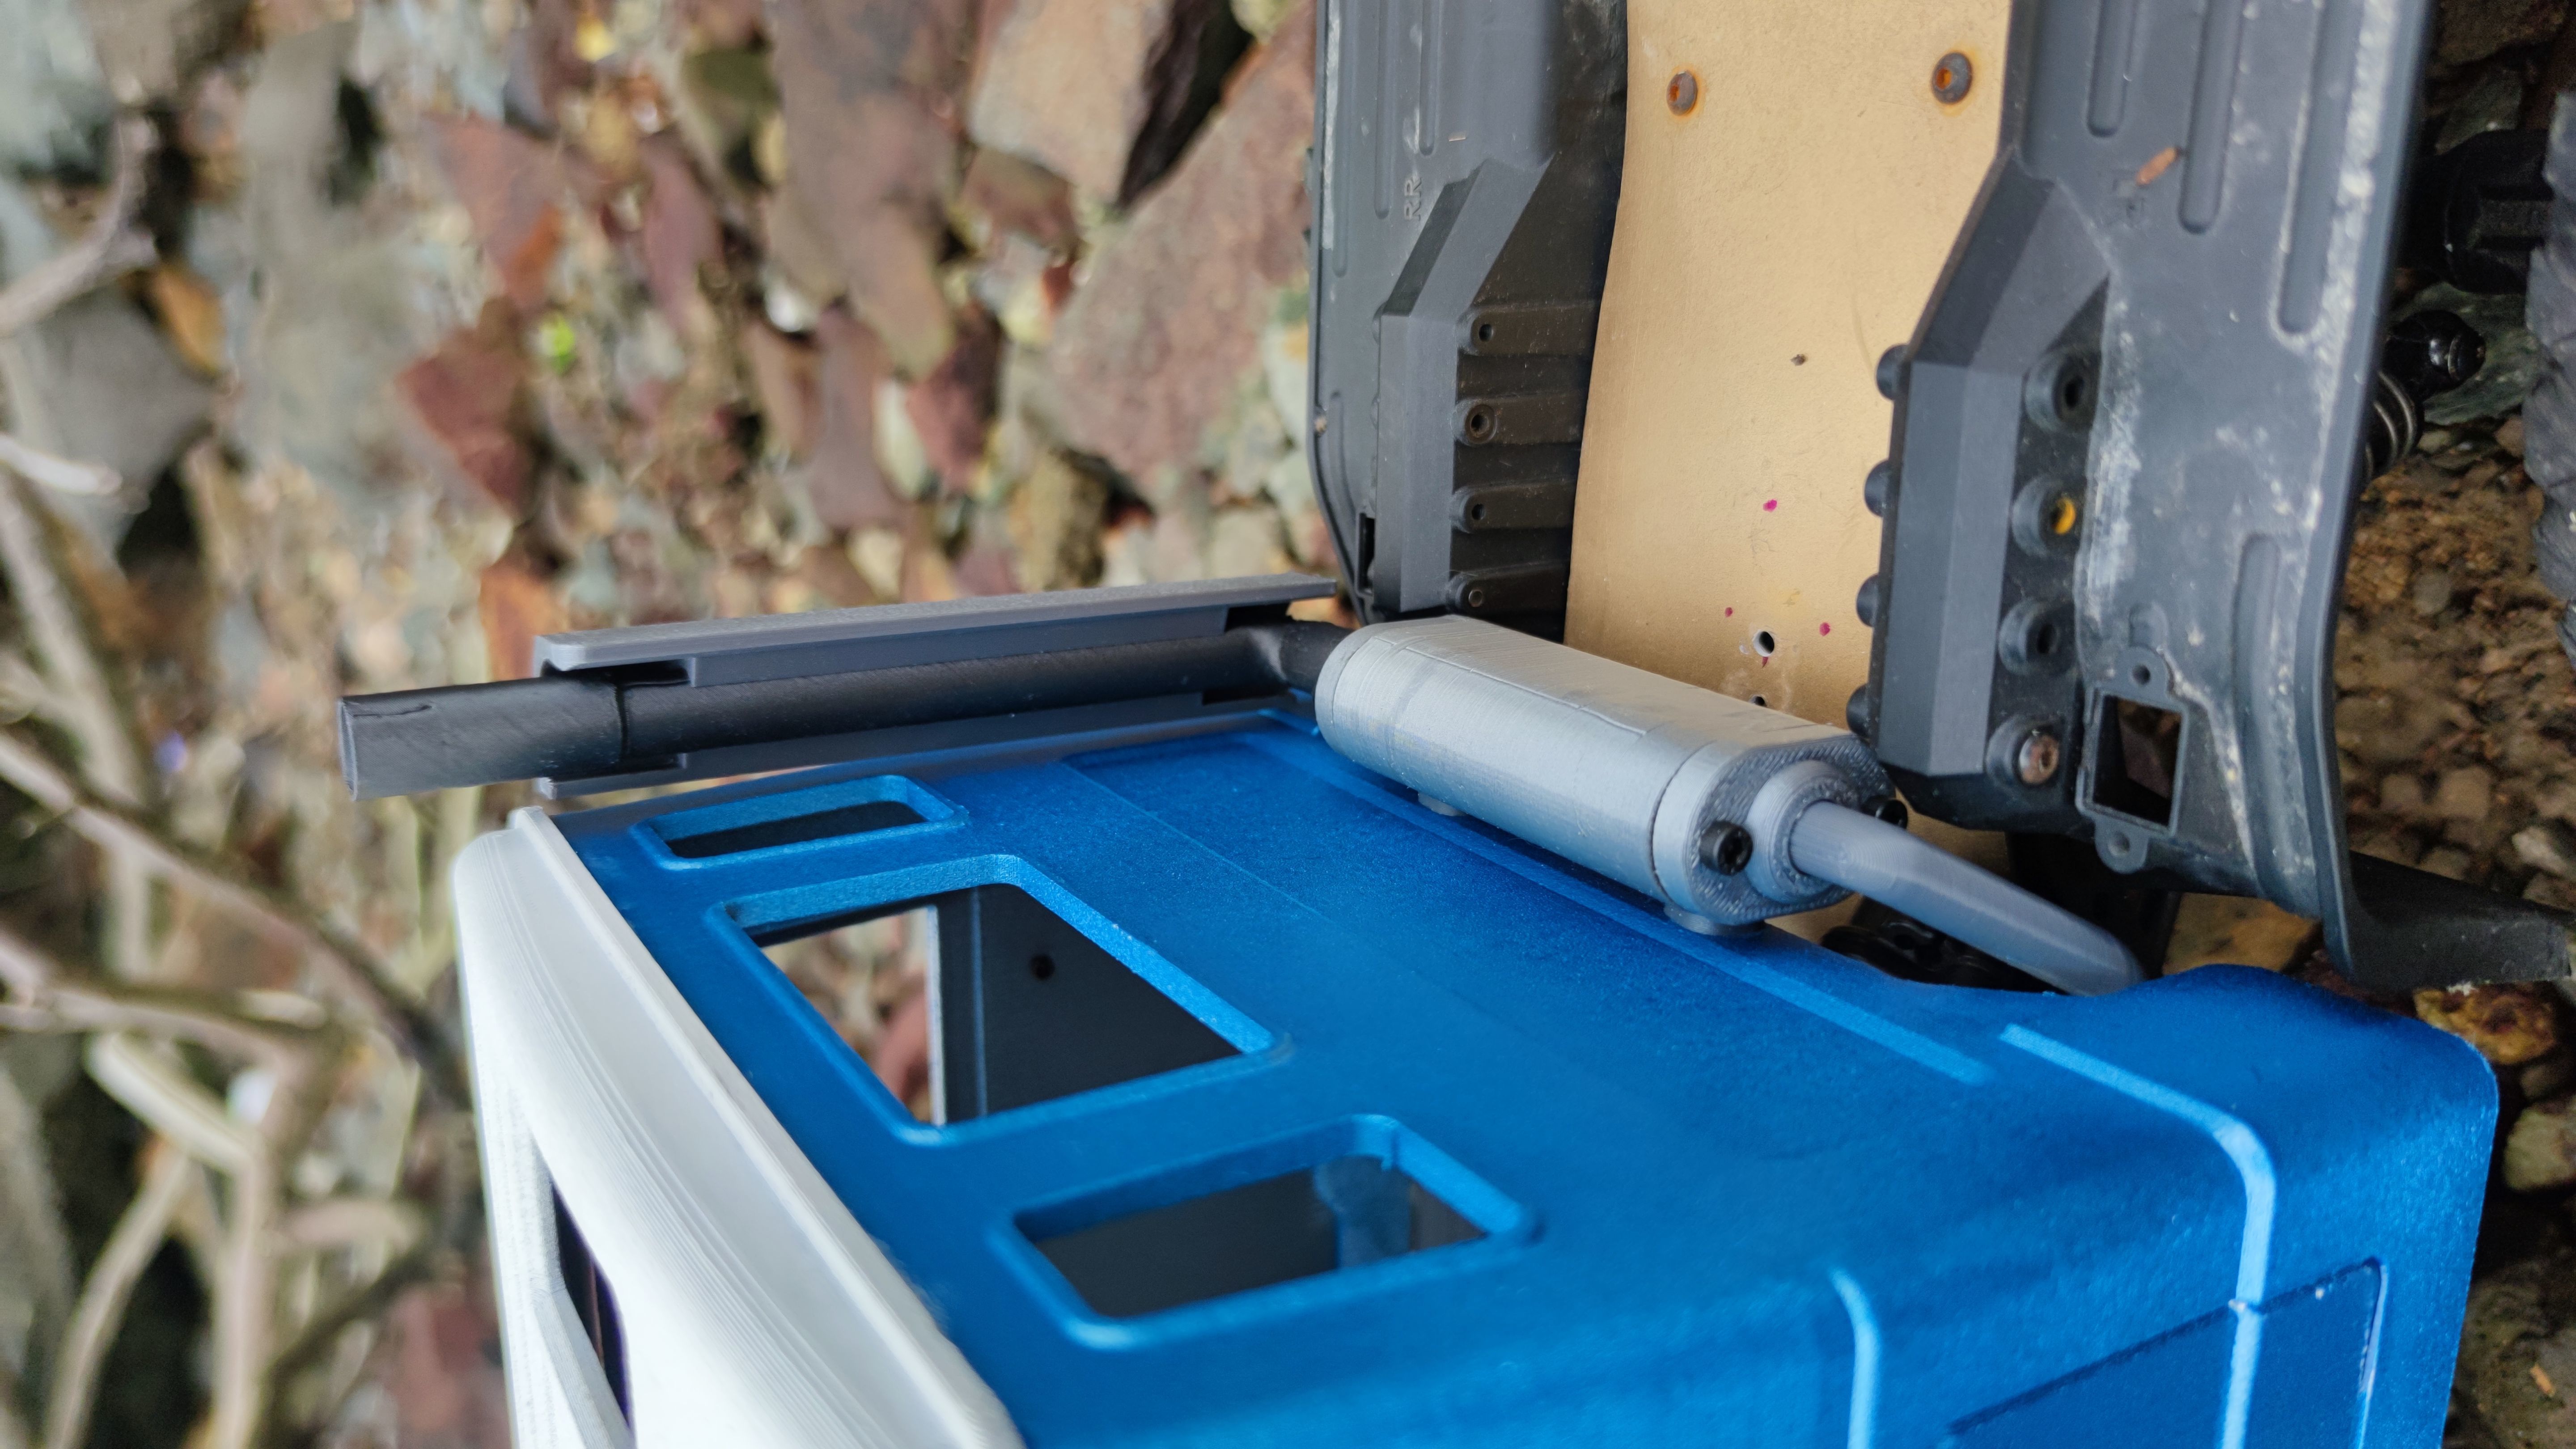
- Exhaust system
- Heat Shield for exhaust stacks
- Headlight and blinker cage
- Sunroof
- Windshield sprayer
- The list goes on…
In true “ahead RC” fashion there are a ton of details and options included to suit your own style.
- Fenders come in narrow and wide versions to allow 240mm width and 250mm and over.
- Fenders also come in long and short versions to allow for extra clearance in very gnarly terrain
- 2 types of exhausts with 3 tailpipes each to choose from (included - 2 styles of exhaust stacks). They are also fully rotatable for custom placements and mounting.
- 2 bonnet options, one with a hump and the other an indent.
- Side mounted searchlights are actually functional, 5mm LEDs can be inserted into the light pods. Also available without the 5mm LED opening hole for a cleaner look.
- Headlight and blinker cage can be mounted if you plan to go deep into the woods
- 2 styles of steering wheels for the very included highly detailed interior dashboard
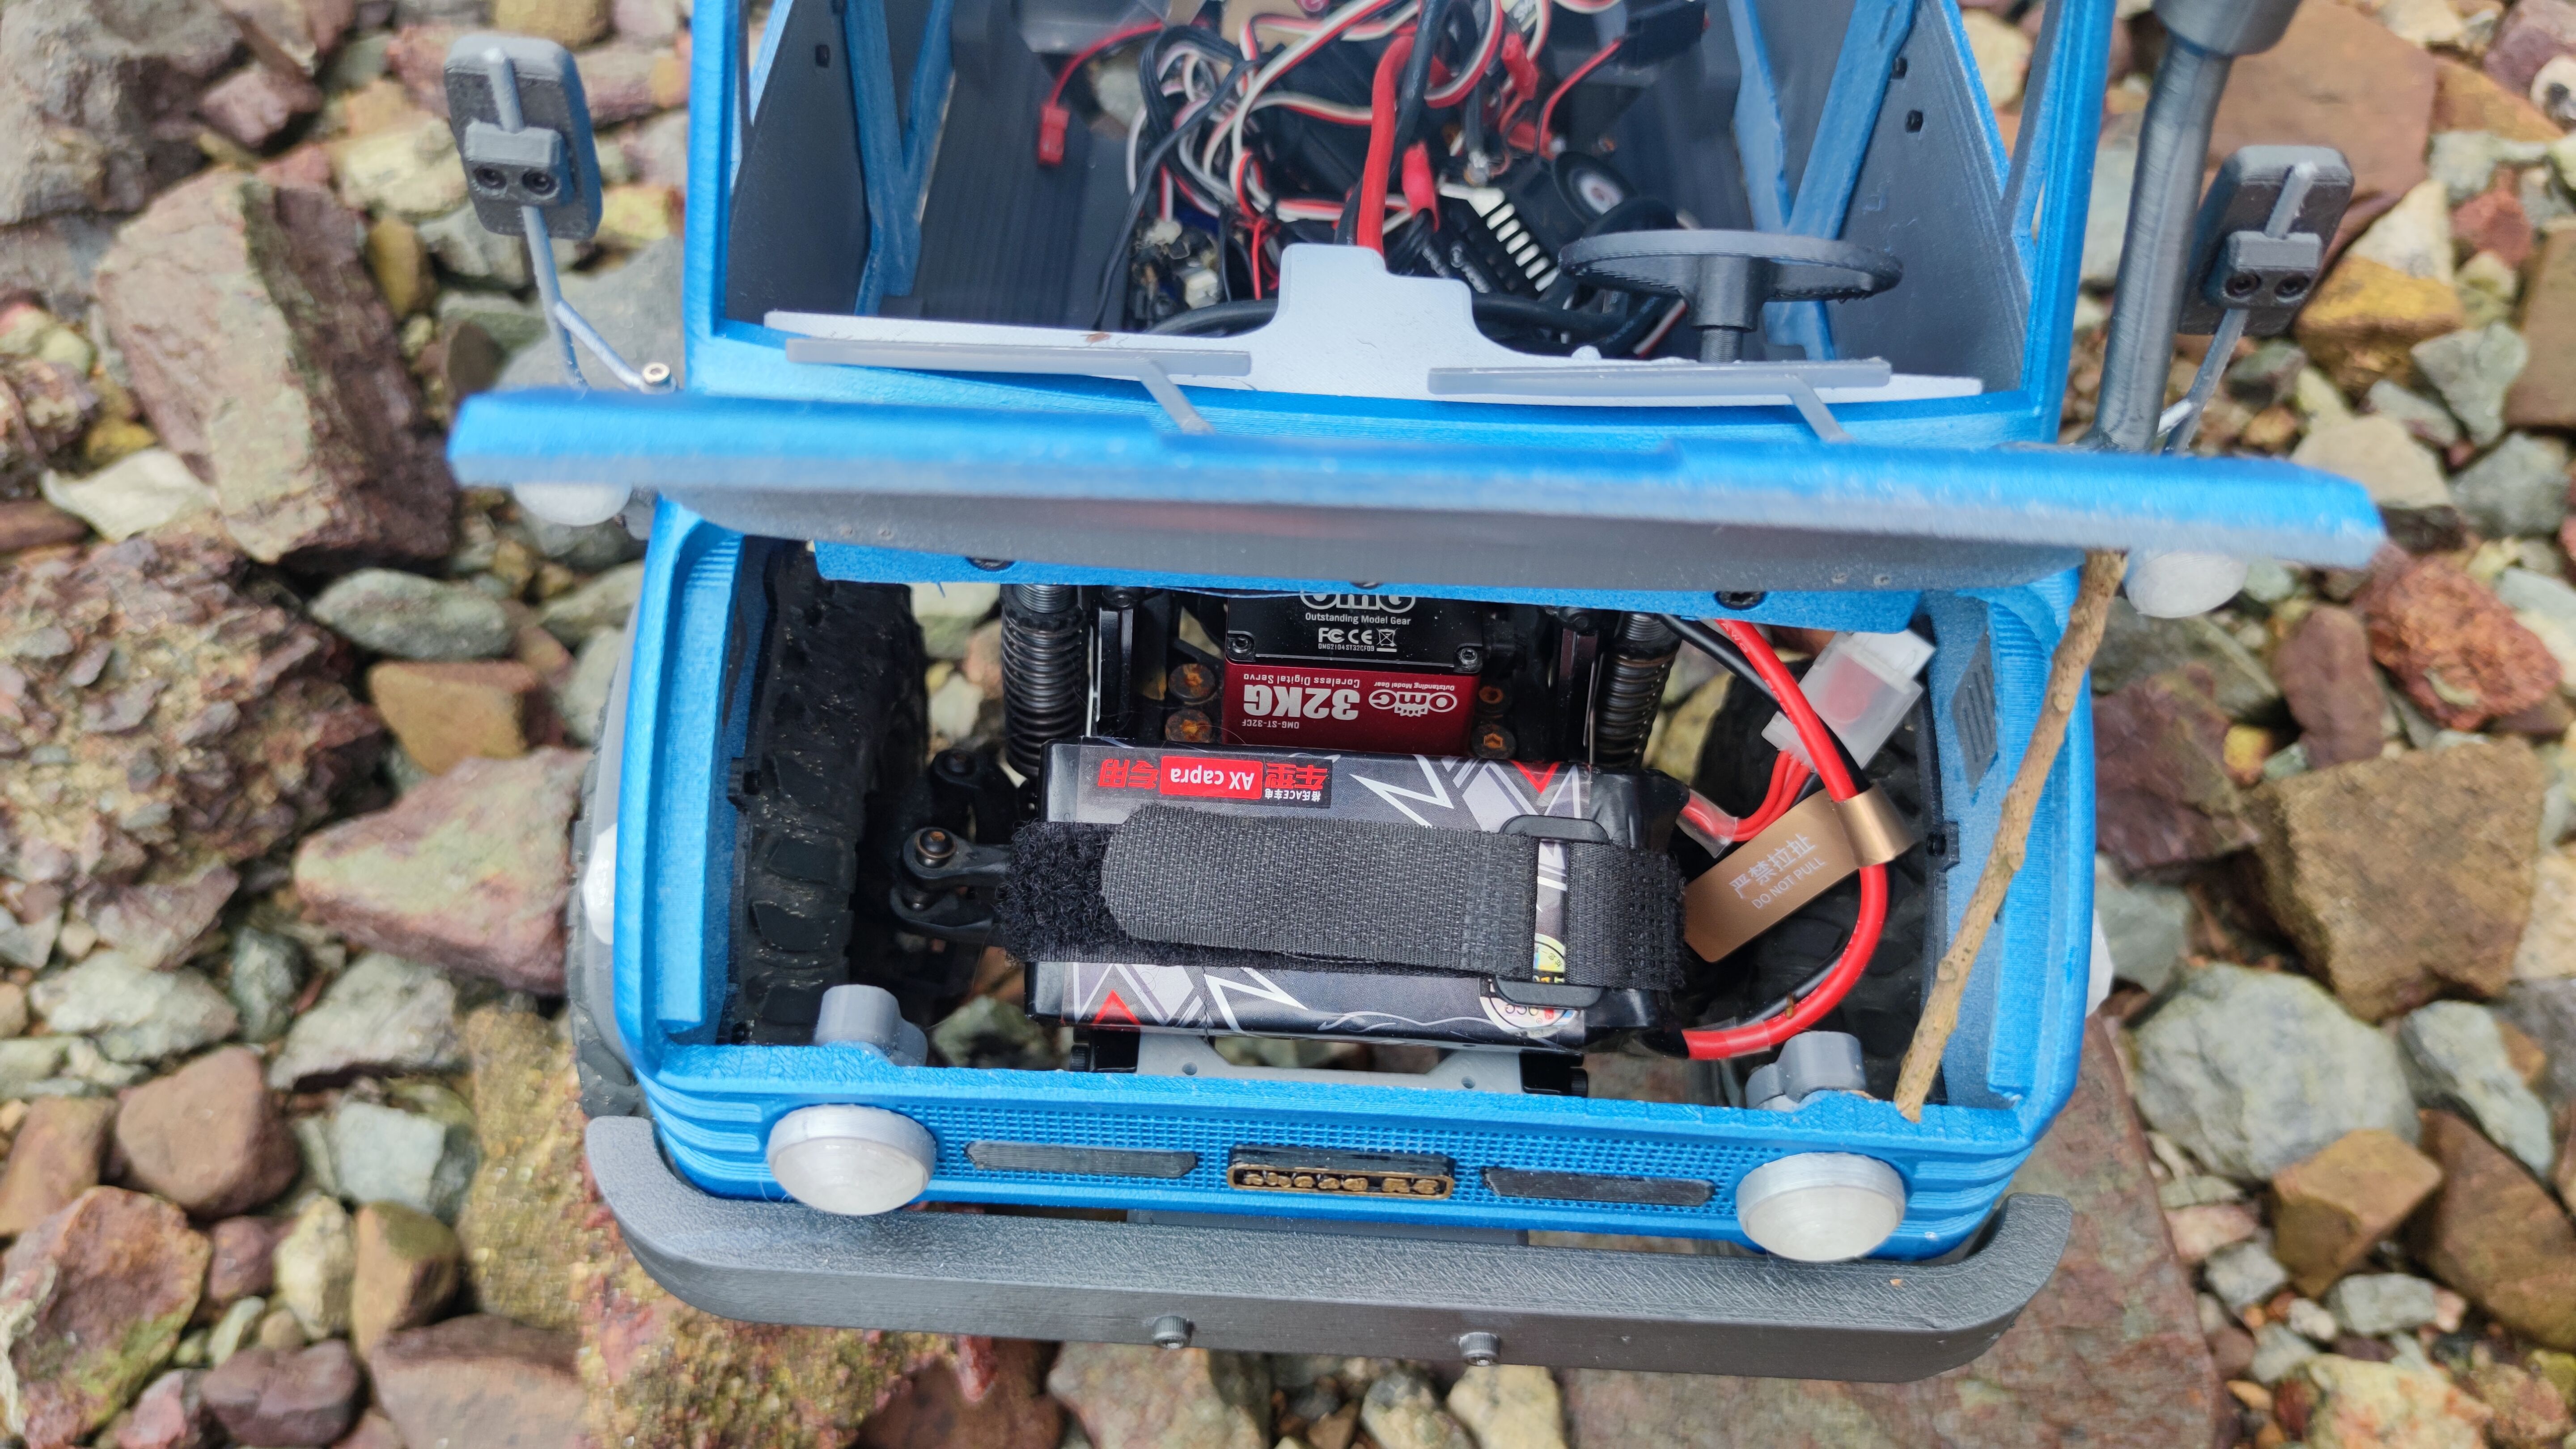
The doors and the bonnet are also ready for hinges to be mounted, giving you ease of access to the electronics, transmission, and the battery.
Grooves are also cut to allow clear polycarbonate sheets of up to 1mm in thickness, to be installed as windows and the windshield.DXF files for all the windows and windshield pieces are included.
The bumper included comes with the bumper mount, which will just slot into any standard 43mm bumper mount. It also allows the bumper to be mounted 5mm higher, or if flipped, 5mm lower.
The printing process is easy and optimized with this cab and is suitable for beginners. Please ensure your printer can print a volume of 200x190x152mm.
Assembly instructions:View the link below to download the assembly instructionshttps://www.aheadrc.com/manual
.DXF files for the windows and windshield are also included.
It is highly recommended to read the instruction manual before purchasing, to ensure you have all the required tools and hardware to assemble this body.
To use the SCX10 iii mounts, you will need an additional 4x M3*15mm socket head screws and 4x M3 washers.
To use the SCX10 ii and VS4-10 Pro mounts, you will need an additional 4x M3*20mm socket head screws and 4x M3 washers.
To use the TRX4 and TRX6 mounts, you will need an additional 2x M3*20mm, 2x M3*35mm socket head screws and 4x M3 washers.
Should you need any help, please do not hesitate to contact us!
FDM printing:
Requires a printer that can print a minimum volume of: 200x190x152mm.
PLA+ filament0.2mm-0.3mm (0.4mm nozzle) layer heights20-30% infill densitySupports are necessary
Finished and assembled size:450*240*211mm (All parts assembled)


