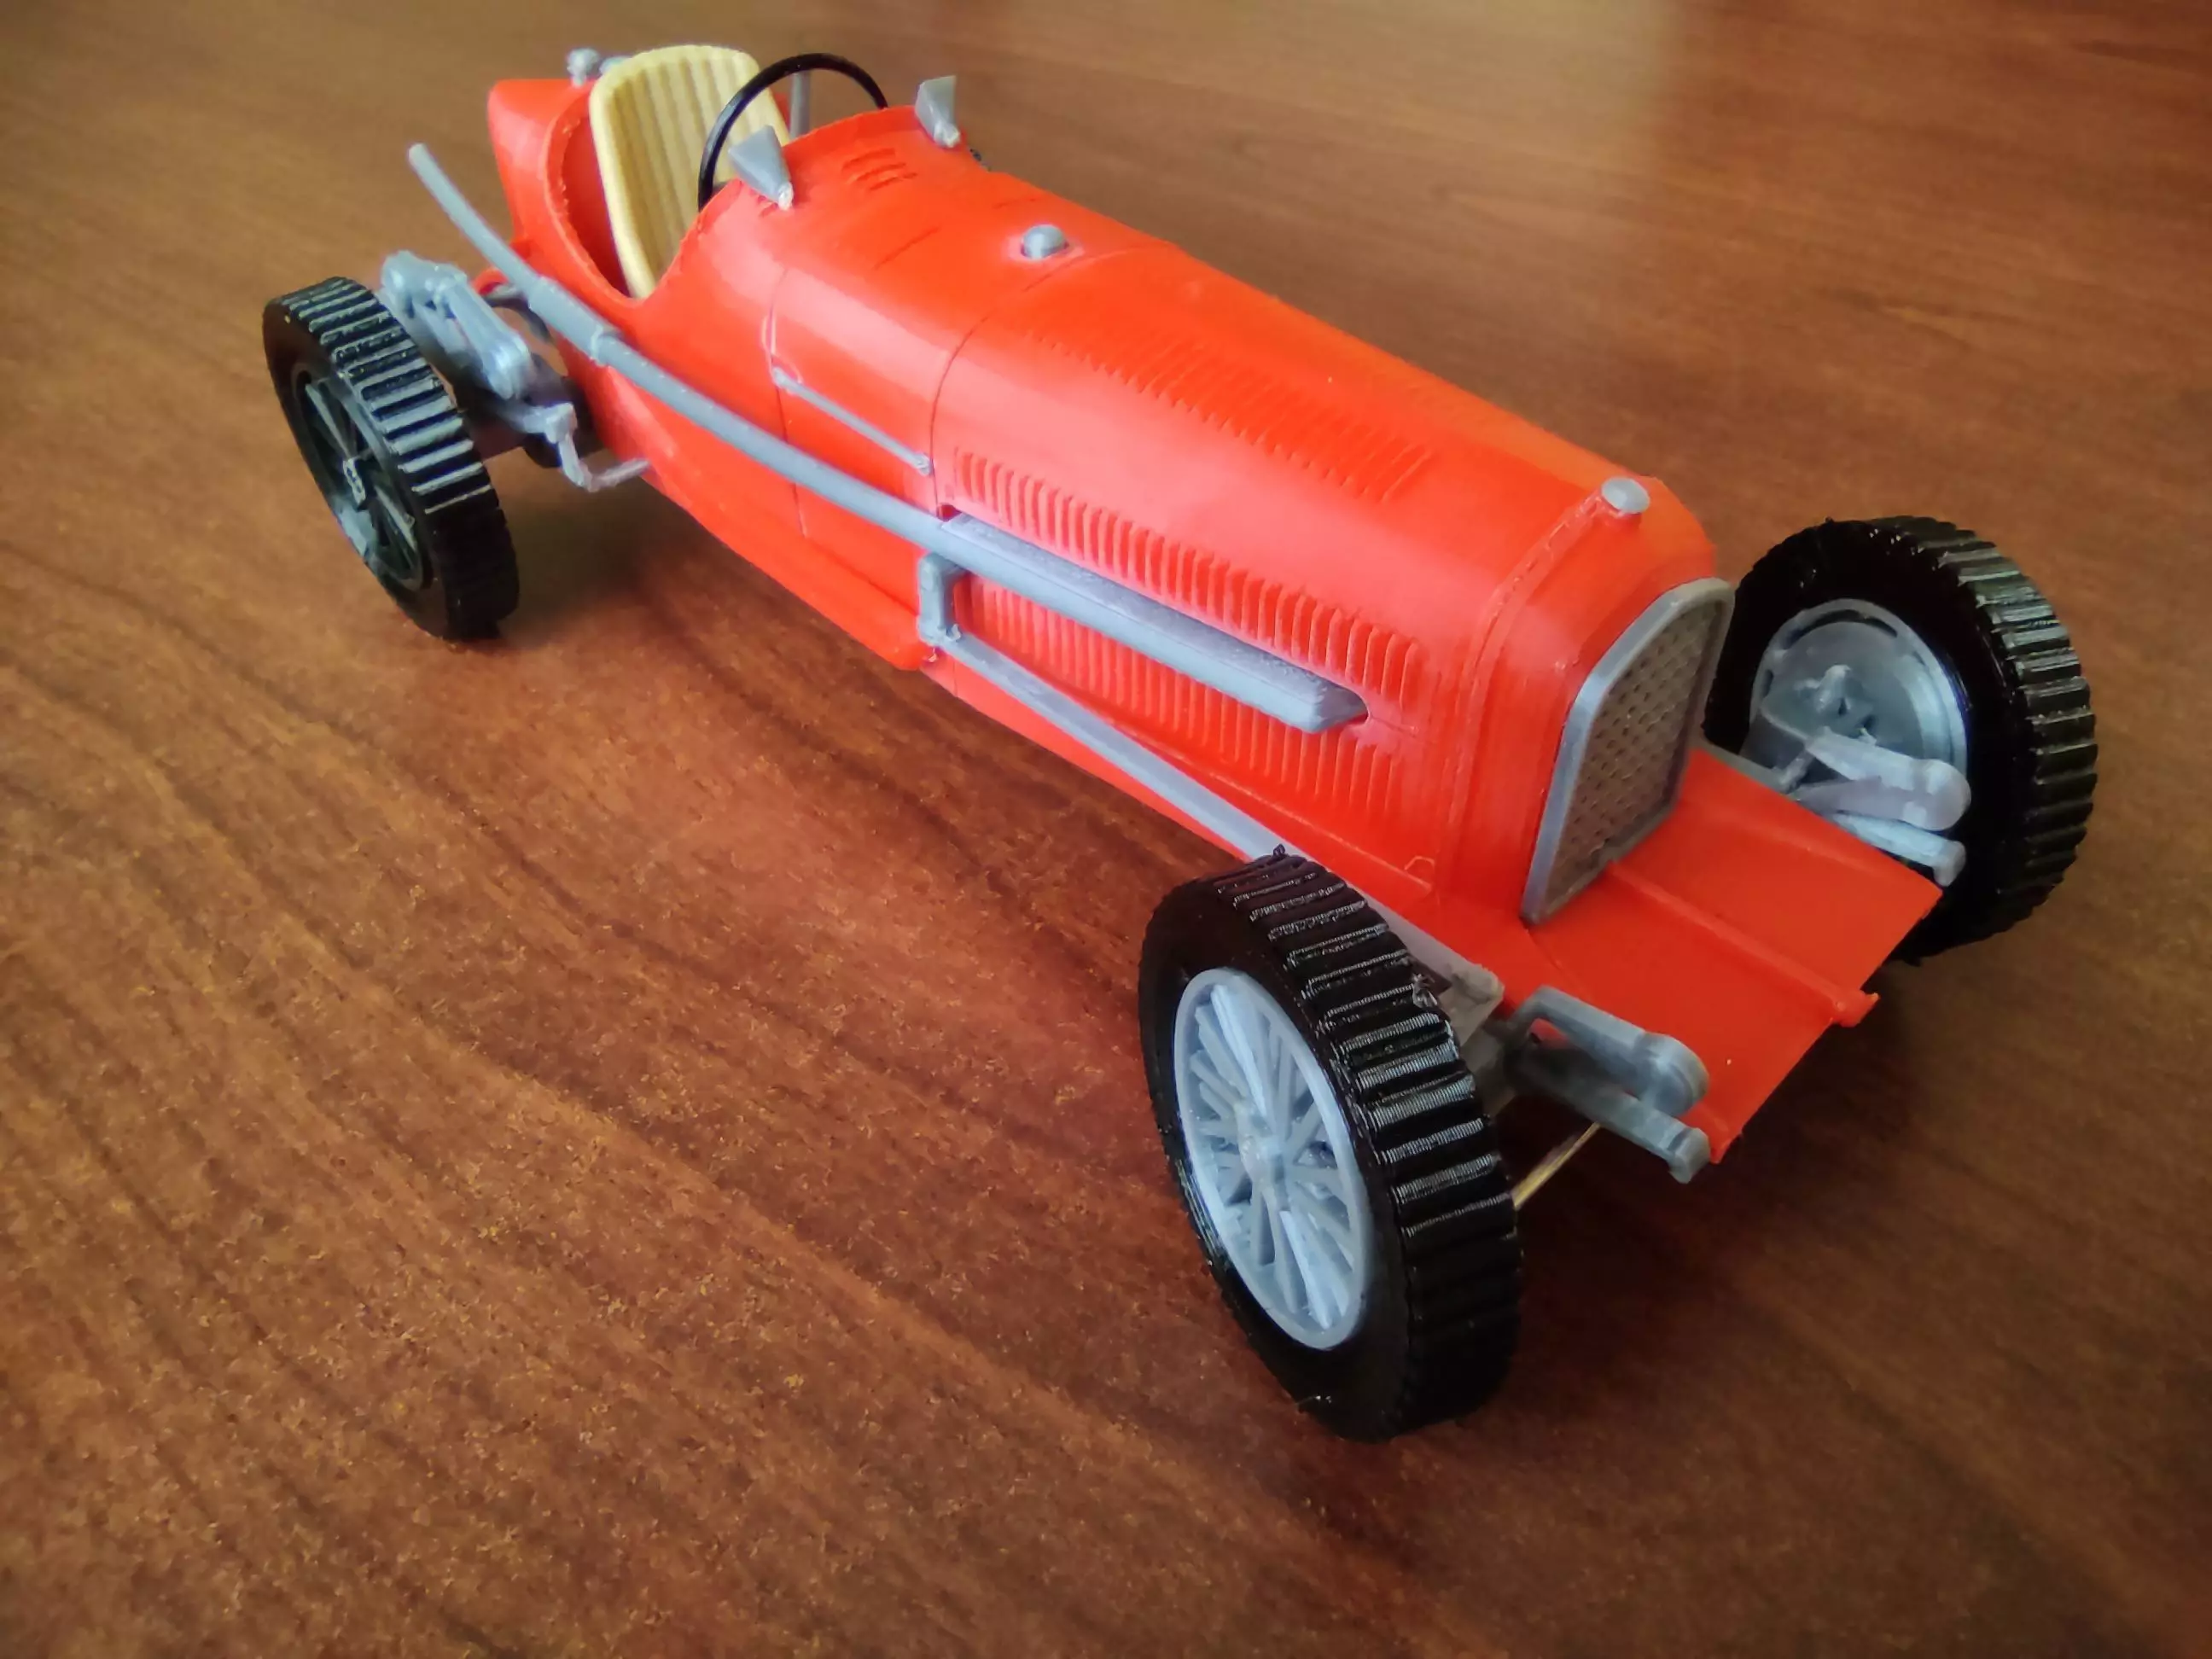
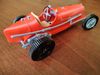
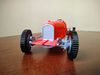
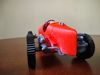
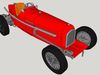
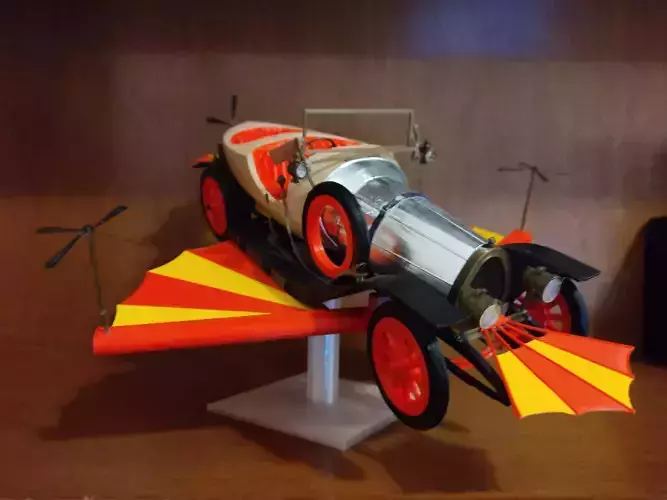
The printed model was build with almost no post-processing (sanding, trimming, etc.)
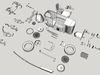
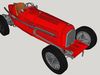
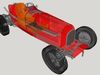
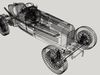
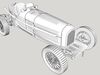
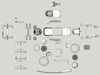
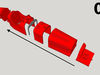
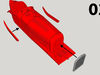
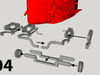
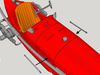
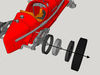
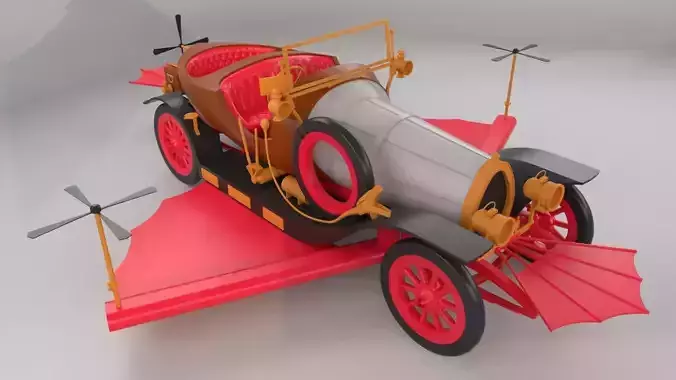
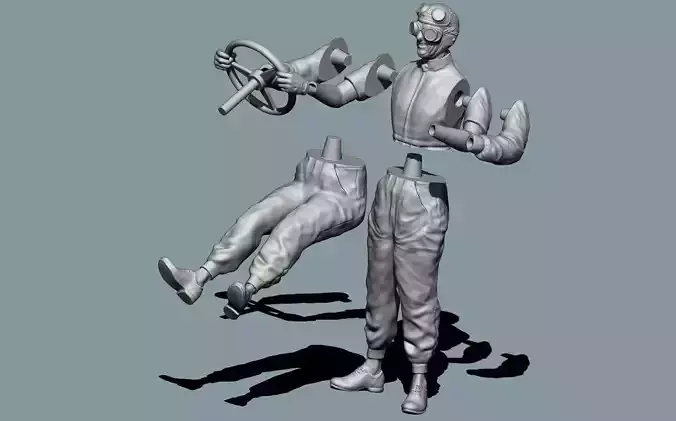
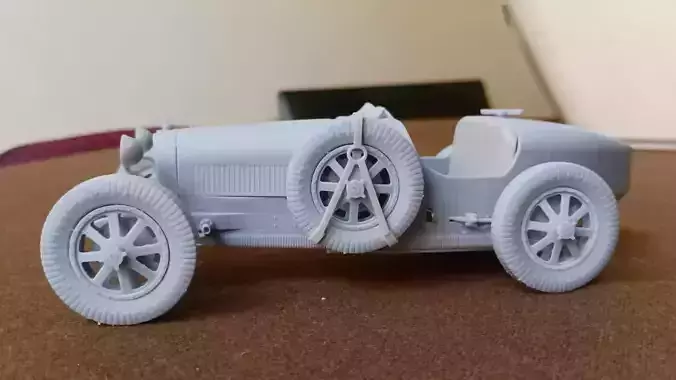
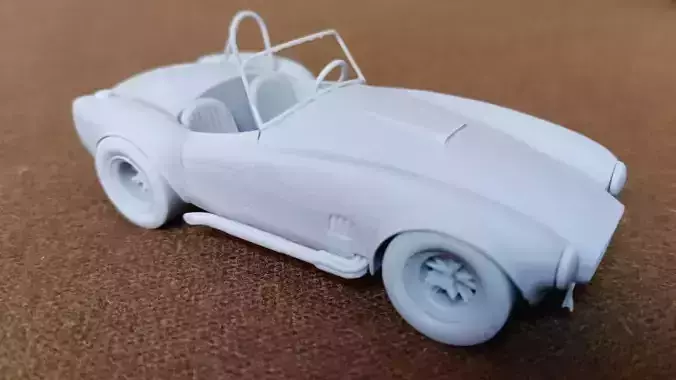
This model was created in Sketchup and converted to different formats. The 3d formats are intended to edit the model if you want to change something. Due to the size of the model, it was splitted in parts (please refer to pictures).
You'll find parts that are designed to assamble the model with glue, and other to assamble without it. Some parts are splitted to avoid support. These parts also are added in one single part if you want to print it with support.
stl files in one RAR file, editable files in one RAR file.
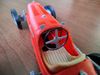
I printed the model in 1/20 (5%) scale and it worked fine. I advice not to print it smaller (there are many parts that can't stand smaller scale), but is intended to be printed in 1/10 (10%) scale.
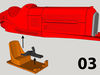
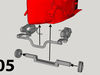
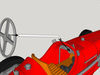
I used clip wire for the steering column (35mm) and steering joint (50 mm from center to center).
Size:
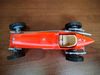
Scale 1/20 length=180 mm wide=80 mm high=60mm
Scale 1/10 length=360mm wide=160 mm high=120mm
The model was not designed to work as a toy.
Tolerances were calculated to 0.15 mm at 1:20 scale
I used The Ultimaker Cura software to preview the model printing sets:
Scale: 5% (1:20)
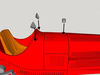
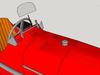
Printer: Creality Ender 3 Pro Profile: super quality Infill density: 10% Layer high: 0.12 mm Build plate adhesion: none The cockpit was printed with a unique profile as it was printed with wood filament.
Some details I found when I buildt the model:
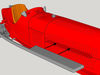
Almost all pieces fitted well.There is some trimming needed in the small fitting .I advice to print the smaller pieces separately, and better if you do so with all pieces (a lot of work and time, but better results).The wood filament is very tricky, so I advice to make sure that your printing settings are correct, Remember that the cockpit needs a lot of time to print. I used a JAYO filament (not the best but it worked with my .04 mm nozzle)I sugest that you use glue to mount all pieces (exept the wheels)You'll have fun building it!