1/7
Are you a LEGO train enthusiast? Then you came to the right place.
If you wanted to spice up your train layout, printed all that can be found on the internet, you perhaps thought about adding a new dimension - bridges!Of course you can build elevated layouts by gently raising the tracks, plate by plate, hoping that you can reach a few inches in height in a couple meters.
If you have the space in your room, that is.
If you don't, or just want your train to ride higher, try these carefully engineered parts!
You'll get:
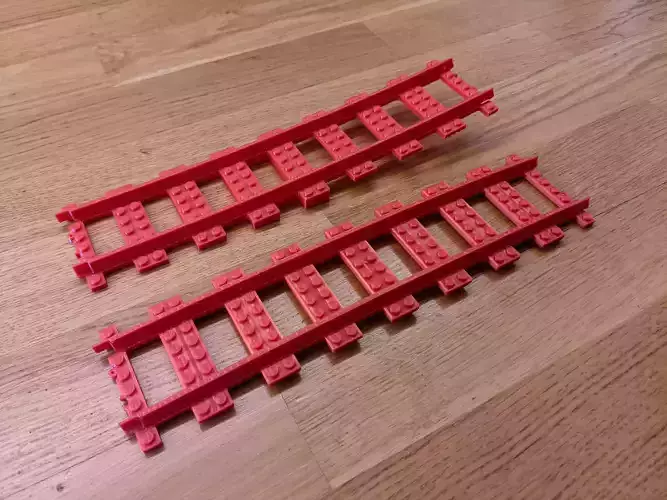
- a set of short bridge elements - these work okay with shorter cars
- a set of long bridge elements - these work with longer cars
- a cap piece that has a sloped top to support your bridge
Both the long & short parts will get you a slope that's about 8 degrees steep, and raises the track by 2 bricks' height for each LEGO straight piece (see the pictures).
Building instructionsTake the bottom bridge part. For the short version, grab 2 support caps; for the long version, grab a 2x4 brick in addition.
Connect a LEGO straight track to the elevated end of the bottom bridge part, and mount the support caps under the connection; for the long version, add the 2x4 brick under the support caps.
Connect another LEGO straight track, add 2 support caps under the connection, and add 2 bricks more than what you used for the previous pillar.
Repeat until you can.
To make the track horizontal again, use the top bridge part. The end of the top bridge part should be supported by 2 extra bricks for the short version; by 3 extra bricks for the long version, but without support caps.
Basically, the pillars for the long bridge parts are made of a support cap + 1, 3, 5, etc bricks, then finally +3 bricks and no caps.For the short version, the pillars are made of a support cap + 0, 2, 4, 6, etc bricks, then +2 bricks and no caps.
Check the pictures for further clarification.
The parts on the photos were made of noname PLA on a Prusa MK3S, 0.6mm nozzle, 0.15mm layer height.Beware of thermal contraction & printer tolerance though - even if the models are designed precisely to the microns, your filament & printer might trick you. LEGO (and injection molding) has much lower tolerance than 3D printing.Maybe print one piece first, and see if it works well with your LEGO - if not, adjust scaling a tiny bit.
You'll definitely need supports to print the bended parts. A lot of them, actually - there's no way around it, sorry.The caps can be printed without supports, and those are the ones you'll need a lot of, so it should not be that painful.Brim for the caps is recommended due to small & thin bottom footprint, to avoid warping.
Depending on your print settings you might want to sand the parts after printing.
REVIEWS & COMMENTS
accuracy, and usability.


