1/13
Update 26.12.2021: Added missing back half sphere / knob.
Update 05.12.2021: Added the stand to files.
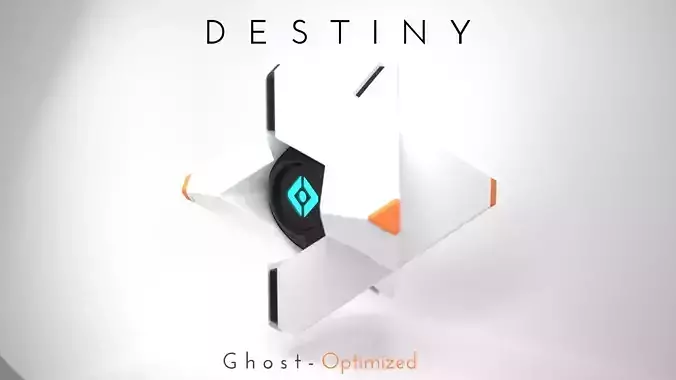
Modeled the Destiny Ghost to be quickly printable / put together, single shells save a lot of time and the output is cleaner, the main body just snaps together after printing.
Dimensions:
Fits 150x150 print bed, final full dimensions unscaled are 135mm width 139mm height 105mm depth without stand.
LED Tealight:
Added a new back sphere and a corresponding knob to outfit the ghost with a led tealight.https://www.ebay.com/itm/171239692713?_trksid=p2059210.m2749.l2649&var=470455566681&ssPageName=STRK%3AMEBIDX%3AIT
Assembly:
- All parts beside the orange tips snap fit together, use superglue to glue the caps to the main body.
Printing advice:
Main assembly
Use supports for the central part of the outside shell ( Steep spherical overhang )
Make sure you have adequate cooling for PLA ( atleast one 50mm blower straight to the nozzle ) and 45° overhangs print perfectly on your machine before attempting this print.
If the pegs are to tight print them at ~97% ( they do fit on a lin_adv + perfectly dialed in printer but you wont be able to take the ghost apart again ;) )
Use superglue to glue the LED tealight to the back half sphere and the knob. ( can still be unscrewed completely to change the led / battery )
Print the eye cap, blue glass and orange tips @ 0.1 layer height.
LED Back sphere
Print the knob with supports and @0.1 layer height
Stand
Print without supports, superglue logo.
Central spherical shells
Use supports for the central part of the shell ( Steep spherical overhang )
Use multiple processes to get the best results, 0.2 up to where the ring indents end, 0.1 for a smoother top surface.
REVIEWS & COMMENTS
accuracy, and usability.


