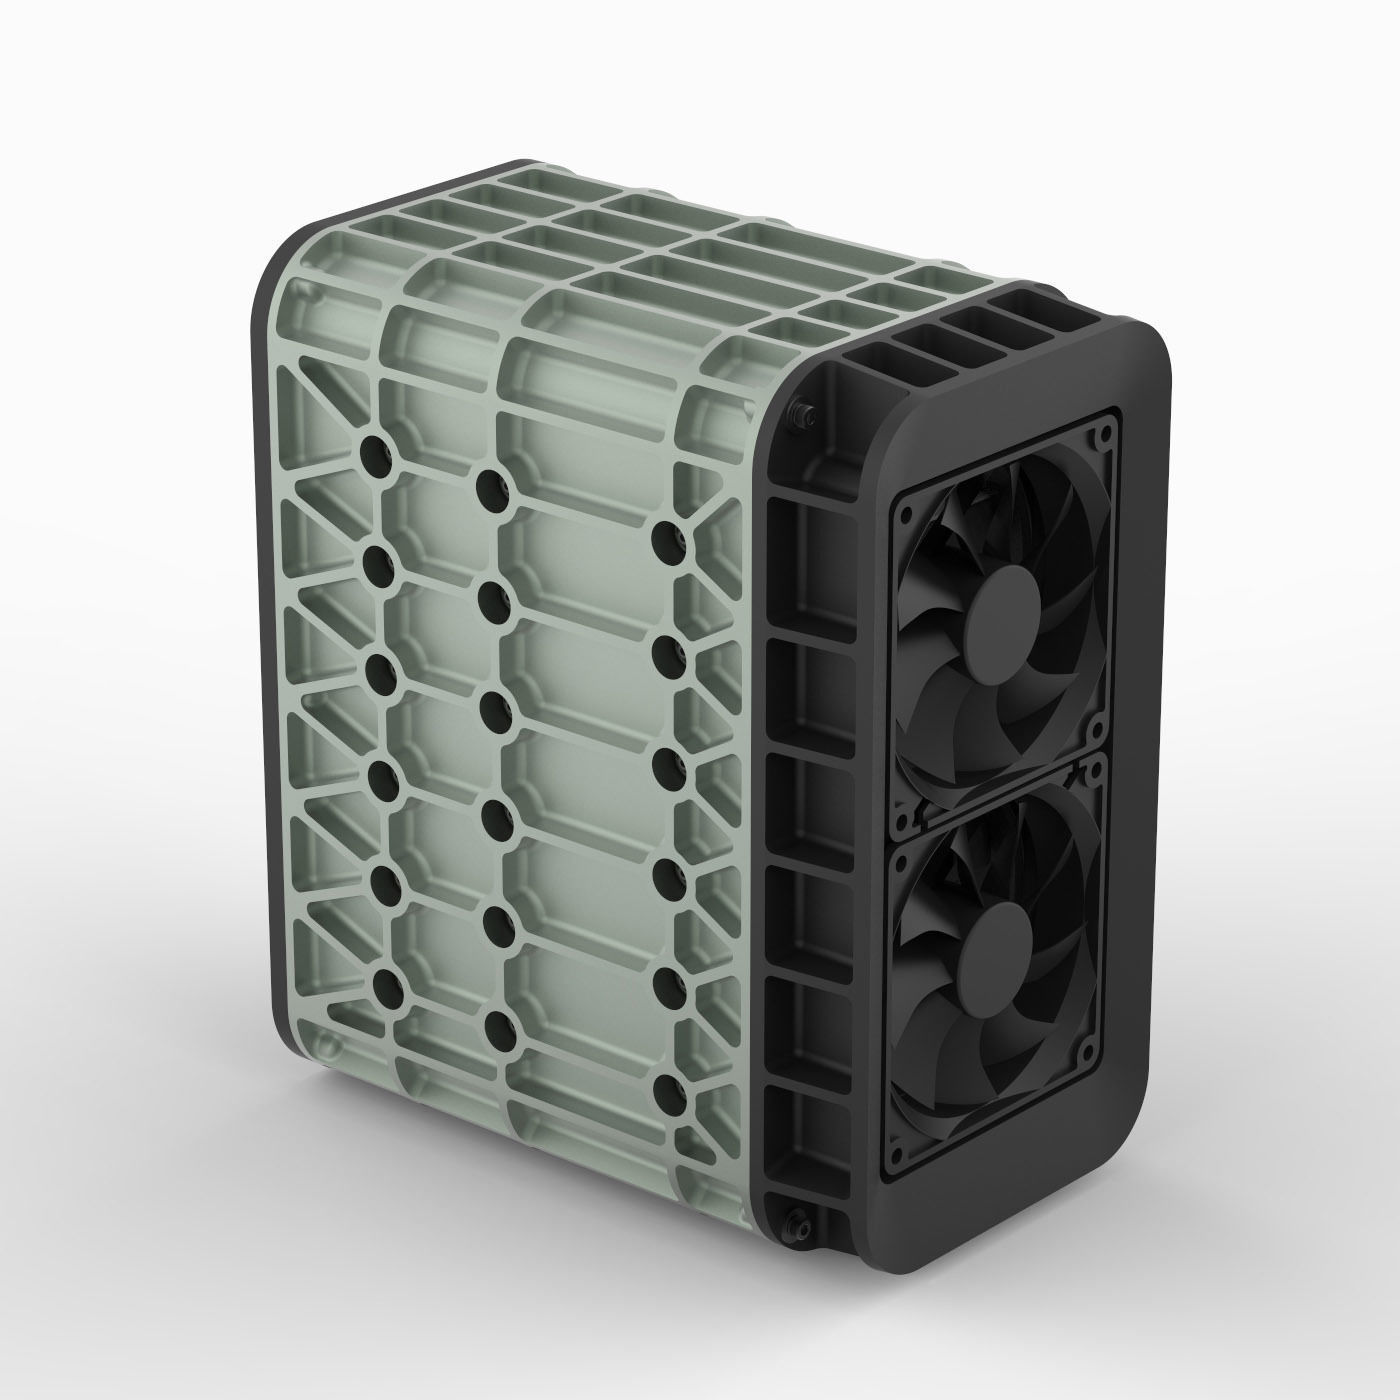
AERO SPACE HARD DRIVE ENCLOSURE - HDD - 6 DRIVE 3D print model
Make your own aerospace-inspired hard drive rack!
Inspired by the structural panels commonly found in both aircraft and spacecraft, this design uses a hybrid of orthogrid and isogrid patterning to connect all of the important nodes across the exterior of the shell and to create a very robust and visually striking hard drive enclosure that feels like it came straight out of the Hubble Telescope, the Space Shuttle, or an F15.
This particular design is intended to hold 6x 3.5in drives. It incorporates ribbed vibration reducing grommets for decoupling and invites the addition of two 92mm fans for active cooling and overall safer drive operation.
At roughly 0.12” (3mm) thick throughout, this enclosure was made to be easy to print with a variety of materials and methods, and strong whether using a dense or very light infill if printing with FDM specifically. Tolerances are snug so some minor sanding and adjusting may be required if you get a lot of zits or blobs; however, if your settings are pretty dialed in, the grommets, screws, and drives should slot right into place. Be aware that this could be a fairly long print if settings are not optimized and you will need at least a 10”x10” (254x254mm) bed to produce the required components.
In this download you will find three fine-meshed, ready-to-print STL files along with a bill of materials that specs all of the necessary ancillary components (with McMaster links) and provides some additional information pertinent to production and assembly. This version also includes a DWG of the rear profile for those looking to design their own end-cap that houses a SATA controller, Raspberry PI, etc for enhanced drive monitoring / control, or full NAS functionality.
Looking for something that holds less drives? Want to make one for 2.5in drives instead? We've got those too! You can also get the whole family if you have a whole lot of drives to mount. Find the other models by navigating to our profile. Check out our other models while you're there!
Troubleshooting and Setup:
If your slicer software doesn’t automatically interpret the correct units / scale try scaling by 25.4% (if it imports really small) or 0.0393701% (if it imports really big).
We recommend printing these parts face down with a brim for added support, and with minimal infill to shorten the print time down. You can also print with a larger nozzle and larger layer heights to cut the print down even further just beware that the required grommets may not fit if the larger nozzle size results in the holes on the side growing.


