1/12
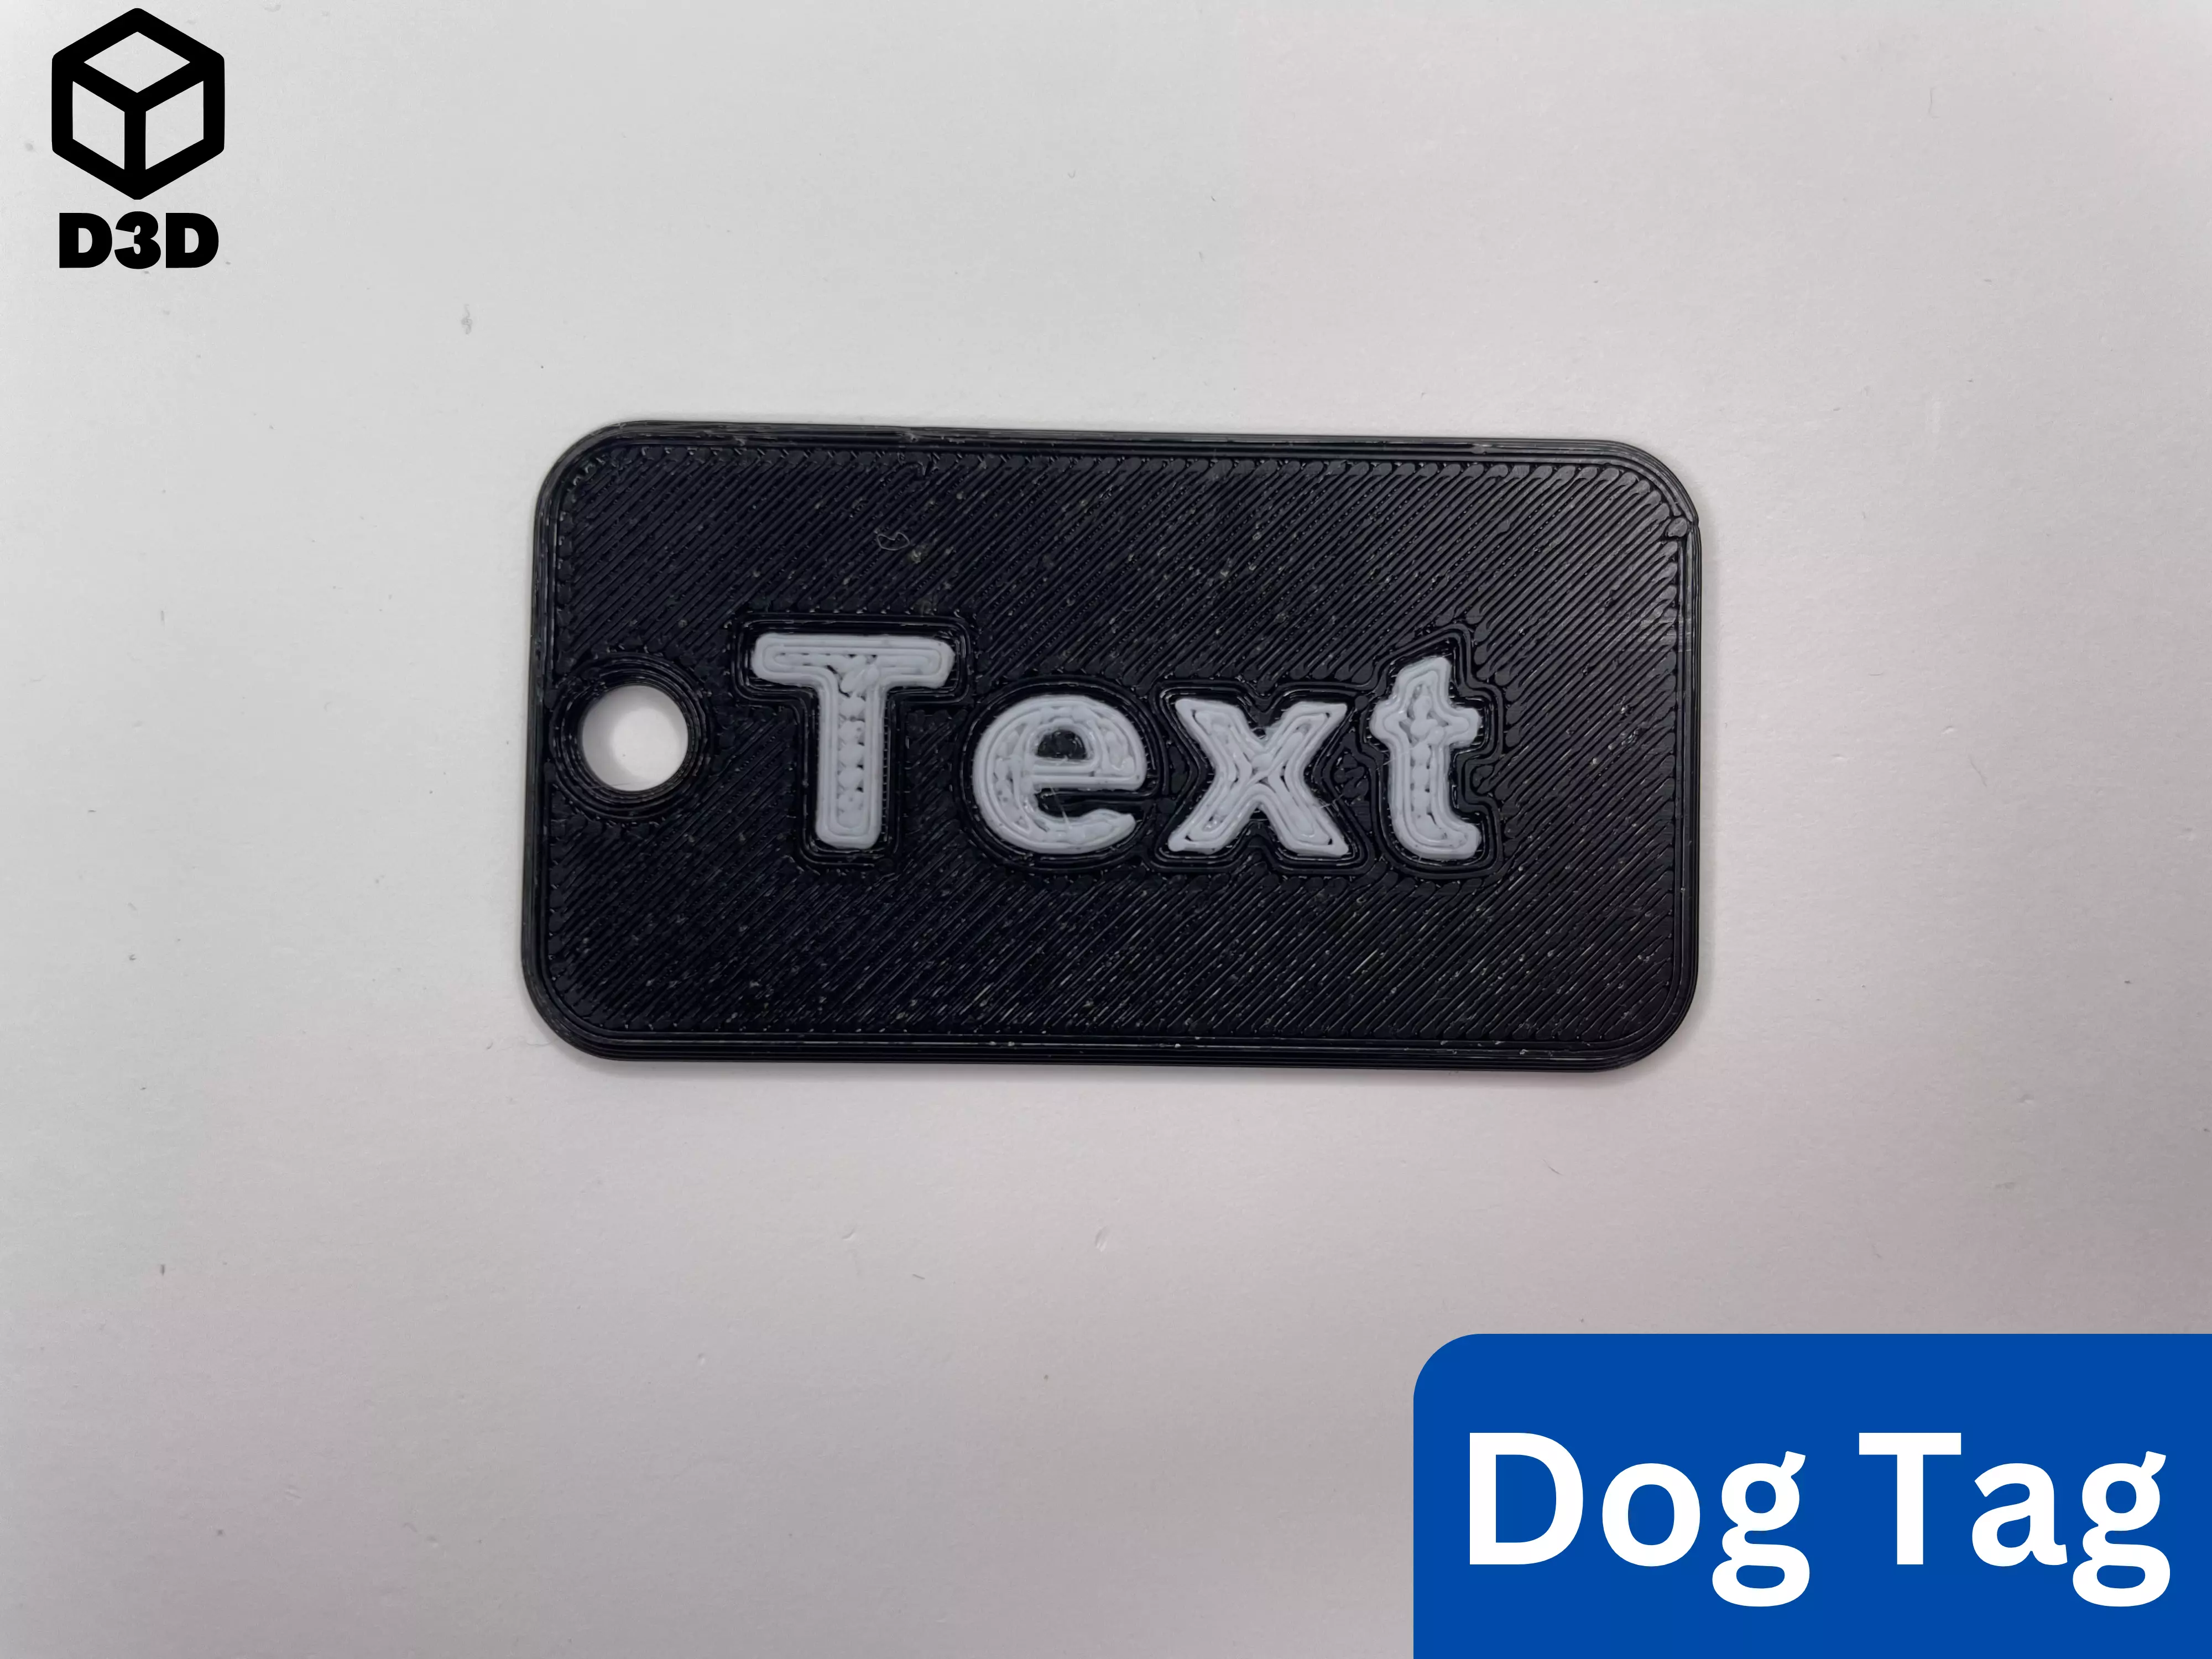
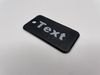
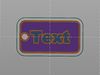
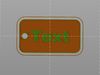
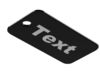
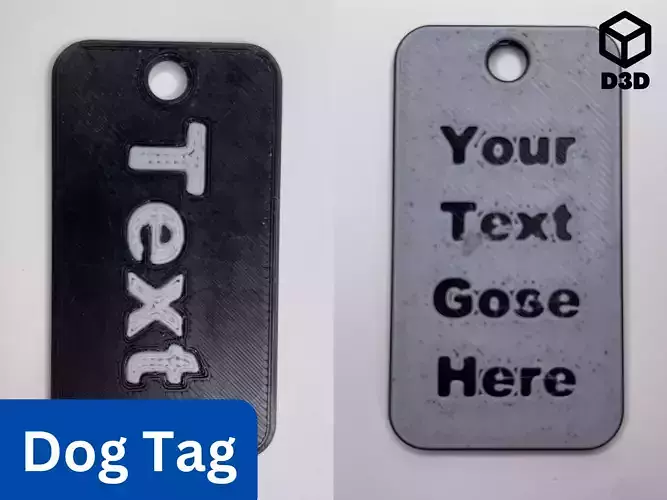
This is a one-sided customizable dog tag. It was designed in Fusion 360 and can be modified for many purposes.
Print Instructions
- Material: PLA or PETG (two different colors)
- Supports: No
- Orientation:
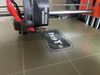
- Print all the pieces face down
Assembly/Instructions
Note: This print employs either a layer swap or the multi-pass printing method (detailed by Make Anything in Multipass Multicolor using Prusa Slicer // Single Extruder Multicolor 3D Printing). A layer swap simply involves adding a pause to your print and then changing the filament so that the text stands out against the background. Multi-pass printing is slightly more involved, but it can yield phenomenal results.
-
Layer Swap (For Single Extruder Printers)
- Prep
- Modify the .f3d file for your purposes
- Export your dog tag with just the body of the dog tag and not the text in the file or download the “Dog Tag (One Sided) - Body” file for an example
- Import that file into your slicer
- Add a print pause so that the text contrasts with the background (as shown in the photo)
- Ensure that the text is facing the build plate for the best results
- Printing
- Print the file
- Change the filament at the pause to a contrasting color
- Prep
-
Multi-Pass Printing Method (For Single Extruder Printers)
- Prep
- Modify the .f3d file for your purposes
- Export your dog tag with the body of the dog tag and text in the same file or download the “Dog Tag (One Sided) - All” file for an example
- Import that file into your slicer
- Ensure that the entire file, including the text and the body of the dog tag, is oriented with the text facing the build plate
- Ensure that the text is lined up with the holes in the body of the dog tag
- Delete the body of the dog tag
- Then slice that file with just the text
- Undo the deletion of the body of the dog tag
- Ensure that everything is still lined up
- Delete the text
- Slice the file with just the body of the dog tag
- Printing
- Print the file with the text, in whatever color you want
- Remove any purge lines from the build surface, but leave the text on the build plate
- Print the file with the body of the dog tag on top of the text
- Change the color of the filament between the file so that the body of the dog tag contrasts with the text
- Prep
-
MMU or MMS
- Prep
- Modify the .f3d file for your purposes
- Export your dog tag with the body of the dog tag and text in the same file or download the “Dog Tag (One Sided) - All” file for an example
- Import that file into your slicer
- Ensure that the entire file, including the text and the body of the dog tag, is oriented with the text facing the build plate
- Ensure that the text is lined up with the holes in the body of the dog tag
- Assign one color to the body of the dog tag and one color to the text of the dog tag
- Prep
If you enjoy this model, please leave a like and a comment. Please contact me if you have any questions, concerns, or problems.
REVIEWS & COMMENTS
accuracy, and usability.
