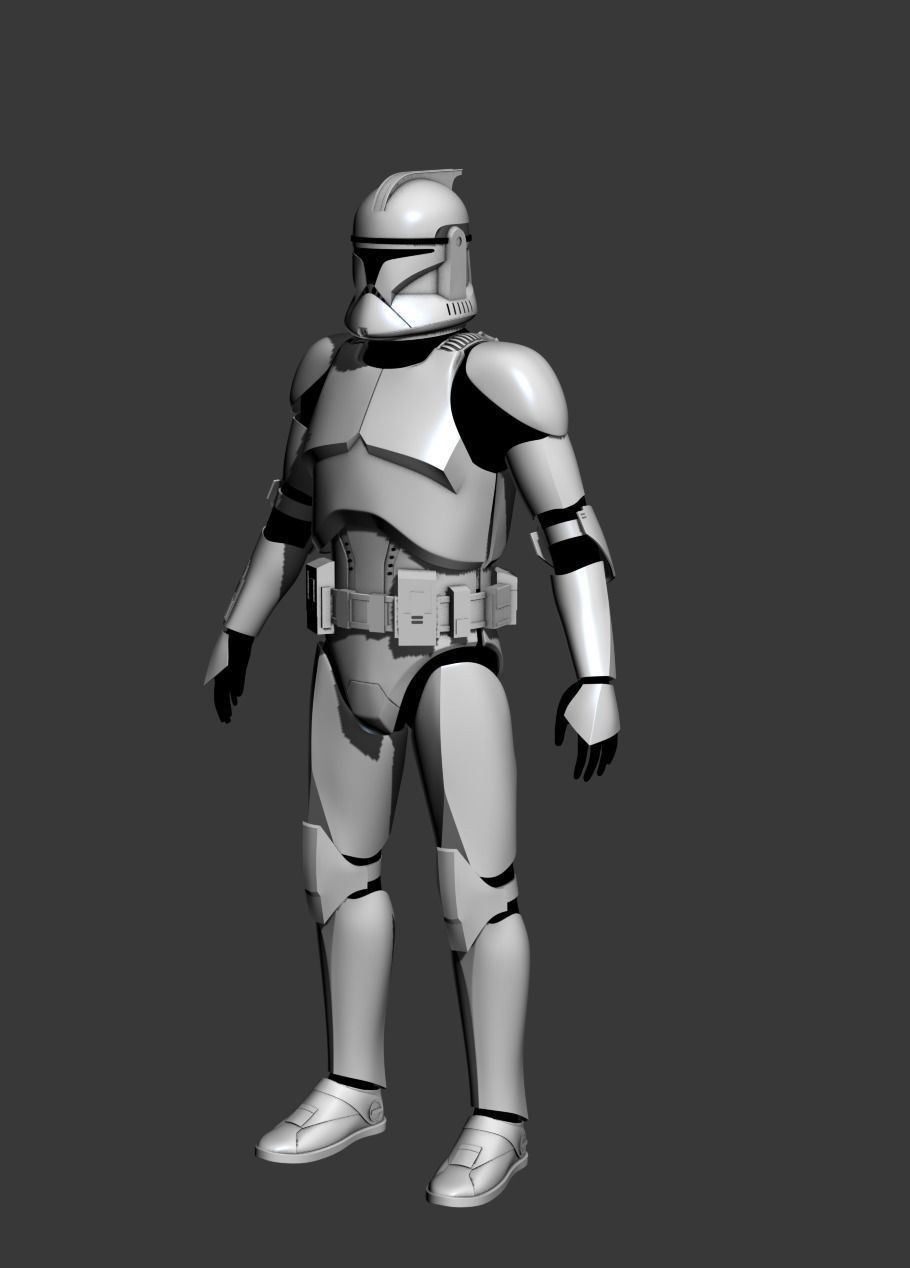
Clone Trooper Cosplay Armor 3D print model
Fully body armour with the Phase 1 helmet.
When printing this armour set orientation, splitting, and slicing is up to you. I recommend splitting object with Z-offset in slicer of choice to minimize the need for support structures and maintain cleanliness of the model. If you have a small build area and need to print in chunks I reccomend Meshmixer.
All files are in .obj format. Most slicers accept this but in case yours cant there are free online tools to convert to .stl.
Attaching the armour to a costume is also up to you. I tried to include a slight amounth of thickness in places where it would be useful to attach straps using small screws or rivets. The belt area is just the physical pouches. You'll need to create a belt on your own that the pouches loop onto. The straps as well. Although I did include a shoulder strap object that you can print very thin and depending on the material you use it should have a small bit of flex.
The ideal method of creating this armour would most likely be to print, sand, and then cast it into molds using Smooth-On Smooth Cast 45D which is a semi-rigid urethane casting resin.
Also keep in mind that you as an individual may have to resize each armour piece respective to your body type.


