Necessary Materials4 mm lead pelletsSuitable glue (epoxy or cyanoacrylate, depending on thematerial of the two parts)Tools to clean excess material (e.g., files or sandpaper)Material to create the 3 rings (metal wire, molds, etc.)Tools to insert the rings (pliers, needles, etc.)Colors and transparent resinBrushes or tools for applying the colors and resinProcedurePreparing the hole for the lead pellets
Ensure the hole is clean and free of obstructions. If necessary,refine the hole with a fine drill bit or a needle.Inserting the 4 mm lead pellets
Carefully place the pellets into the hole. You can use tweezersfor better precision.Gluing the two parts together
Apply an even layer of glue to the edges of the two parts to bejoined.Align and combine the two parts carefully to ensure they fitperfectly.Hold them together or use a clamp until the glue has fullydried.Cleaning excess material
Gently remove any excess glue or imperfections with a file orfine sandpaper.Creating and inserting the rings
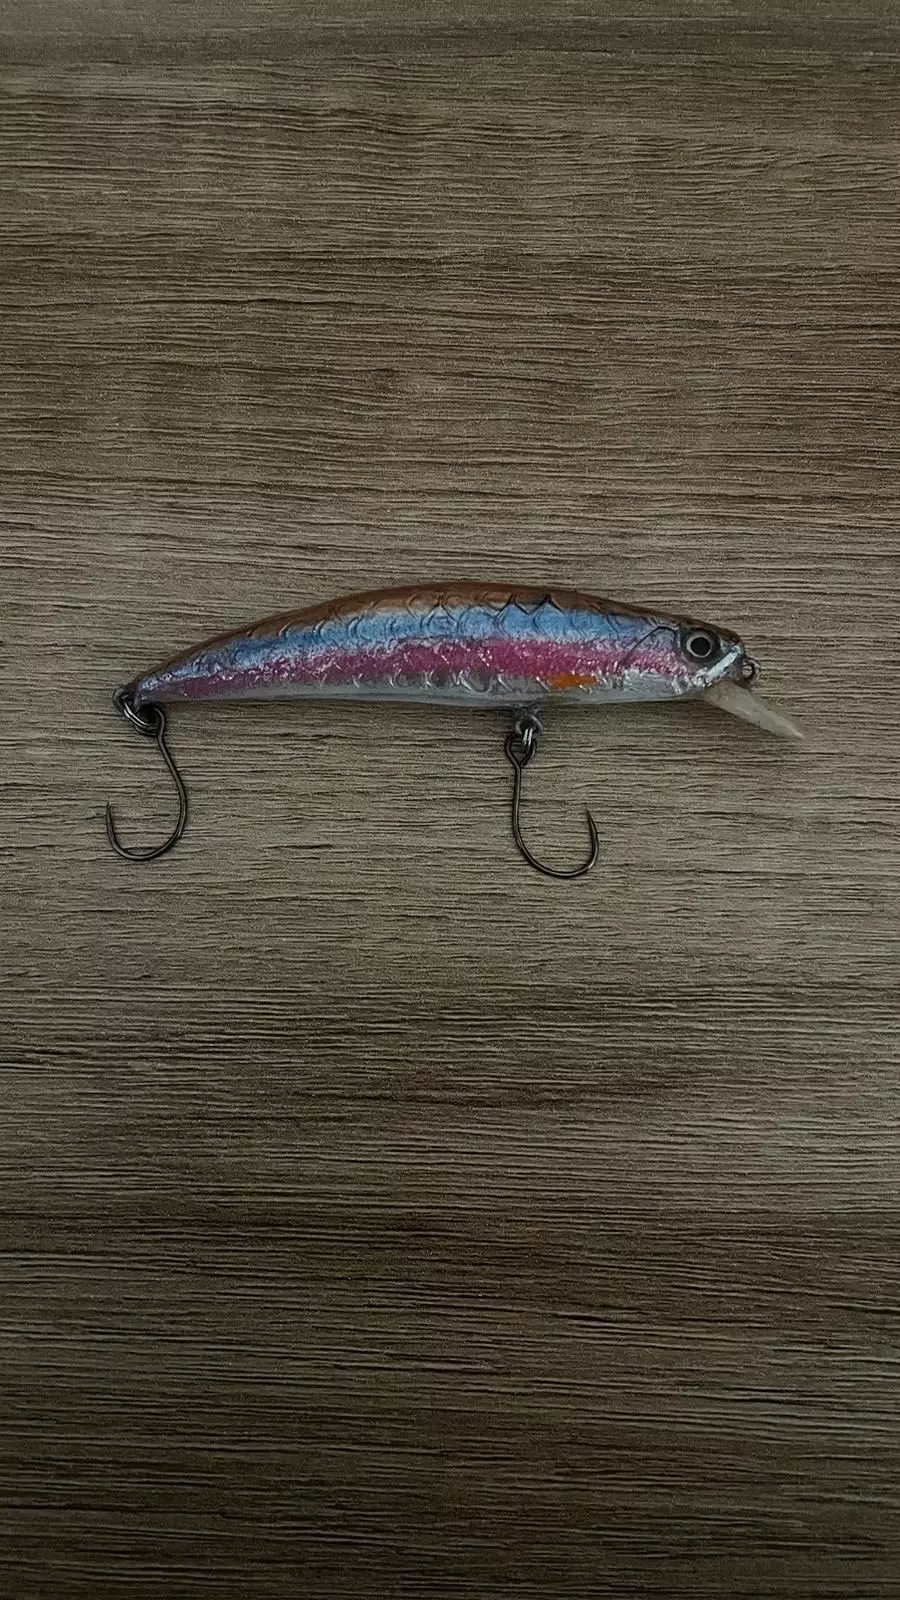
Create three rings using metal wire or another suitablematerial, shaping them with pliers.Insert each ring into the designated holes, ensuring they aresecurely attached and symmetrical.Coloring and coating with resin
Customize the piece with your chosen colors, using brushes ortools for an even application.Let the colors dry completely.Apply an even layer of resin for protection and a polishedfinish. Be sure to remove any air bubbles in the resin.Final drying
Allow the piece to dry in a dust-free environment until fullysolidified.If you need suggestions for specific techniques, let me know!