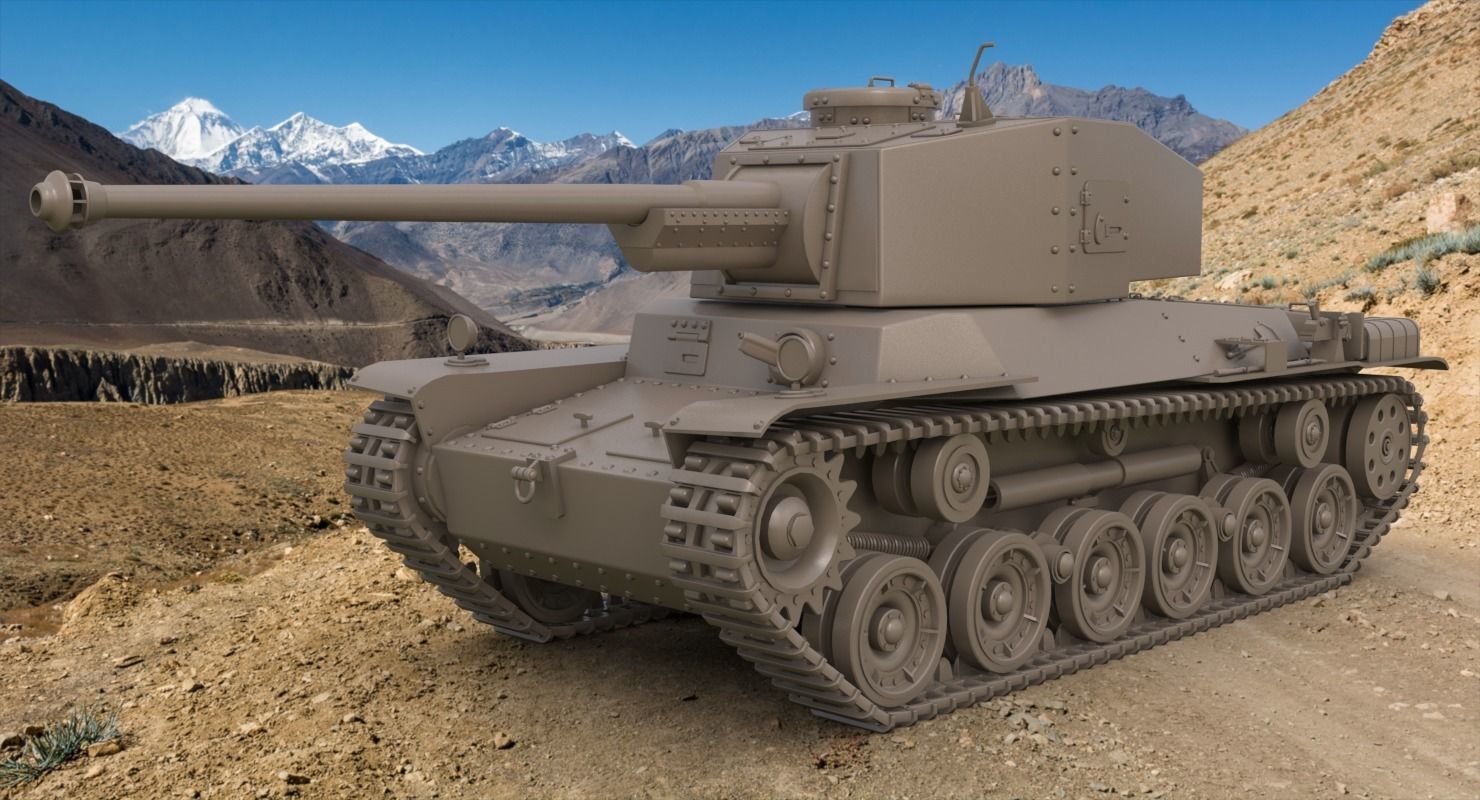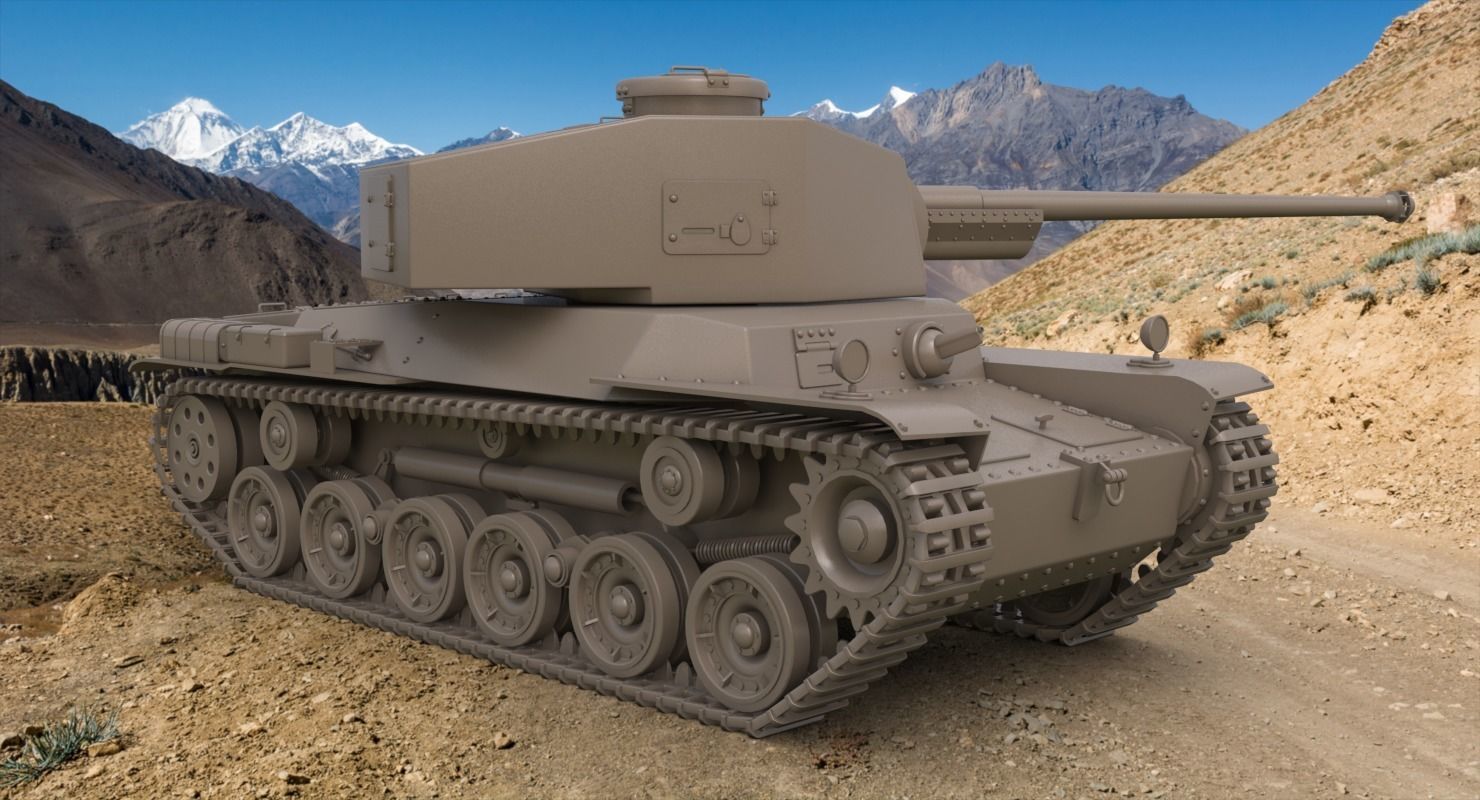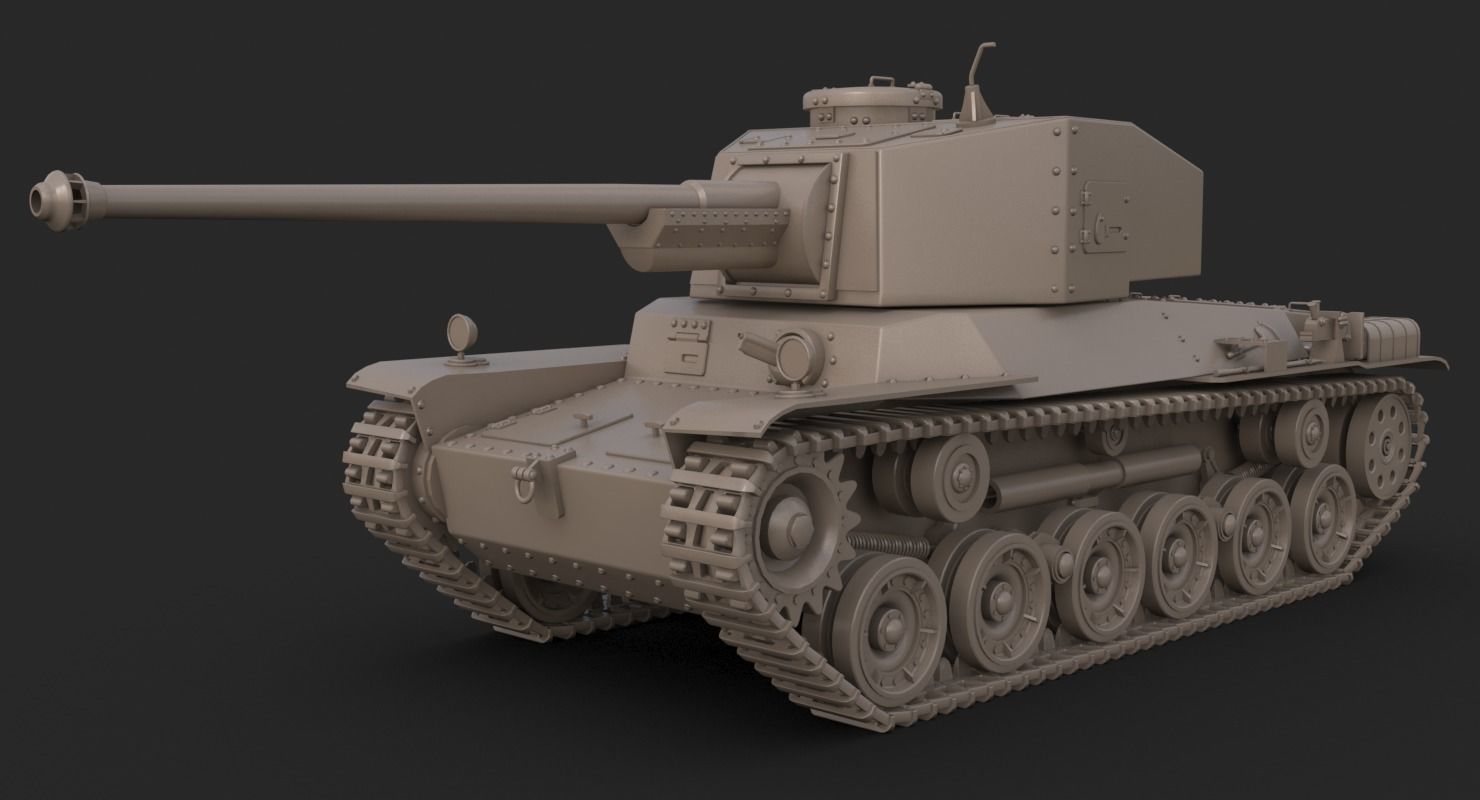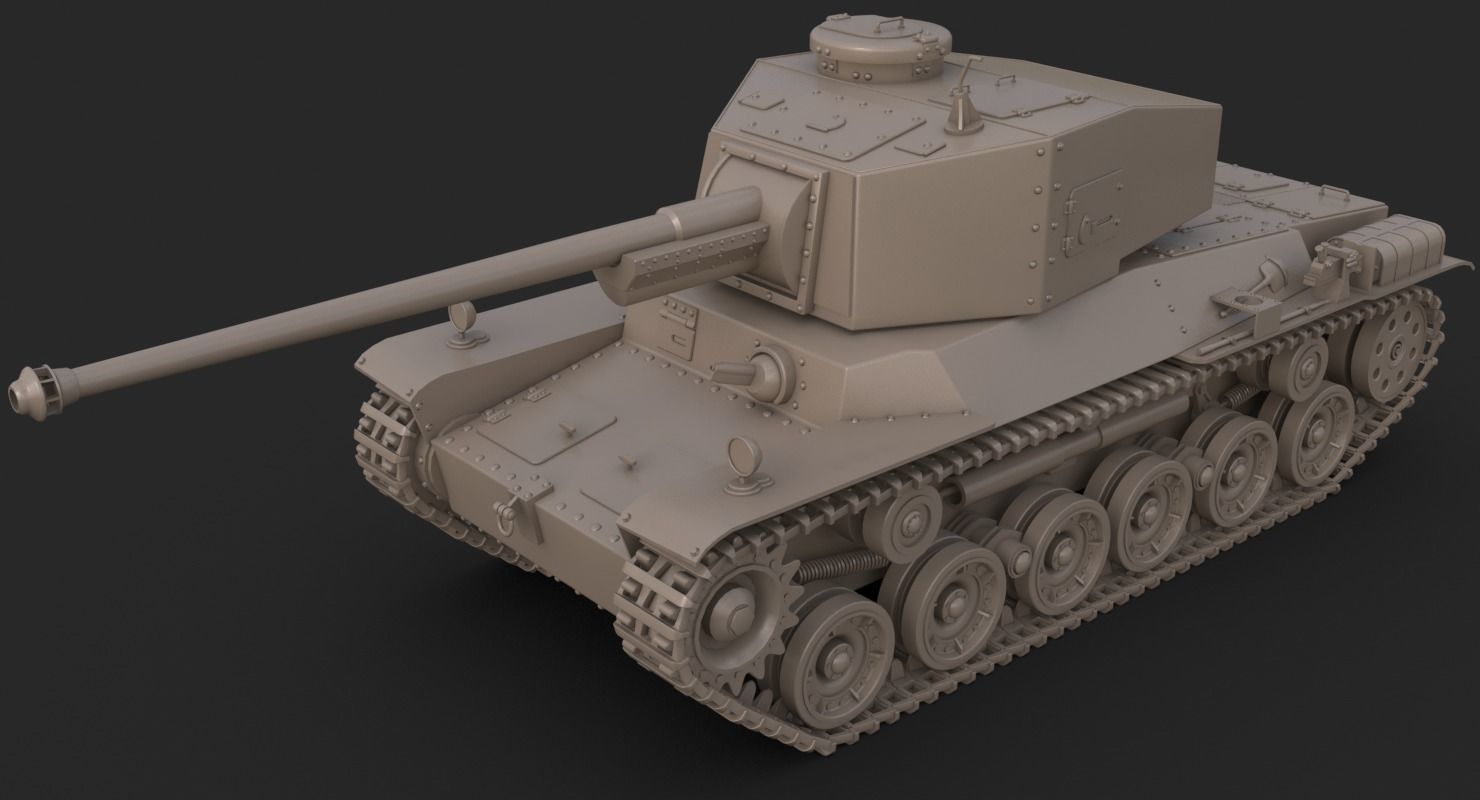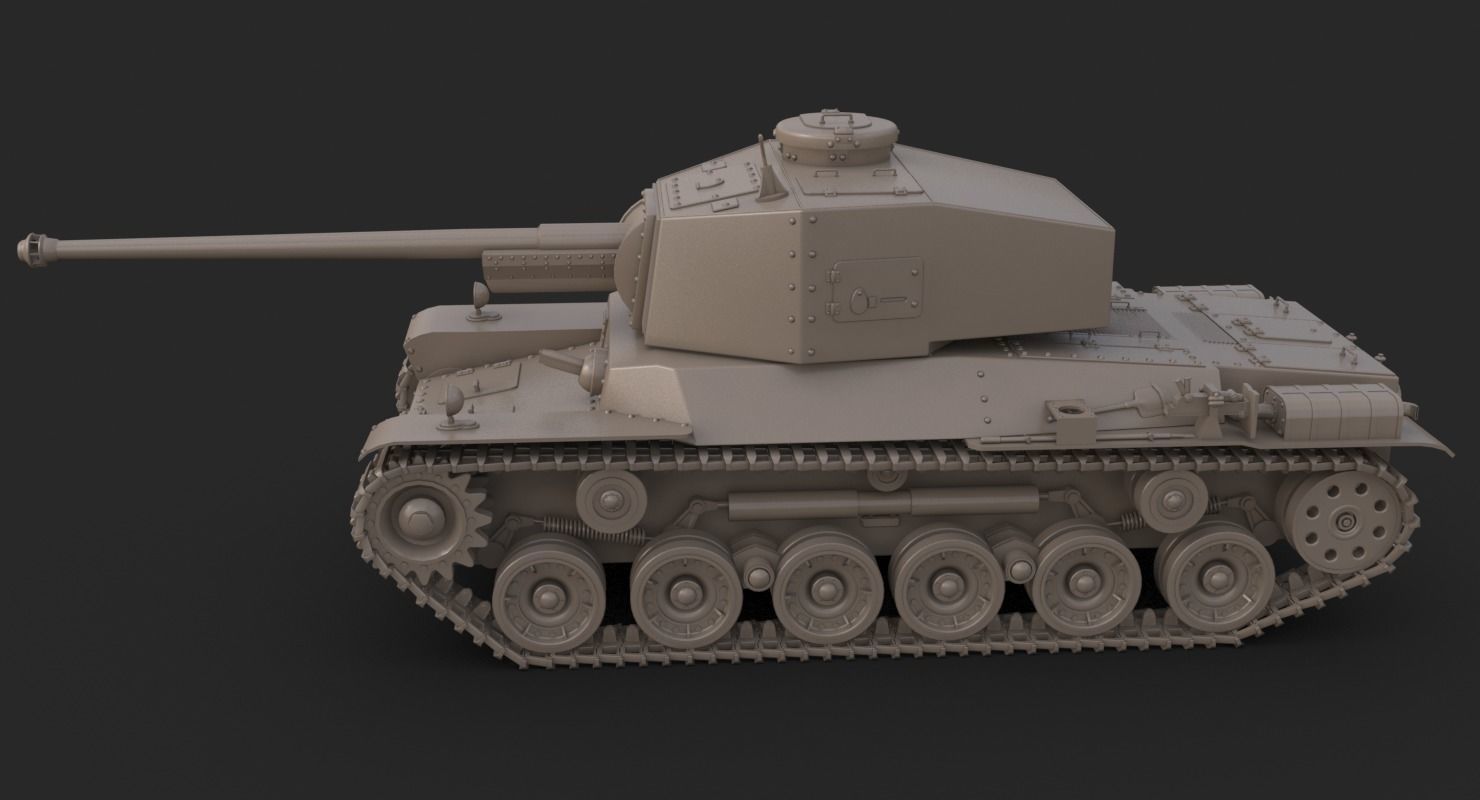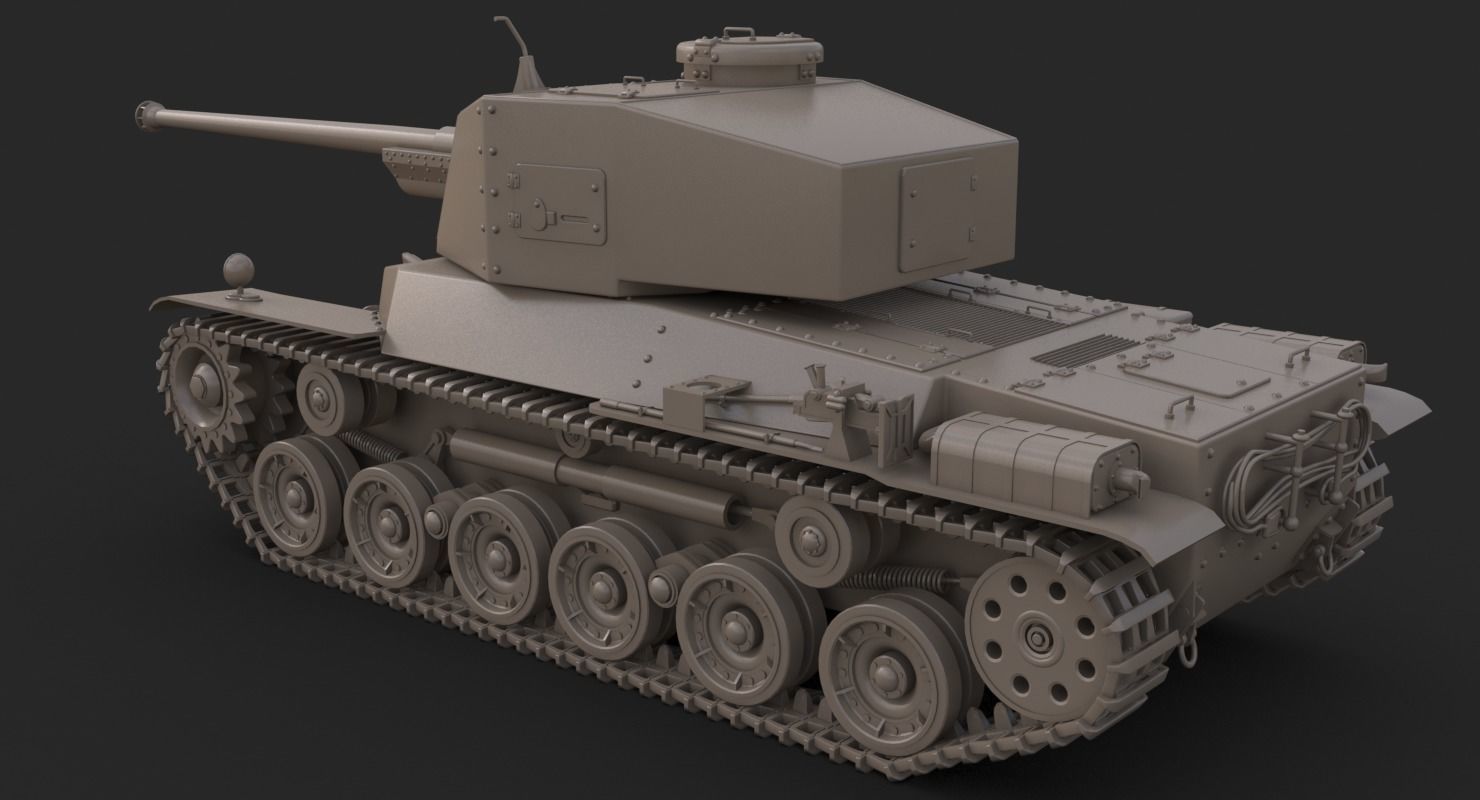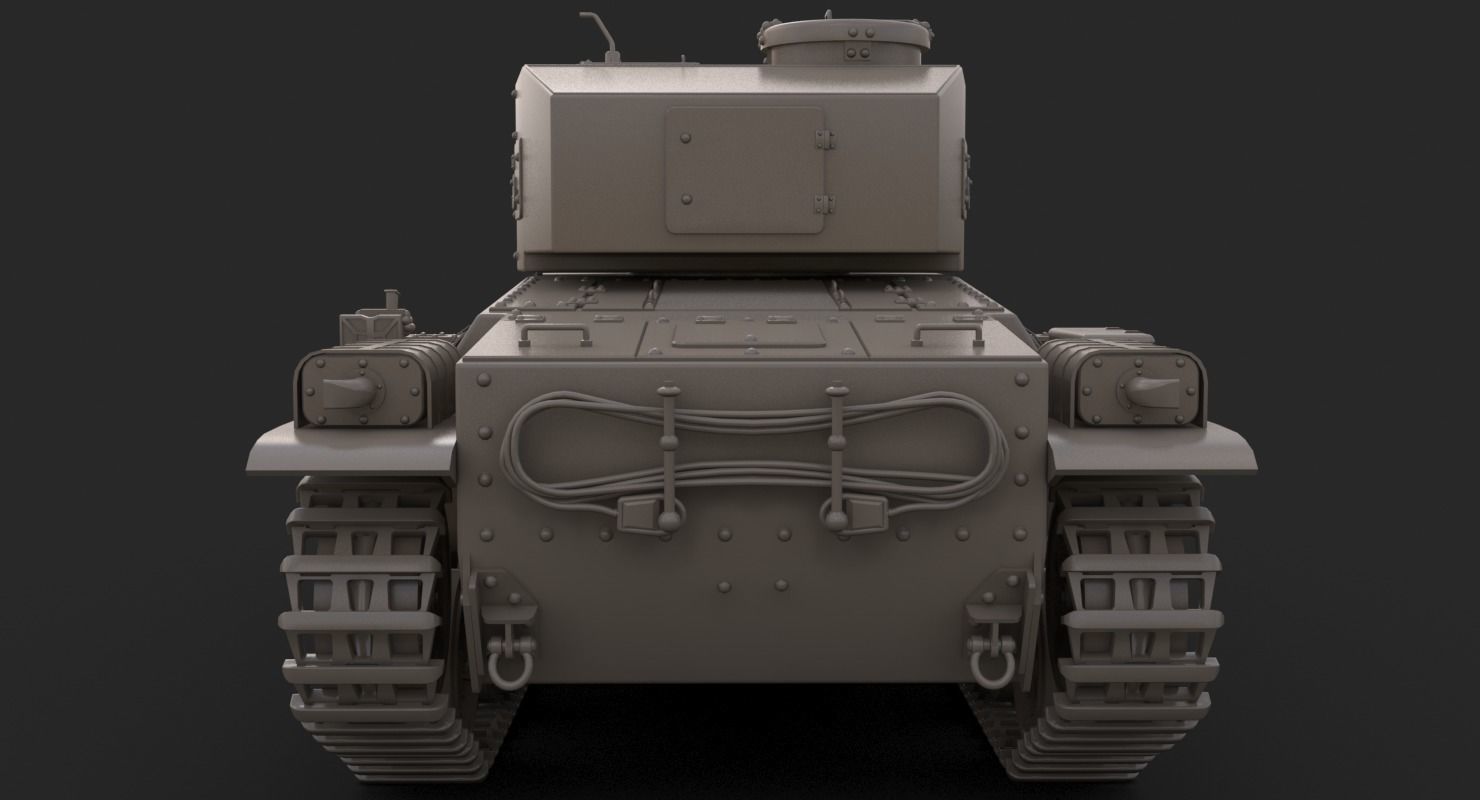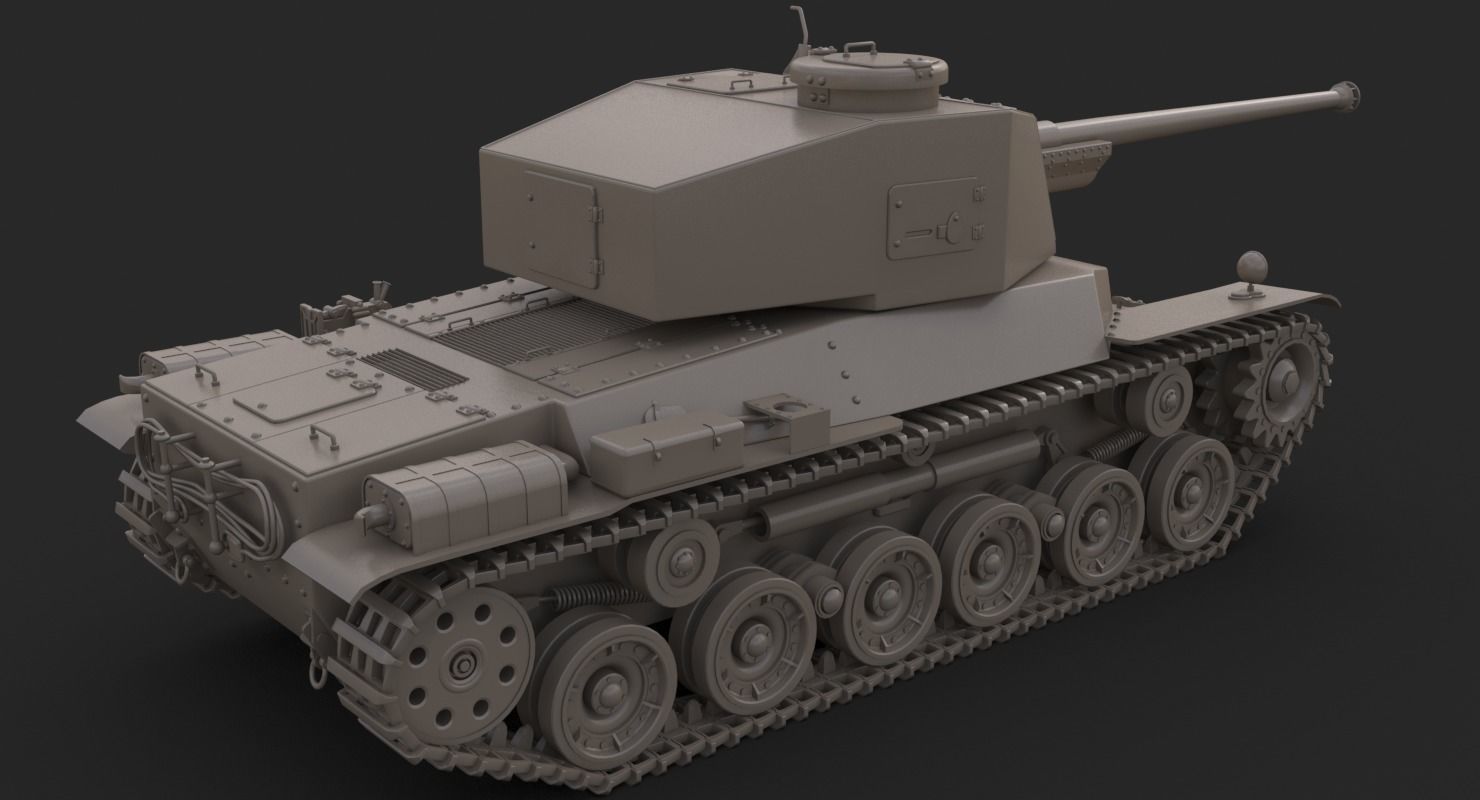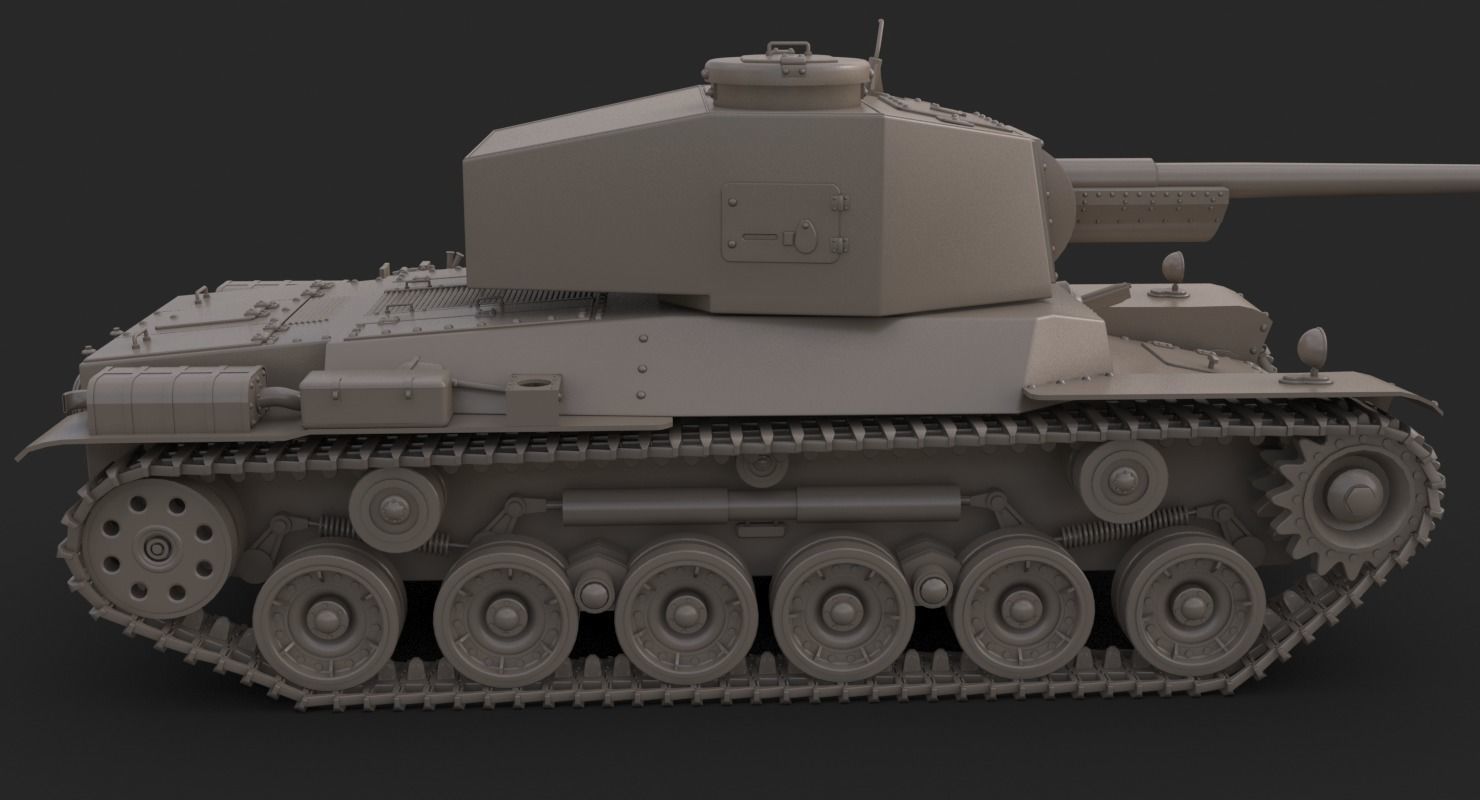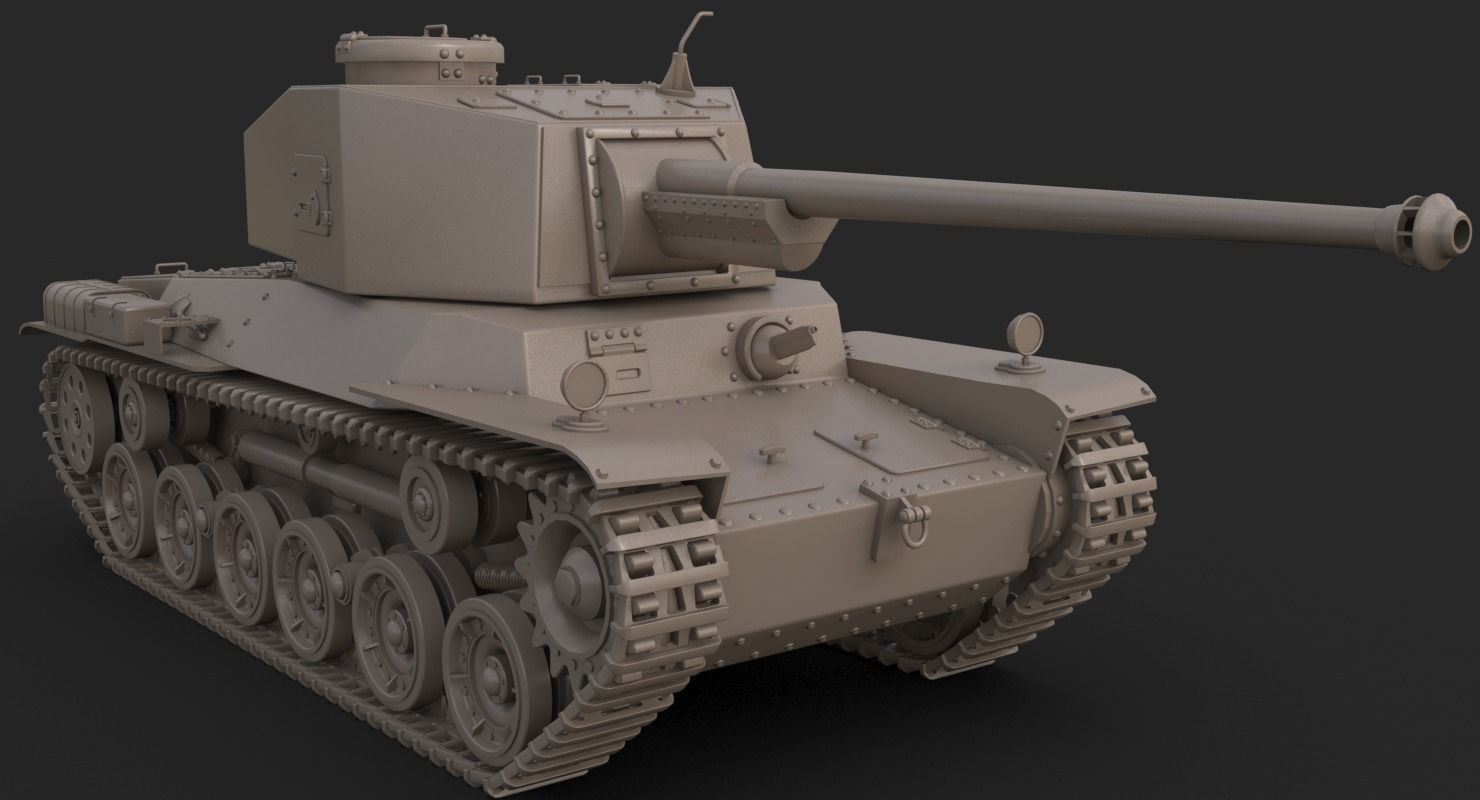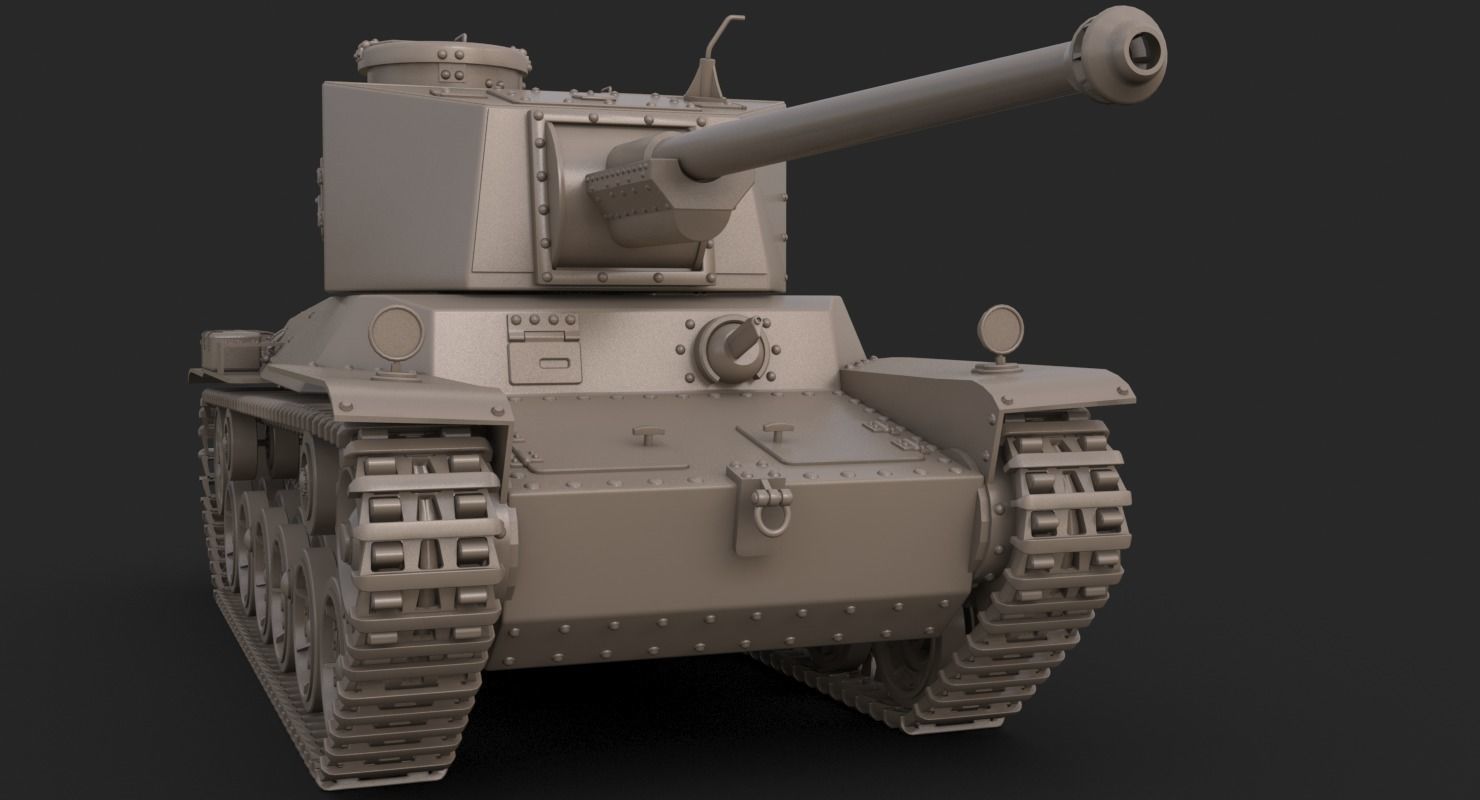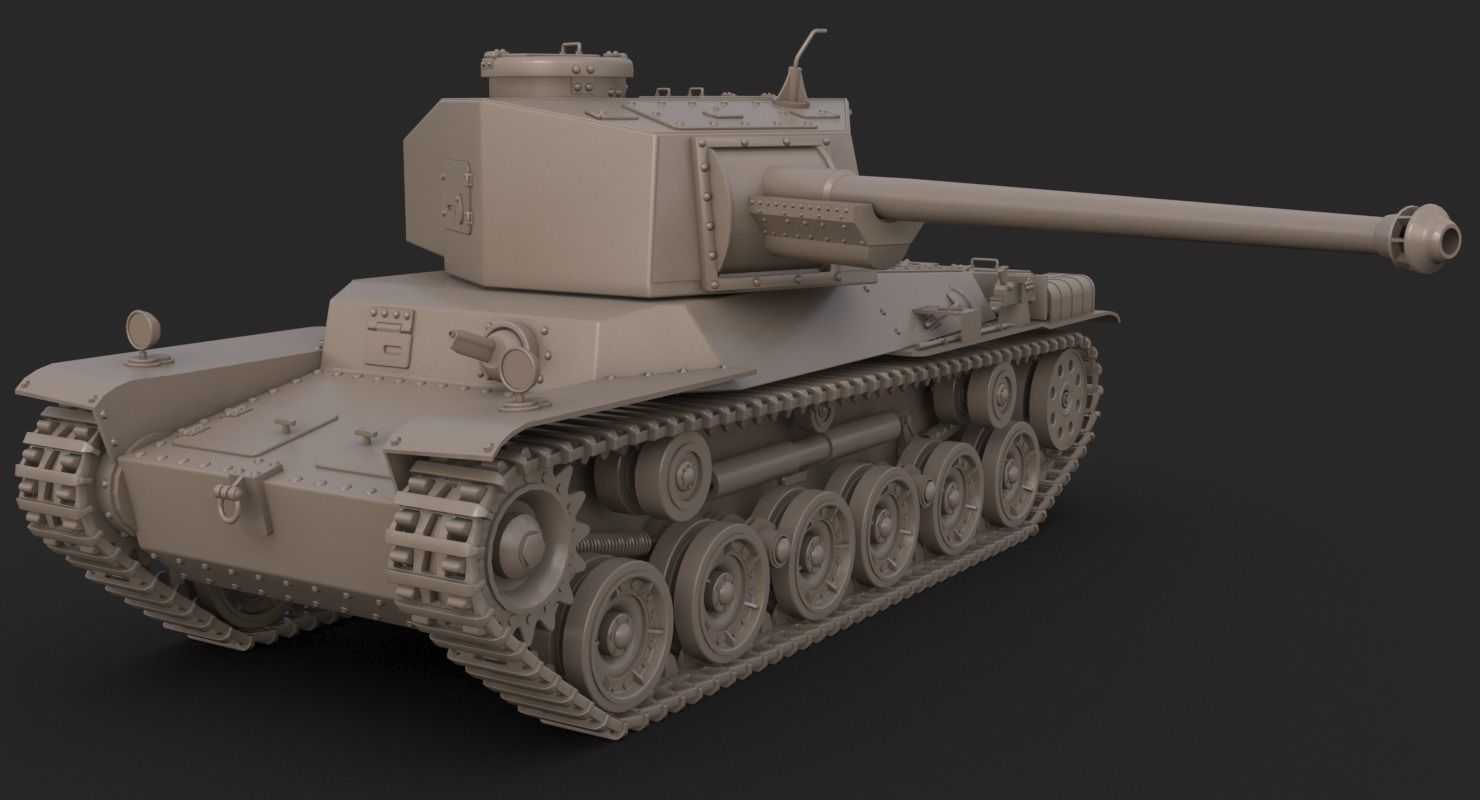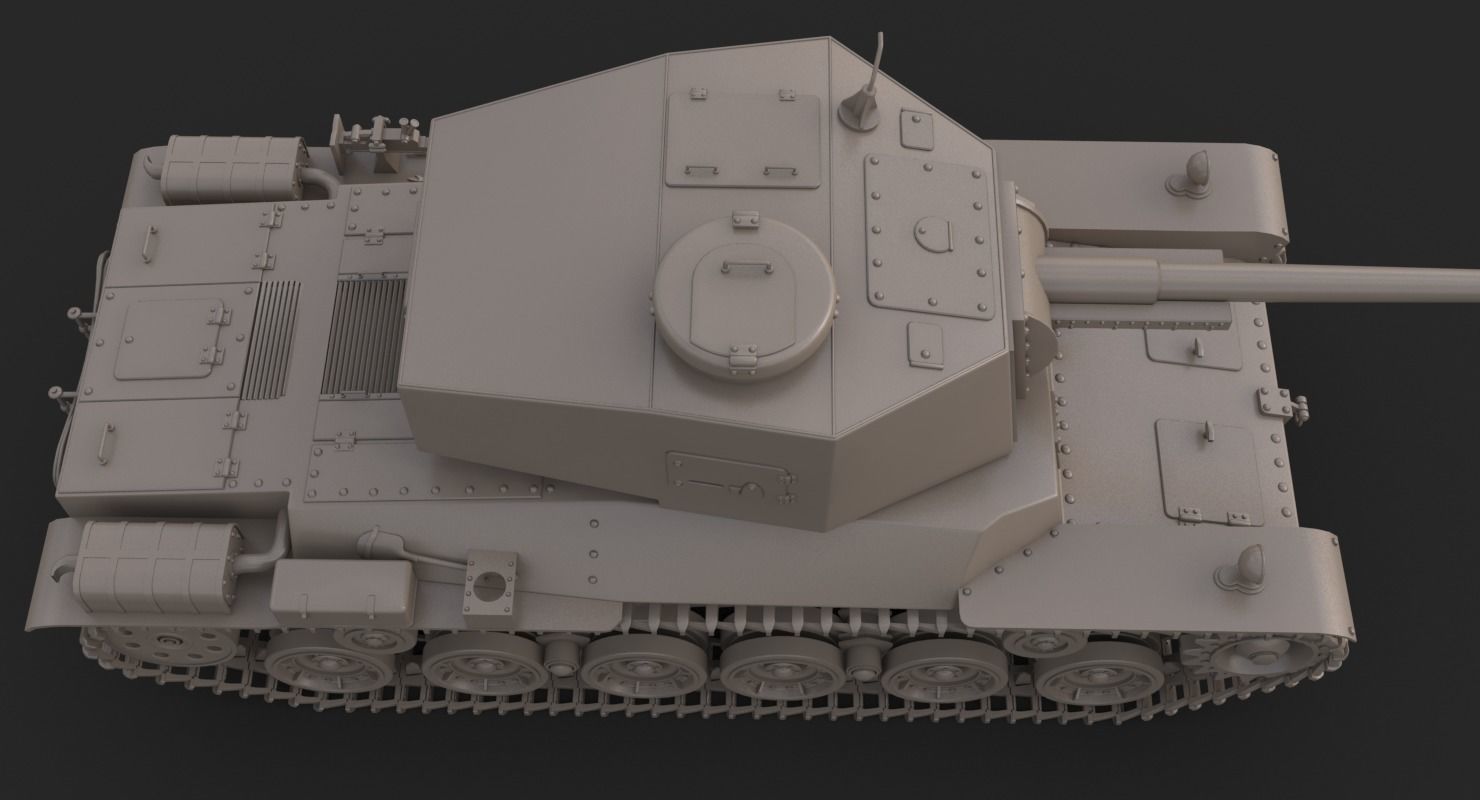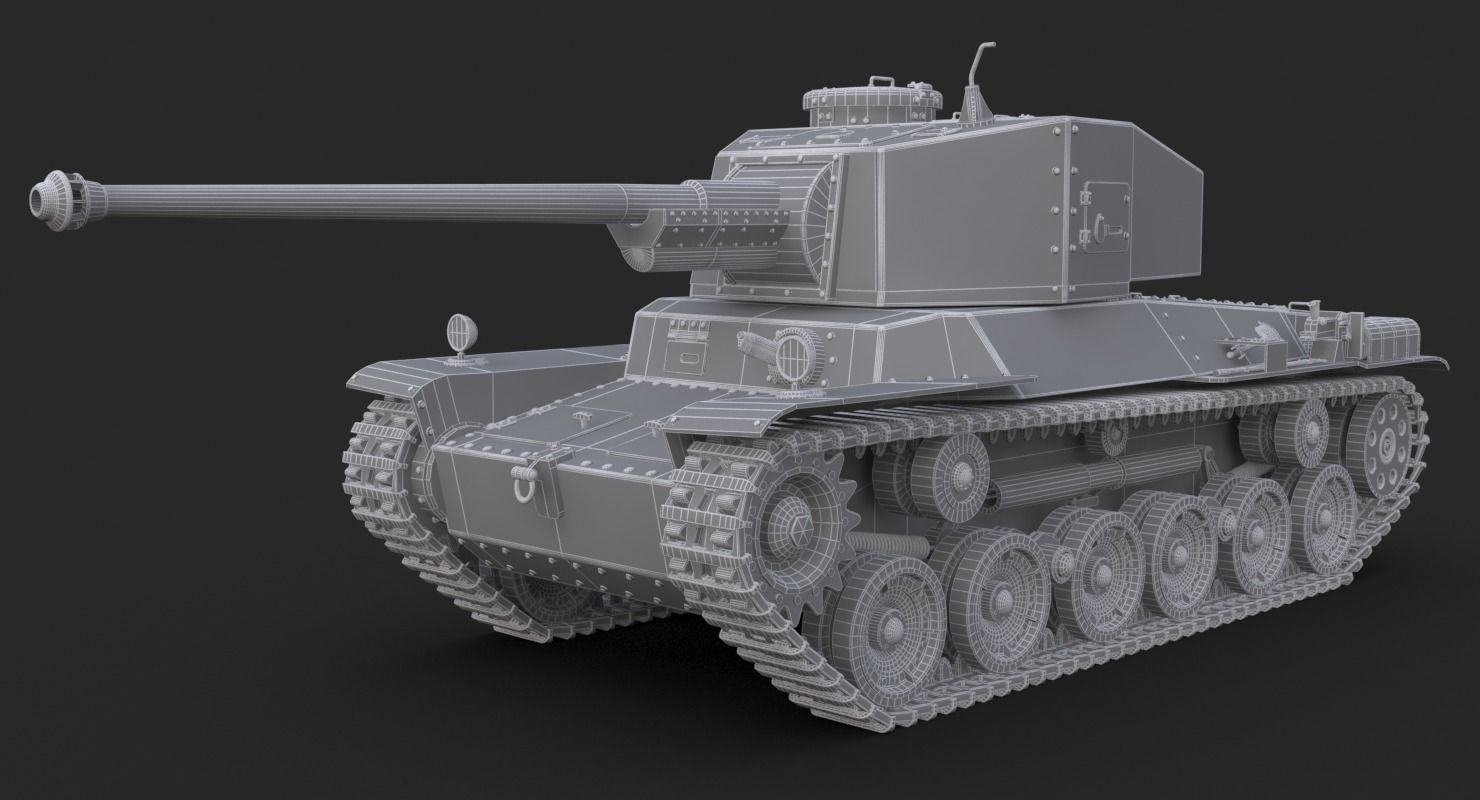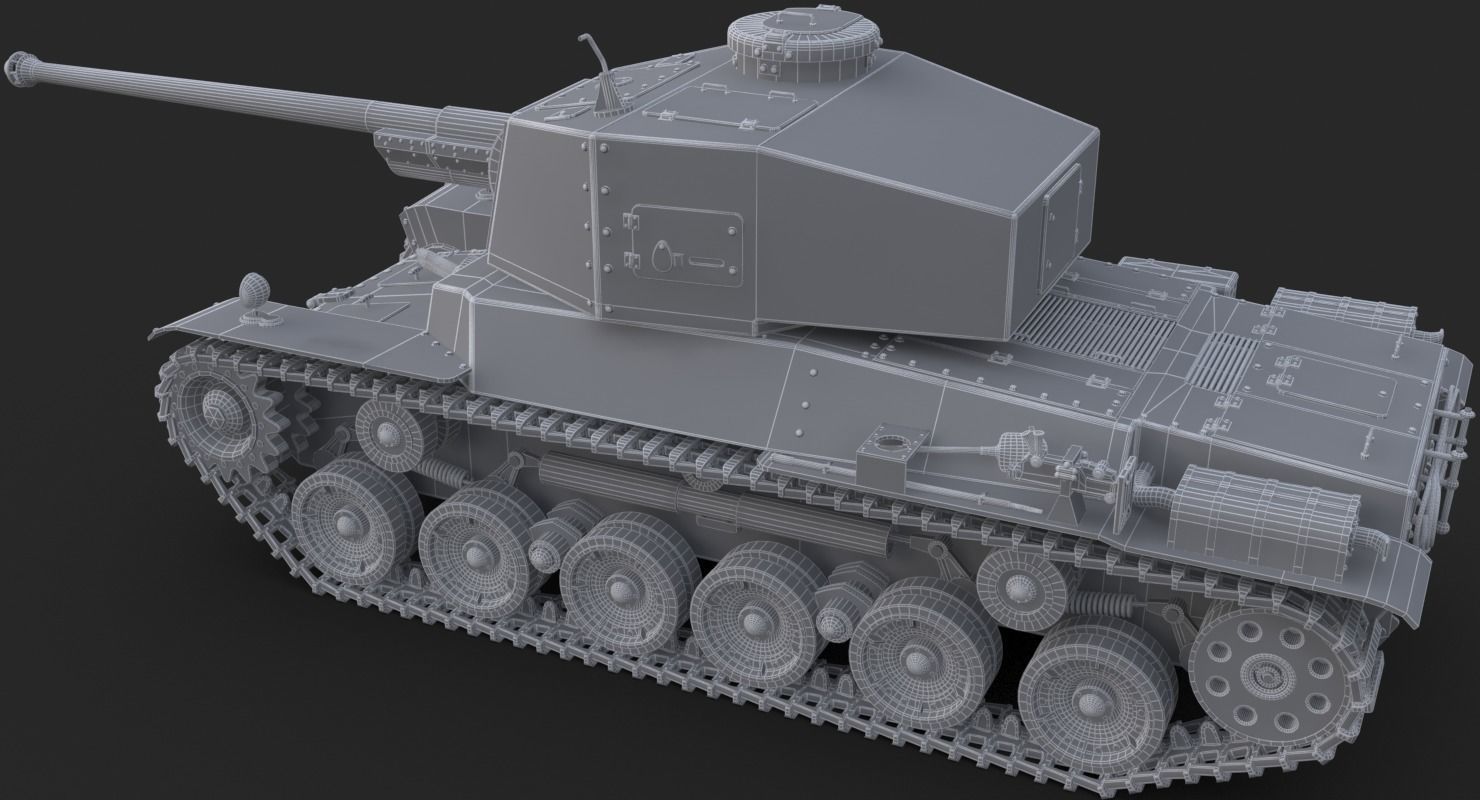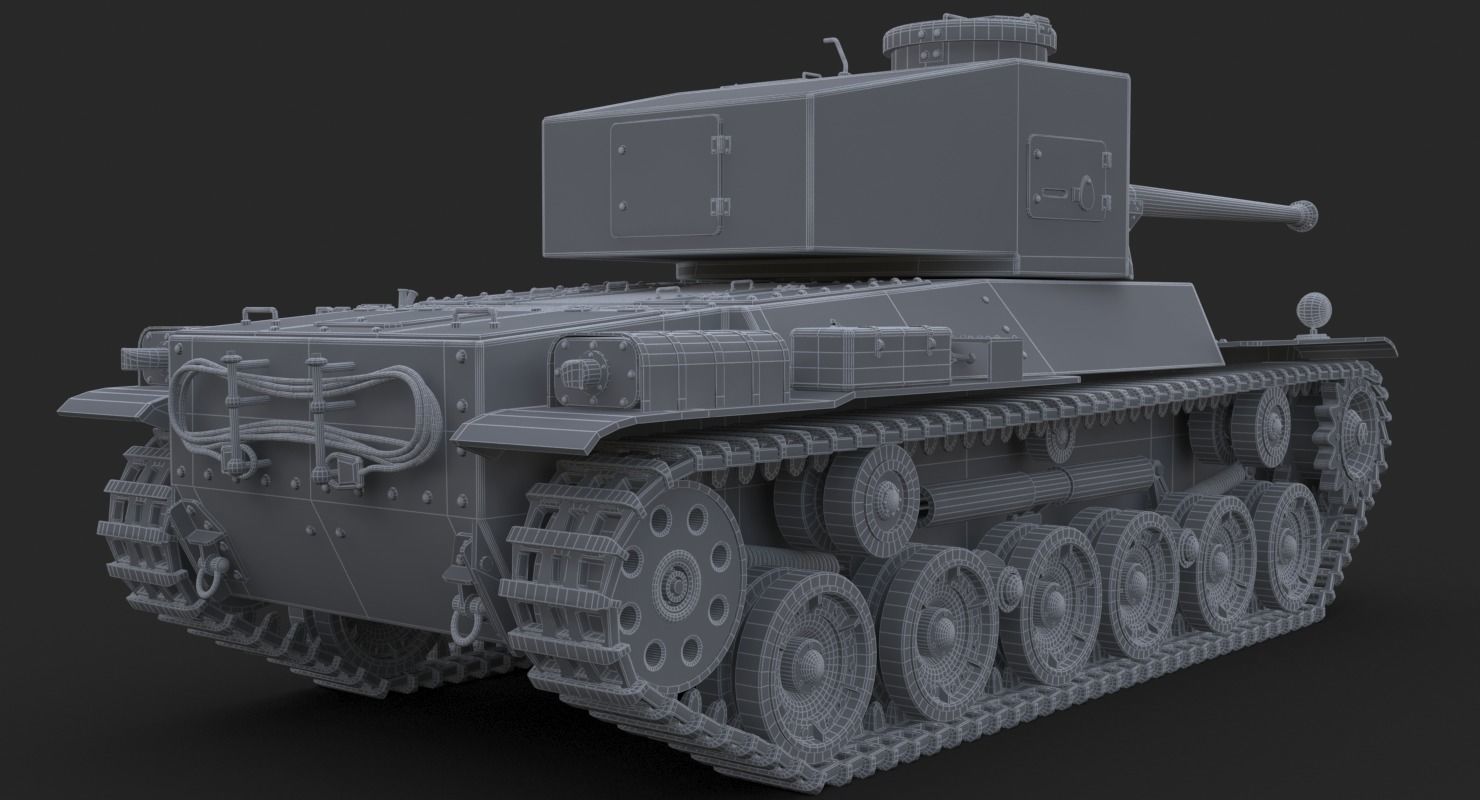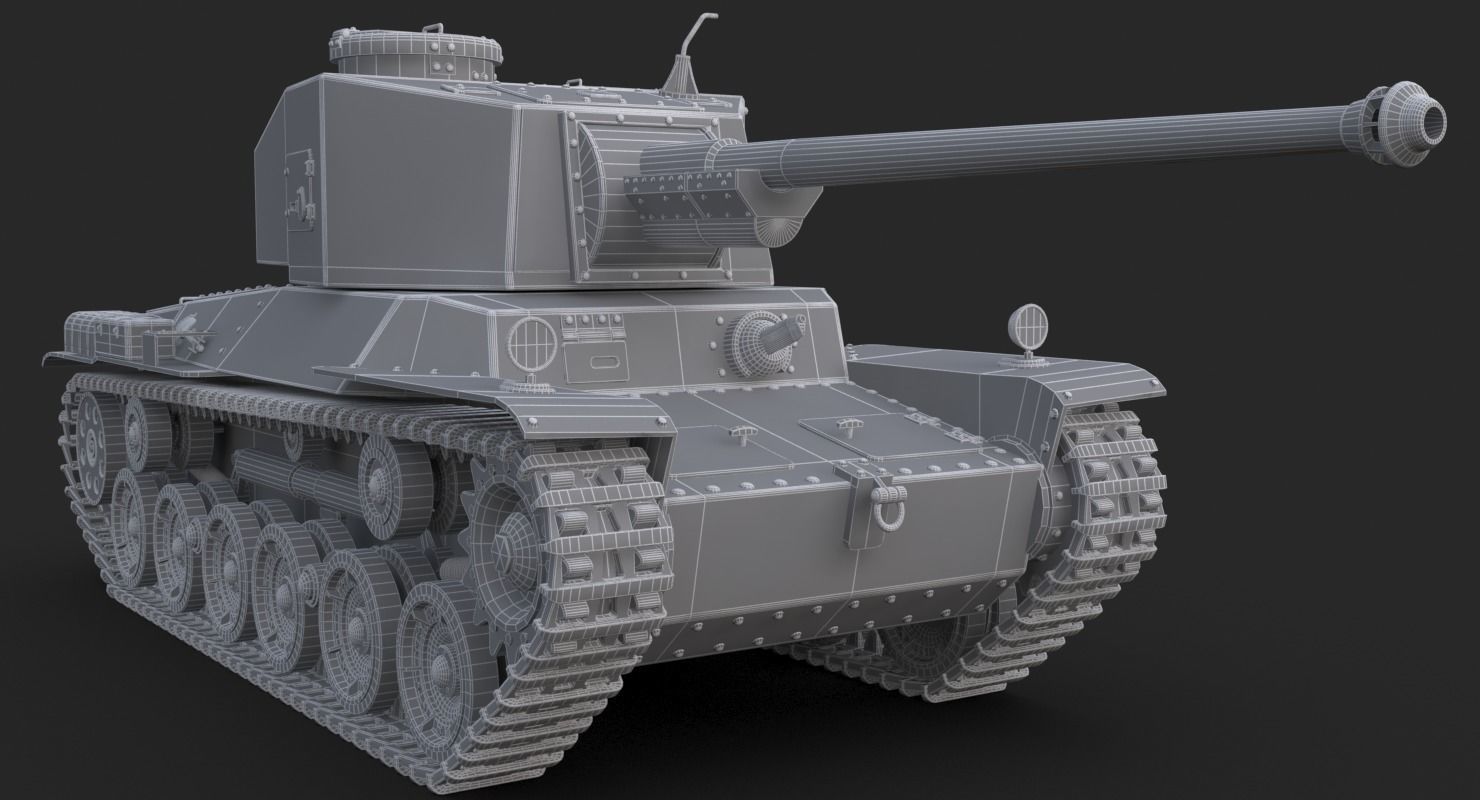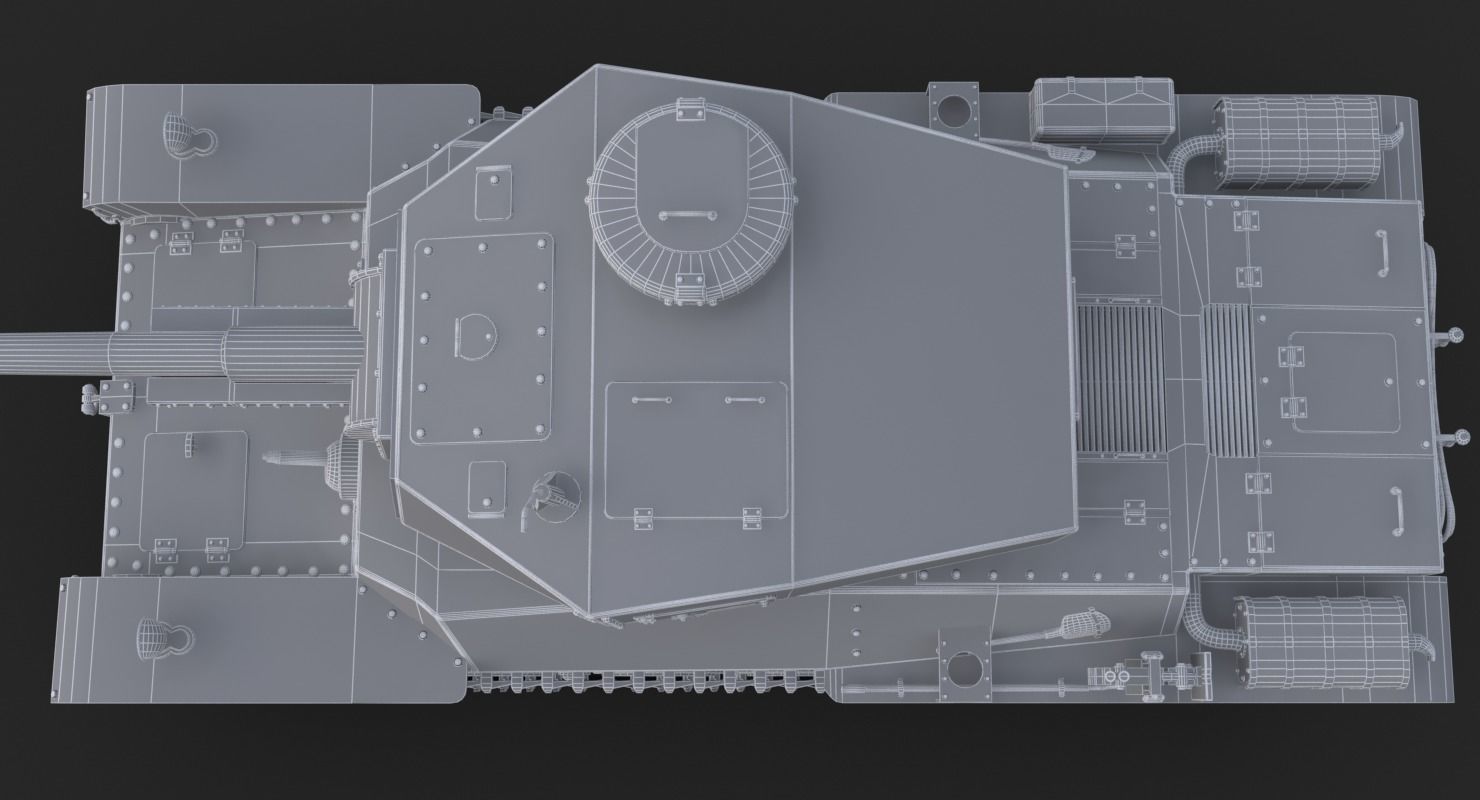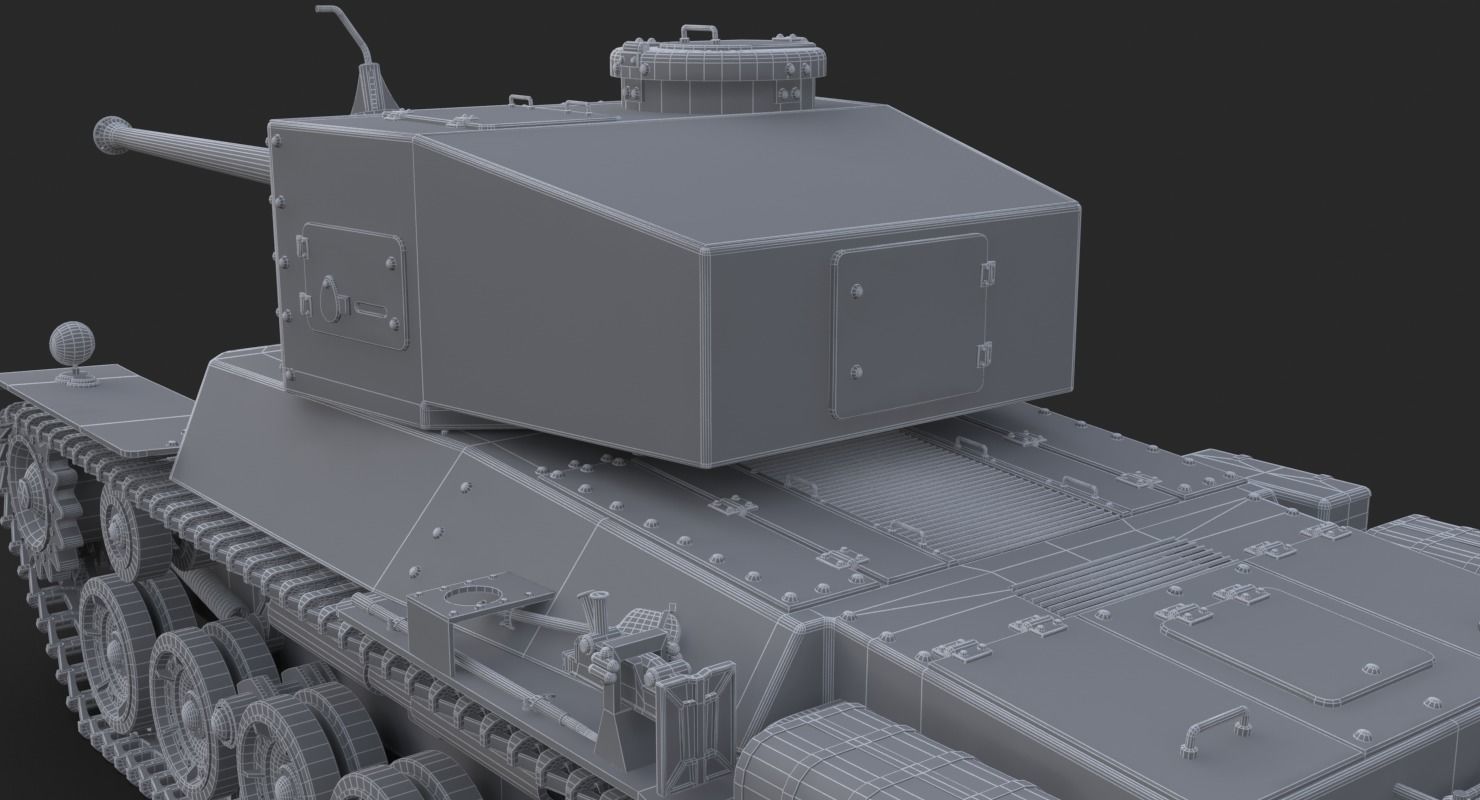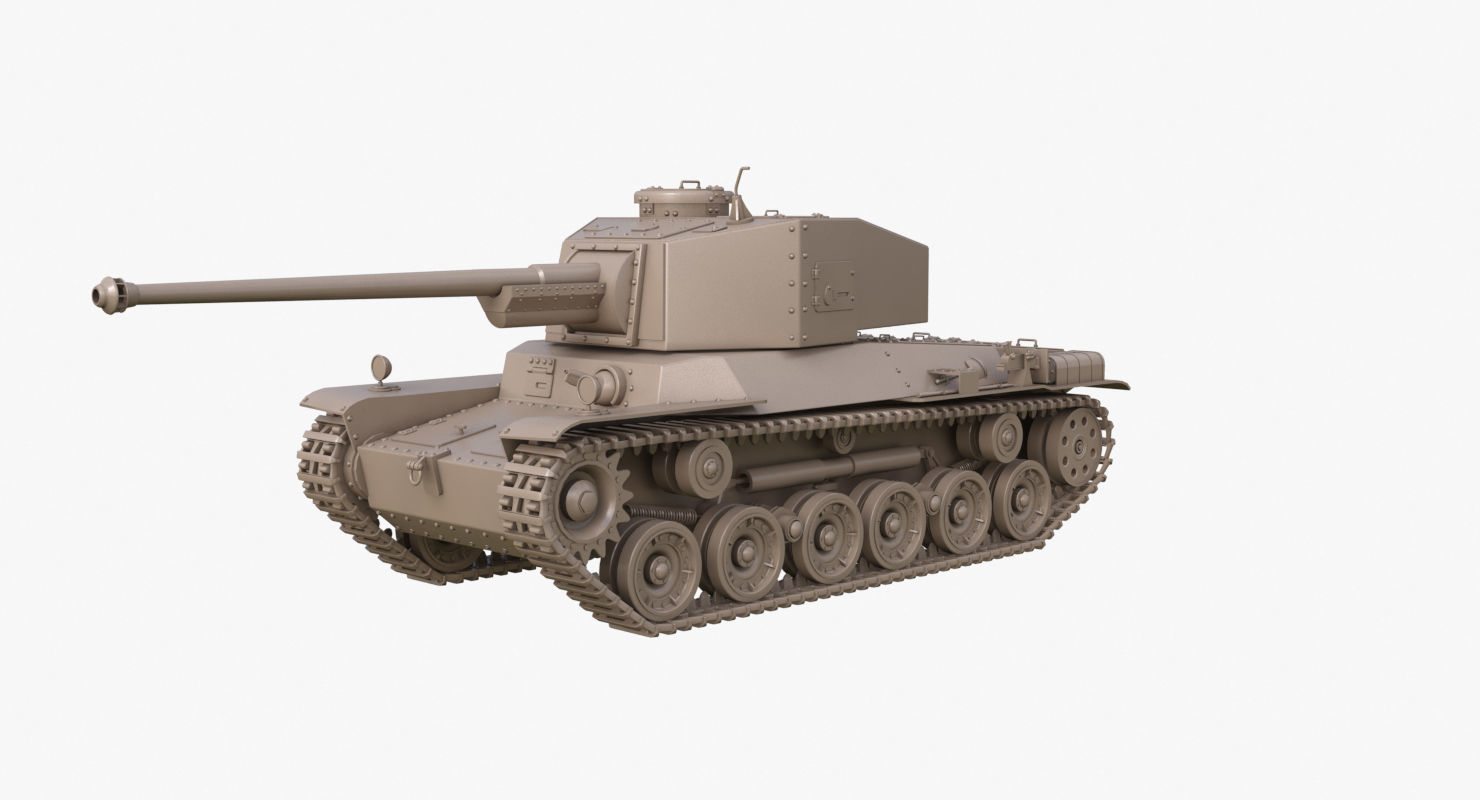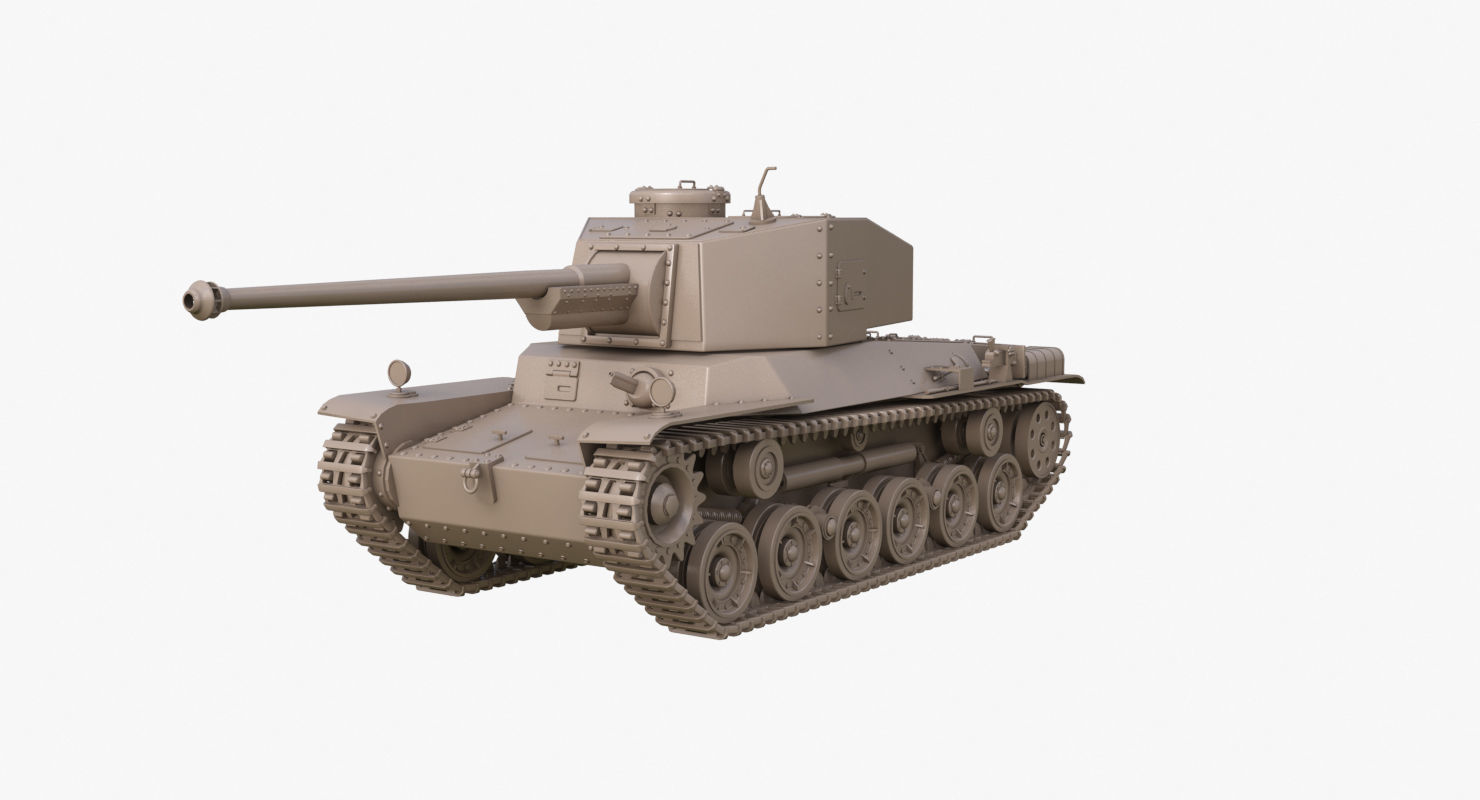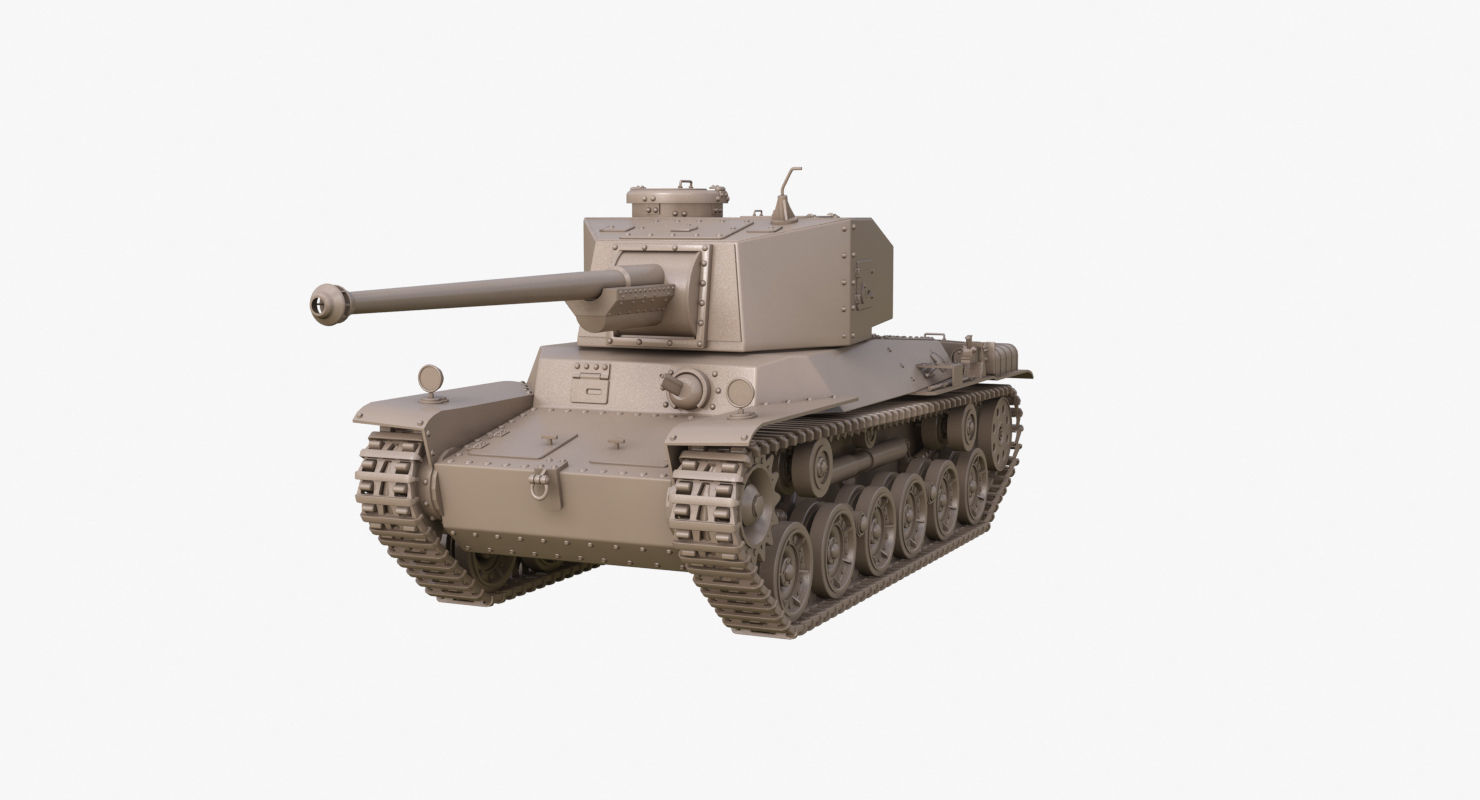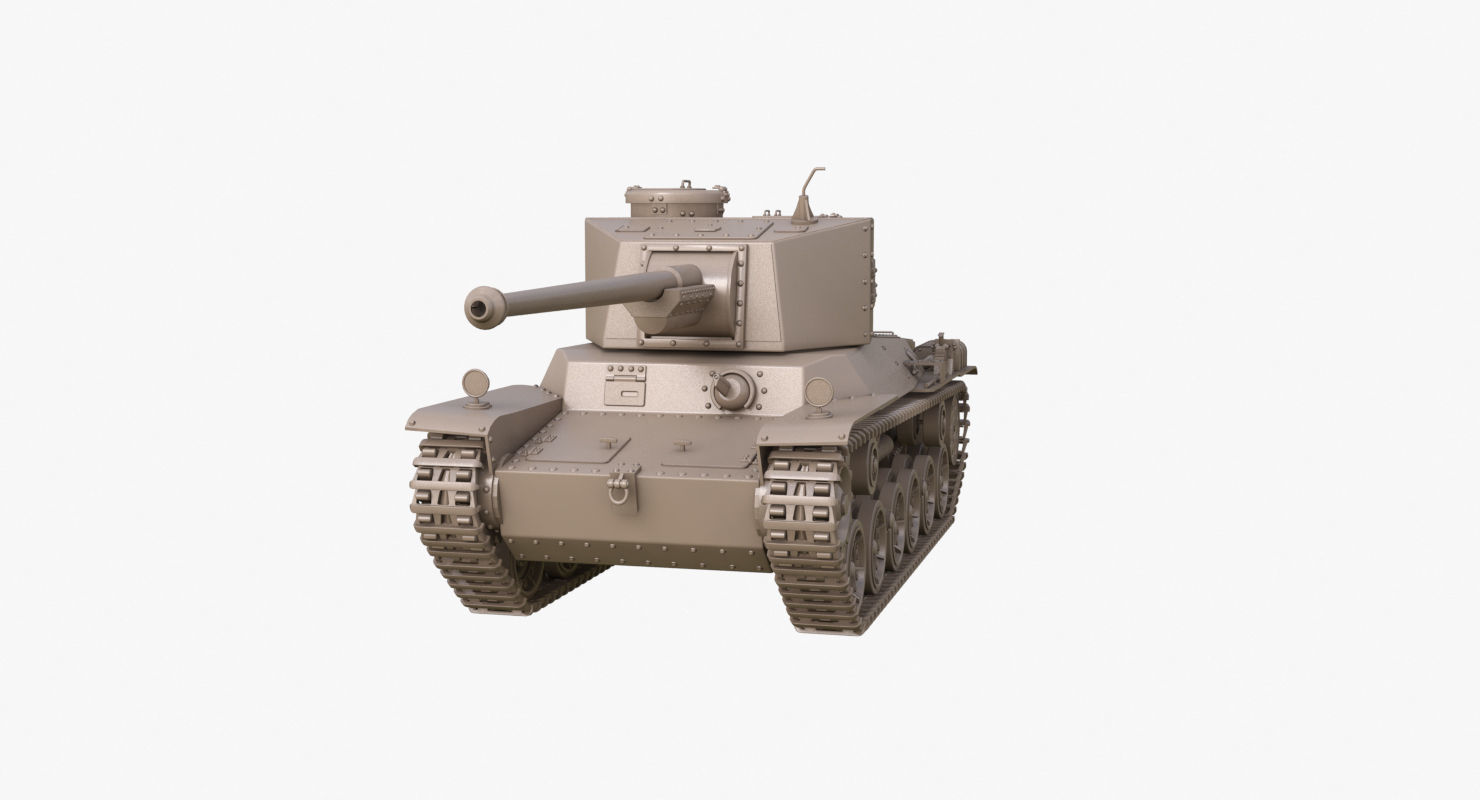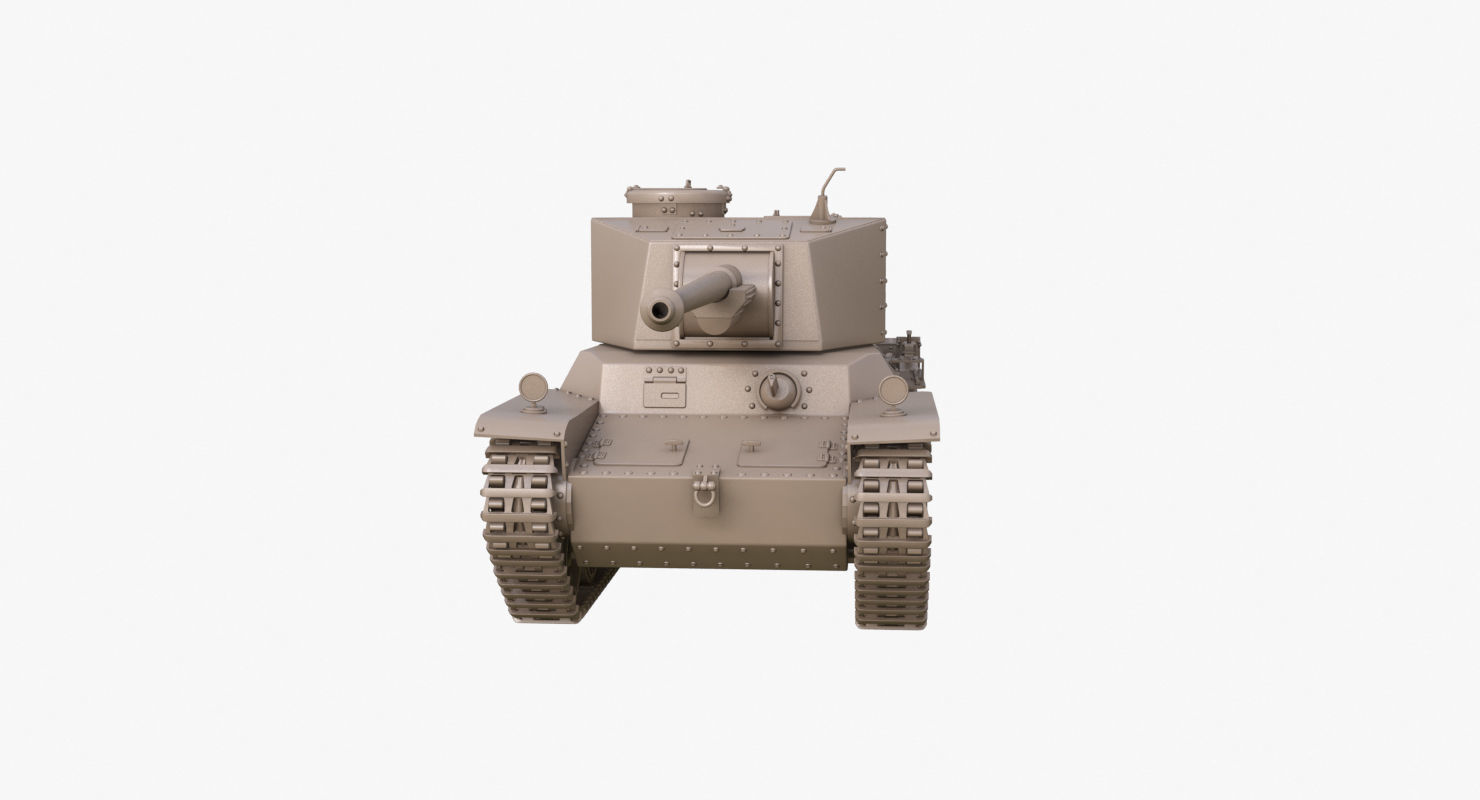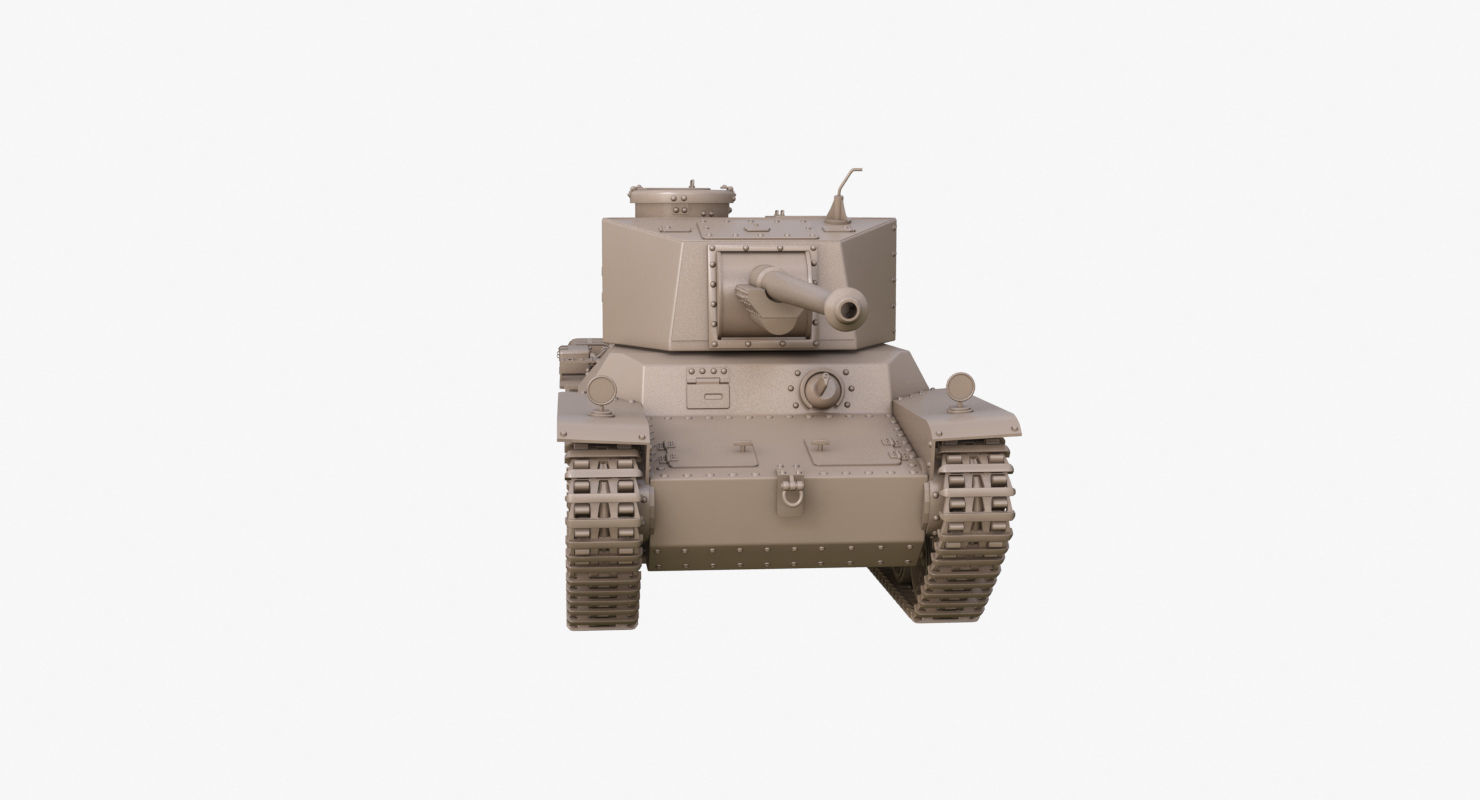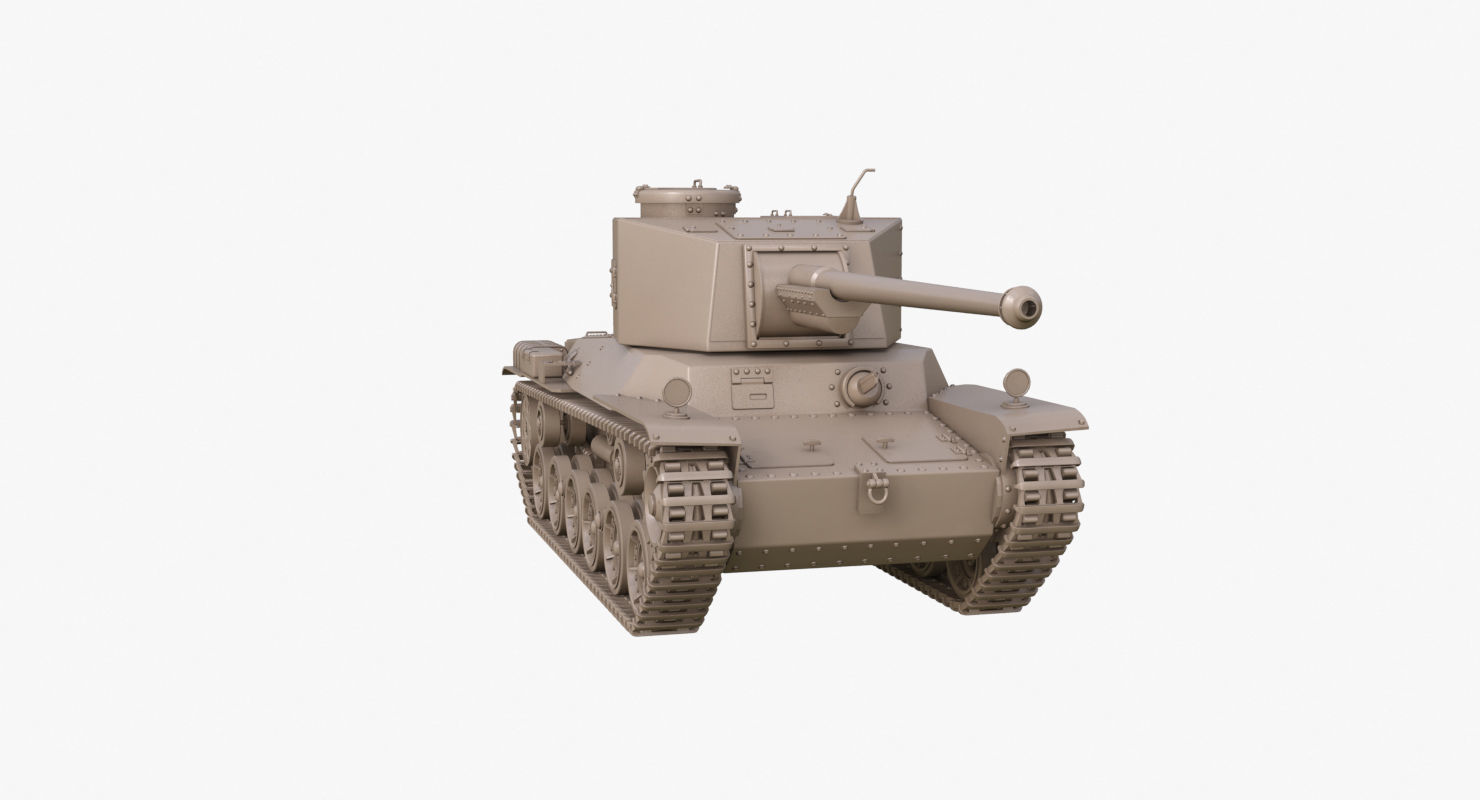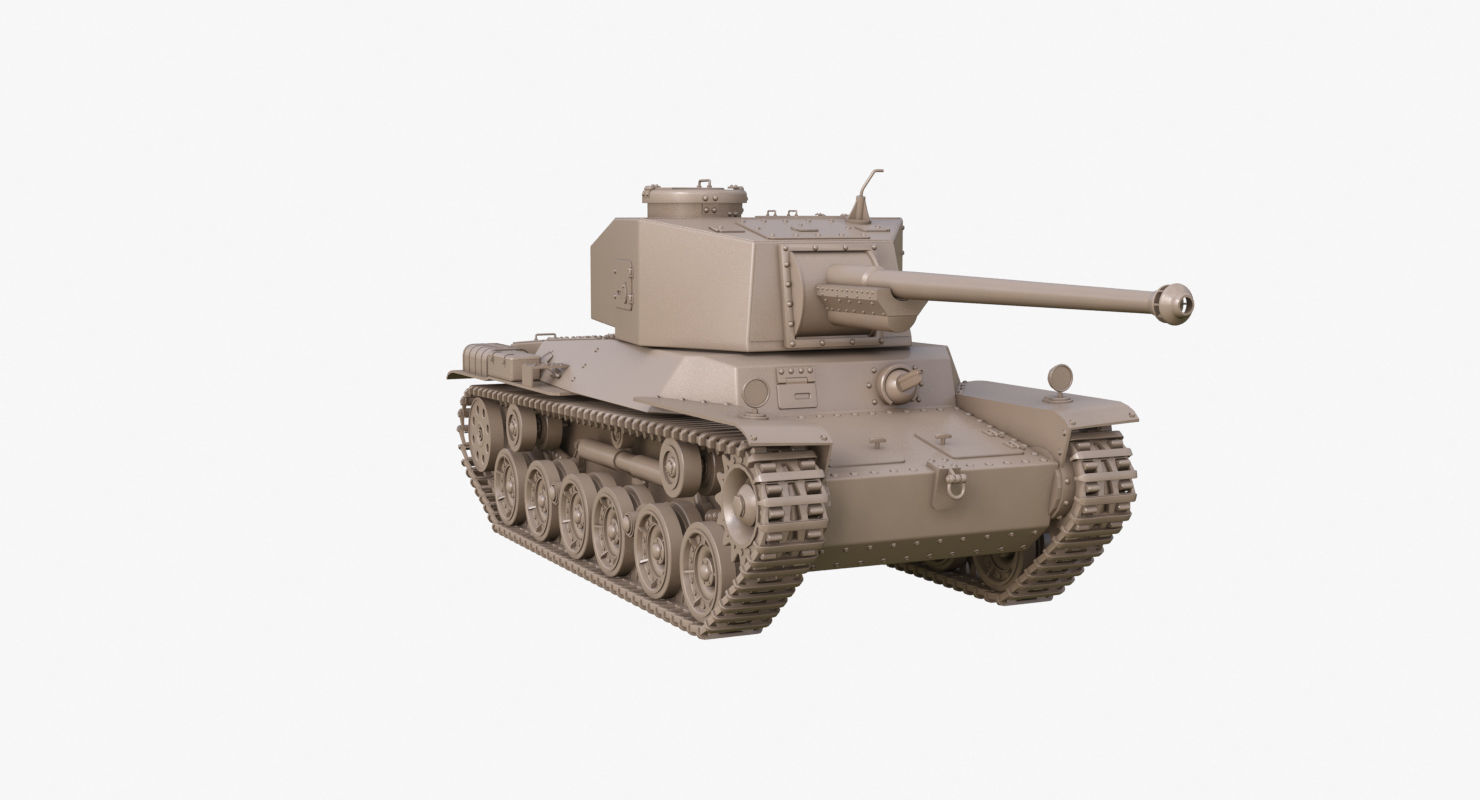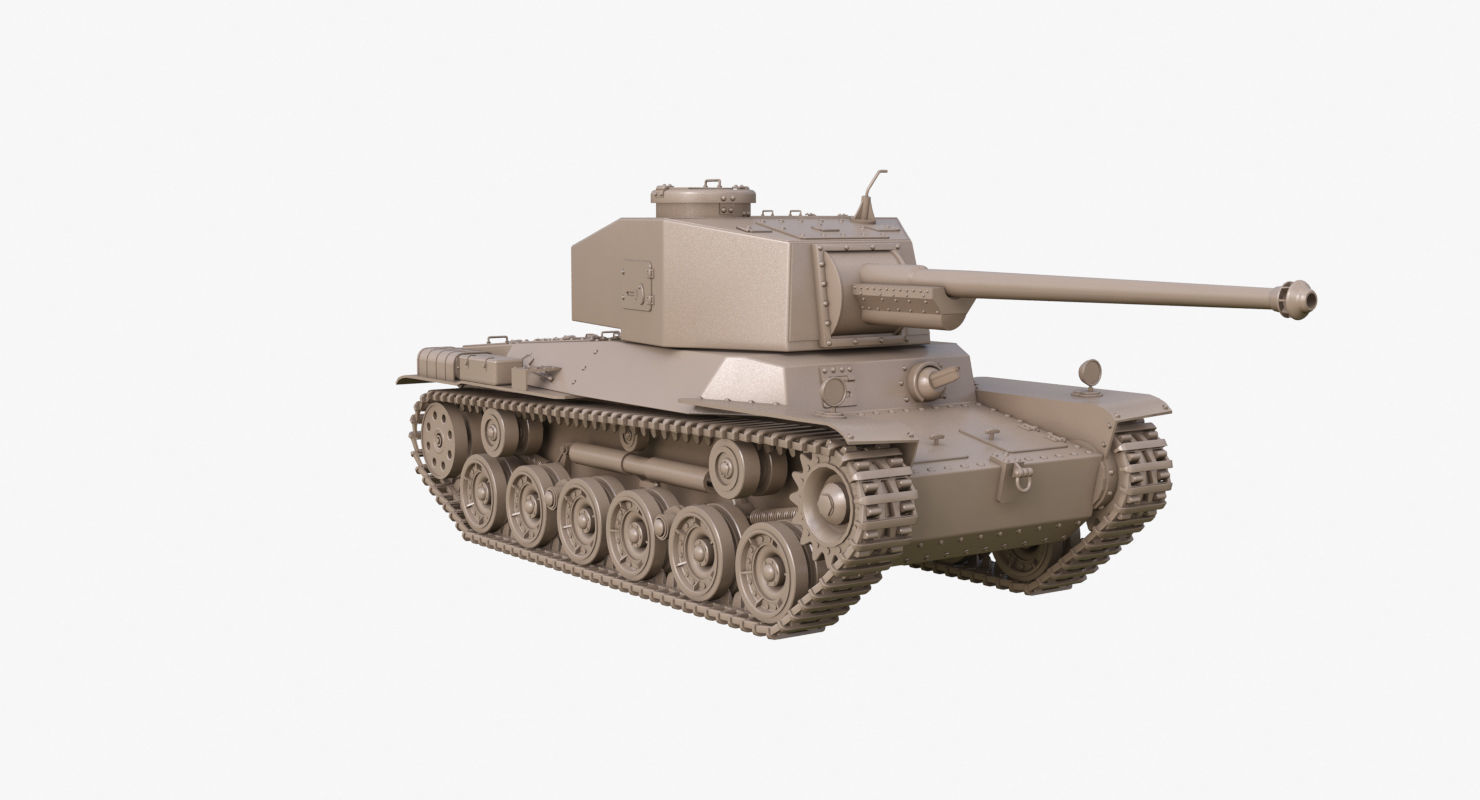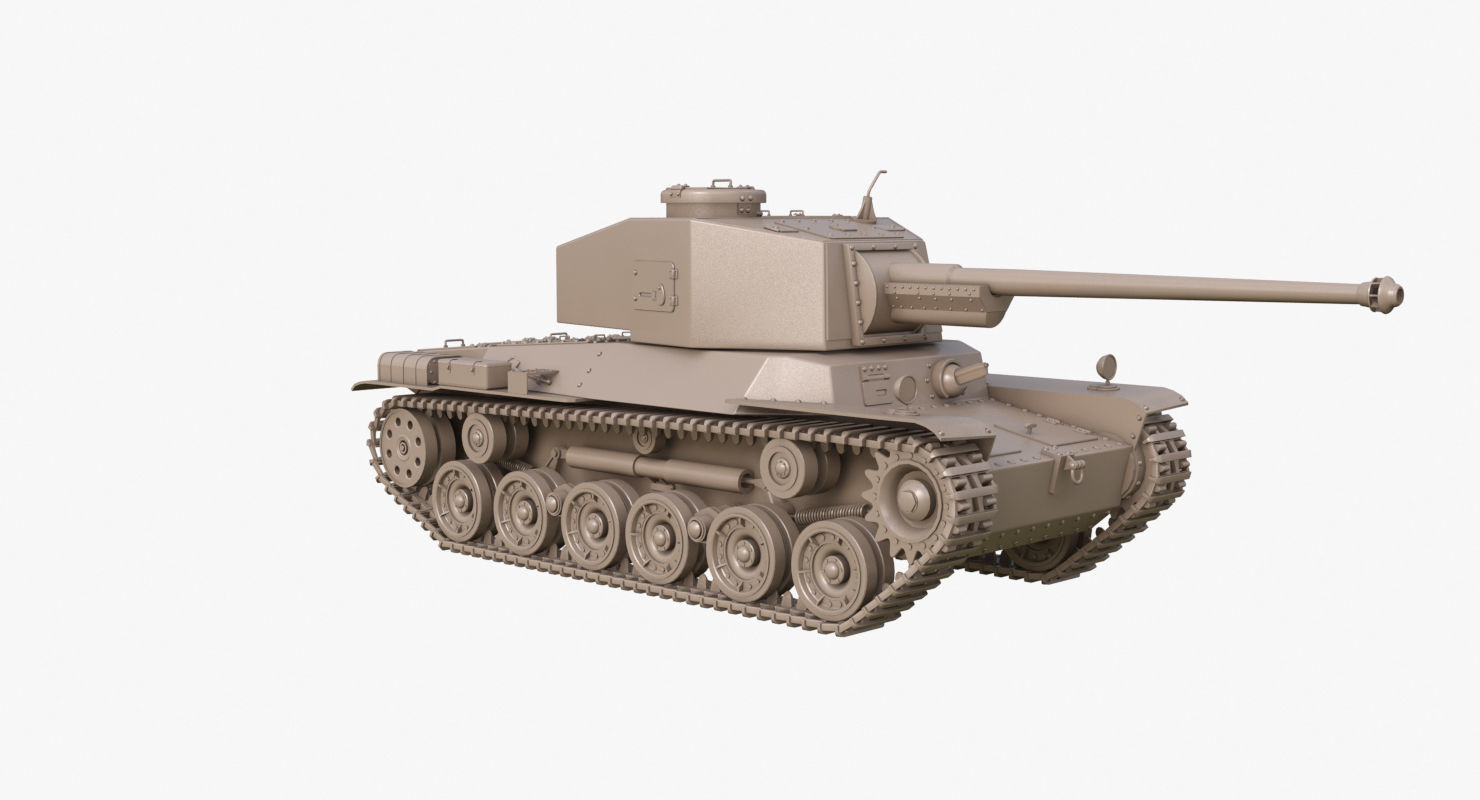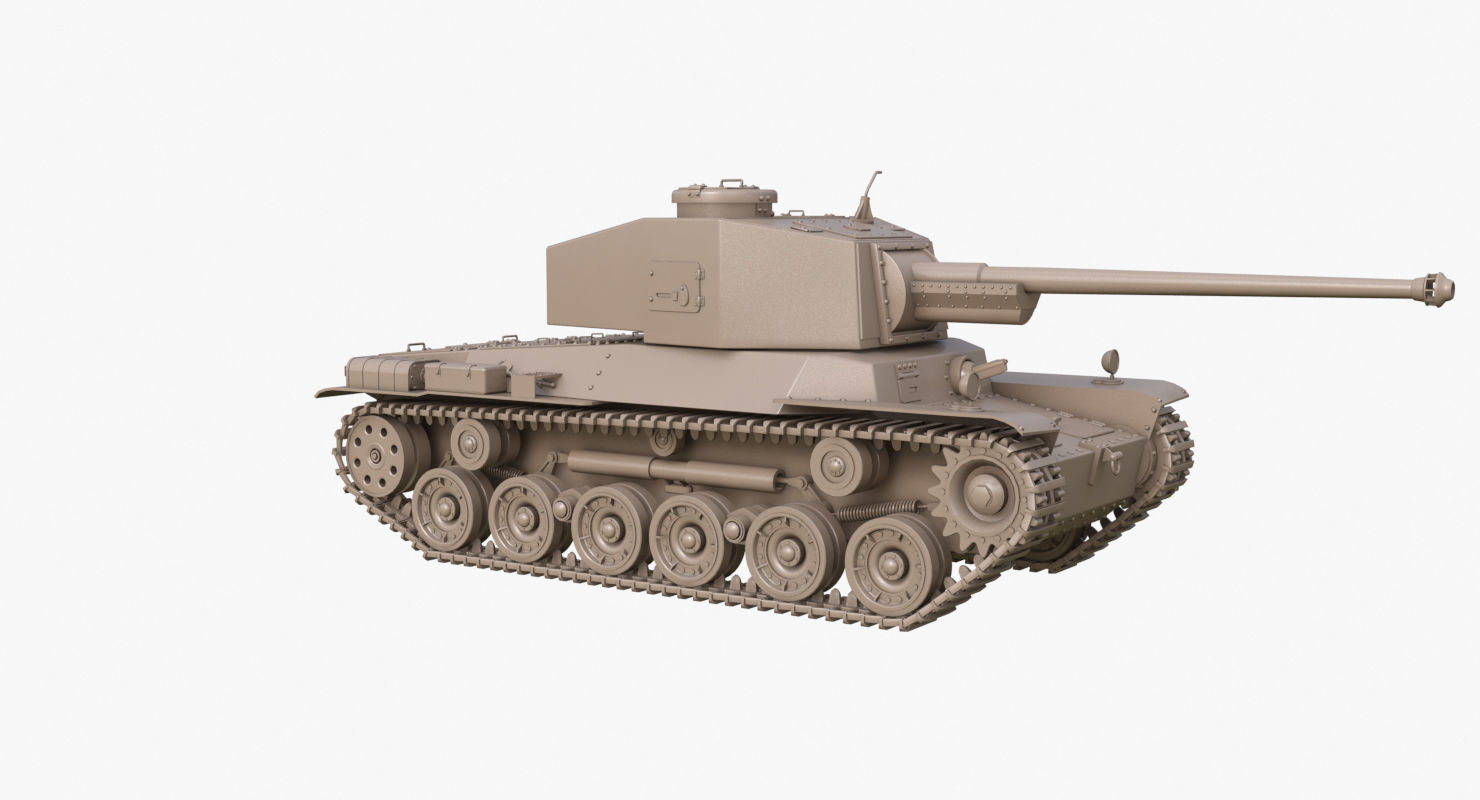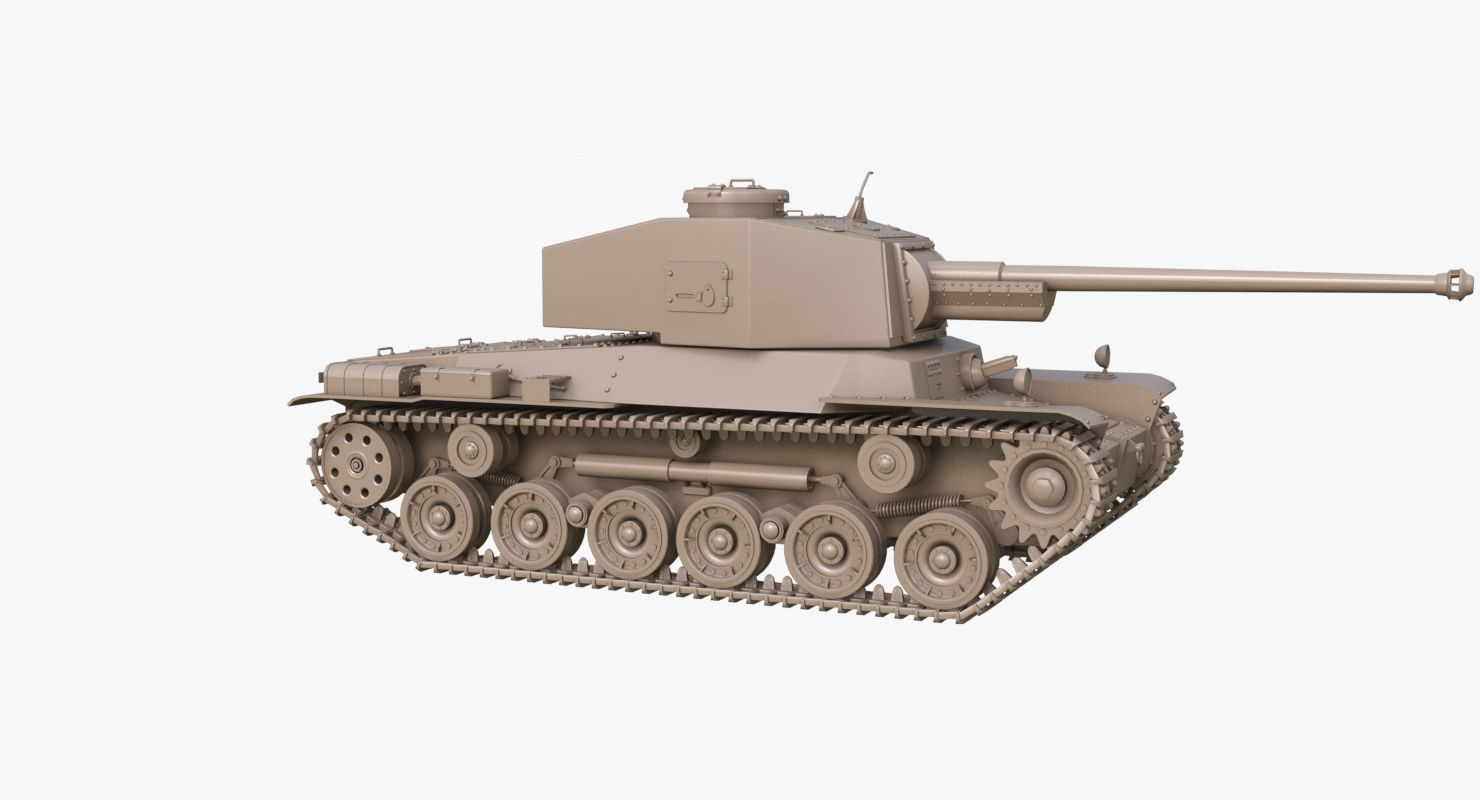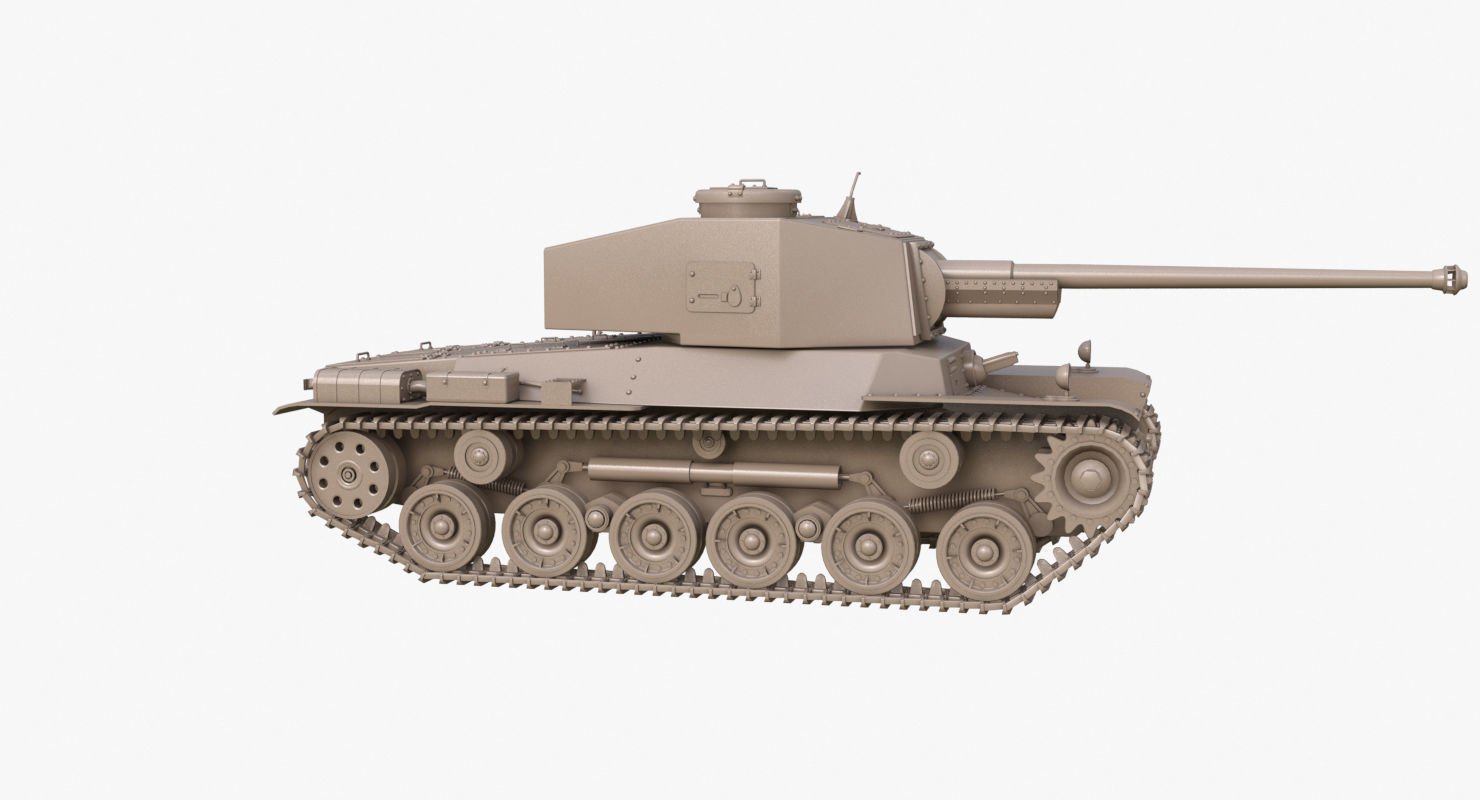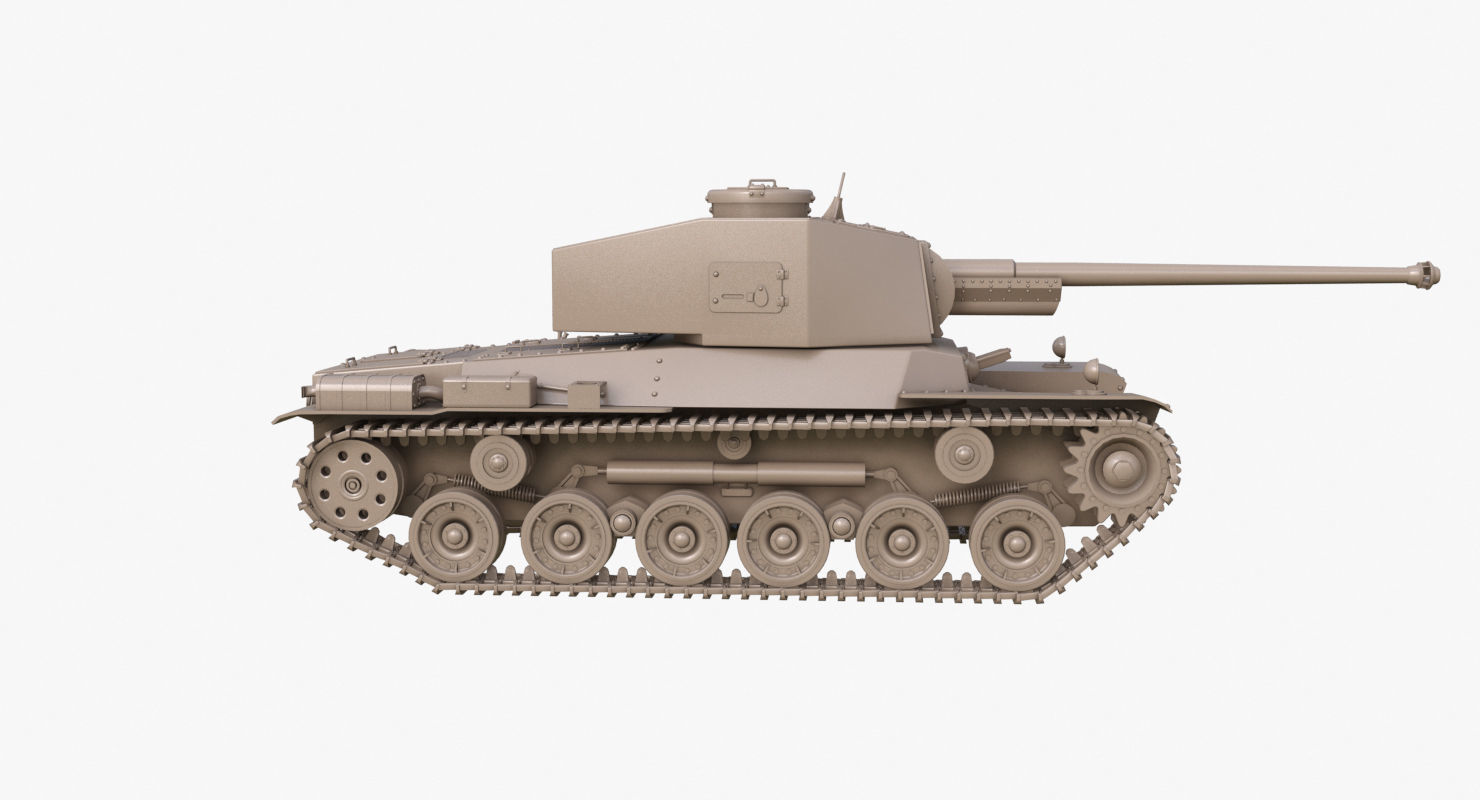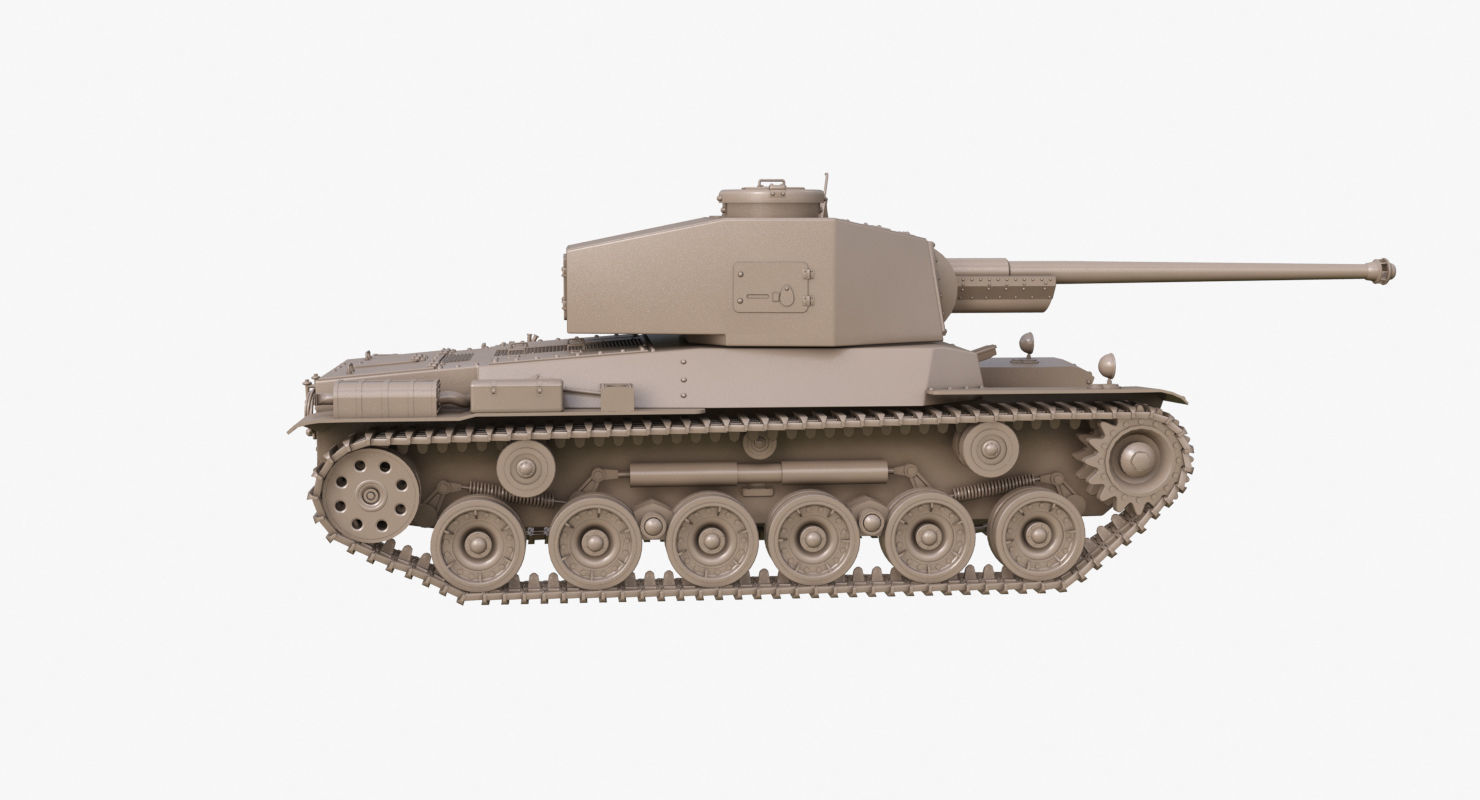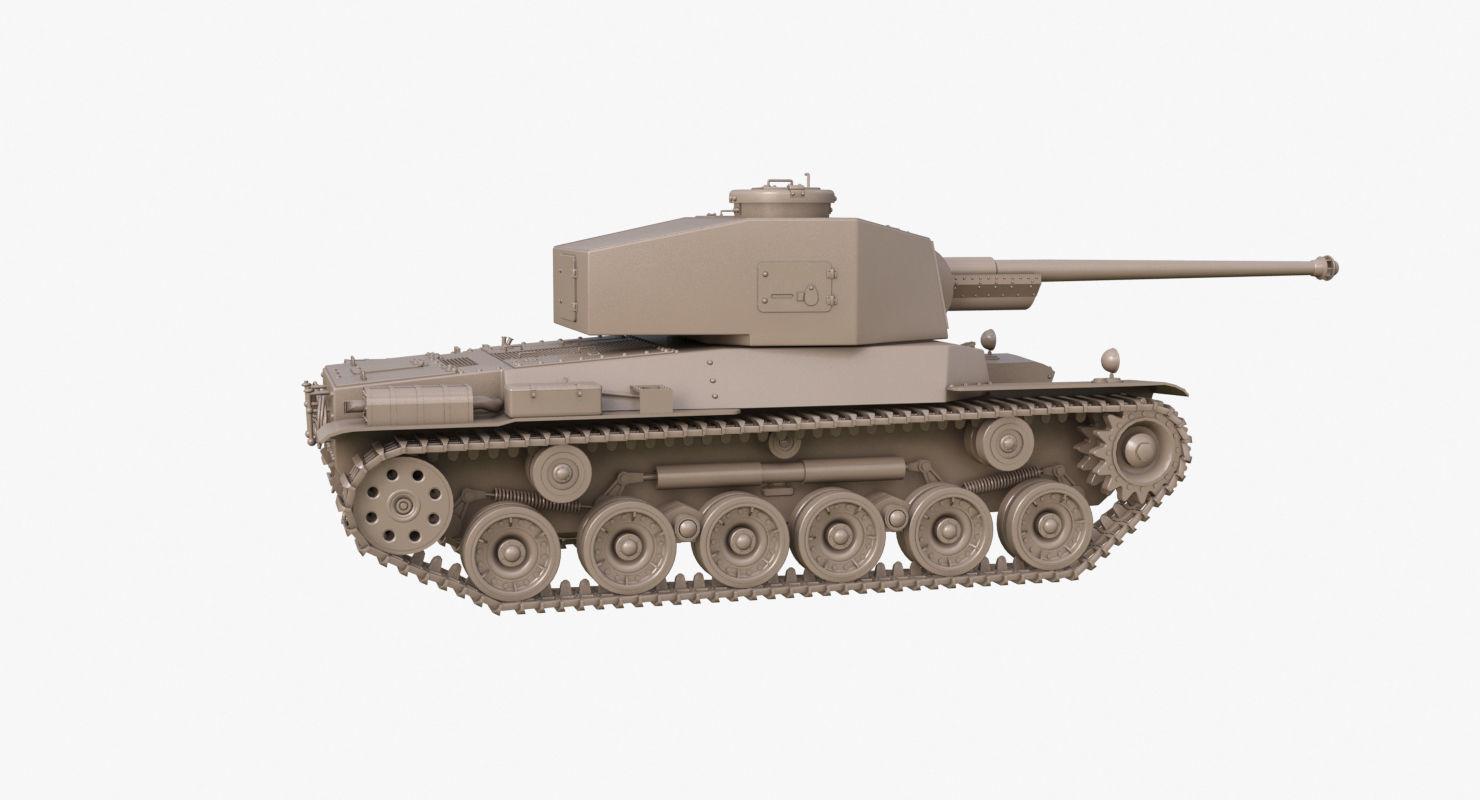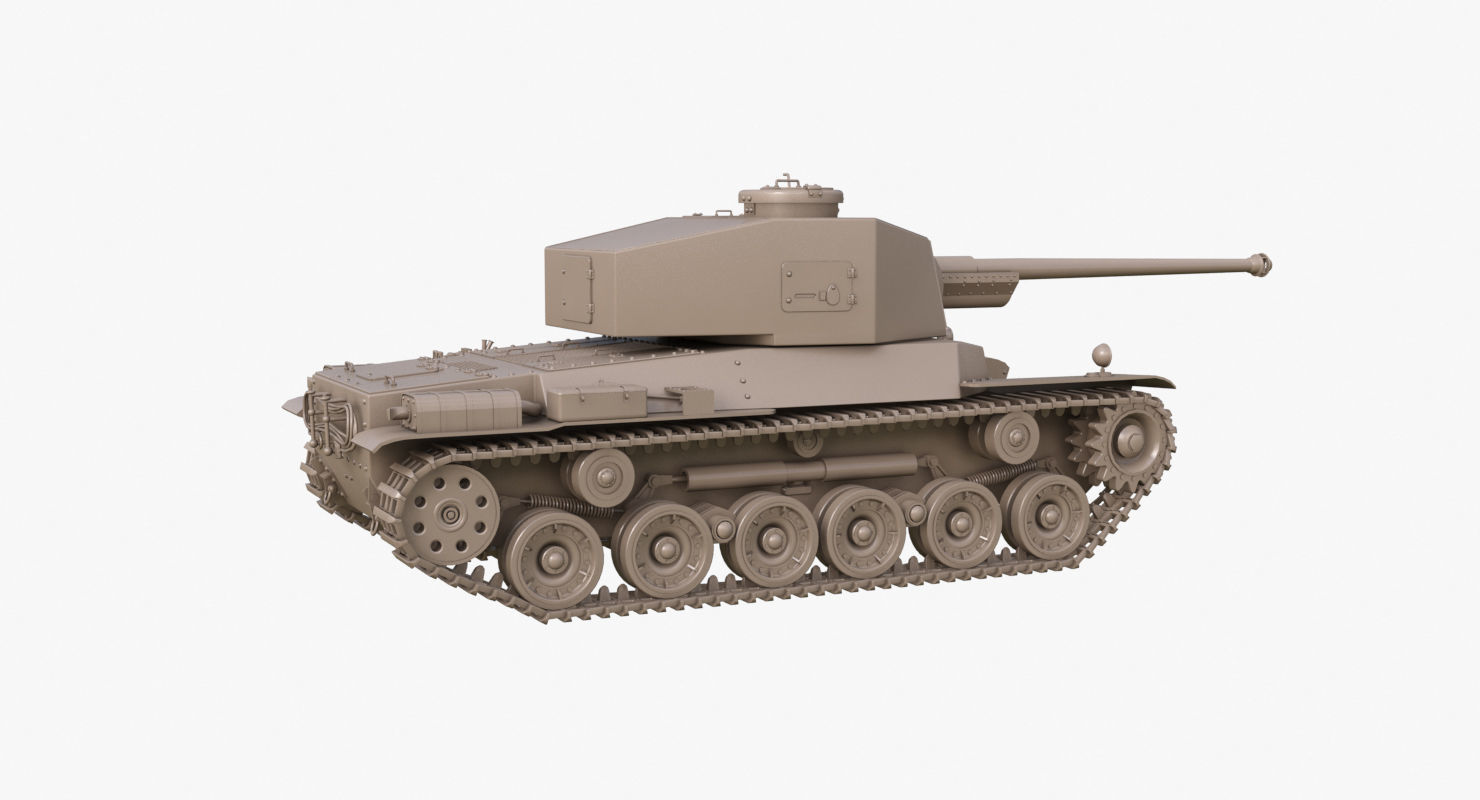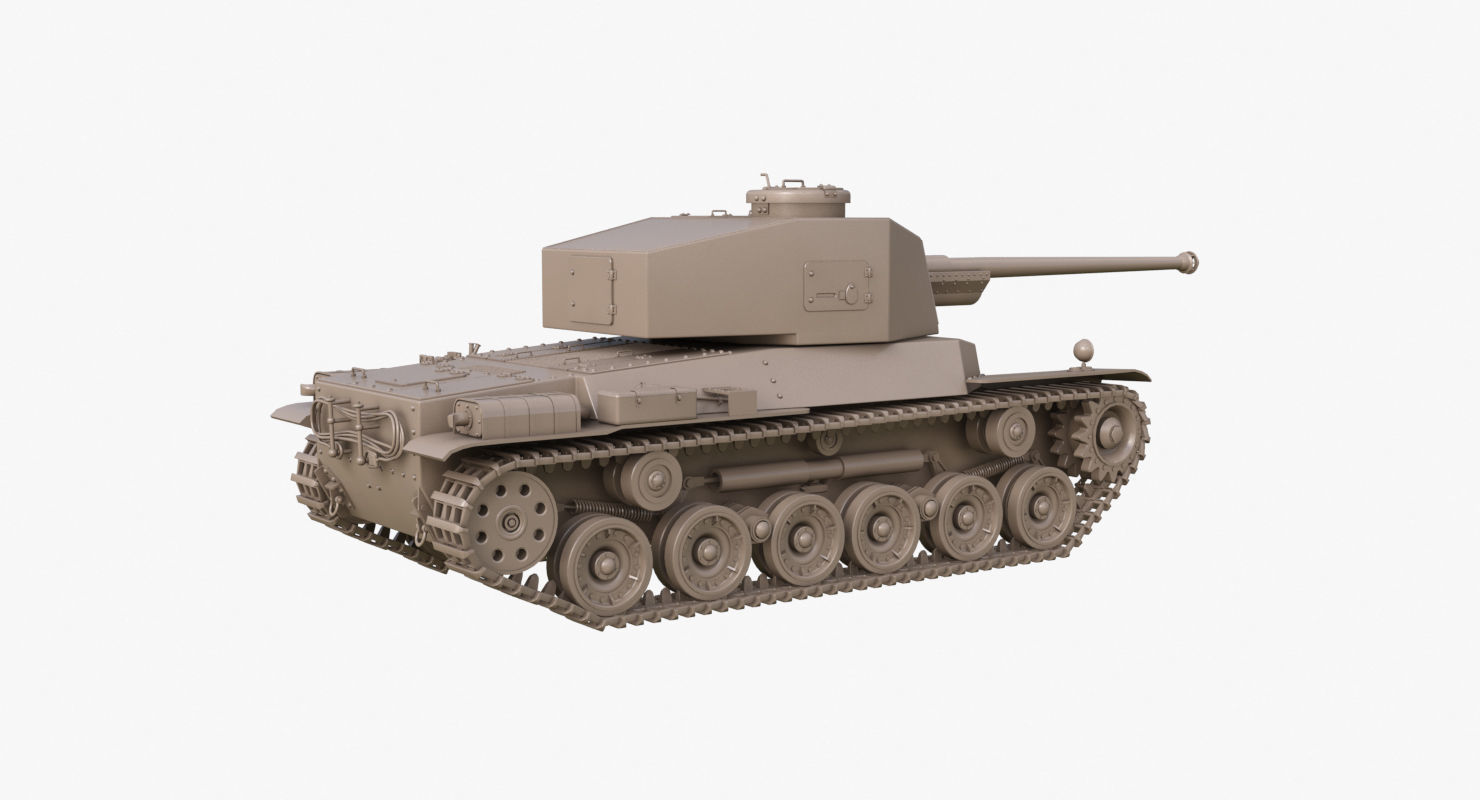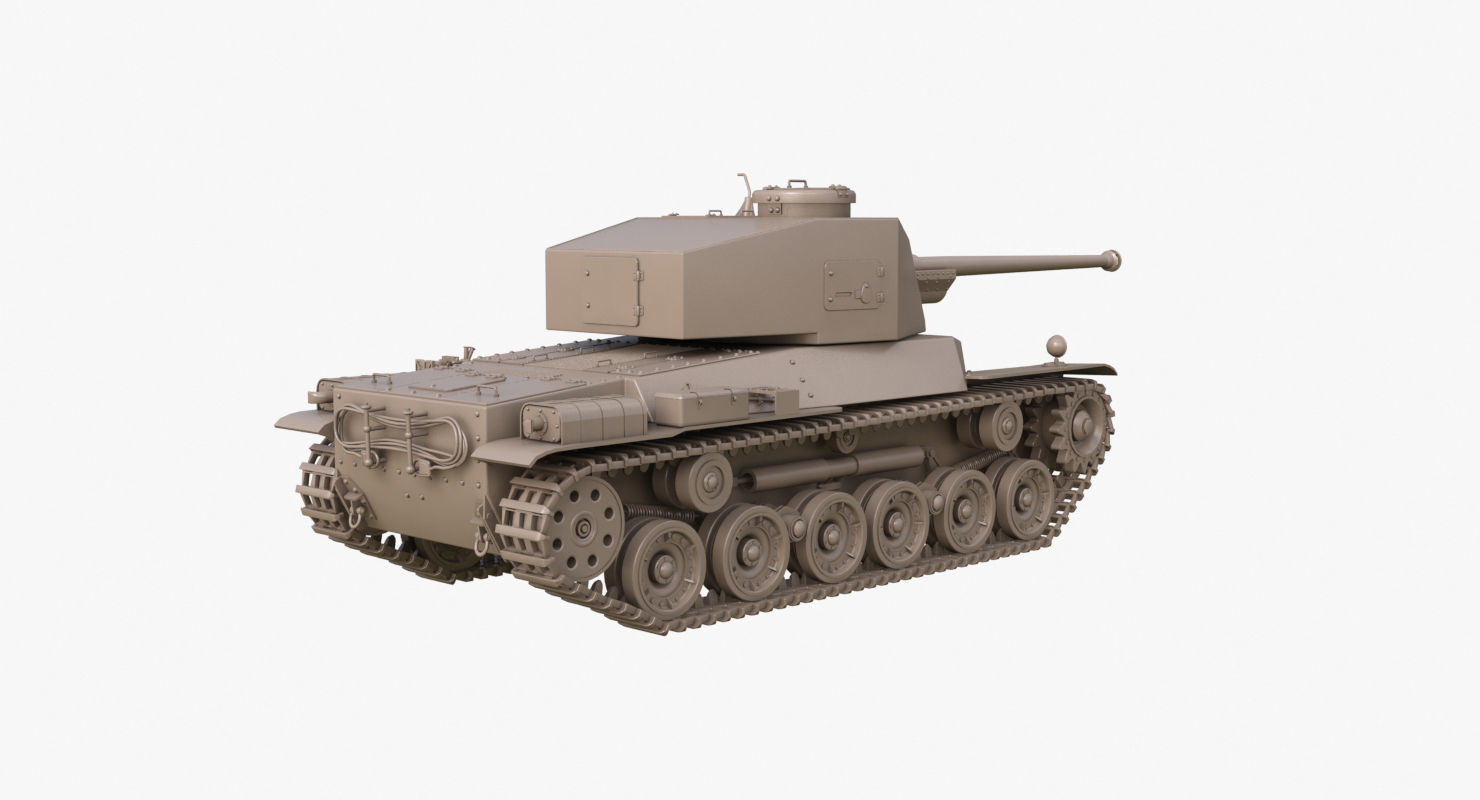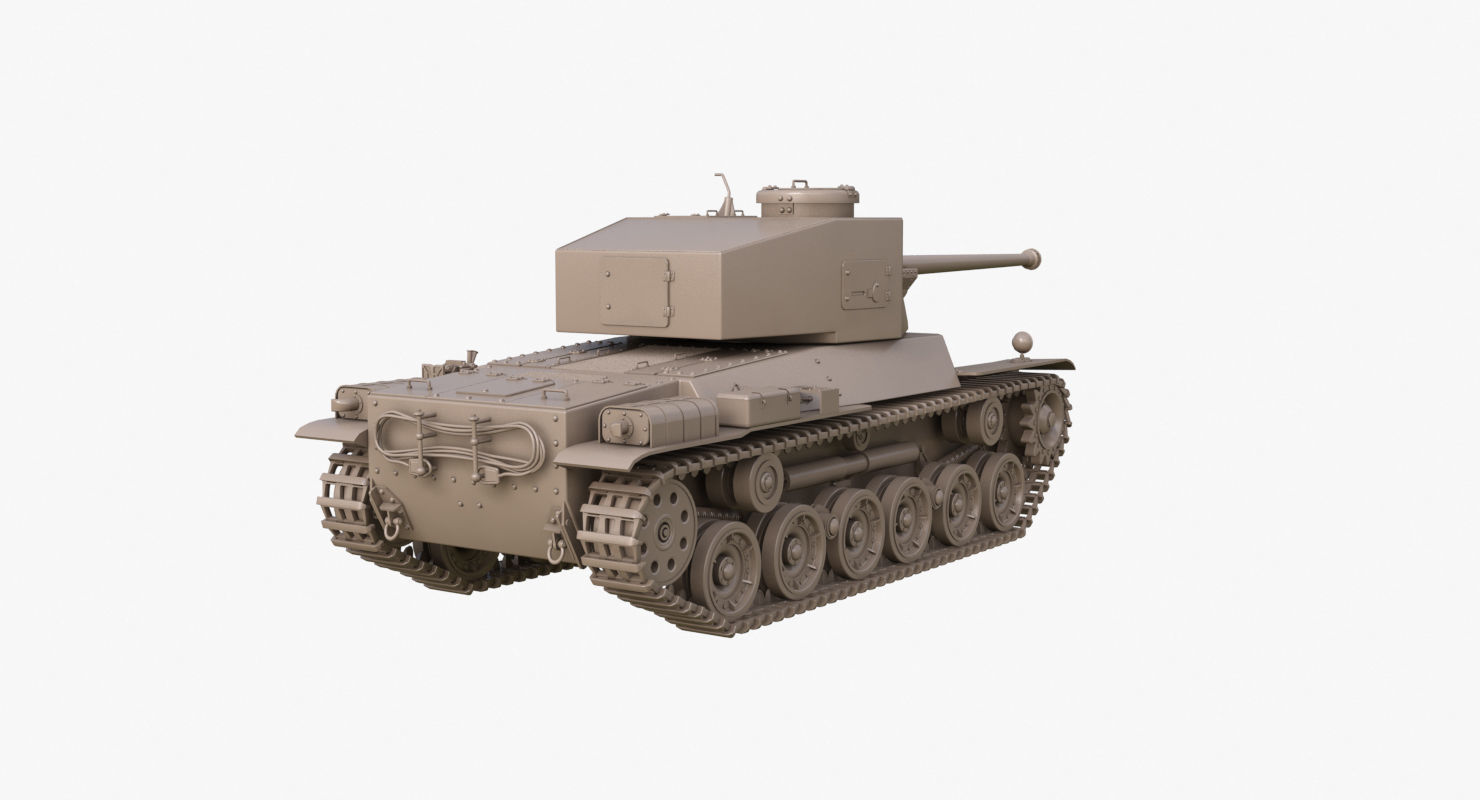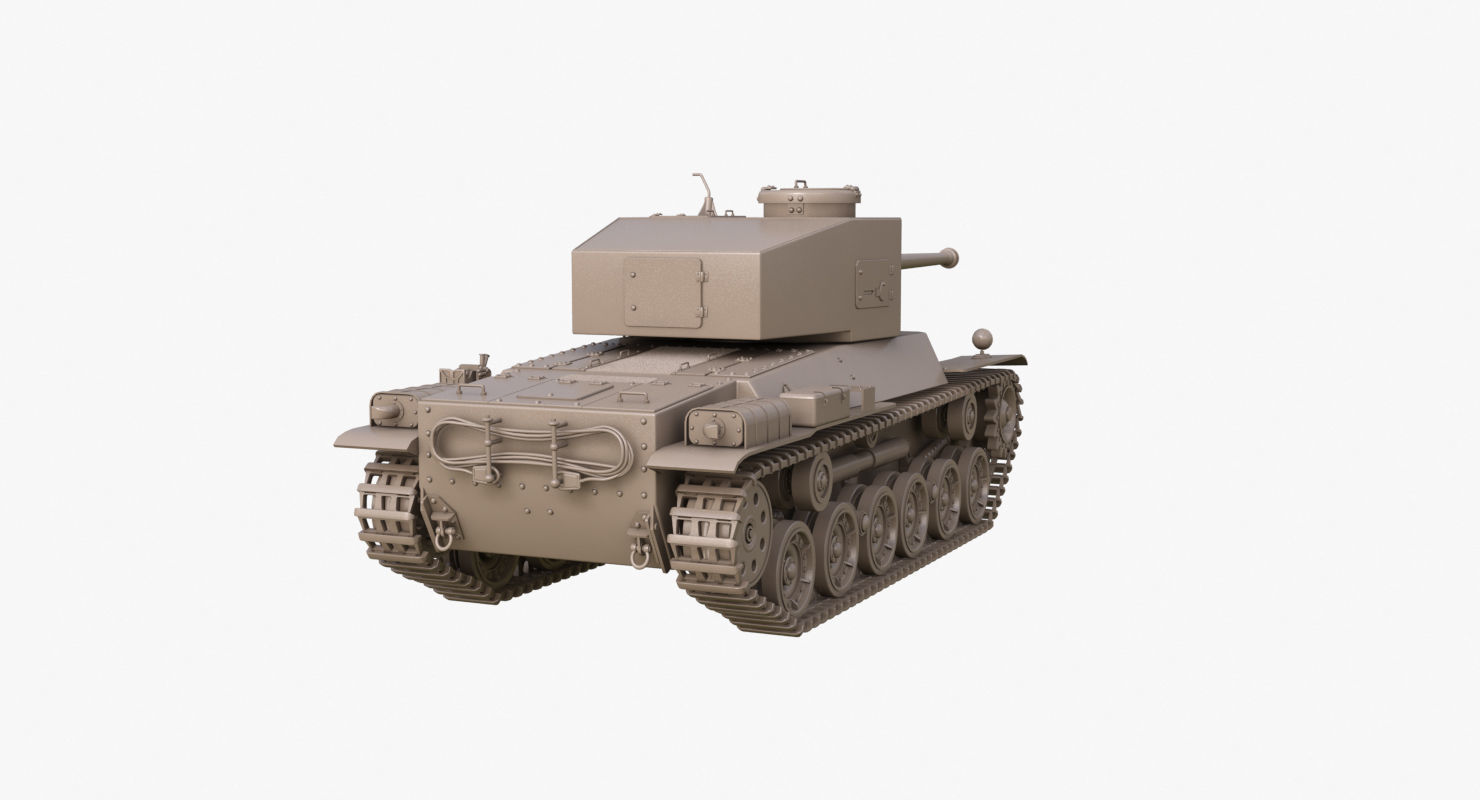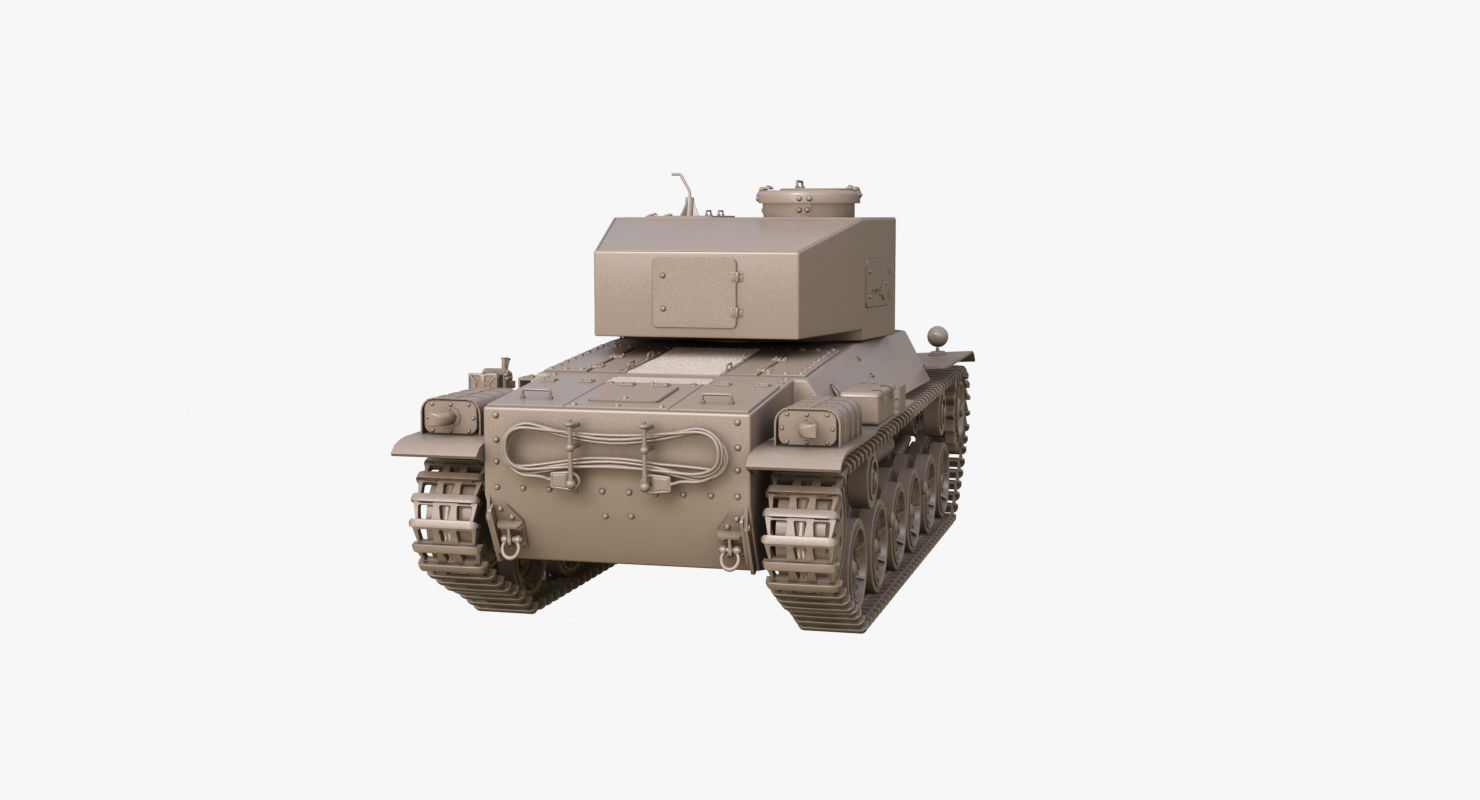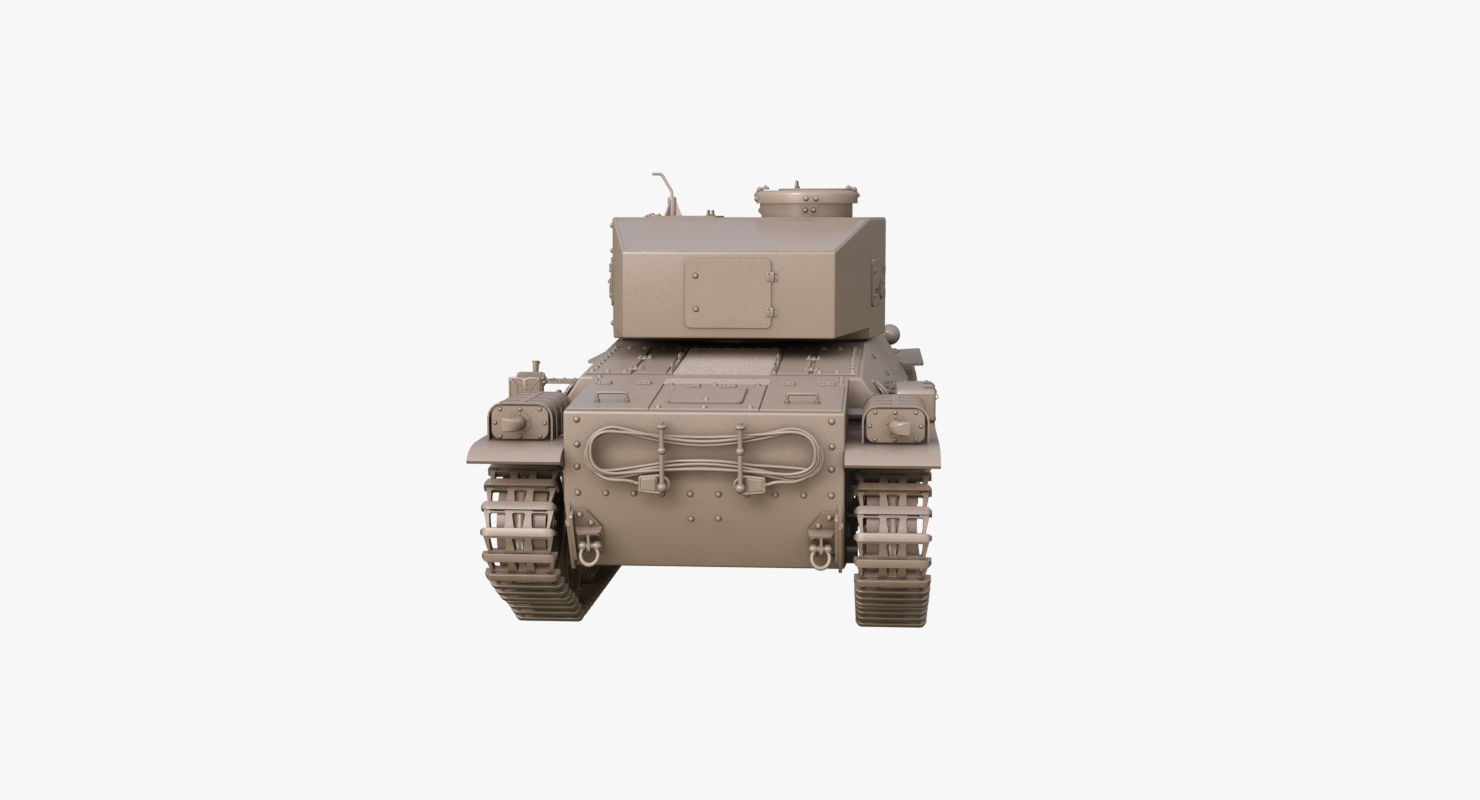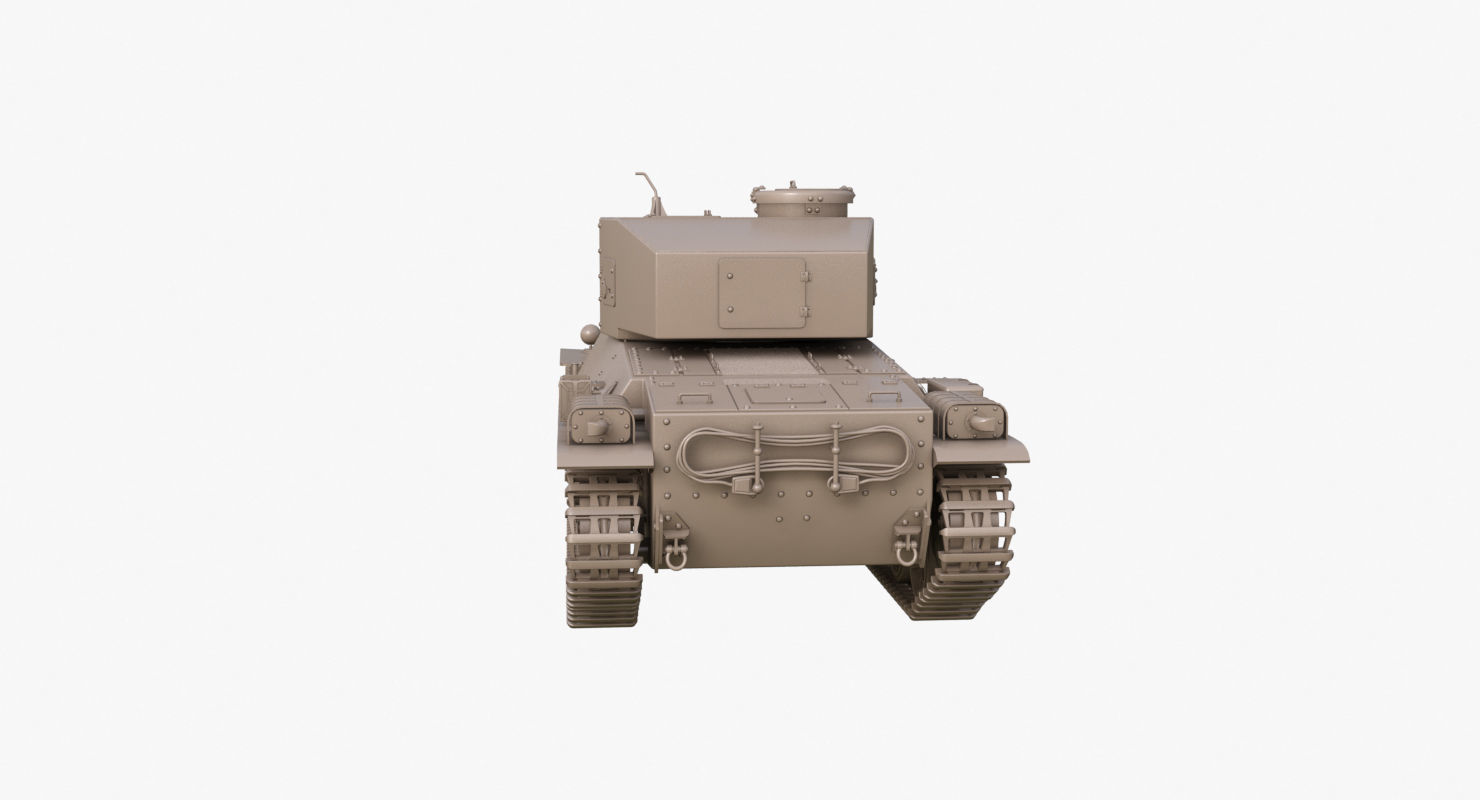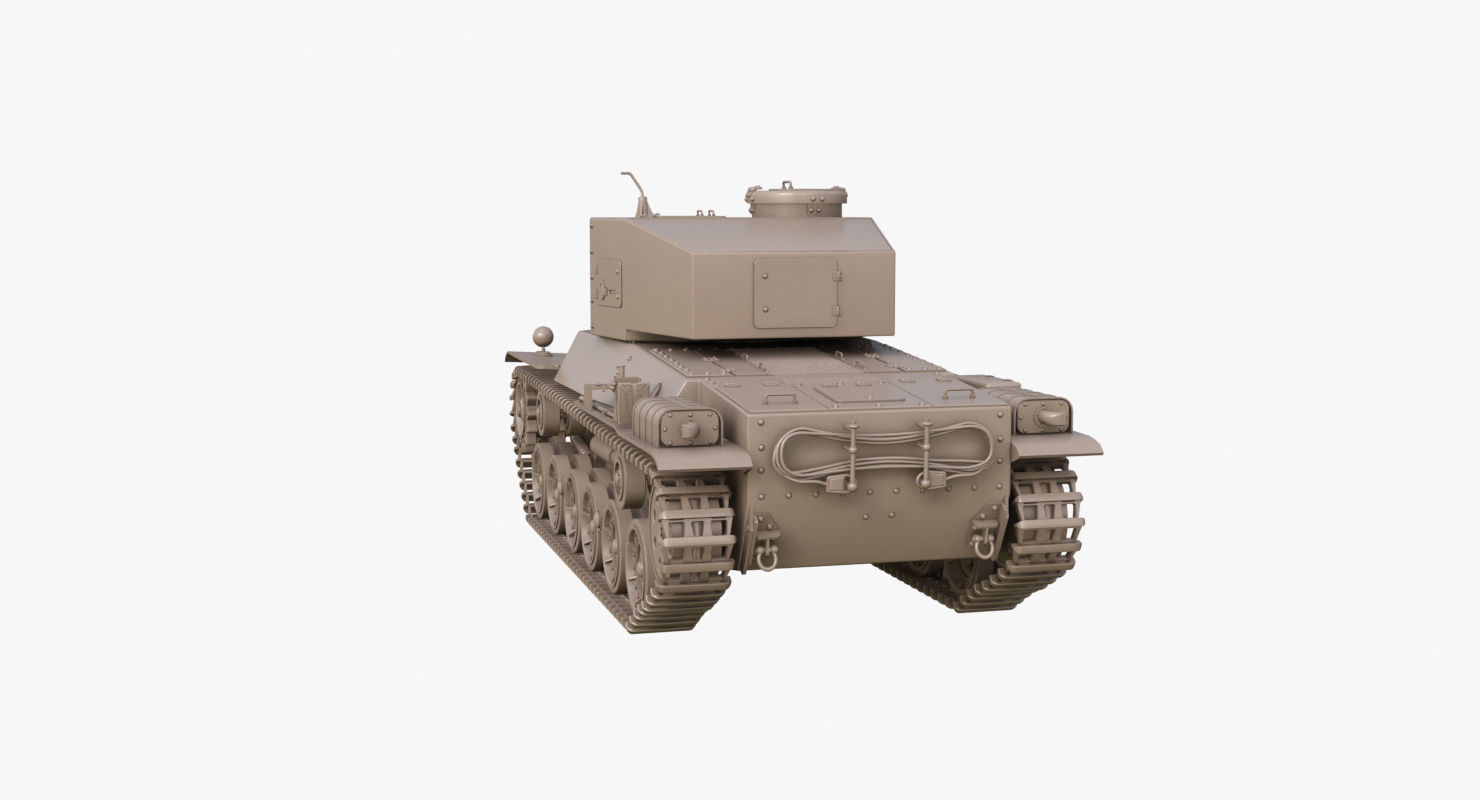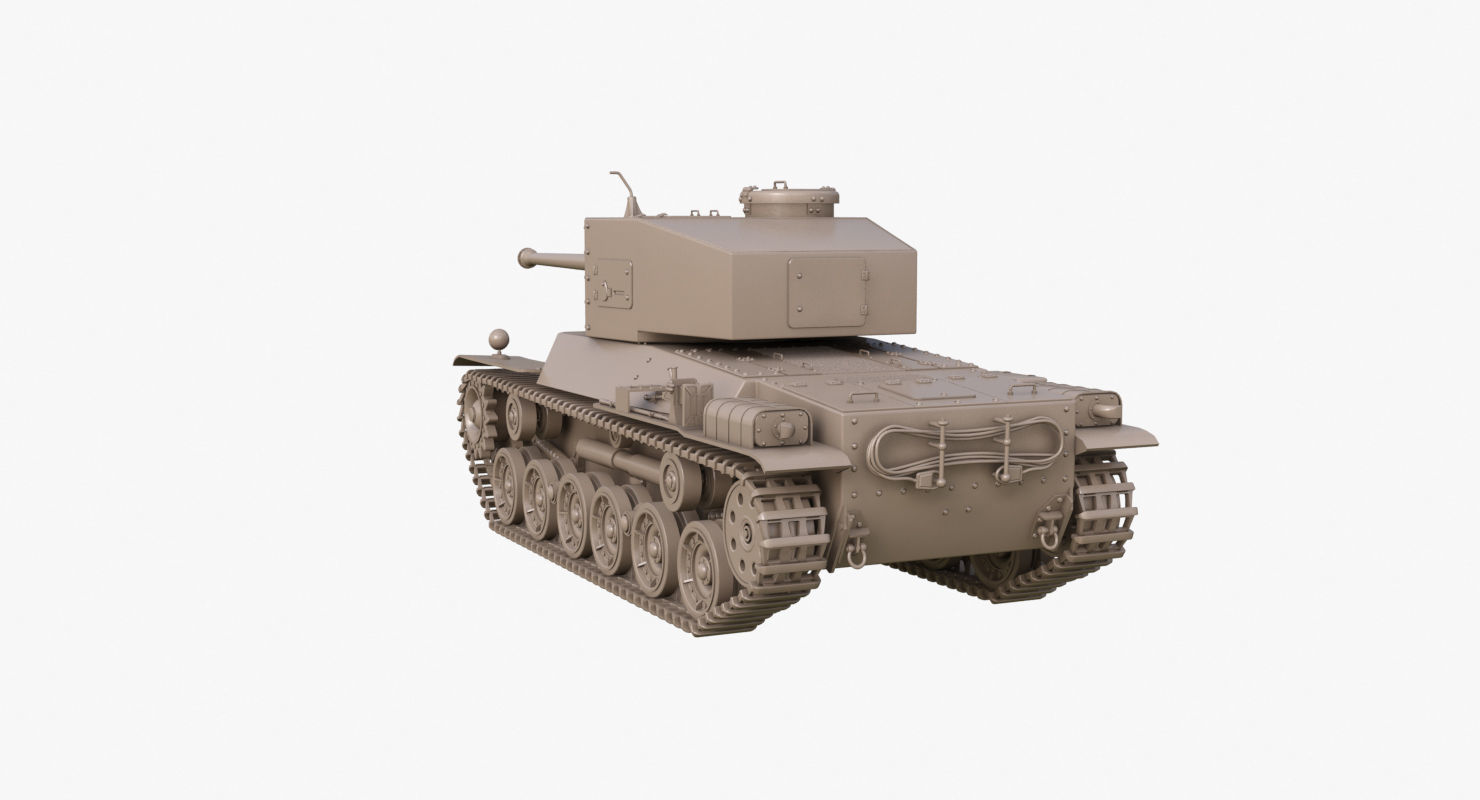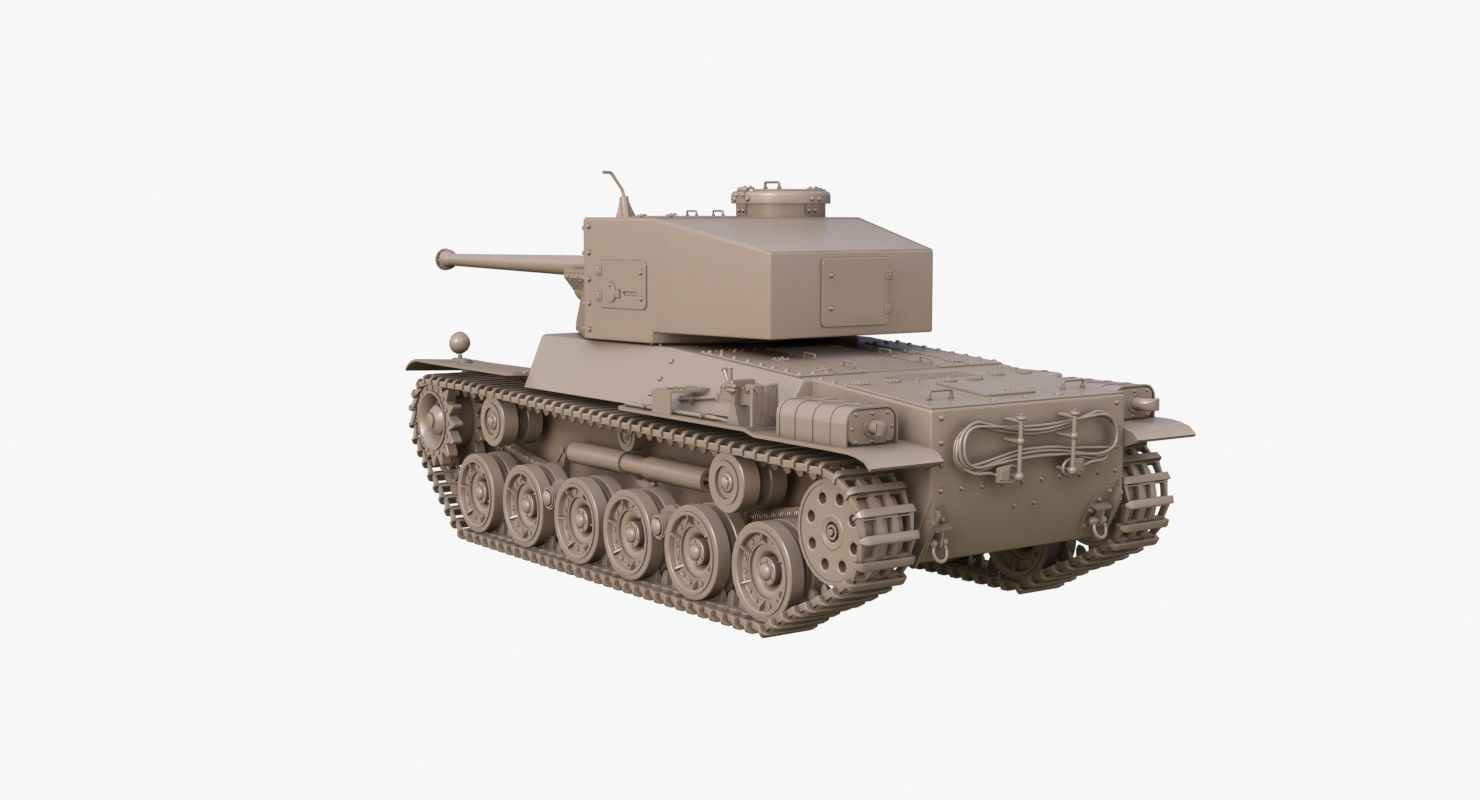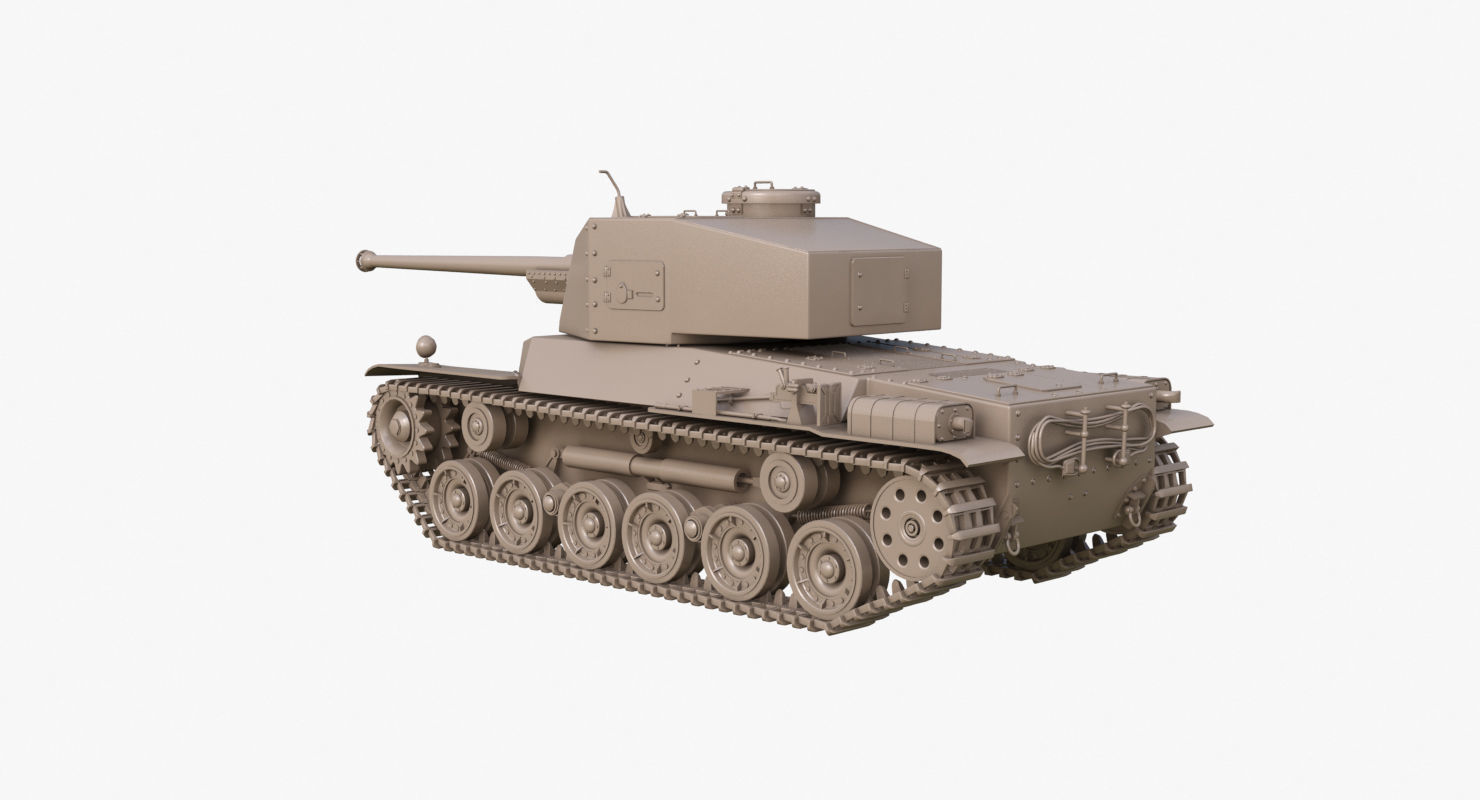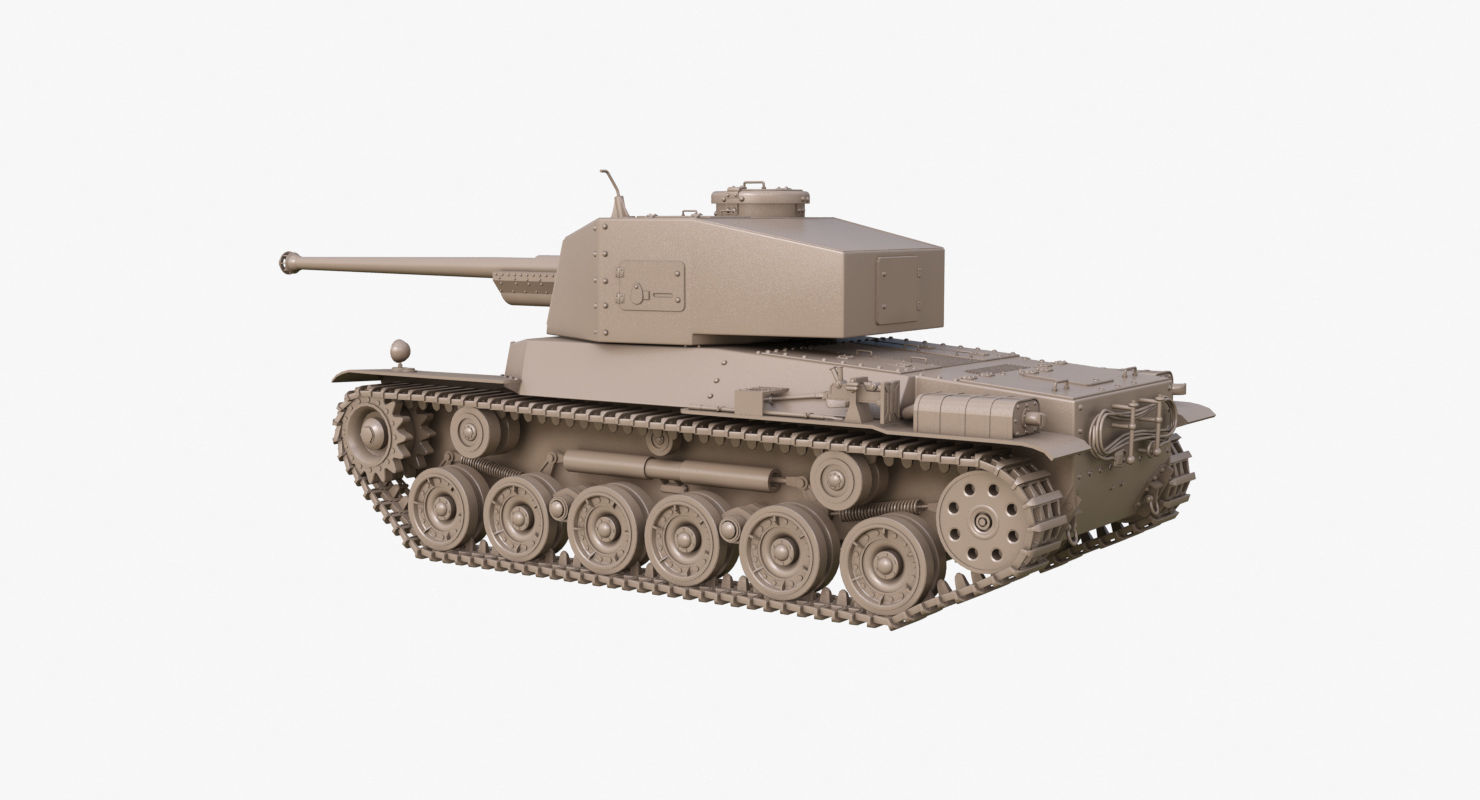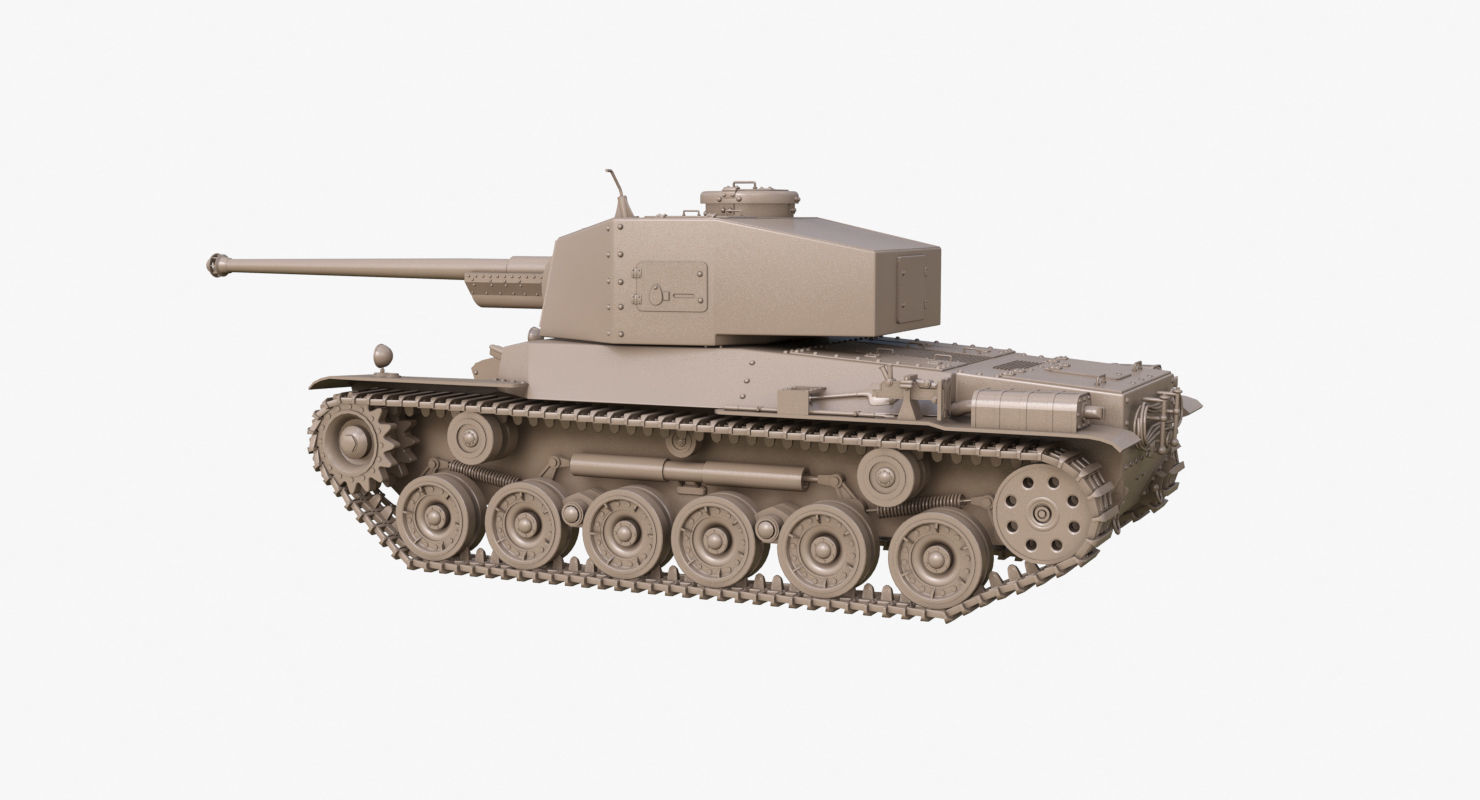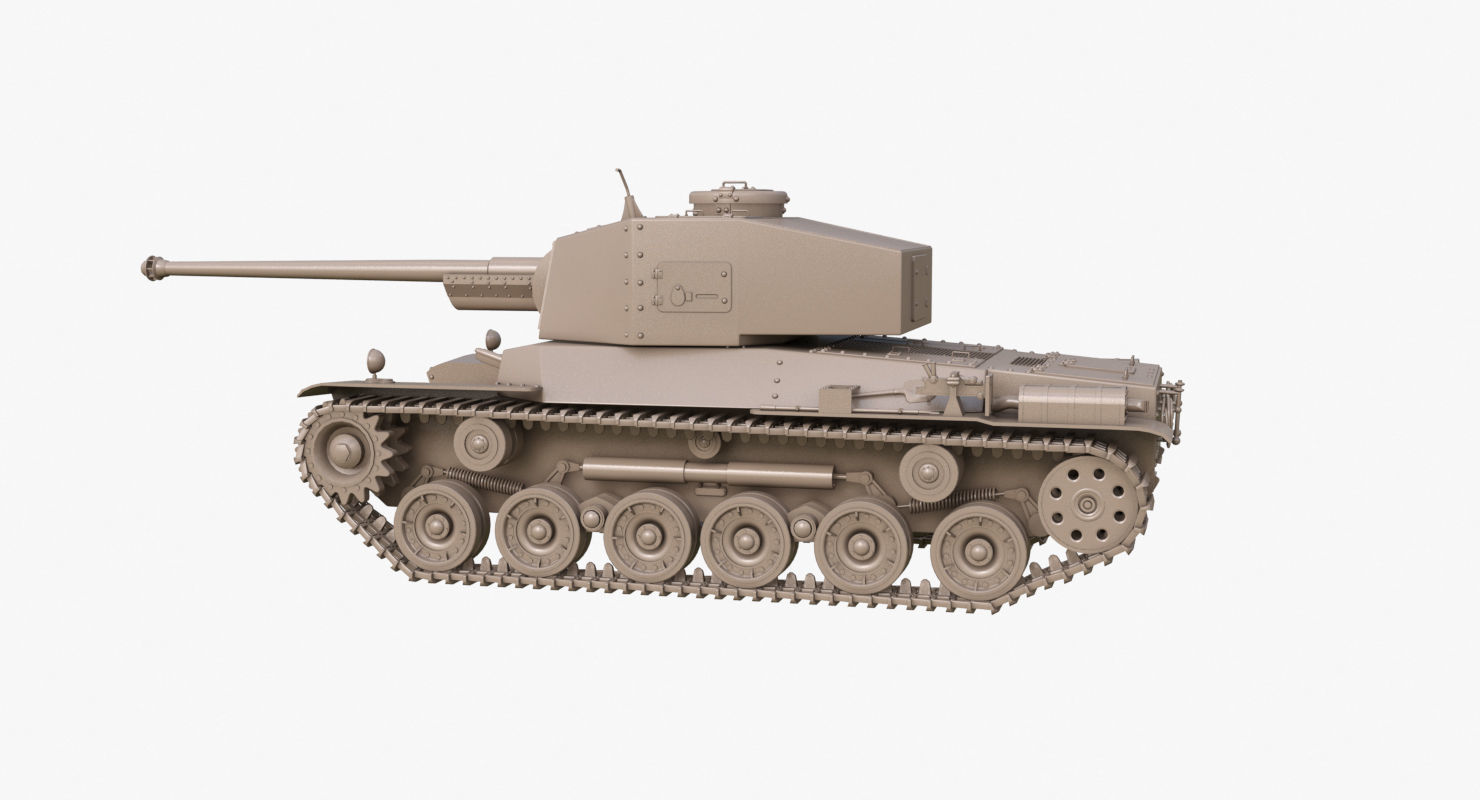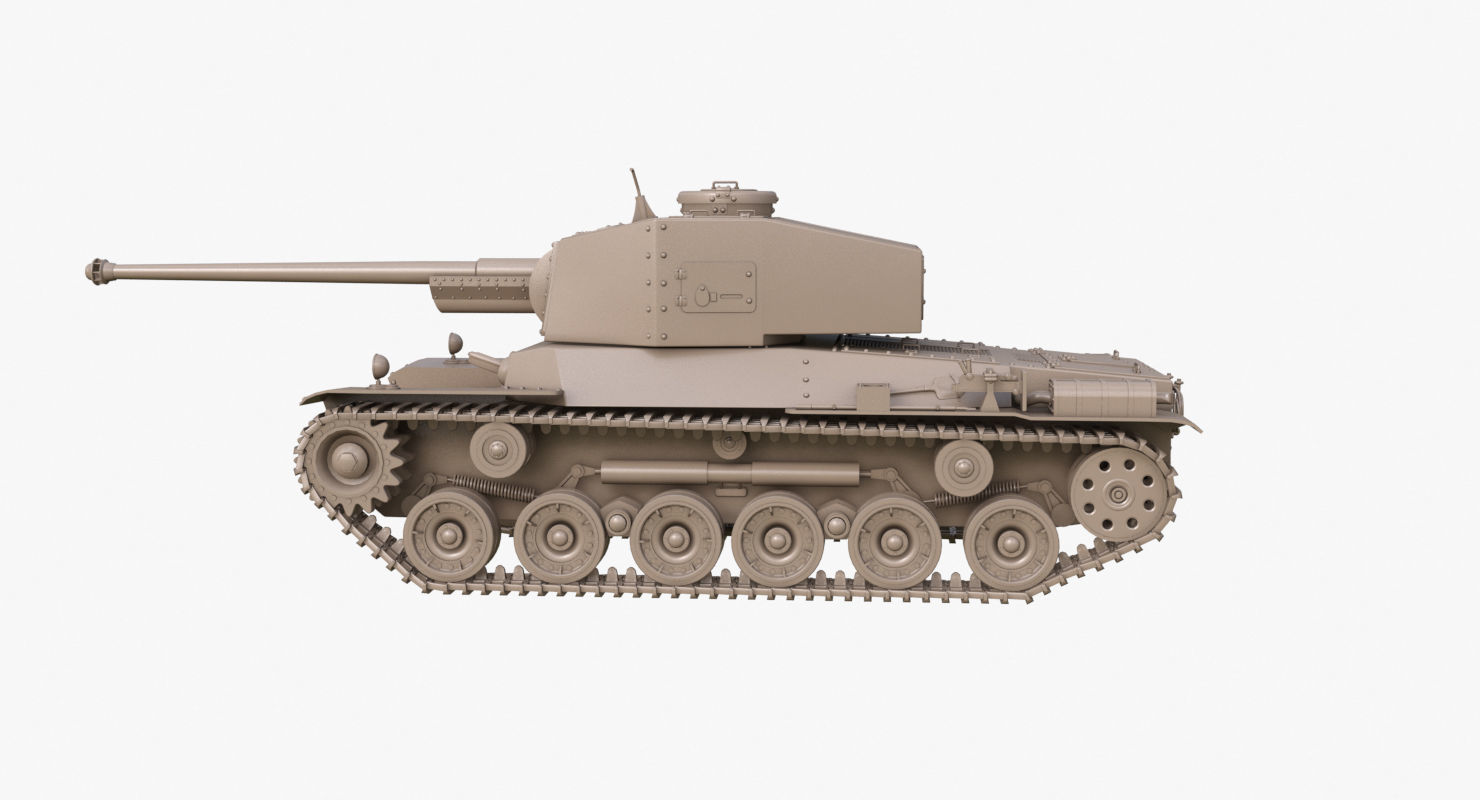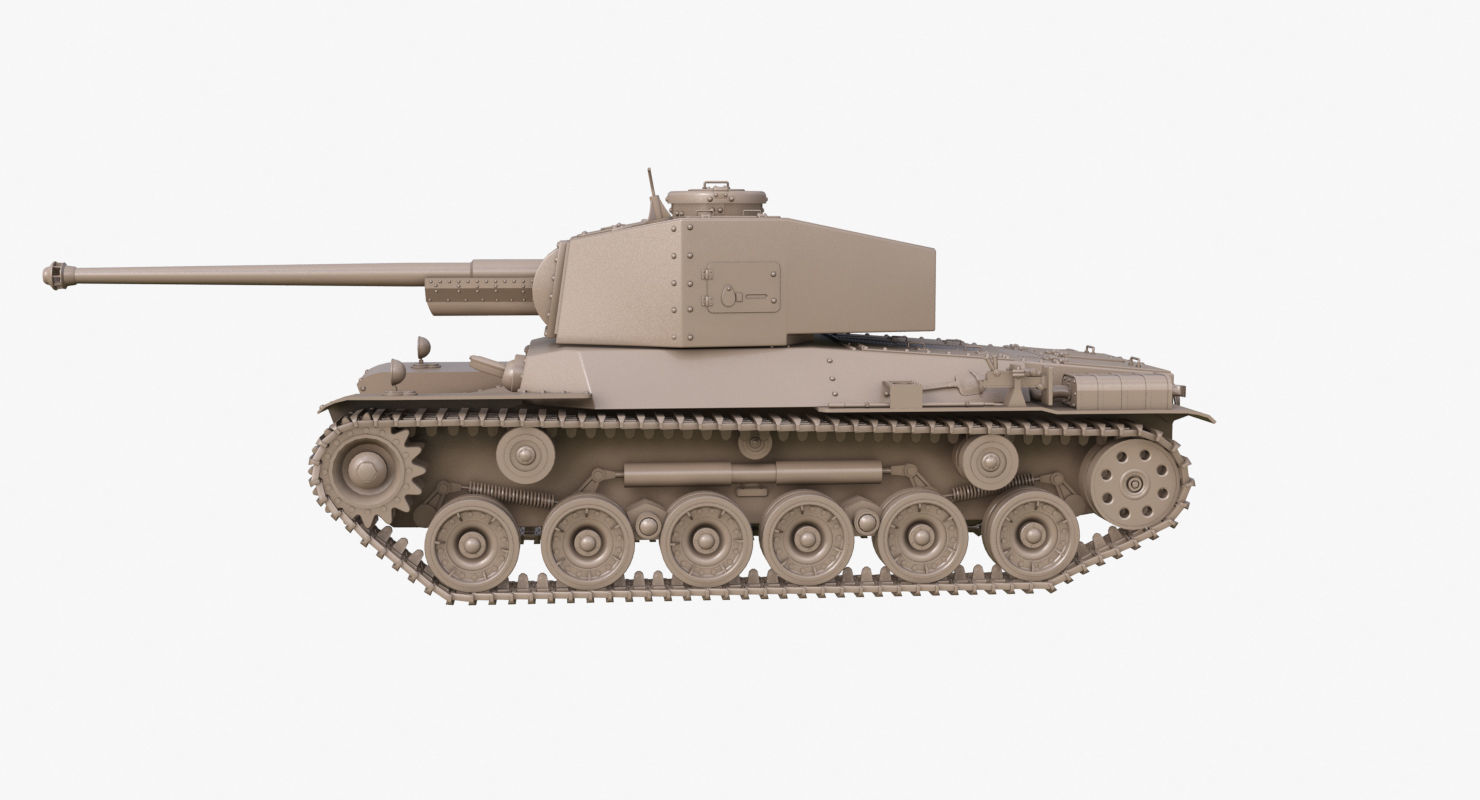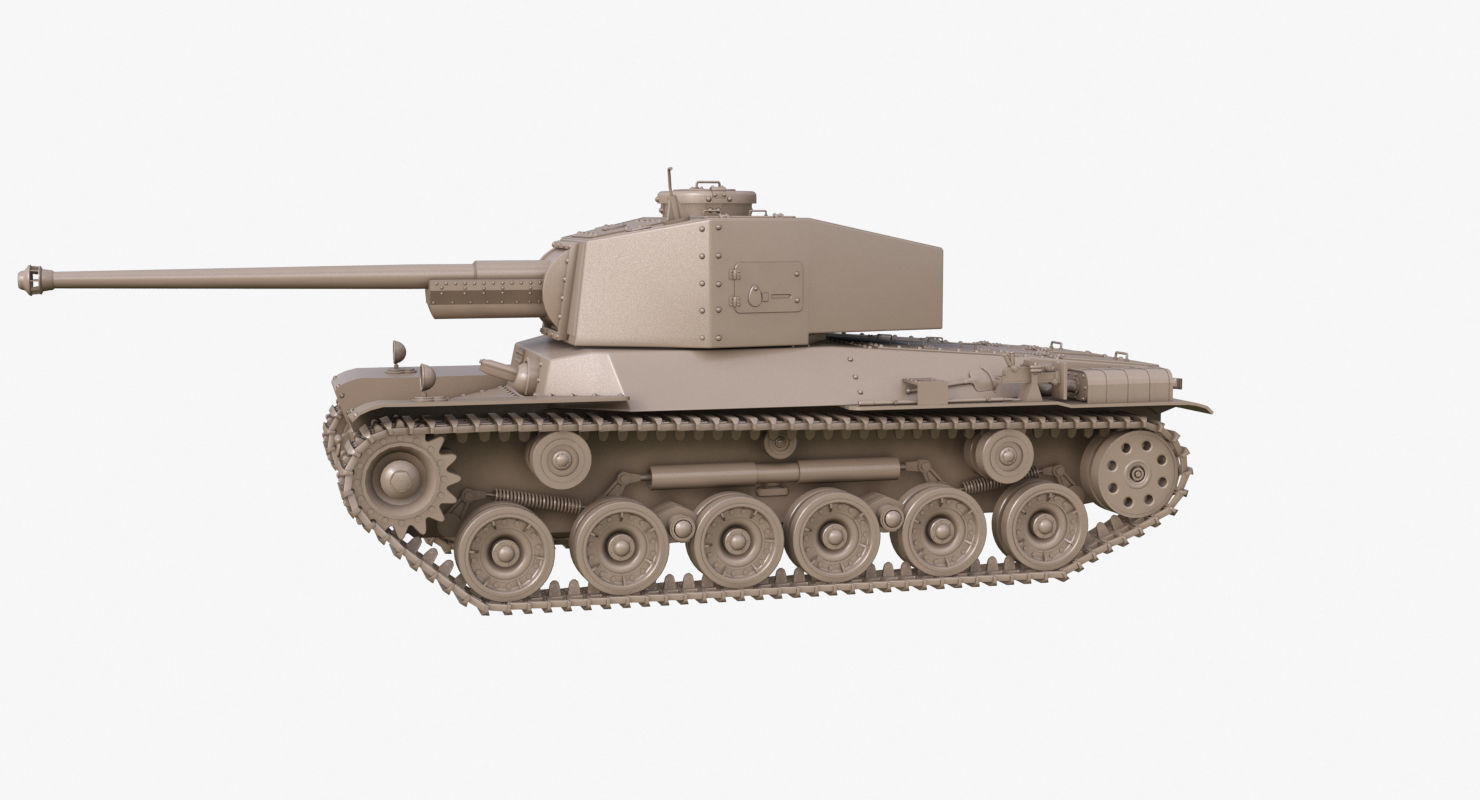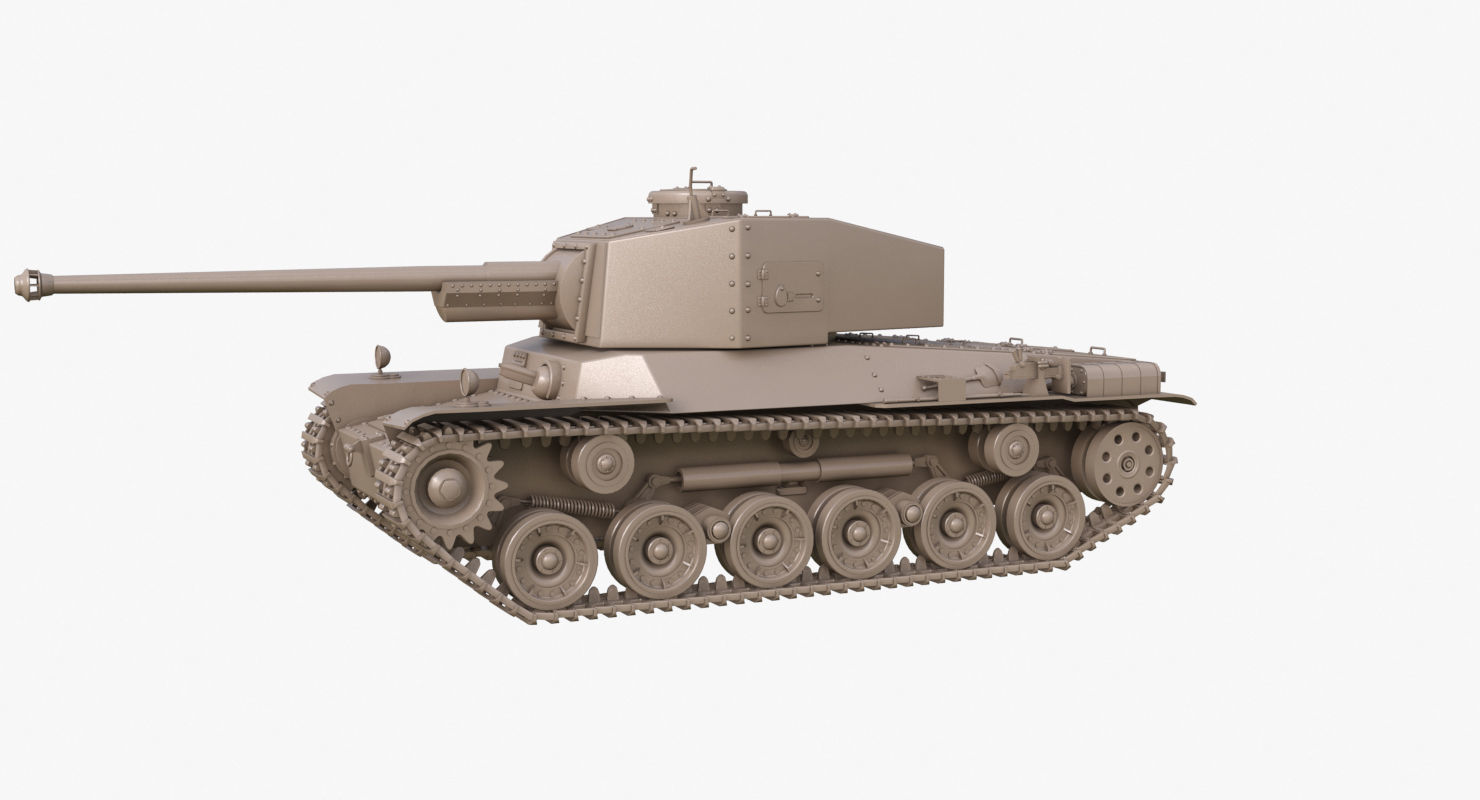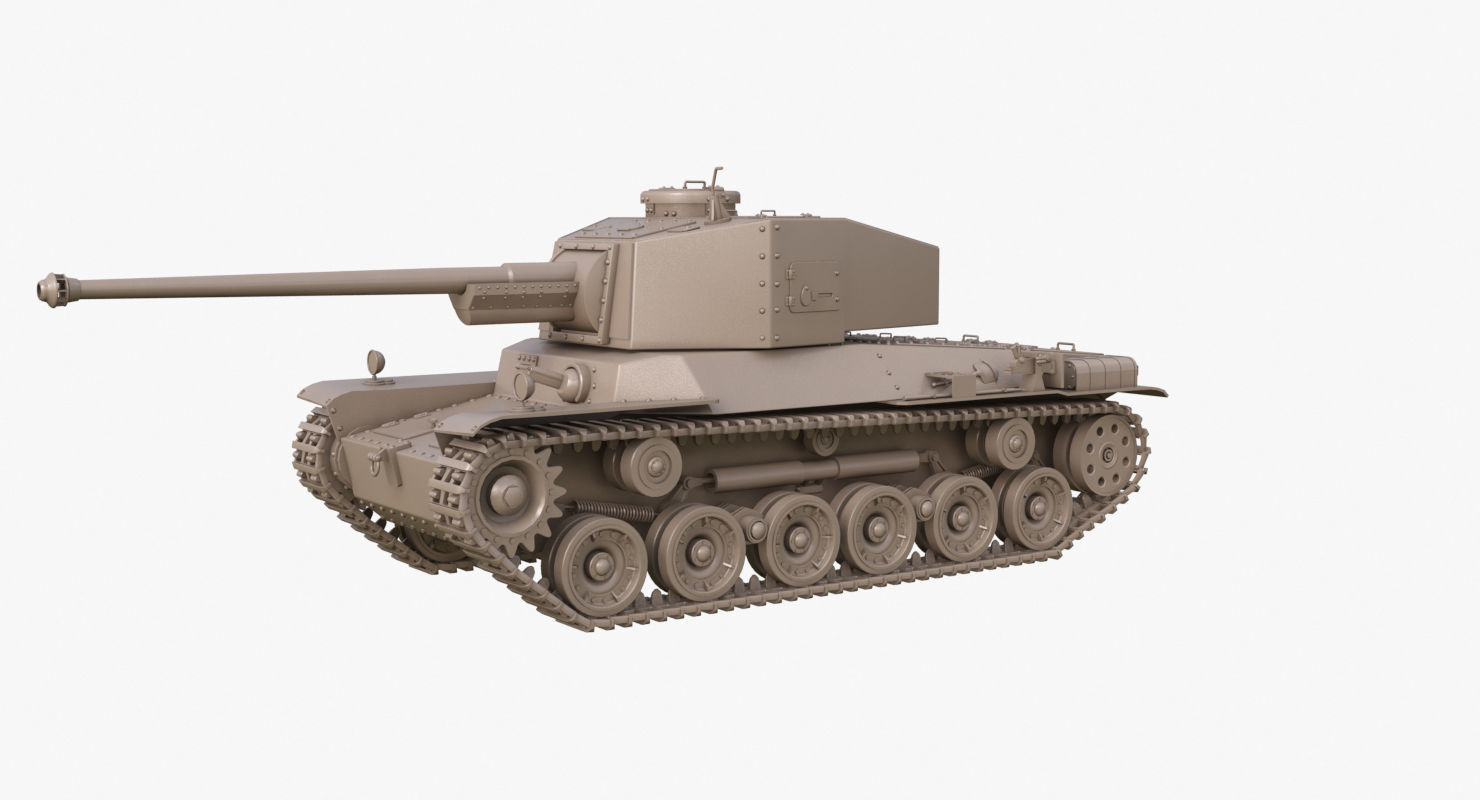
Tank Type 3 Chi-Nu Japan Clay Mental Ray 3D model
Tank Type 3 Chi-Nu Japan Clay Mental Ray
At the outbreak of the Pacific War, the Type 97 Chi-Ha medium tank and Type 95 Ha-Go light tank designs comprised the mainstay of the armored units of the Imperial Japanese Army. As the war progressed, these tanks started to face significant challenges posed by Allied tanks. In the Burma and Philippines Campaigns, the firepower of the 57 mm cannon mounted on the Type 97 was proven to be insufficient against Allied tanks. The Imperial Japanese Army therefore developed the Type 1 47 mm tank gun, which used a lighter high-explosive round with greater armor penetrating power. This gun was mounted on Type 97 Shinhoto Chi-Ha and Type 1 Chi-He medium tanks.
At the later stages of the war, large numbers of American M4 Sherman tanks arrived at the front line and increased pressure on Japanese armored forces. The Imperial General Headquarters ( Daihon'ei) decided to develop a new medium tank to counter the enemy threat as well as a replacement for the Type 97
The Army Technical Bureau had been working on the Type 4 Chi-To medium tank as the counter to the M4 Sherman, but there were problems and delays in the program. As a result, a stopgap tank was required. The Type 3 medium tank Chi-Nu was developed to cope with the M4 Sherman.[ Work on the Type 3 Chi-Nu started in May 1943 and was finished by October. The low priority given to tank production by 1943 meant that the Type 3 did not actually enter production until 1944, by which time raw materials were in very short supply, and much of Japan's industrial infrastructure had been destroyed by American strategic bombing
A total of 144 to 166 units were produced by the war's end.The Type 3 Chi-Nu was the last tank that was fielded by the Imperial Japanese armed forces, and was still in production at the end of the war
The 3d model is made in 3ds max 2016 and rendering in mental ray, only press Rendering for generate your immage.
Is present a version for:
1_ Mental ray 3.13 3ds max 2016 ( Native File )
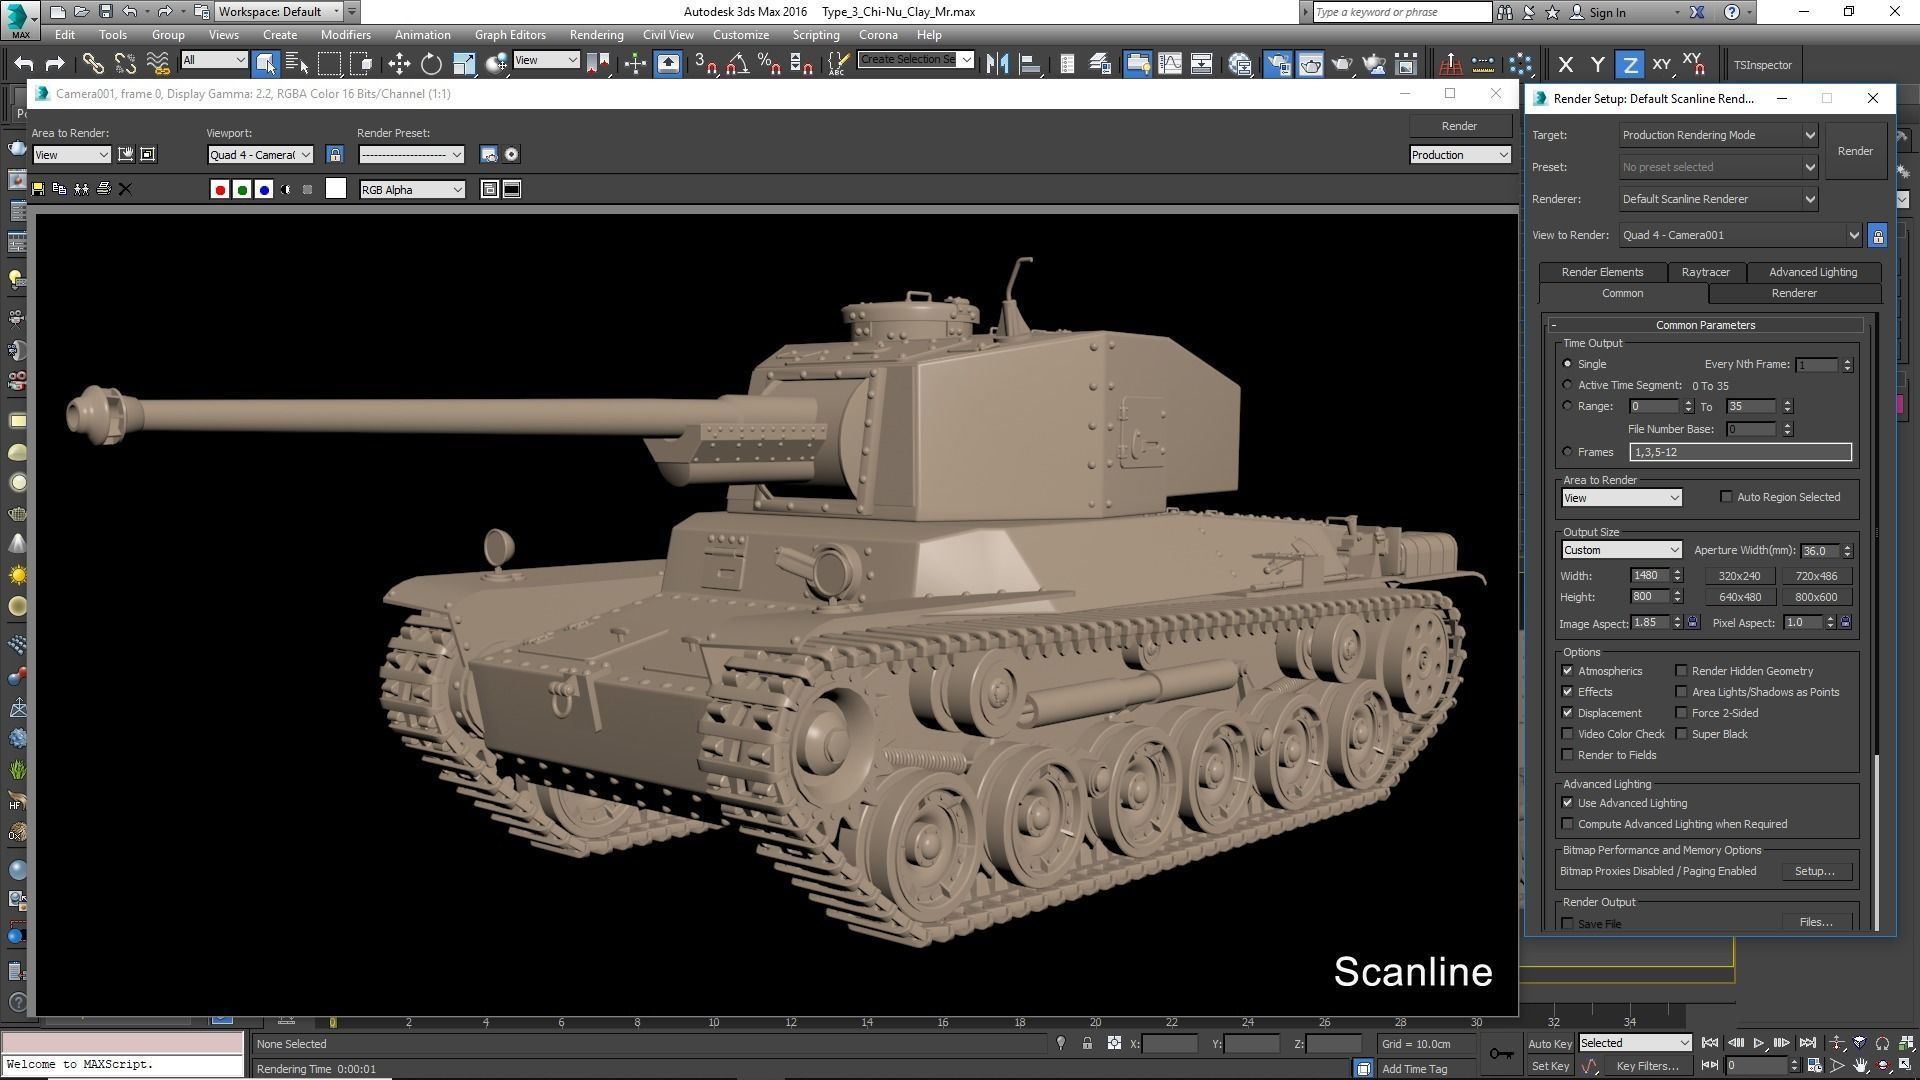
2_ Scanline rendering 3ds max 2016
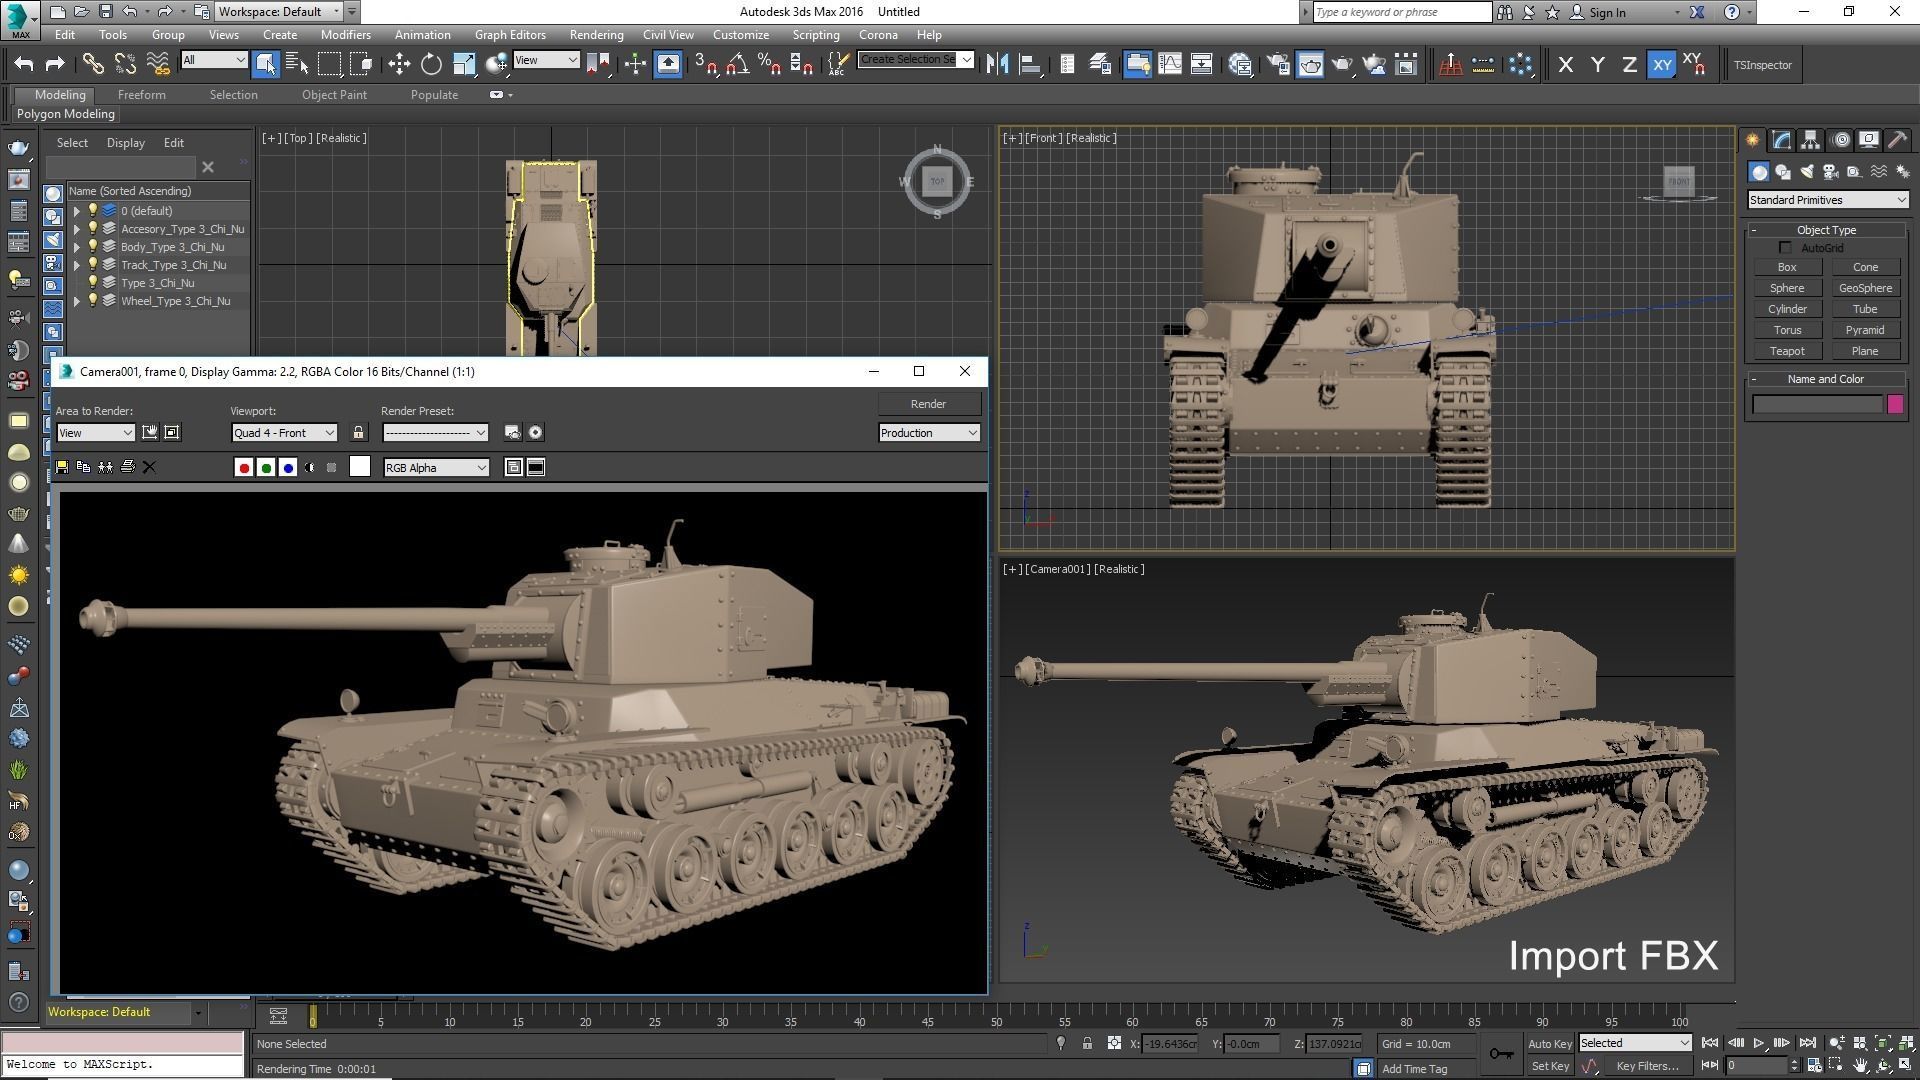
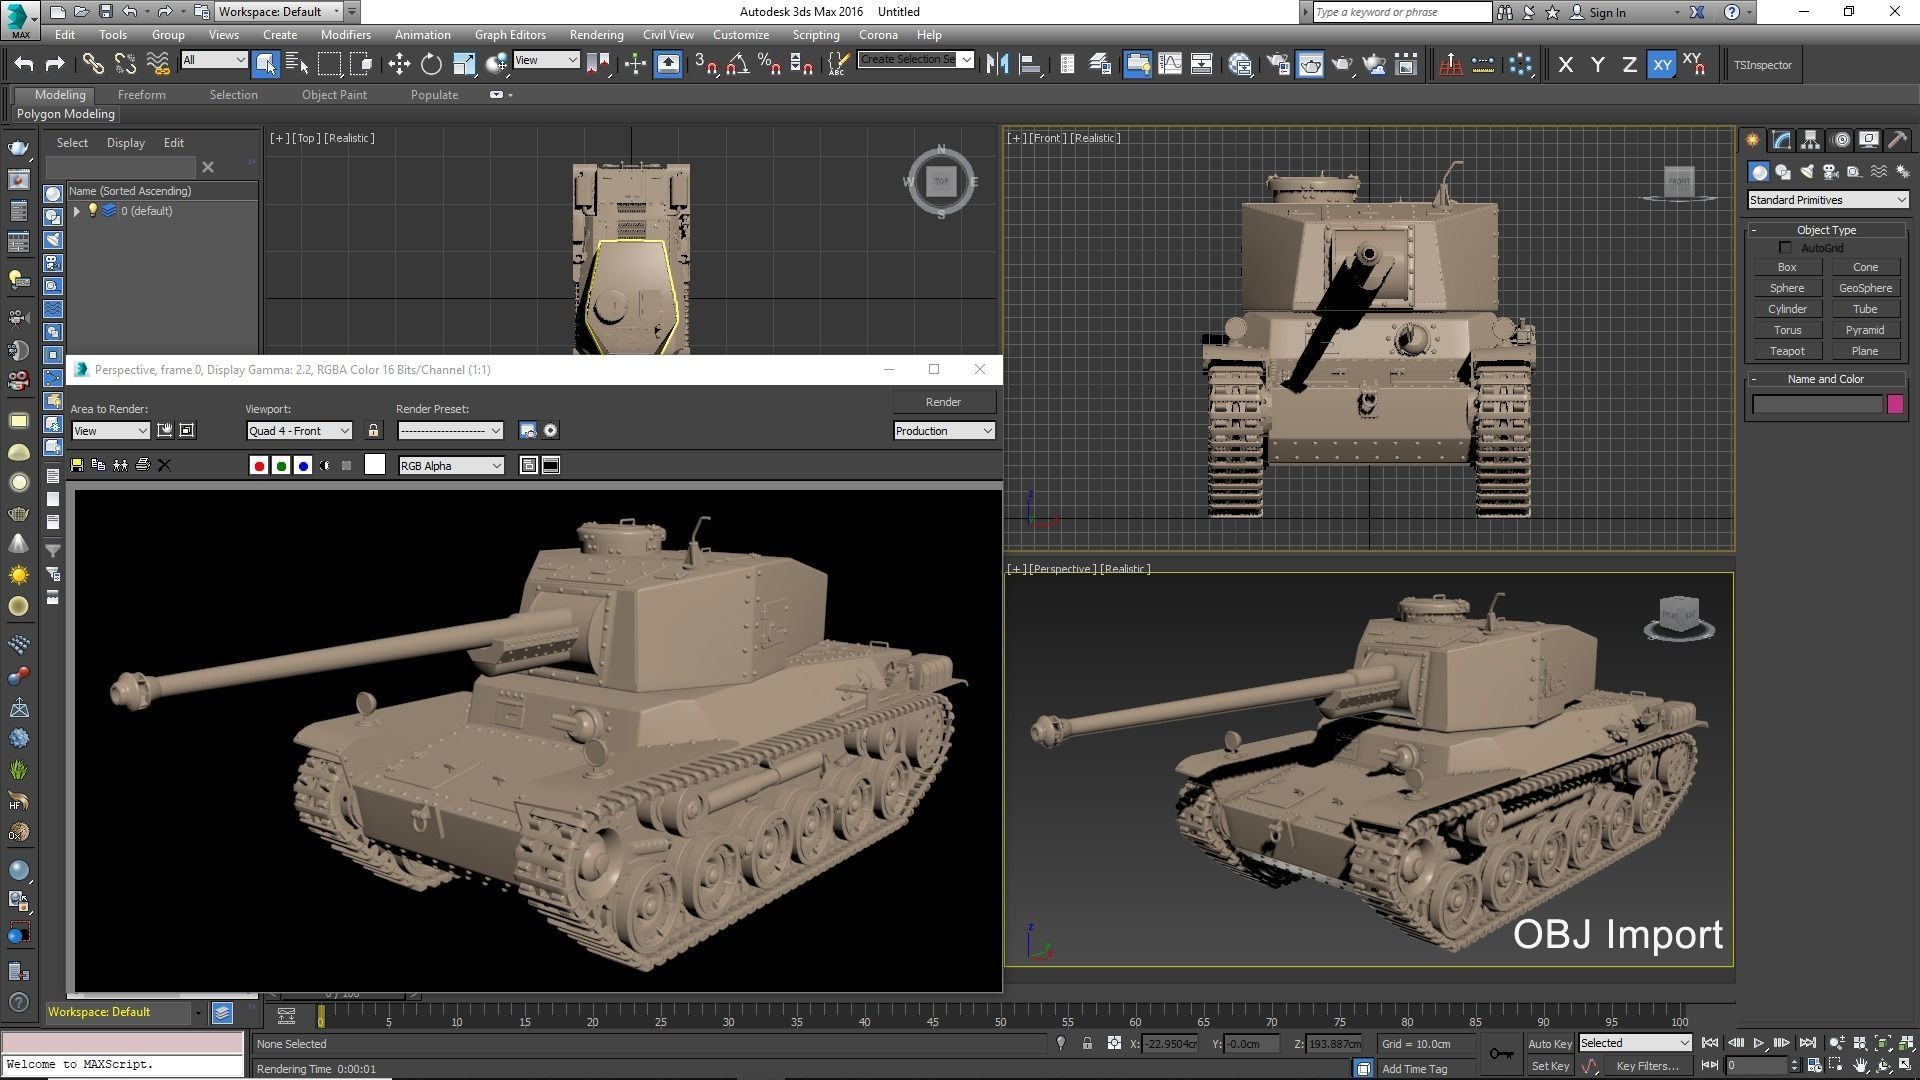
3_ Export in fbx and obj preset from 3ds max 2016.
4_Texture you find it in the 3ds max folder.
Is present the layer and group for maneger easy the part for the model.
Polygonal Ngone used on the model.
Note: The background image is not include.

