Hey all!
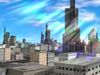
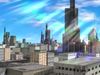
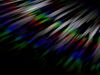
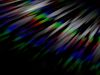
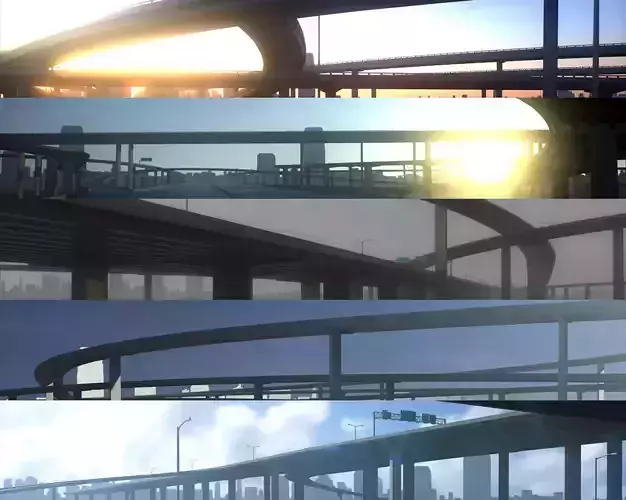
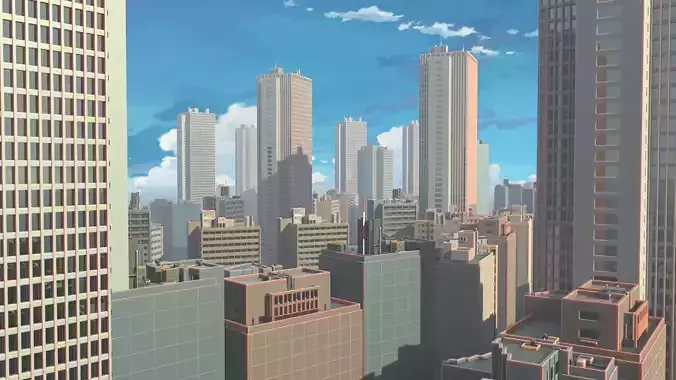
In the world of anime, there are a lot of elements that come from real life, that just got a bit of a twist for artistic expression, so to speak. One of them is a sun glare. Usually, on camera, you only get a sun glare when the sun is actually in the frame or you see the lens when you have something really bright off-camera. Truly, I don't know where this one started, but I love it!
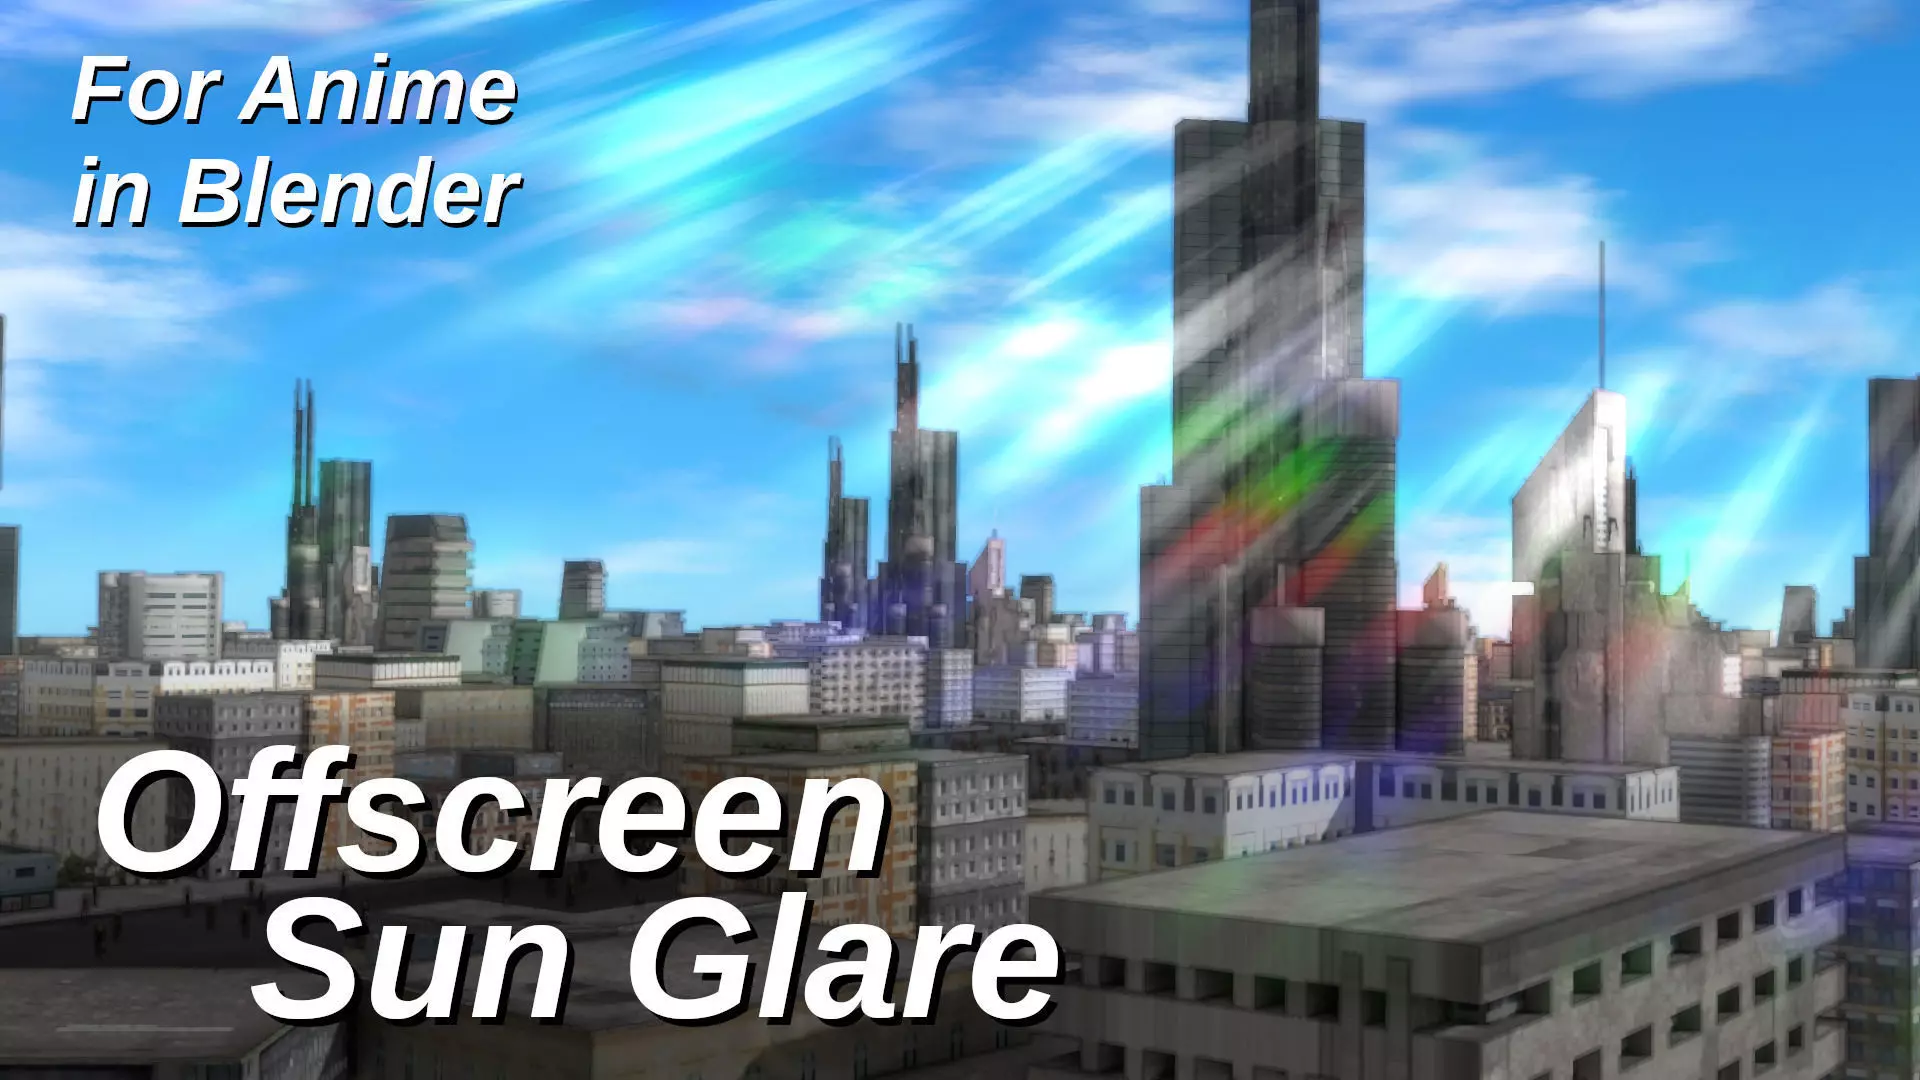
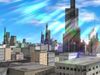
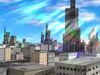
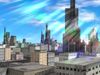
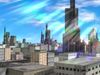
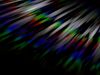
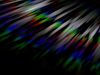
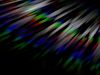
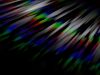
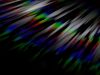
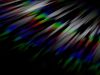
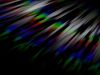
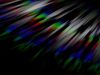
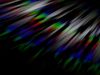
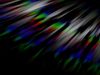
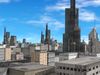
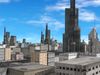
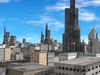
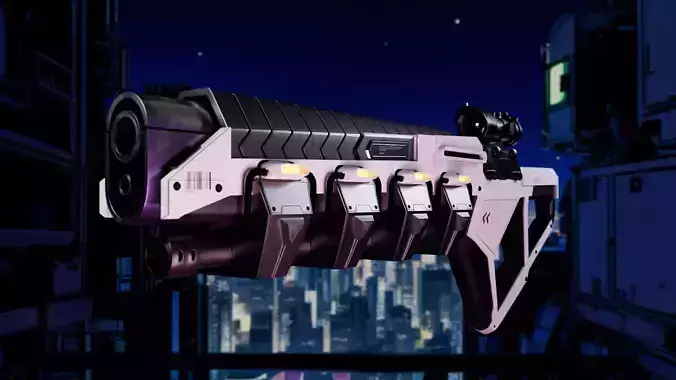
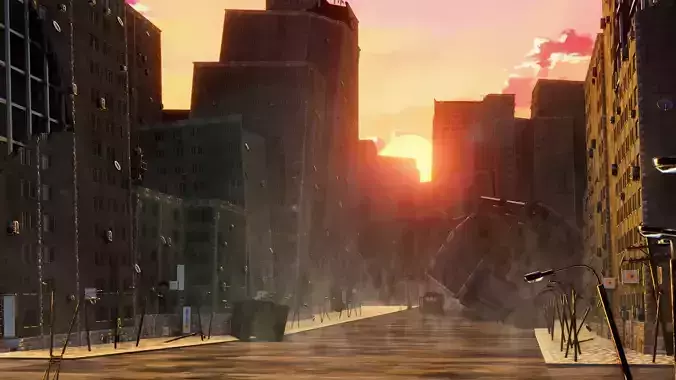
To demonstrate it's a bright and sunny day, you often see some rays flowing on the screen over objects, without the actual light source in the shot - ie, Offscreen sun glare!
I've added as much control to this as I felt is good without going overboard, but as usual, with these nodegroups, it's a matter of going into them and adjusting to your heart's content! hehe.
Features and what they do:- Ray thickness - white and color
Works as a mask/threshold. The higher, the more of white or color is shown, the less, the less is shown. It has a pretty non-linear seaming fall-off, so adjust in small increments from the default 50 - like 5 or so at a time up or down.
- Ray texture scale - white and color
This is like how many individual strands do you wanna see. The higher the number, the more per surface area.
- Band offset/Scale - white and color
Radial placement (from the origin) of the white or the color linesIt's labeled as scale and offset, because it really is both. The area gets thicker as the distance from the origin increases.
- Sharpness - white and color
Filter, Filter - Sharpness as applied to white or color
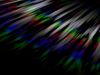
- Scale Color
Operates similar to modulo, but the higher the value, the less color bands, the lower, the more.
- Translate X and Y
0 center, 1 right-top, -1 left-bottom.
- Add factor
How intensely the glare gets added to the image - usually 1 is good enough, but you can up it passed 1 if you feel you want more addition.
- Overlay factor
To really make it stand out and blend, overlay is used to affect the colors behind the glare
- Overlay Blur Size
Overlay usually requires a blur to spread out and create the gradual influence - this is that blur size. If set to 0, you simply have the same pattern added and overlaid.
- Post Blur
Blurs the final glare result (not the overlay blur - just the sharp version).
- Animation speed control
This allows you to slow it down or stop it until the camera actually moves - remember this works with multiply, so if you want to animate it back to 0, I recommend just slowing it to just above 0, so it doesn't pop back to the starting position.
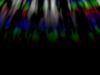
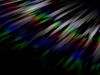
- Glare only Output
Allows for much quicker manipulation and animation, but is also useful for exporting so you can add it to games or other projects as a post-effect.
This is a fantastic addition to the For Anime toolbox and I'm super ecstatic to share it with you guys! :D
To use:
- Append the node group using File - Append - Downloaded file - Nodetree - For Anime - Offscreen Sun Glare.
- Find in the compositor under Add - Groups - For Anime - Offscreen Sun Glare.
- Pop it in at the end of the compositing tree.
- Note that you may want to first animate it with the image input only - having a whole nodetree to process every time can be very time consuming.
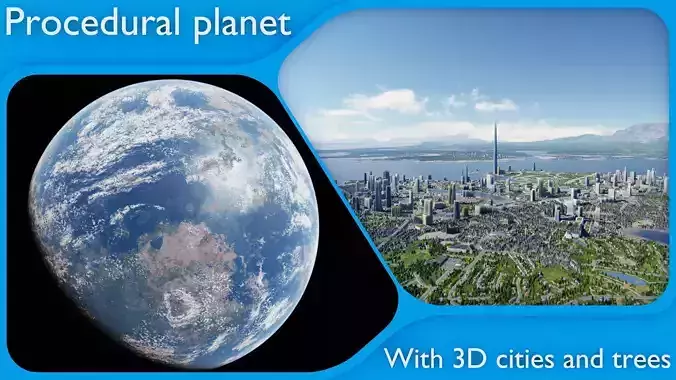
Credit:City and people not included - you can find them under free models here on CGT.Use does not mean automatic endorsement of those items or other products they may have or produce.
#glare #anime #offset #move #center #color #band #sun #offscreen #frame #animated #blur #nodegroup #post #processing #pretty #scale #plugin #addon #script