1/5
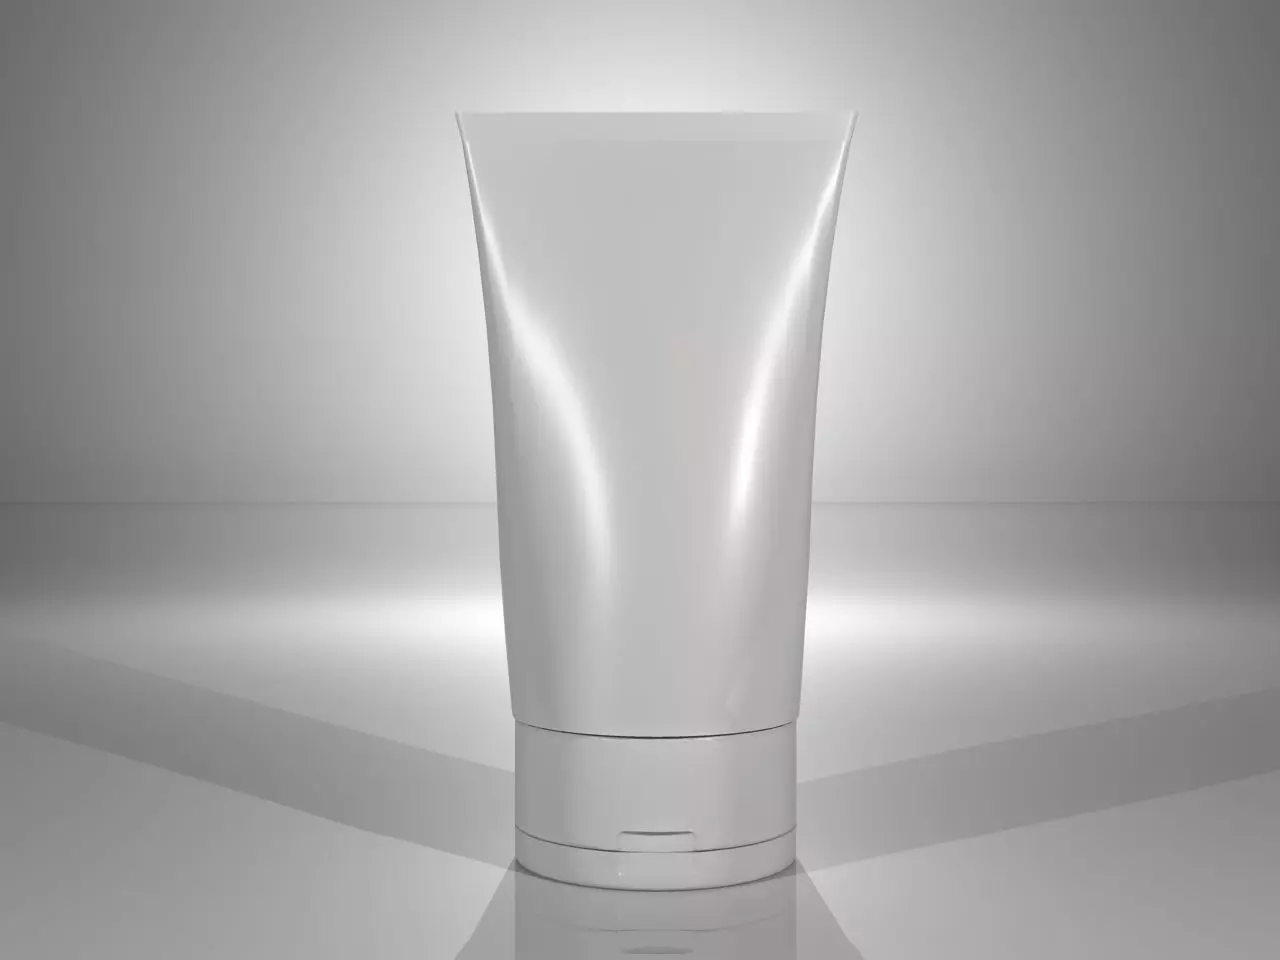
Glamour light 3d scene light setup.
This scene is a light setup for you to put your finalised models into to render. Basically, it's a lighting template, complete with final gather, exposure control, etc all setup. You put your model in the scene, and click render! Created in 3ds max with Mental Ray Renderer.
This scene works best for if you have a beauty shot you want to render. This scene is set up to scale for smaller products, like the ones displayed. Bottles, jars, smartphones, etc.
The scene has one main skylight, 2 lights at the front, one light at the back (to add shine to the object) and one dim light high up at the front to fill in some of the light.
Witht this scene, you get three free models. Two bottle and a squeeze bottle. The meshsmooth modifiers are OFF on these objects, and their visibility can be controlled via the layer panel. Of course, you will most probably delete these models for YOUR models. The lights are in the layer called 'Lights'.
The background is an infinity curve spline, with a white material applied, with a slight reflection.
REVIEWS & COMMENTS
accuracy, and usability.


