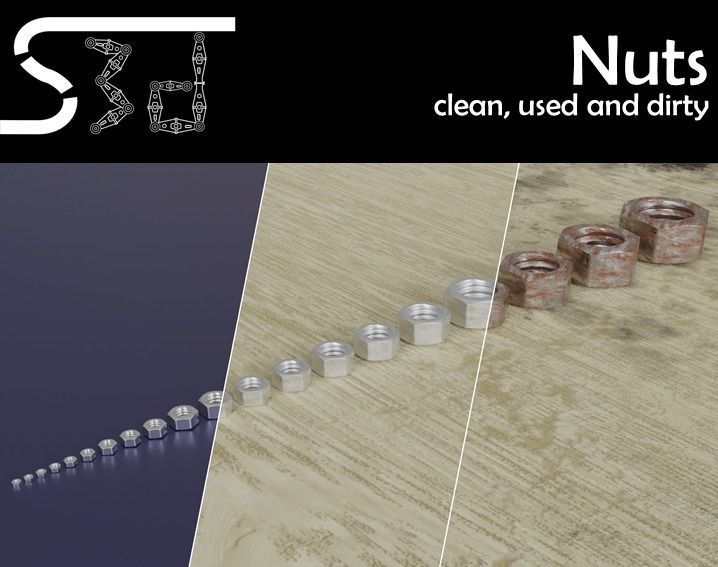
Nuts clean used dirty Low-poly 3D model
OVERVIEW
This package contains Nuts in 20 different sizes, each nut comes with three materials: clean, used, and dirty. Because of that, the nut can be used in many different environments, e. g. a workshop (used), a factory (clean), or a game where you have a dirty environment.
CONTENT
The following sizes of Nuts can be found in the set (all modeled after ISO 4032):
- M2.5
- M2.6
- M3
- M3.5
- M4
- M5
- M6
- M7
- M8
- M10
- M12
- M14
- M16
- M18
- M20
- M24
- M30
- M36
- M42
- M50
TECHNICAL DETAILS
All nuts were modeled with a Quad-based workflow. That guarantees full functionality and no problems with topology!
First Number: Low-resolution; Second number: Mid-resolution; Third number: High-resolution
- All Nuts: 337; 1,356; 5424 Vertices / 674 ; 1,356 ; 10,848 Polygons
In the Low-resolution, all 60 Nuts have 20,292 Vertices, equal to 40,584 Polygons.
In the Mid-resolution, all 60 Nuts have 81,648 Vertices, equal to 163,296 Polygons.
In the High-resolution, all 60 Nuts have 325,440 Vertices, equal to 650,880 Polygons.
FORMATS
The nuts are available in the Autodesk FBX and Blender Format
TEXTURES
The textures were generated using Substance Designer and have a resolution of 2K (2048 x 2048 px). The Base Color, Metallic and Roughness textures are between 0.7 and 8 MB each and the Normal Map is 1.3 MB large. All textures together have a size of 45.6 MB and are only used where needed.
USE AS FBX
If you use the nut in the background, choose one of the low-resolution nuts and import it into your 3D-Software. Otherwise, if they are somewhere in the foreground, you should choose the mid-resolution nut from the folder and import it. If the Camera gets in really close, choose the high-resolution nut. In all cases, the embedded textures should be recognized automatically from your 3D software.
If not, you can easily fix it! We have included a PDF named Material_setup, there you find all the important information for recreating the materials in the PBR Metallic-Roughness Workflow.
USE IN BLENDER
You can use File>Append or File>Link and then navigate to the .blend-File with the nuts in it. Then click on Collection and choose your nut.
To adjust the resolution, click on the Empty-object that belongs to the nut and press 'N'. Then go to 'Item' and under 'Properties' you find the control.
If you want to remove the nut, just delete it with X and under File>Clean Up choose Purge All a few times. That will make sure that the nut's mesh is removed from Blenders memory.
SPECIAL OFFER
We provide an extra service for combining our products with custom elements, for example logos or changes to the model or its textures (for example 4K textures). If you are interested, please contact us at sorg3d@gmail.com and we will come back to you!
Of course, if there are any problems or additional wishes, you can contact us as well at sorg3d@gmail.com. We will reply as soon as possible!
Now, just enjoy the product!


