Spinmaster Batman Batwing one-Twelfth Interior upgrade kit 3D print model
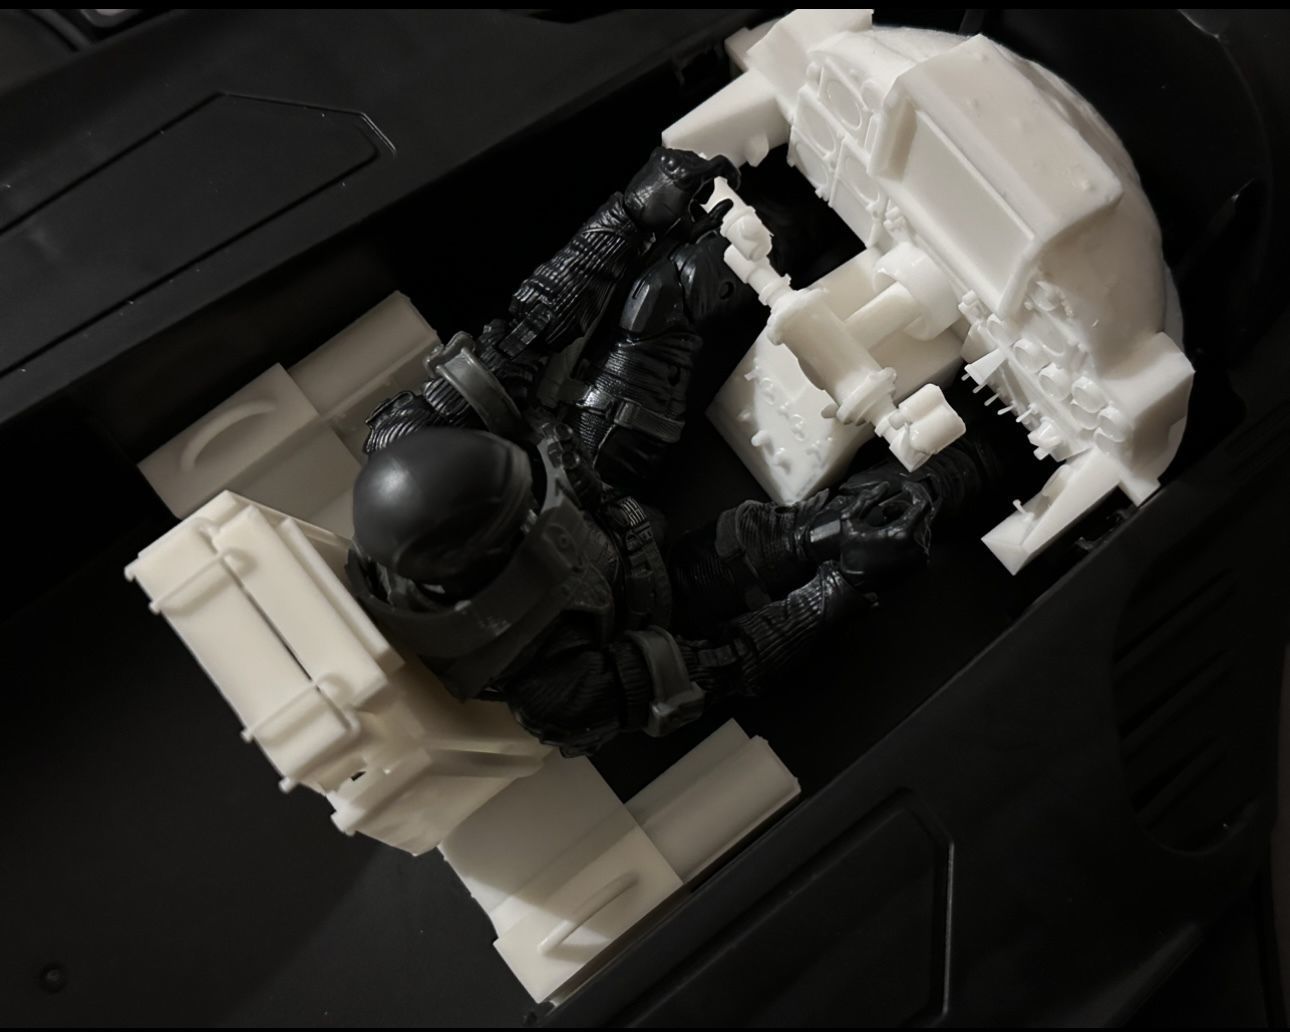
This is an upgrade kit, to make the large 27 inch SpinMaster Batwing, to make compatible with 1/12 (6 inch) figures. This kit does not work with McFarlane Batman figures as 7 inch base figures will not sit remotely upright as is.
Kit requires two holes drilled in the inside interior. Both of these holes are only through the first layer of plastic, so you will not see it from the bottom. The kit is designed to plug and play. The first hold must be drilled into the top of the front gear hump. the center console will slide into that hole (1/4). The seat postion can be placed anywhere, depending on what size figure you plan to use. The lower arm rest needs an 8MM hole. it can then be inserted. The seat slides into the hole already in the arm rest. You will want to glue these in place when you are finished.
The dash piece slides in between the cockpit latches, and the inside front wall. pushing down on the front of the dash will allow it to sink into place by tension, and will not move. you can further re-enforce the dash by gluing it to the top of the center console assembly. The control stick slides into the dash, allowing for turning, and telescoping.
I have tested this design over and over again, printing many samples to make sure it works as easy as possible and allows most 1/12 scale figures room to be placed. You can use a 7 inch McFarlane figure, but due to the original toy's constraints, they will not sit upright in any natural position.
Note: I used some studio models refences and liberties with the design of the dash layout. I also will have links to a sticker sheet for this when it is ready.
This kit includes
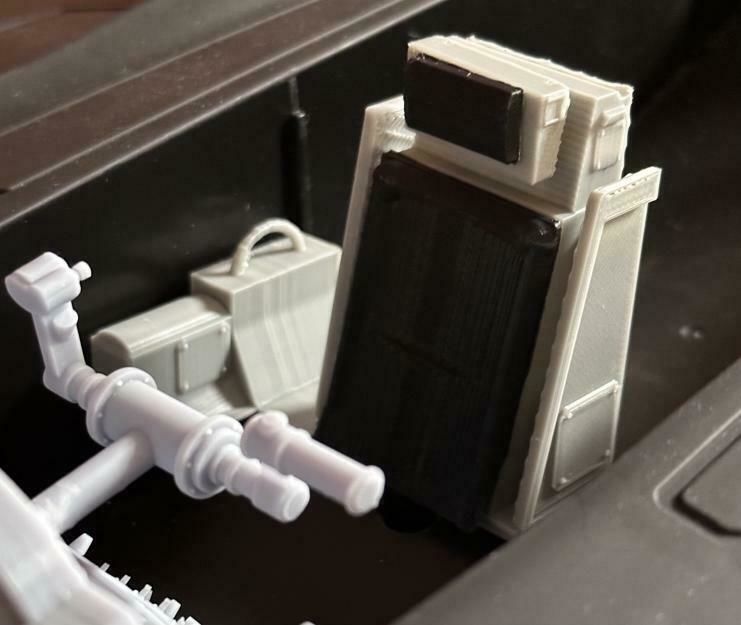
DashControl stickSeatcenter consolearm rest support frame
more upgrades for Spinmaster Batwing are coming soon.
If you would like to sell this kit as a retail 3Dprinter, please feel free to contact me, as of now this is private use only.
UPDATE
Added a new file for a FDM based seat and arm rests. these have been modified to be printed in FDM for easier printing. the seat has been broken down into components. There is slightly less detail on the FDM for obvious tolerance problems. I use 20% infill to make sure the peg is firm and wont break.
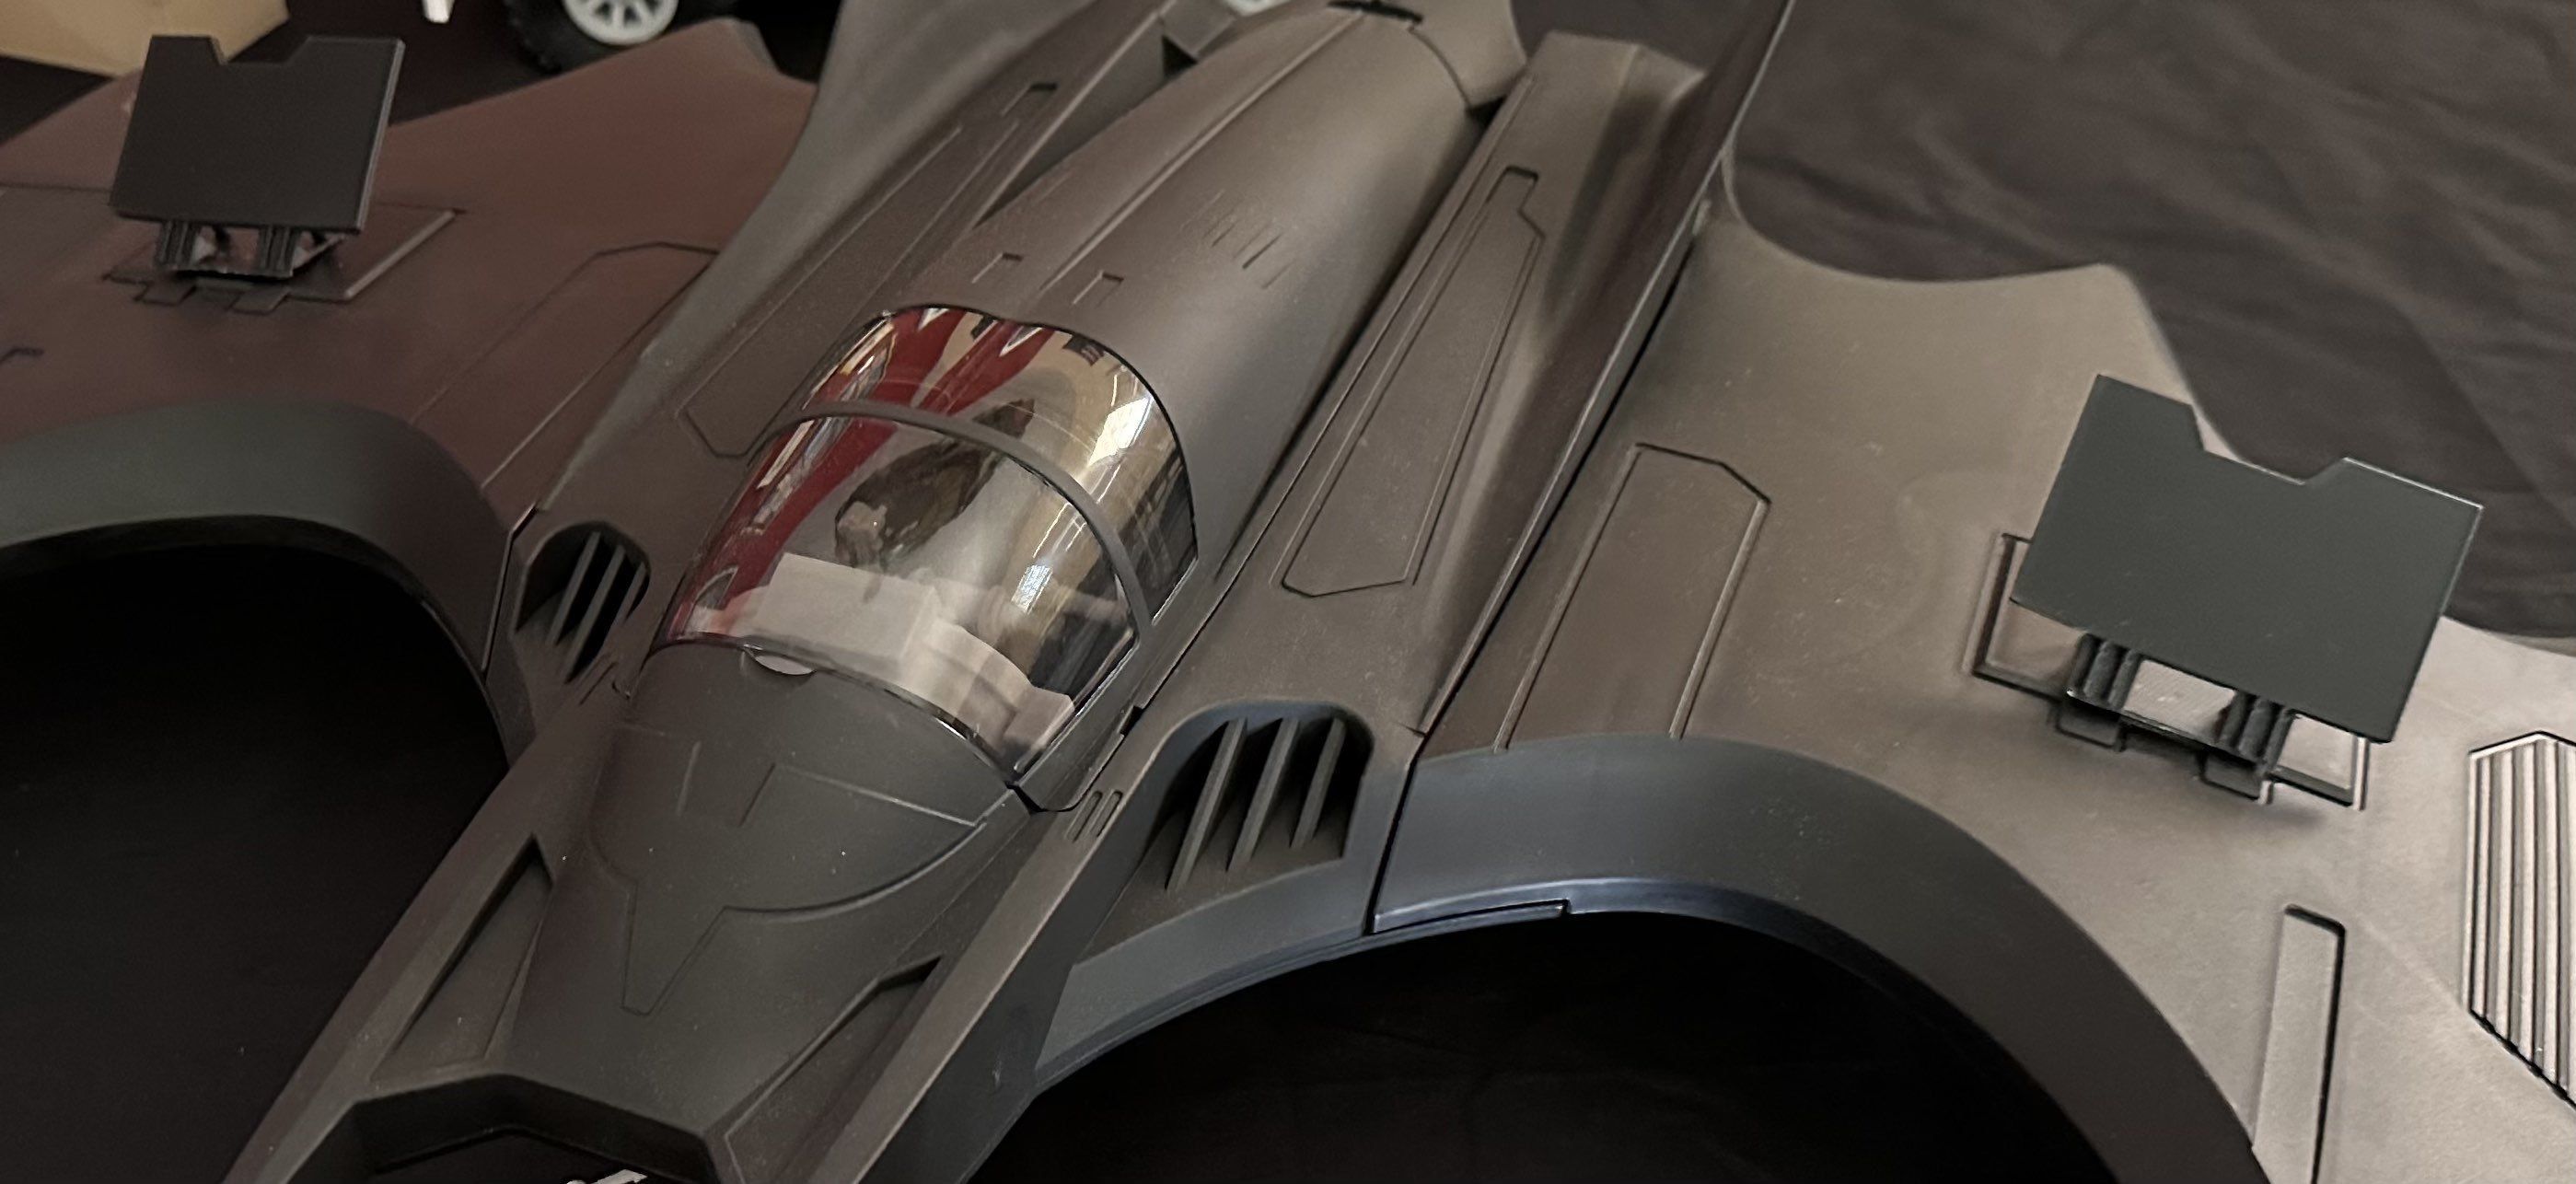
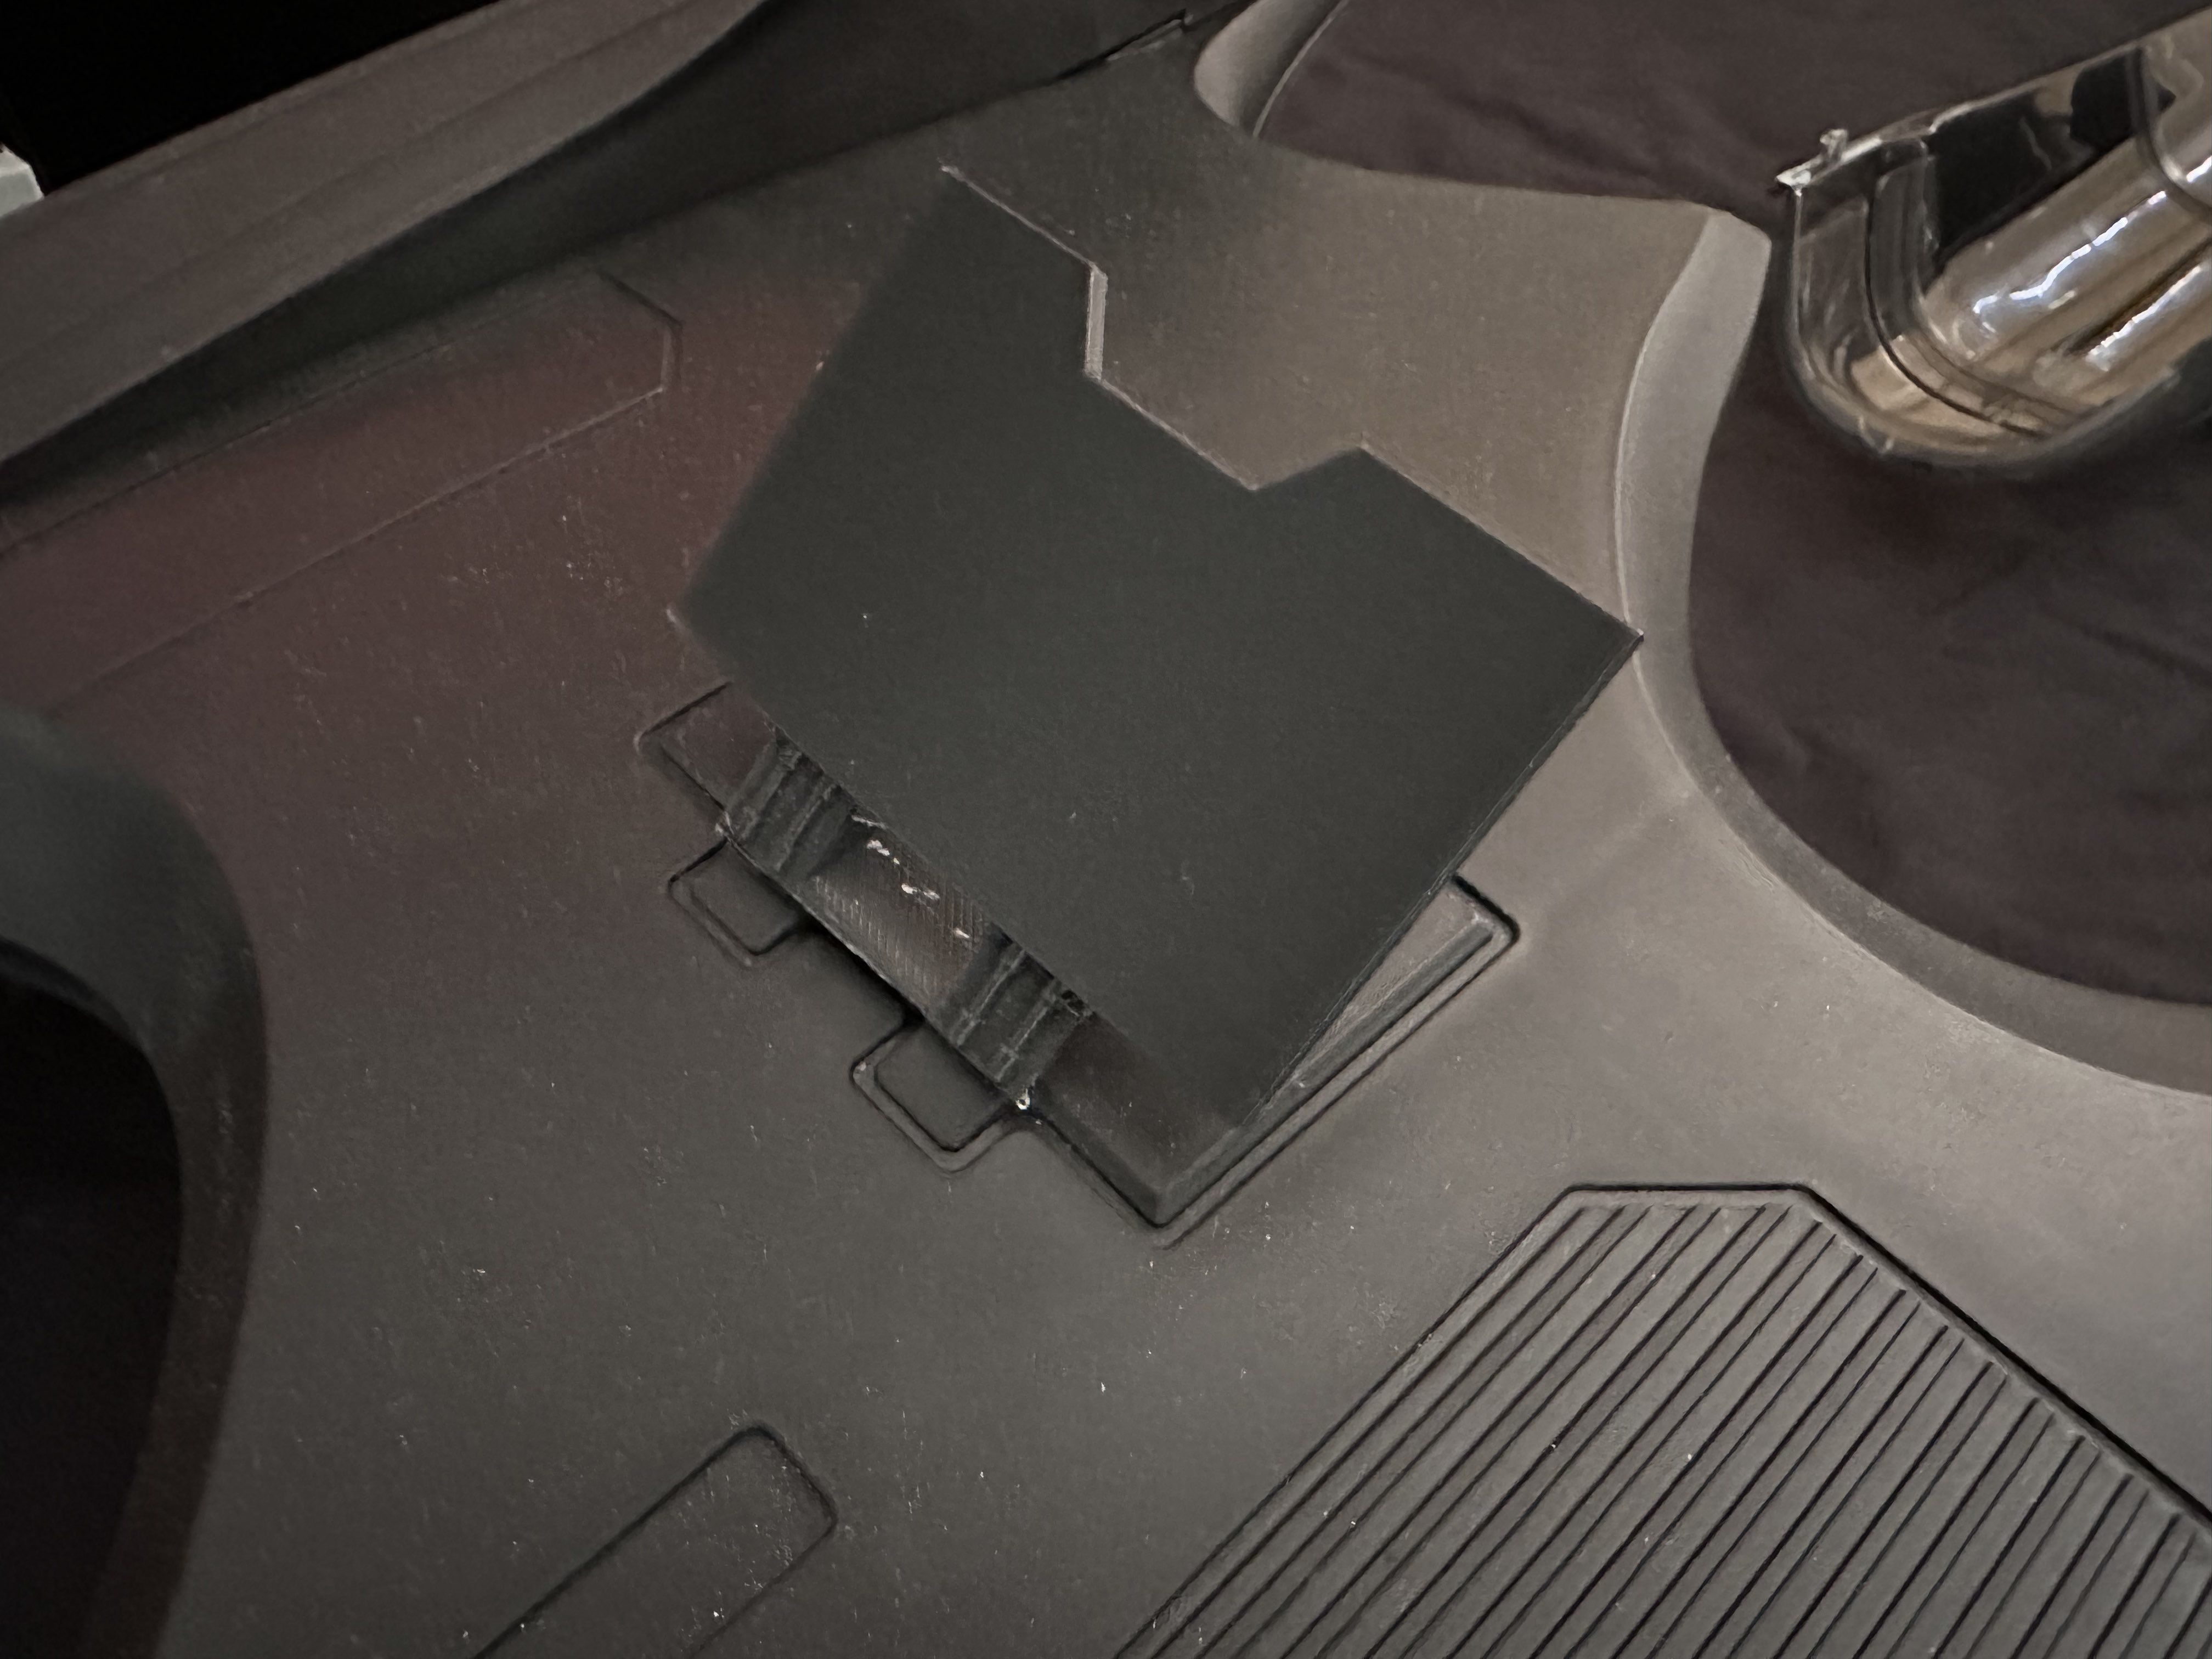
Batwing air breaks in the up position are now included with the kit, to bring you some more dynamic looks on your shelf. not the air breaks just sit on top of the molded ones. I use black tac, but they can also be glued. they are R and L specific.3D printing settings
I highly suggest printing the dash in resin due to the tiny switches and details. Also face it down, so the layer lines are invisible on the facing side.I used ABS 2.0 on 4.5 sec exposure to get a strong and slightly flexible build. detail side of dash facing away from the build plate to avoid layer lines
FDM for the new seat file should be done with 20% infill to make sure the pegs for the seat stay strong.


