1/11
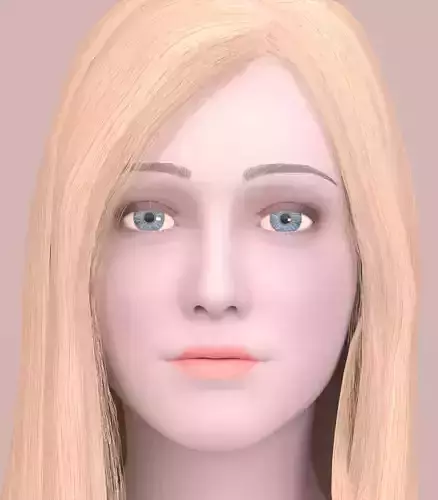
Originally created in 3ds max 2018,preview images are renderd with vray 4.2,3 zip files are provided,3ds max vray 4.2,3ds max scanline,fbx,each of the zip file include all textures,each of the 3ds max zip include a max 2015 file and a max 2018 file. I decided to make a model as a template for later use,and spent more than 5 months on this model exclusively,most of the time is spent on base mesh wiring and rigging.
base mesh: 24618 polygons,24696 vertices,all quads,174 cm tall,symmetrical. The principles of wiring are, 1 Keep edge flows coincide with body structure(image 5,6) for good shape definition,realistic deformation,and for easy changing body fat and muscular by using edge flows as guide lines. 2 maintain decent body details while using as less polygons as I can,I assume every part of the body maybe rendered closely,so the dense of edge flows is arranged by each part's curvature or detail,this make some parts have more edges than normally will do(image 7).3 Less poles. There are always lots of different ways to arrange edges in wiring, and often hard to determine which is better,along the way nearly every vertex was modified many times,and will be under continuous improvement.
skeleton: 236 bones total, head 108 bones,hand 20 bones each, foot 14 bones each,pudendum 24 bones. The bones are organized in a strictly hierarchy(image 8),so you can get overall deformation quickly by rotating the parent bones,then adjust child bones for more control,image 9 is a demonstration of facial animation flexibility. It's tricky to rig a skeleton with complicated hierarchy,especially when many hierarchies overlap,indeed the work needed is unaffordable to me if without any assistance,so I spent lots of energy on adding many rigging facilities to my tool,like pin some bones's weight while changing some other bones's weight(this is the most critical facility for this kind of rigging, which each vertex is affected by many often more than 5 bones),change a group of bones's weight uniformly,calculate some bones's weight automatically using a chosen function.Even with this tools it's still a hell of a lot of work.Again it's not the final version,it's just looks acceptable and will be improved.
uv and texture: The principle of the uv splitting is to decrease main areas distortion, by splitting them into independent islands,or by spliting them into independent islands first,then morph and attach the minor areas to the main areas. there are 6 png diffuse texture files, face 8192*8192,torso 8192*8192,arm 8192*8192,leg 8192*8192,hair 8192*8192,eye 4096*4096(image 10).and 4 png bump file for face,torso arm,leg micro details.No displacement textures,but 4 psd files are provided for face,torso arm,leg diffuse map,by adjusting the opacity of the detail group in each psd file,you can get different skin details to simulate displacement map(image 11).
several other objects are provided:hair: 1061 polygons,very basic hair cards,and the rigging only for very simple animation.pubic hair: 568 polygons,hair cards,to use it,hide panties because they penetrate each other.bra: 1304 polygons.panties: 2112 polygons.
REVIEWS & COMMENTS
accuracy, and usability.


