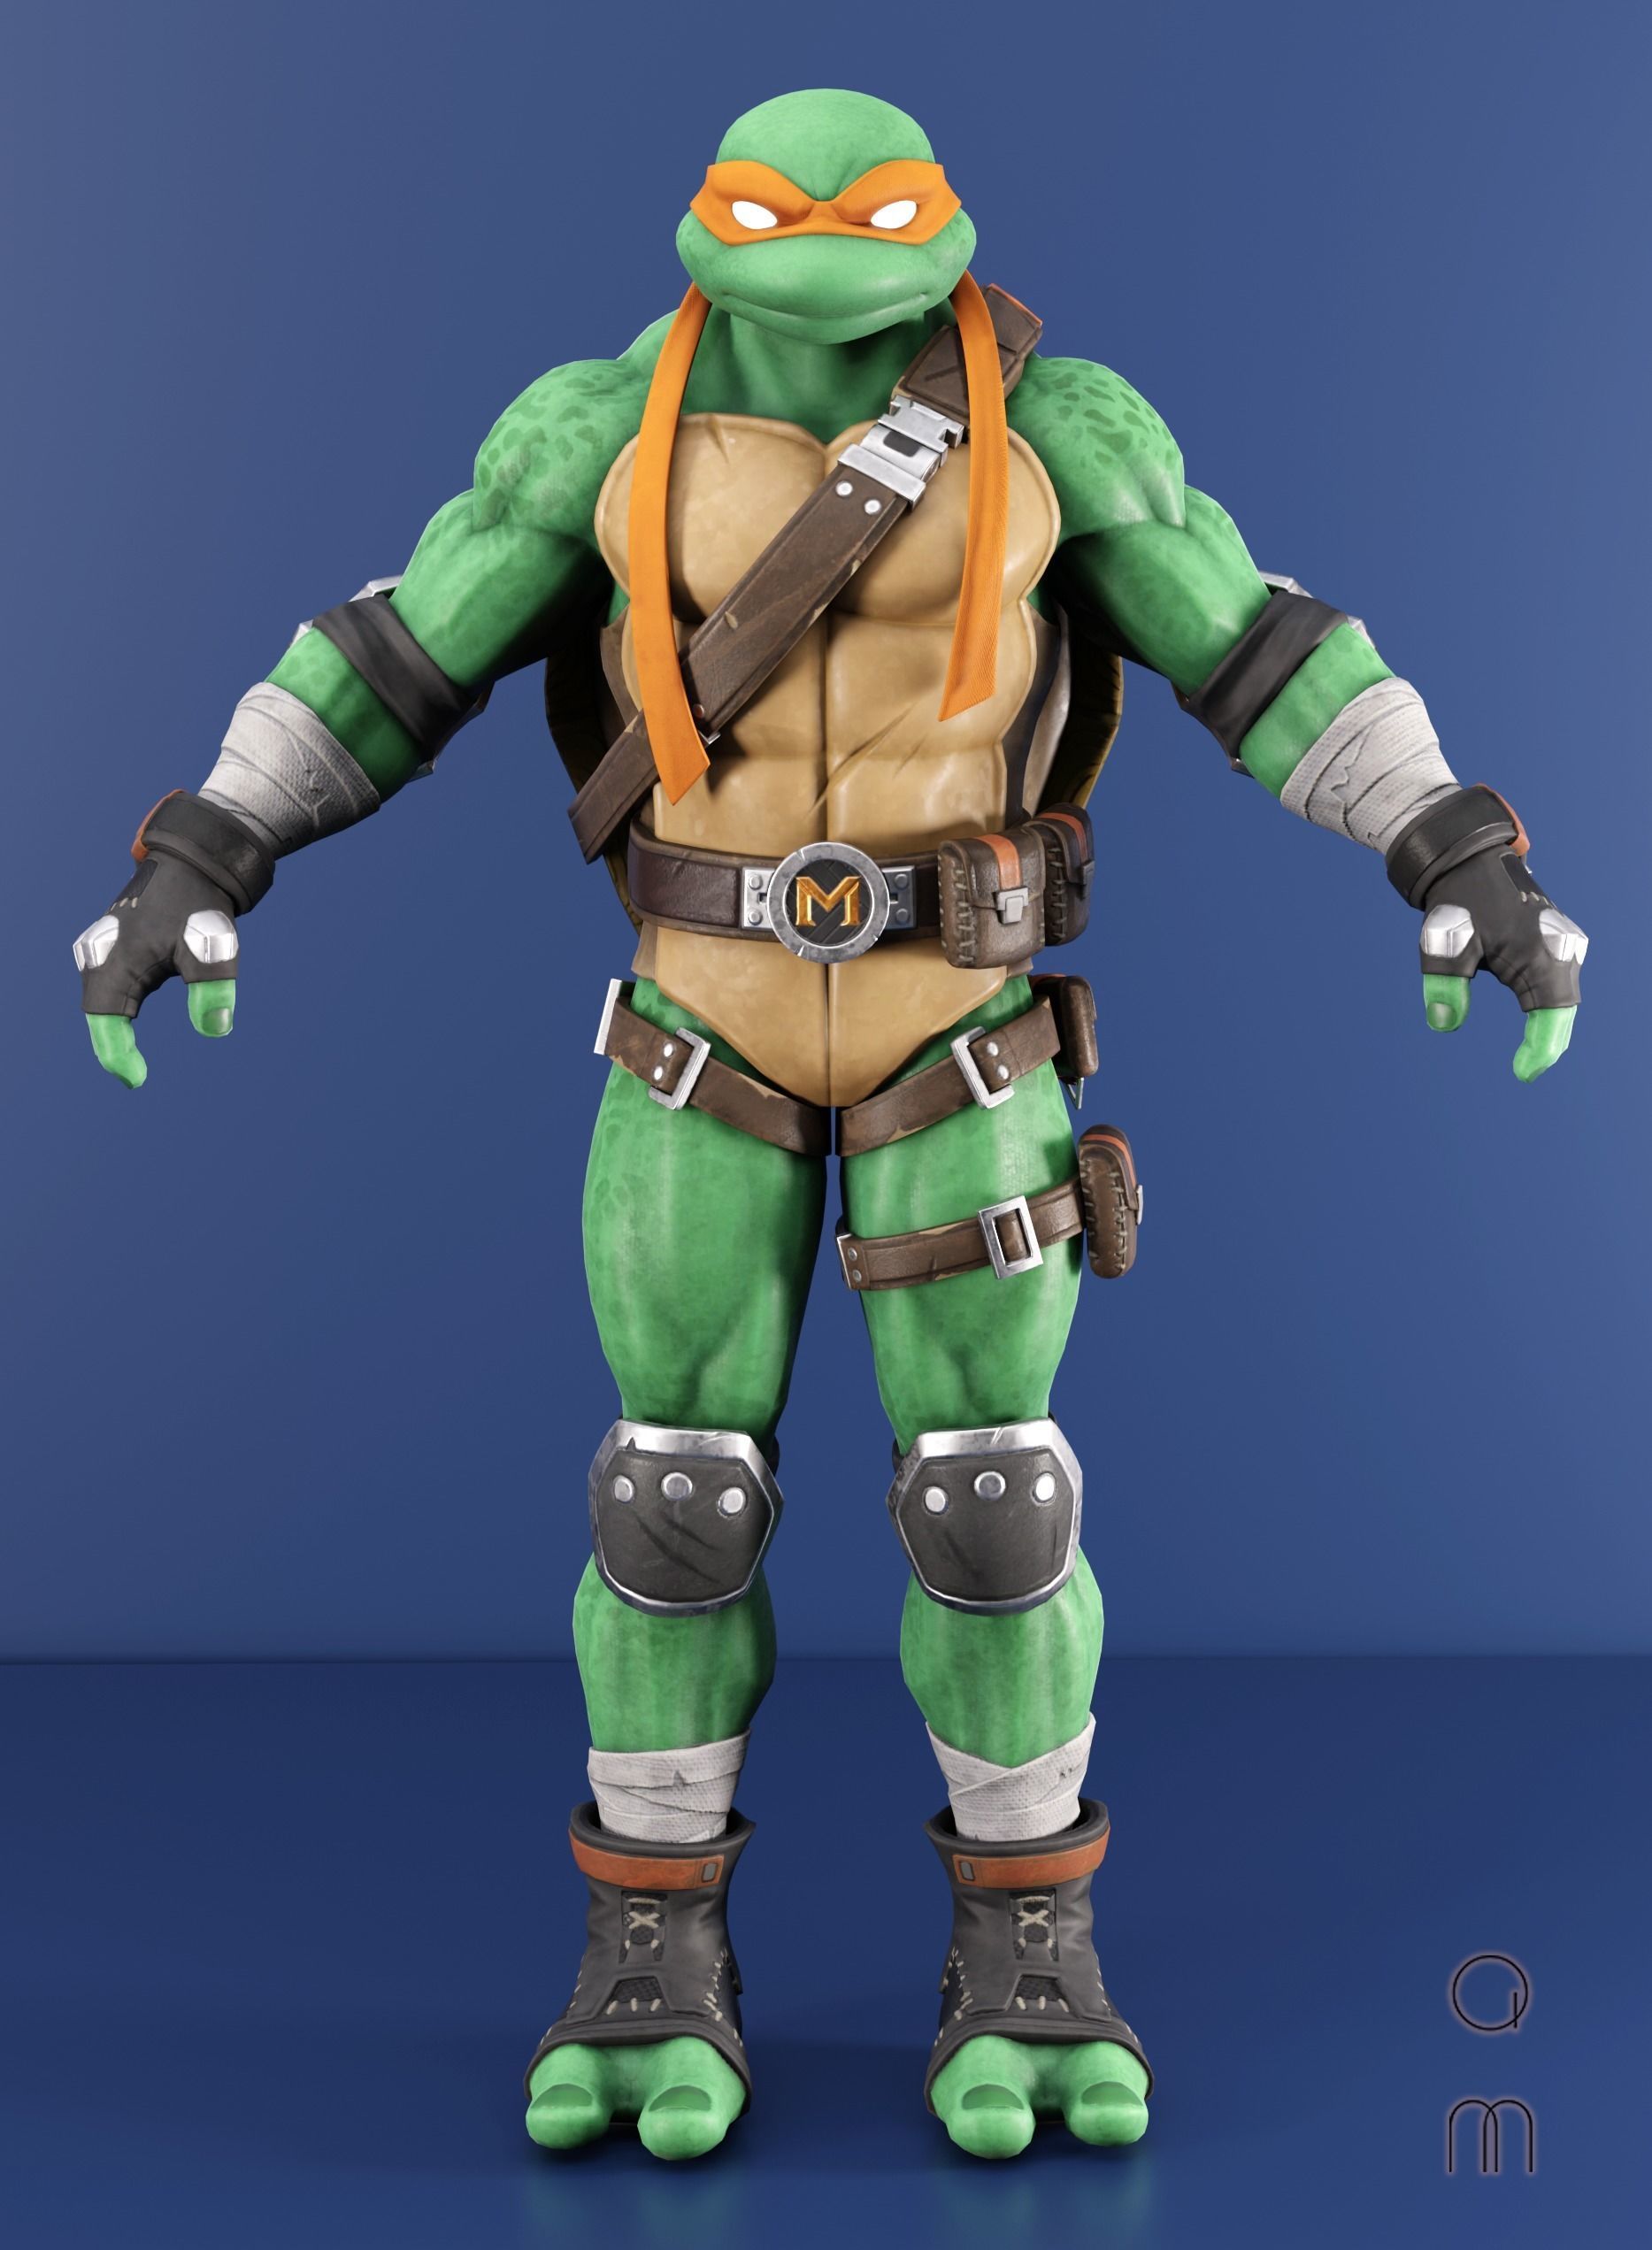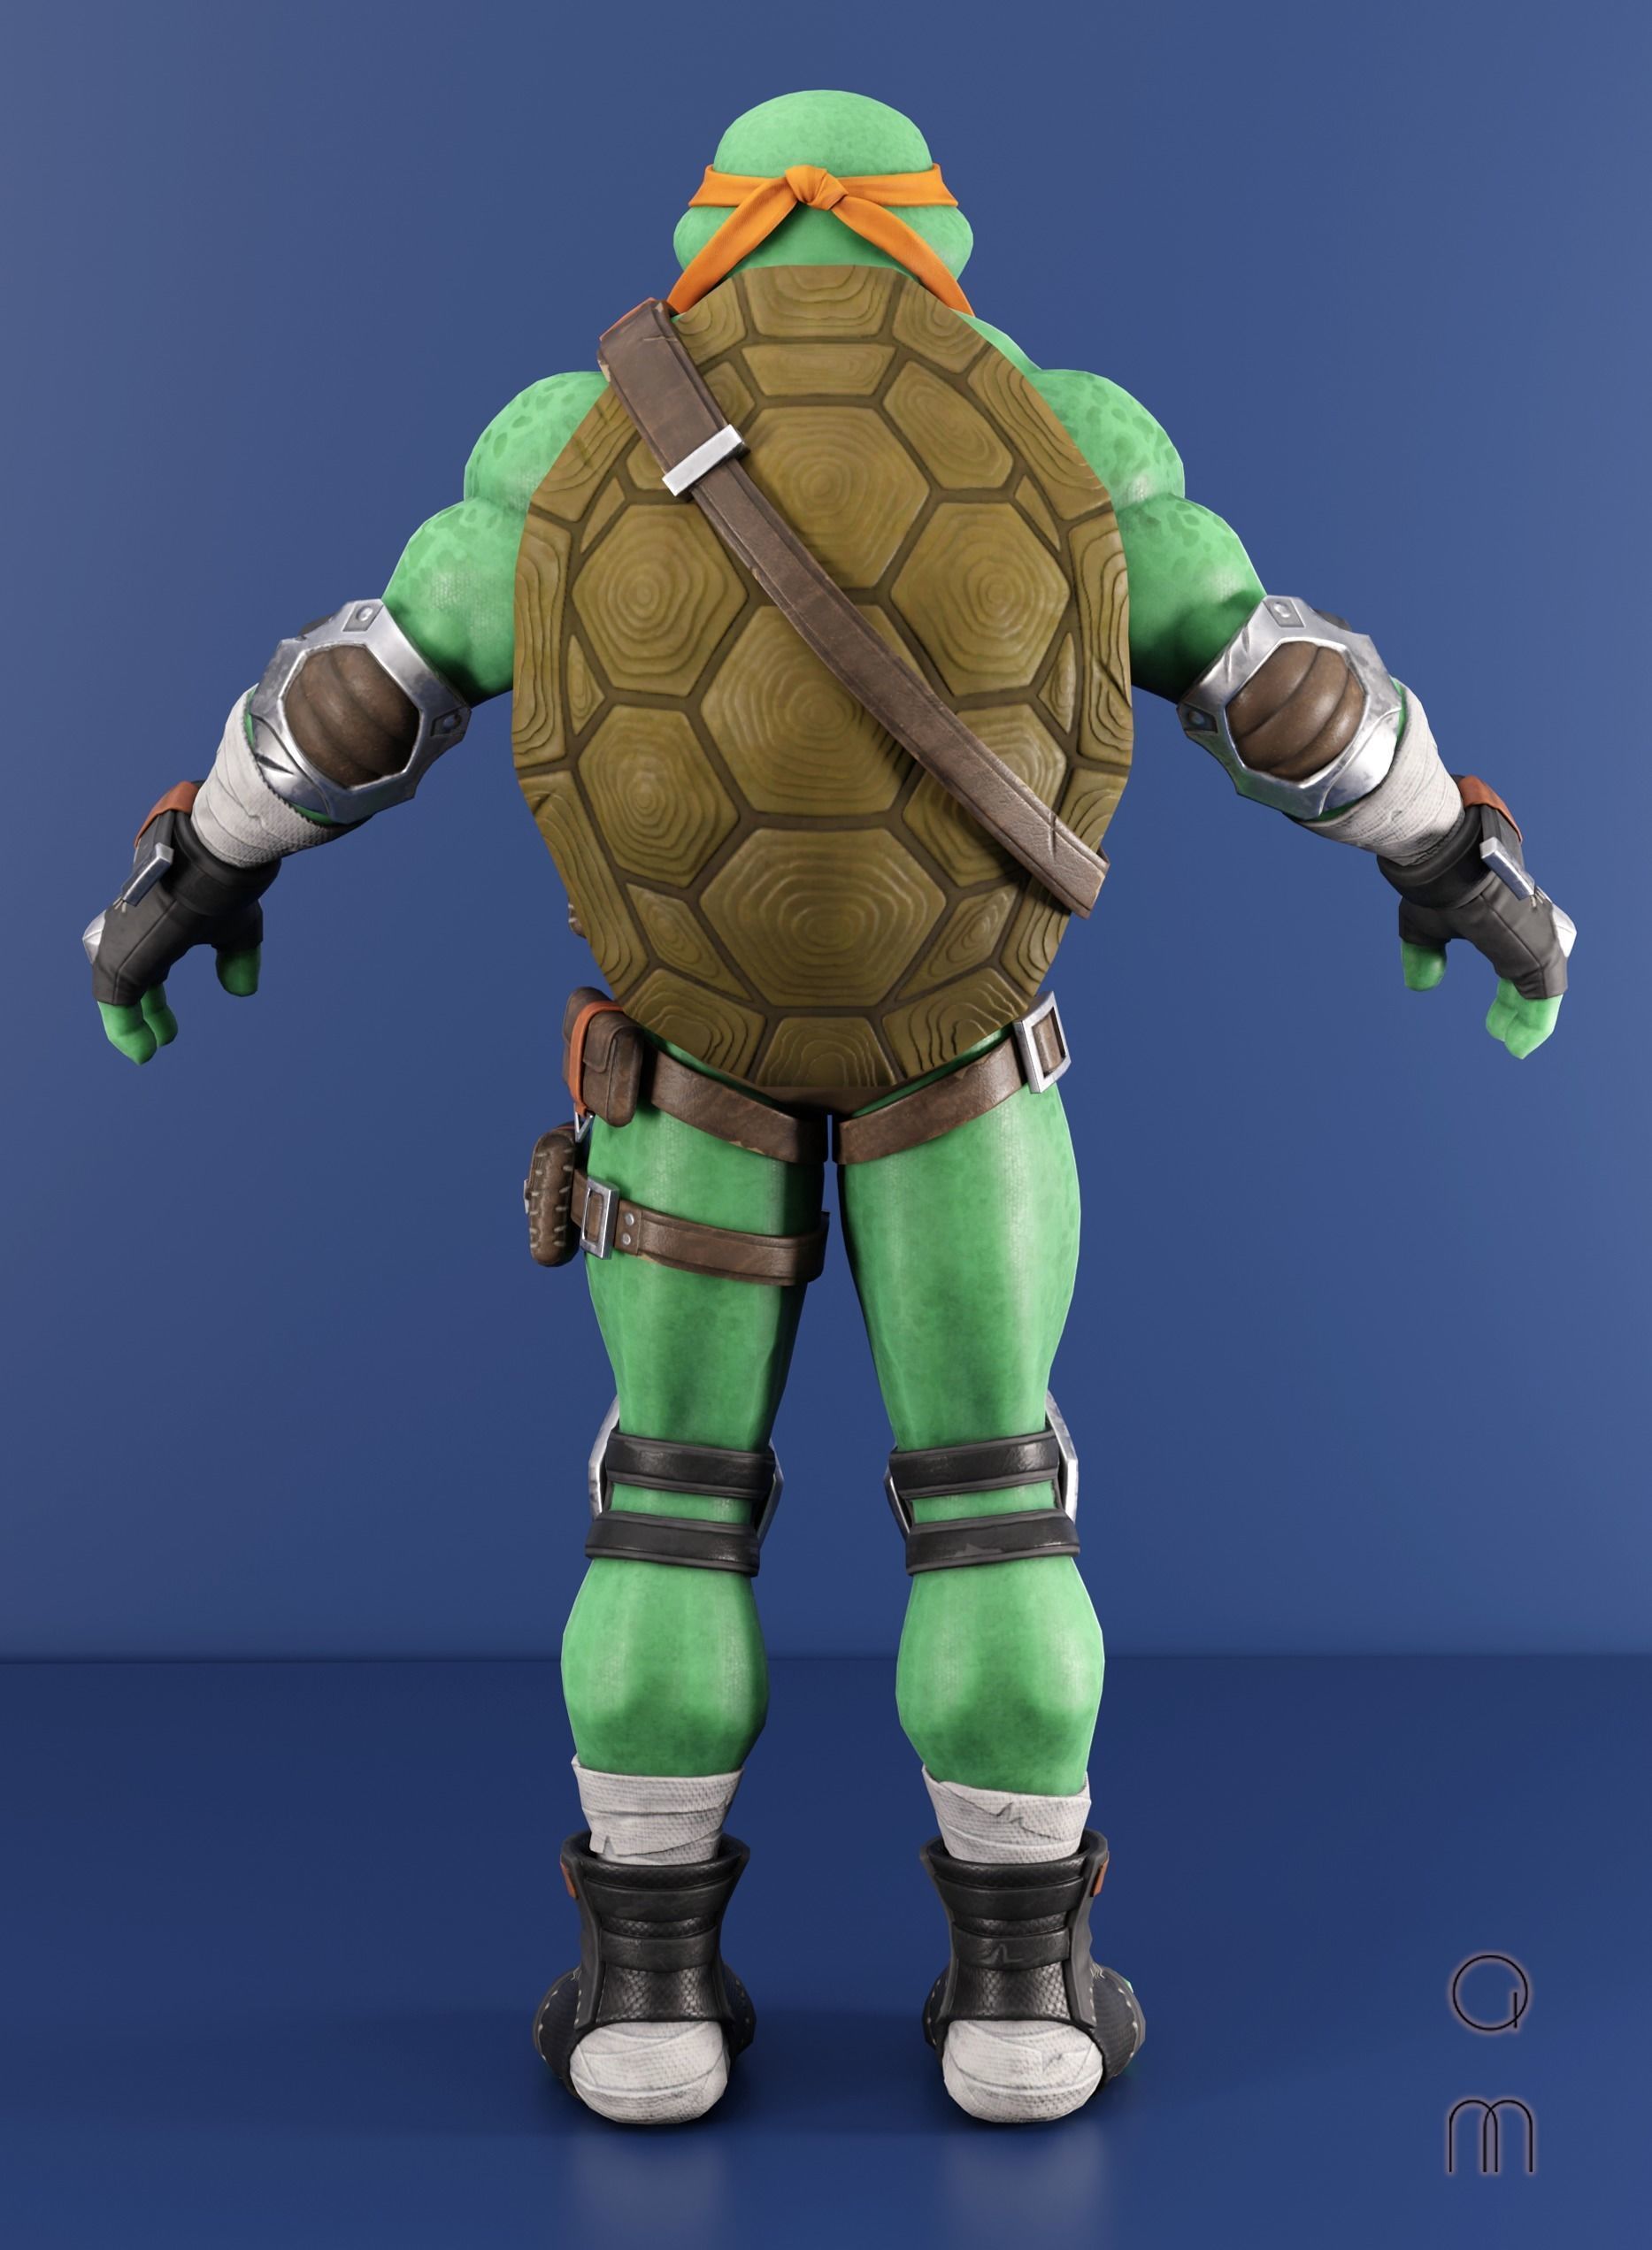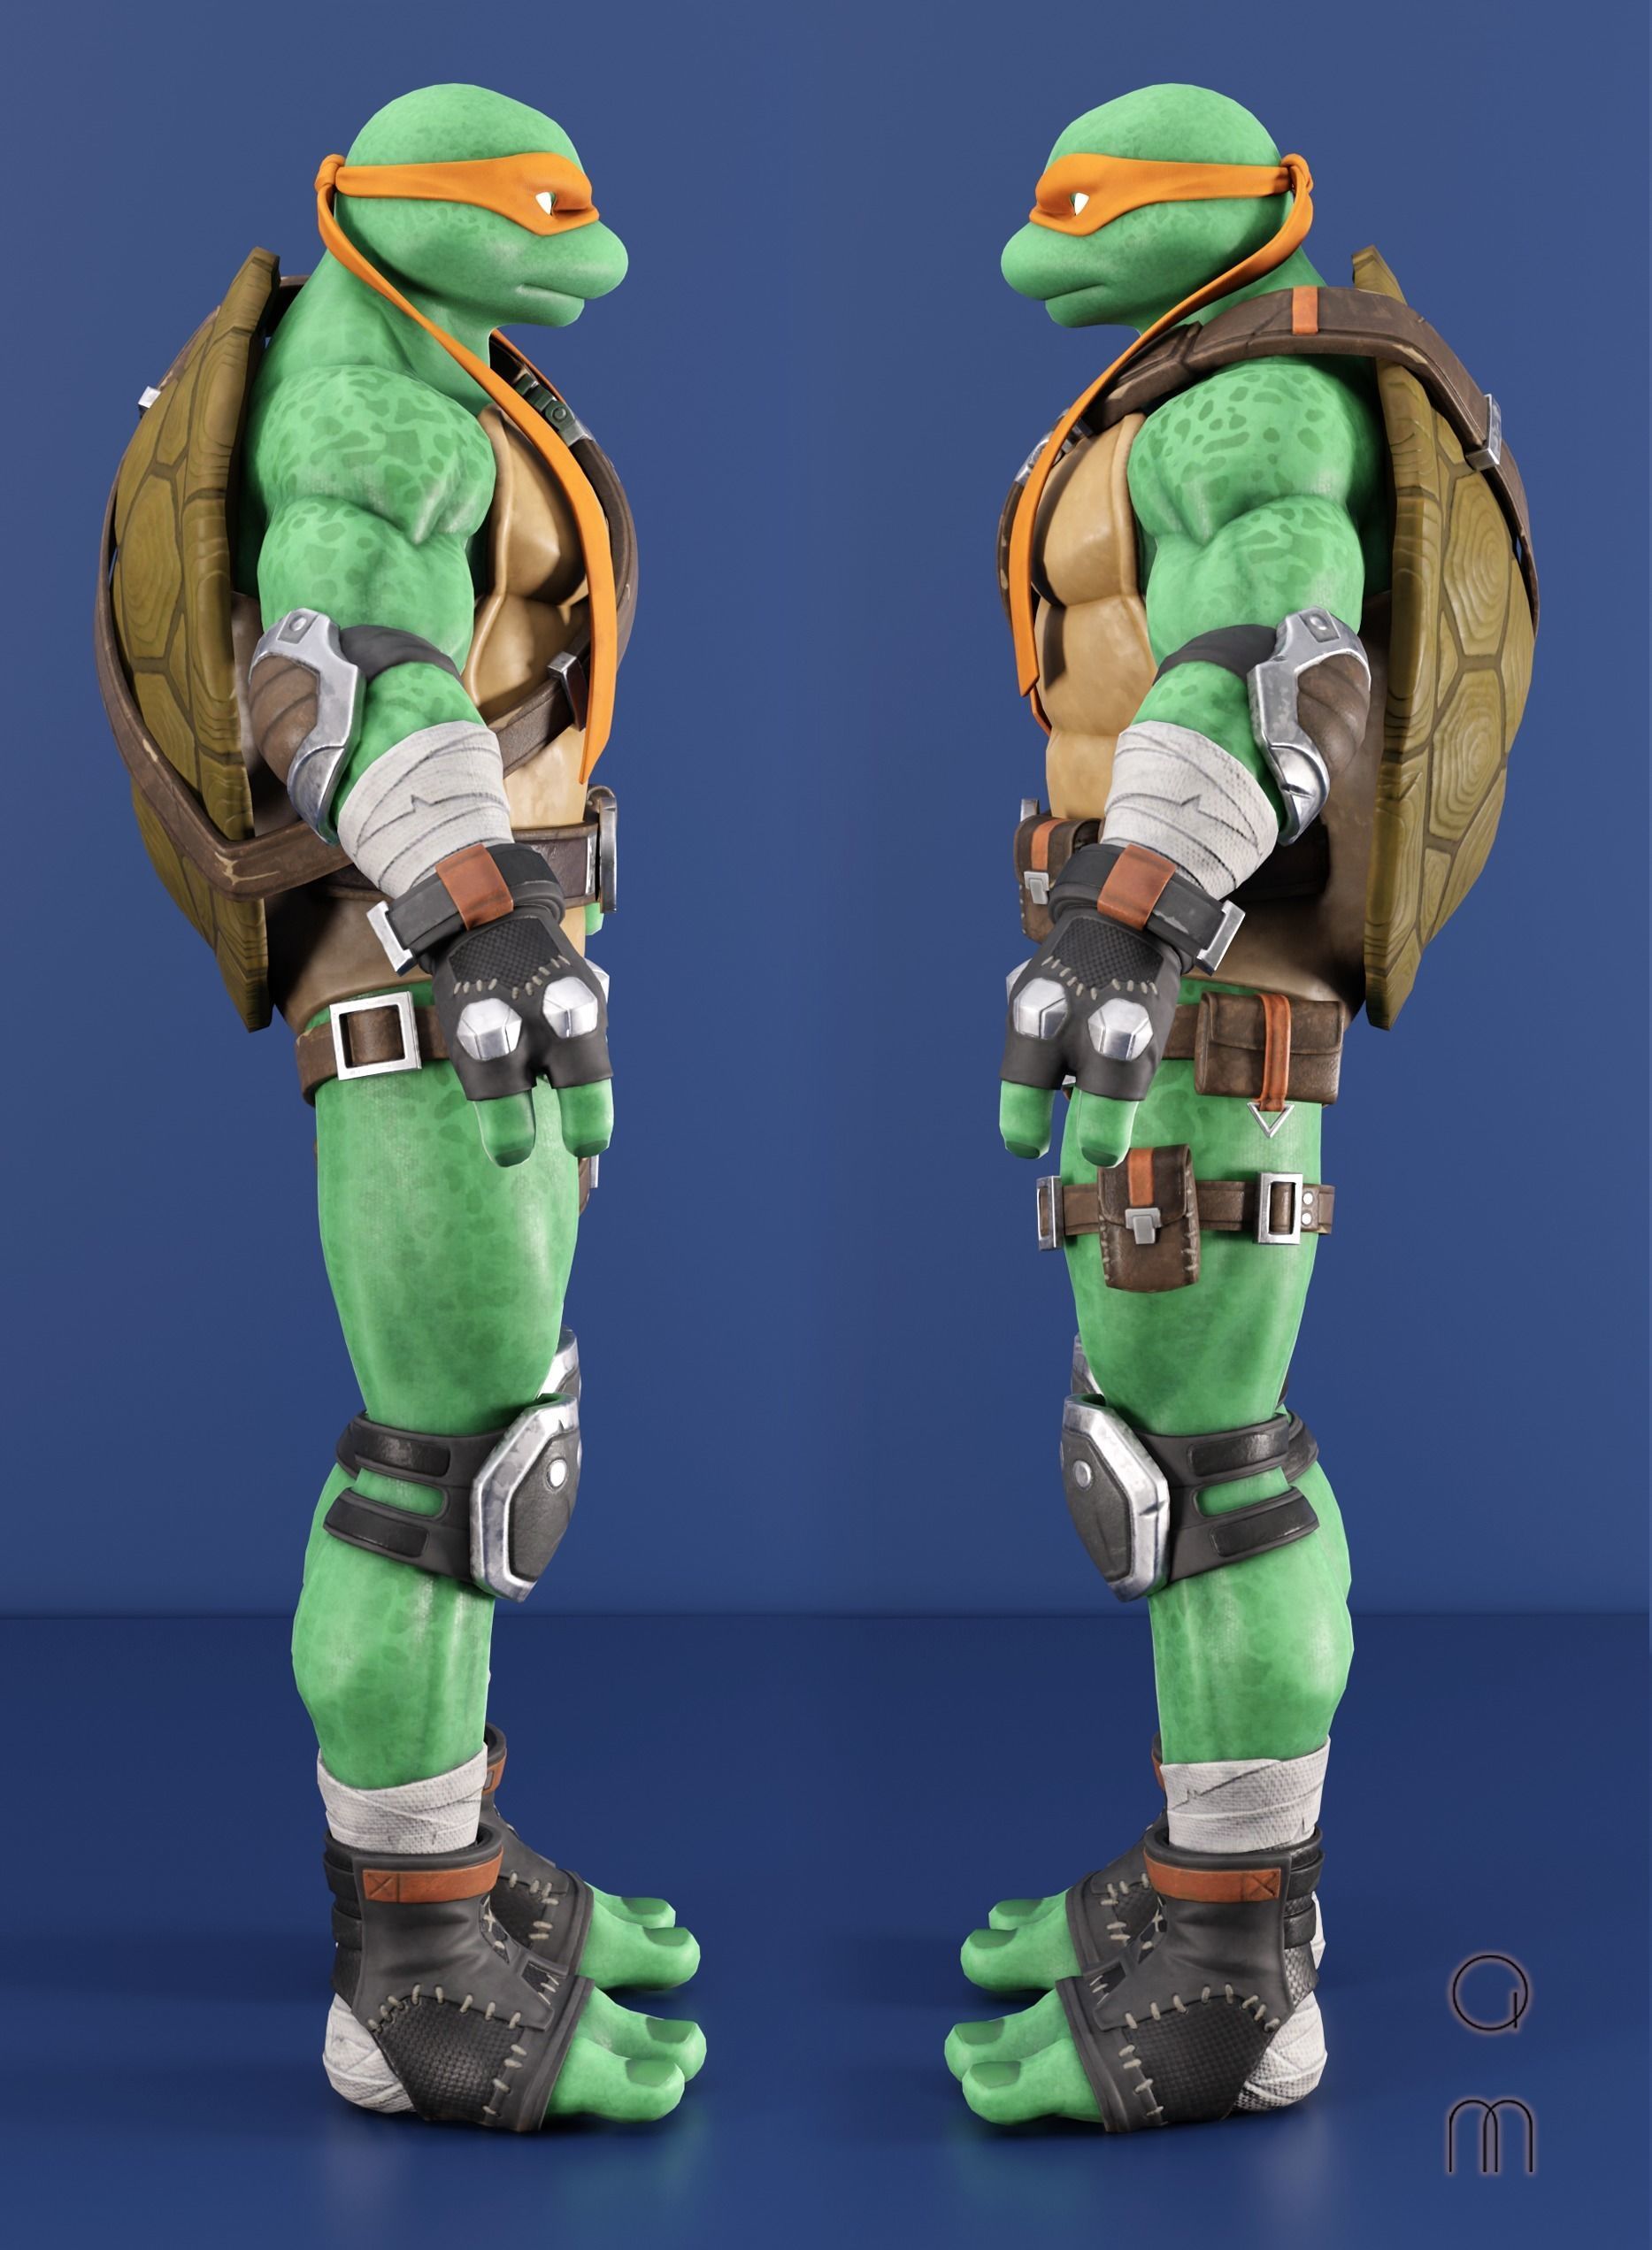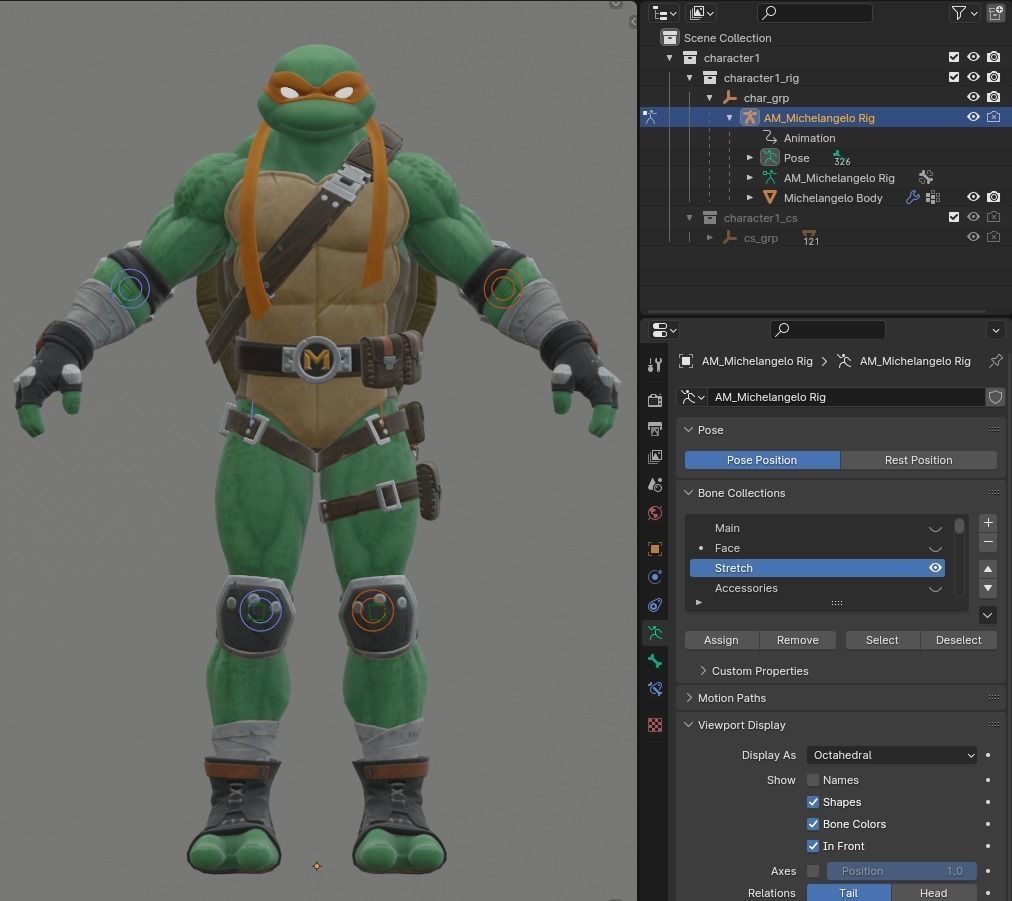
Michelangelo - Fortnite Low-poly 3D model
3D Fortnite Character Model: Michelangelo (Teenage Mutant Ninja Turtles)
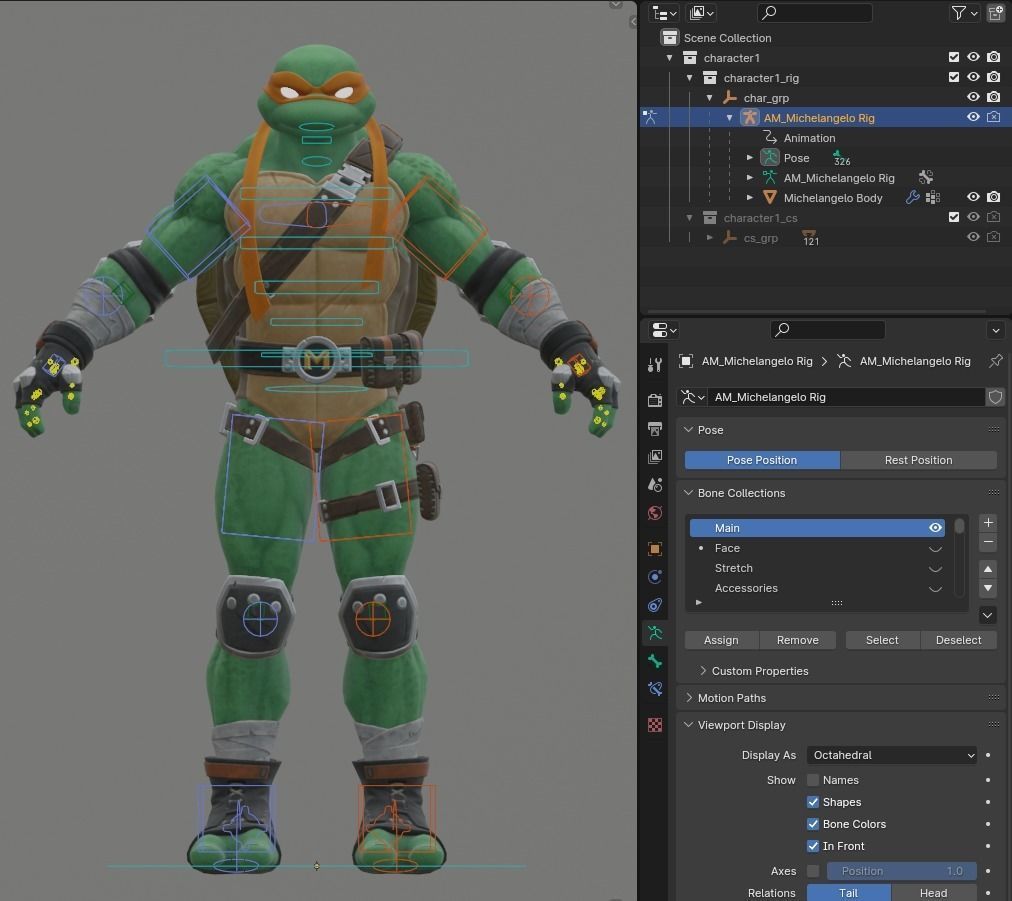
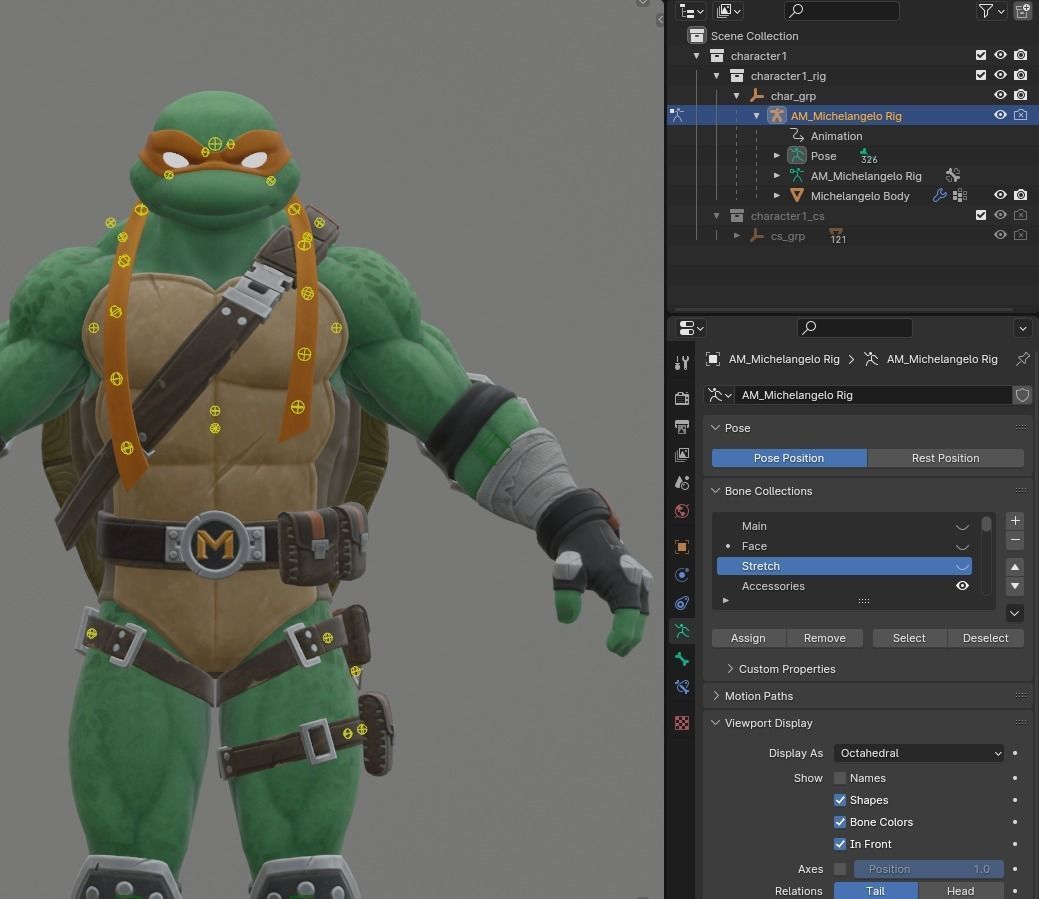
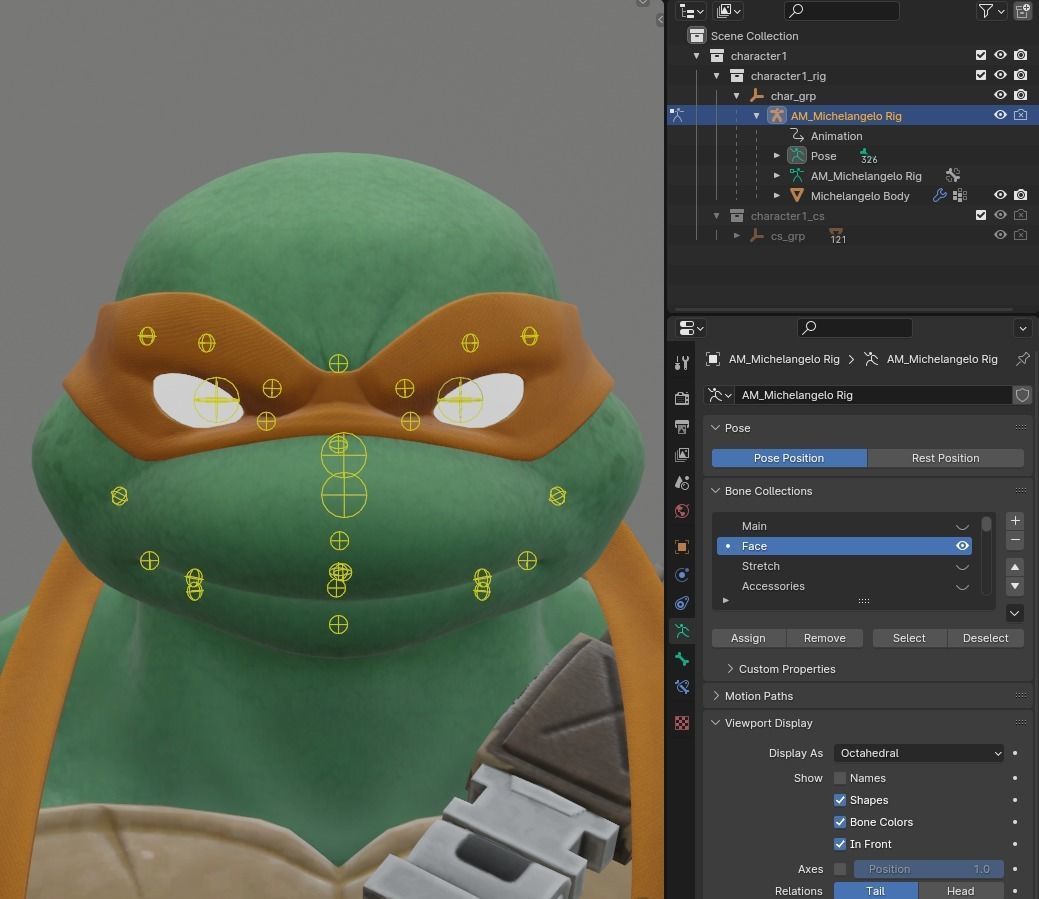
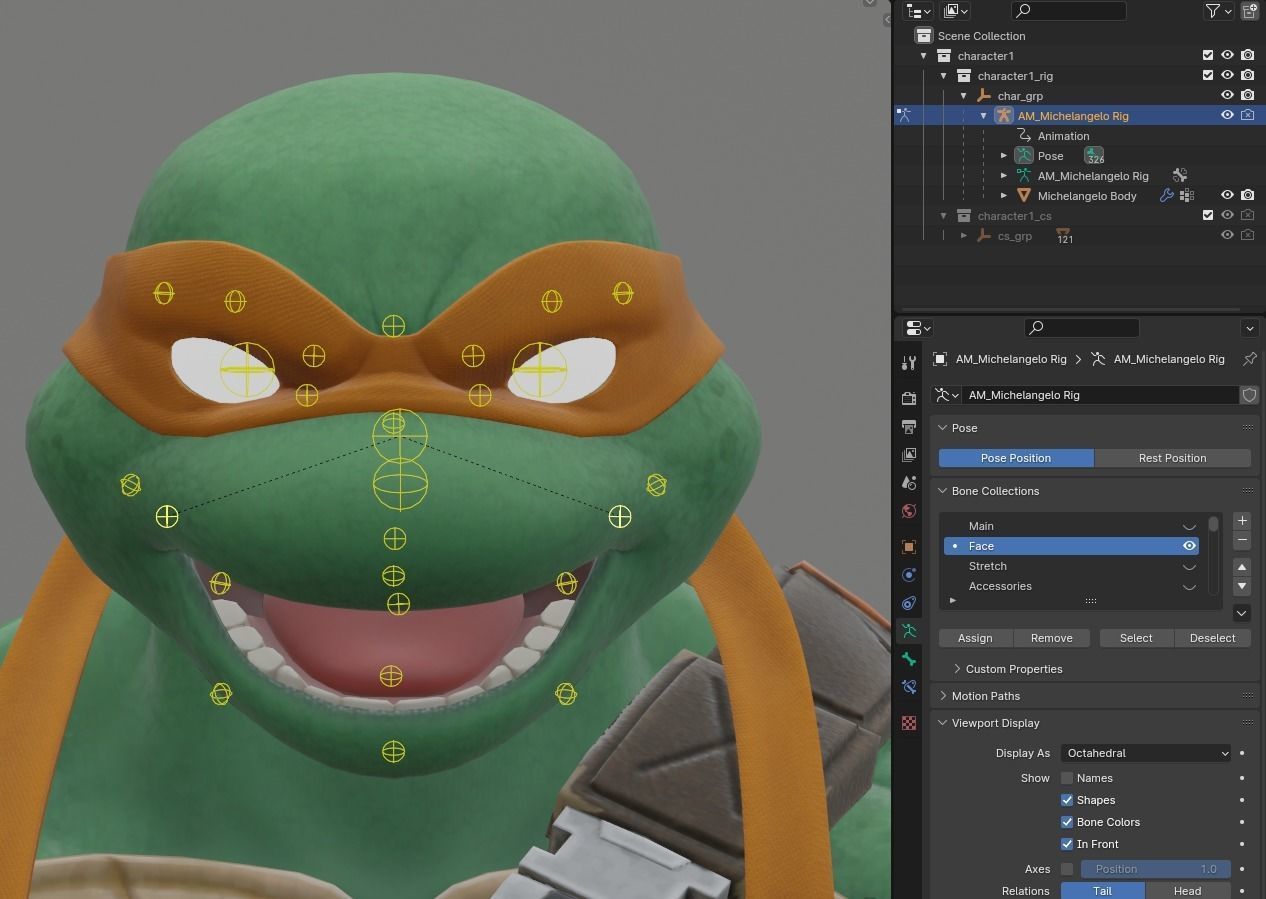
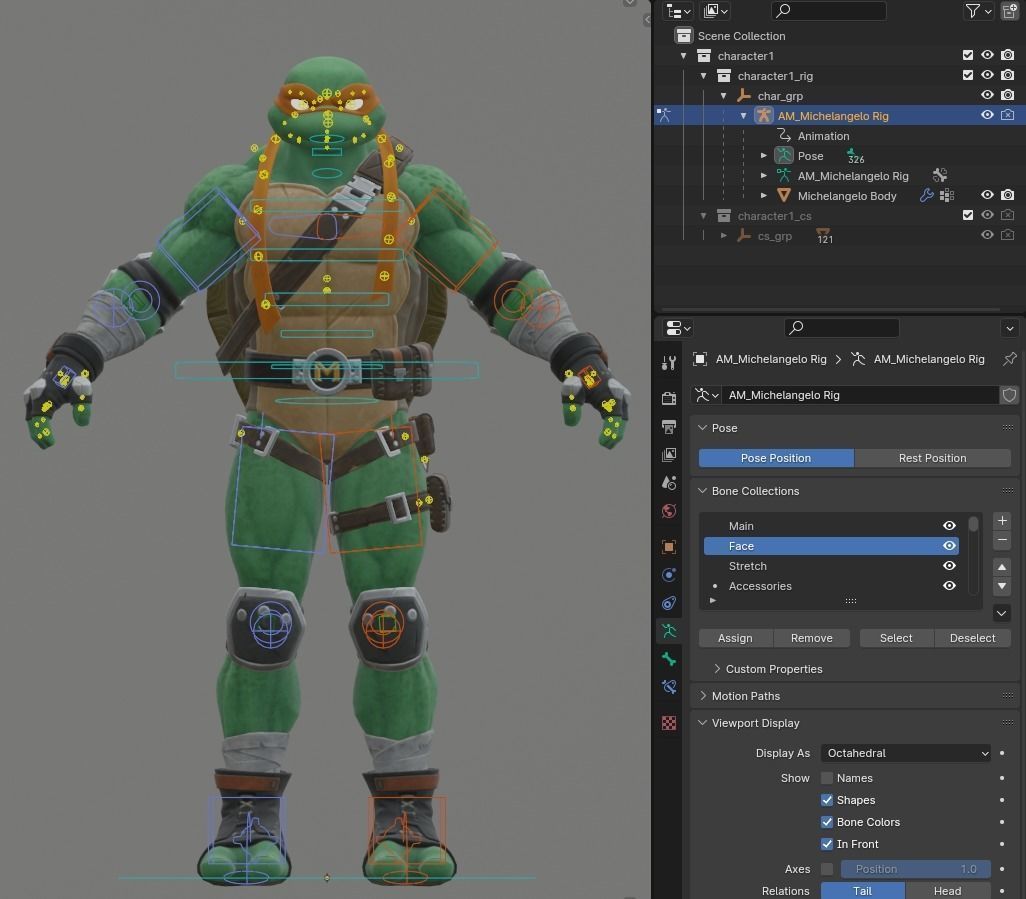
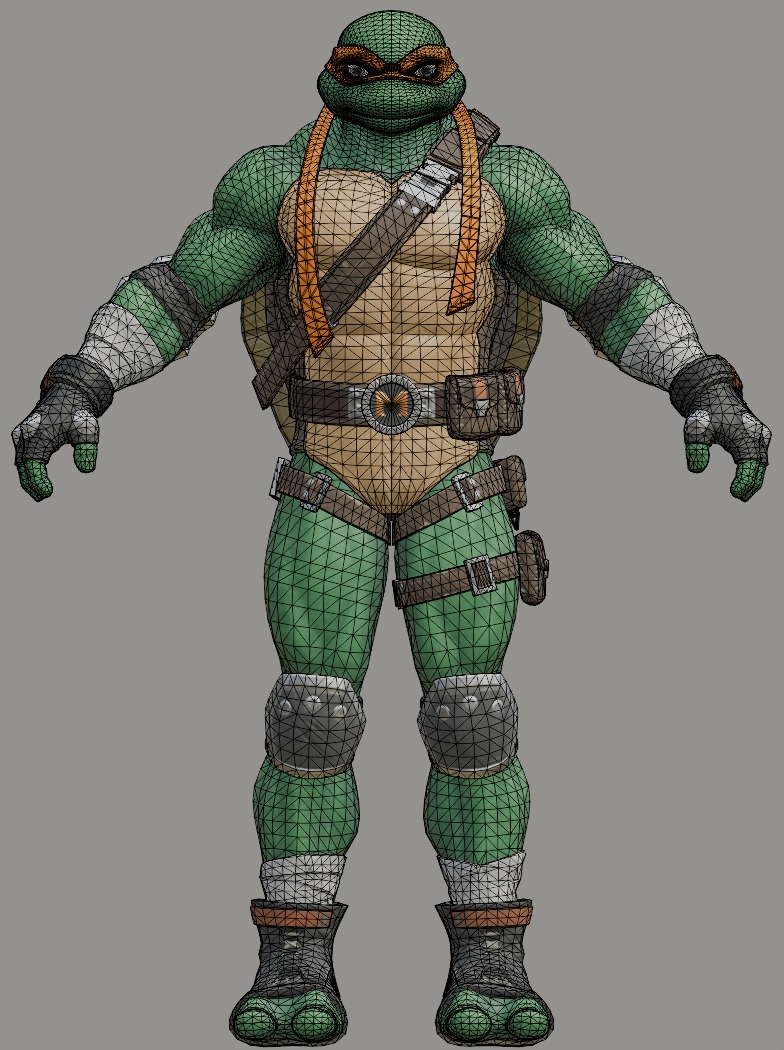
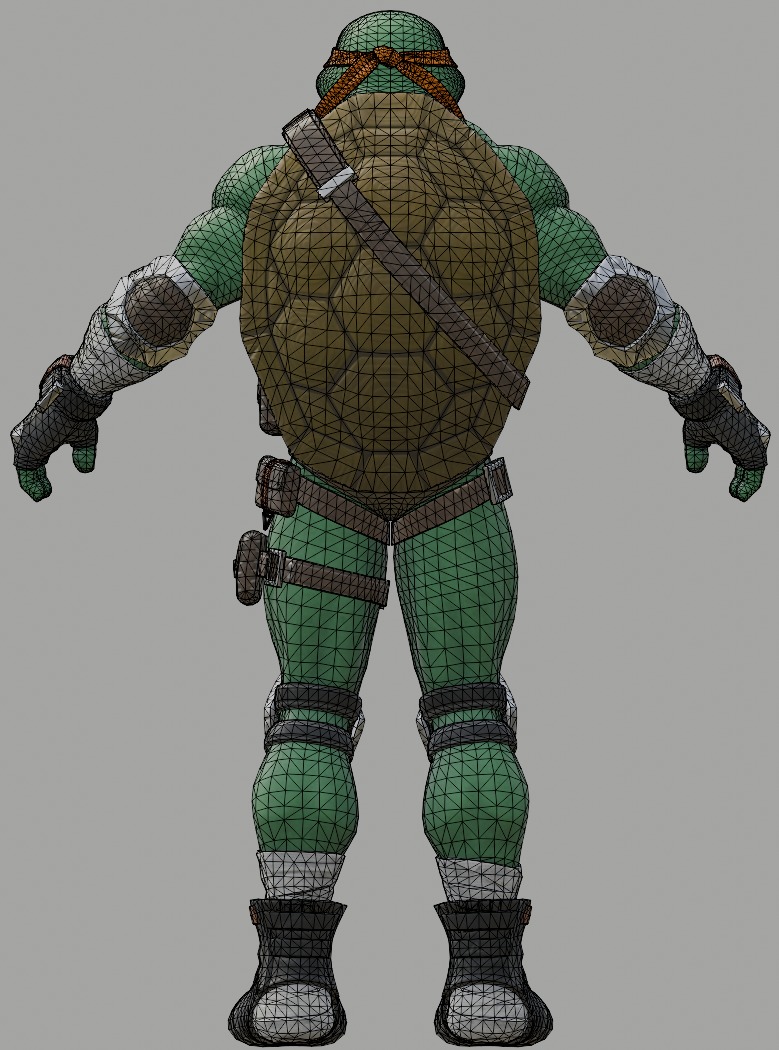
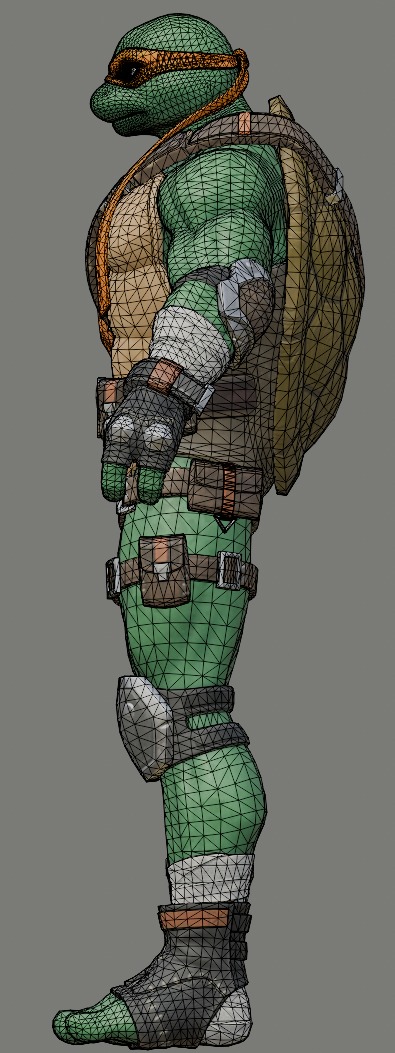
Bring the iconic Michelangelo from Teenage Mutant Ninja Turtles into your Fortnite model collection with this high-quality, poseable 3D character model! Originally created in Blender 4.2.1 LTS, this model is expertly rigged to be both IK and FK poseable, giving you maximum control over every movement. Whether you’re a game developer, 3D animator who is a fan of Fortnite or Teenage Mutant Ninja Turtles, this model is totally ready for your creative projects.
Key Features:
• Full Armature Control: The model comes rigged with an armature designed for both Inverse Kinematics (IK) and Forward Kinematics (FK) posing. • Bone Layers for Customization: Control every detail with dedicated bone layers for accessories, bandana, face, and deform bones, allowing for precise and flexible customization. • Included Add-On: To ensure the armature functions properly, the Rig Tools & Proxy Picker add-on's must be installed, which is included free with your purchase. (See below for installation instructions if needed)
- Comes with all PBR Textures and this file is also zipped.
- Alternate Formats available for download are: .fbx, .dae, .usd, .gtlf & .stl
Get Michelangelo fully rigged and ready for your next Fortnite-inspired project today! Please let me know if you have any questions. While I might not be able to resolve every issue, I promise to always give my best effort to assist you.
Rig Tools Installation Instructions:To install the Add-on in Blender, follow these steps
Step 1: Download the Zip Files from CGTrader- Download the Rig Tools & Proxy Picker add-on’s from the file list after purchasing the model.
- The files will be in a .zip format. Do not unzip it. Keep the files as they are please.
- Launch Blender on your computer.
- If it's up to date then go ahead to the top menu bar and click on Edit.
- In the dropdown under Edit, select Preferences. This will open the Preferences window.
- In the left-hand menu, click on Add-ons.
- At the top right of the Add-ons tab, click the small down arrow button.
- Then click on Install from Disk
- A file explorer will pop up. Navigate to the location where you saved the Rig Tools & Proxy Picker .zip files.
- Select both of them and click Install from Disk.
- After the add-on's are installed, they will appear in the Add-ons list. Check the box next to Auto-Rig Pro Tools & Proxy Picker to enable them.
- If necessary, you can type their names in the search bar at the top-right to find it quickly.
- Once enabled, make sure to click Save Preferences in the bottom left corner of the Preferences window so that Blender remembers the add-on each time you open it.
- Now, you'll see the Auto-Rig Pro tools in the N-panel or in the toolbar when working with our rigs in Blender.
- From here, you can use the provided Rig Tools to help with IK/FK rigging and other functions provided by the Auto-Rig Pro add-on.
That's it! You're ready to start easily posing your new Fortnite character in Blender. Tutorial videos & rest of the crew are coming soon!

